Adobe Illustrator has been the industry-standard vector drawing application since it was released in 1987. For anyone involved in typography, illustration, or logo design, Illustrator is a must-have piece of software. In this guide, you will find the best ways to remove backgrounds in Illustrator and learn some new skills along the way.
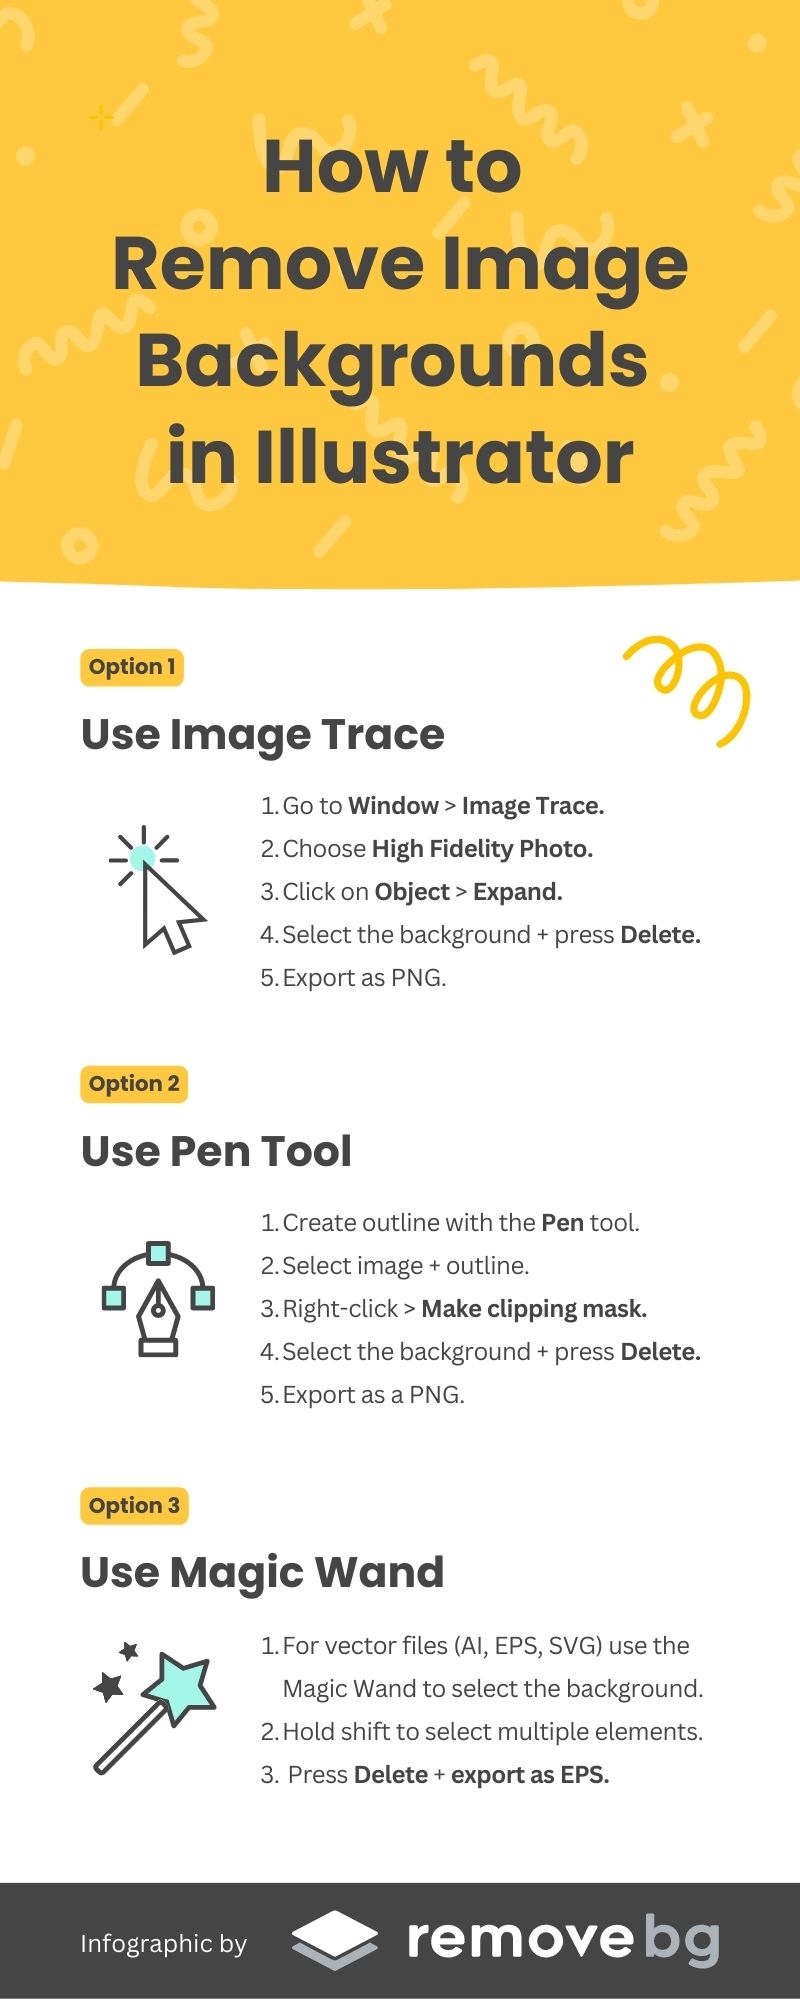
Table of contents
- 1. Using Image Trace to create a vector – then removing a background in Illustrator
- 2. Using the Pen Tool to remove the background in Illustrator with a clipping mask
- 3. Using the Magic Wand to remove the background in Illustrator
- 4. Removing white backgrounds in Illustrator by saving as EPS files
- If you want a quicker alternative: remove image backgrounds with remove.bg
1. Using Image Trace to create a vector – then removing a background in Illustrator
While using Adobe Illustrator, you’ll probably want to be working with vectors. Vectorized images are drawn by computer math. They are sharper than regular images such as JPEGs and don’t get pixelated even when you zoom right in.
One particularly good thing is that Illustrator can easily tell the subject from the background. The software is especially good at removing a white background.
1. Place an image in the workspace by opening a file from your computer.
2. Go to View > Show Transparency Grid (or Shift+CTRL+D, Shift+Command+D in Windows and Mac, respectively). This will reveal the checkerboard background indicating transparency.
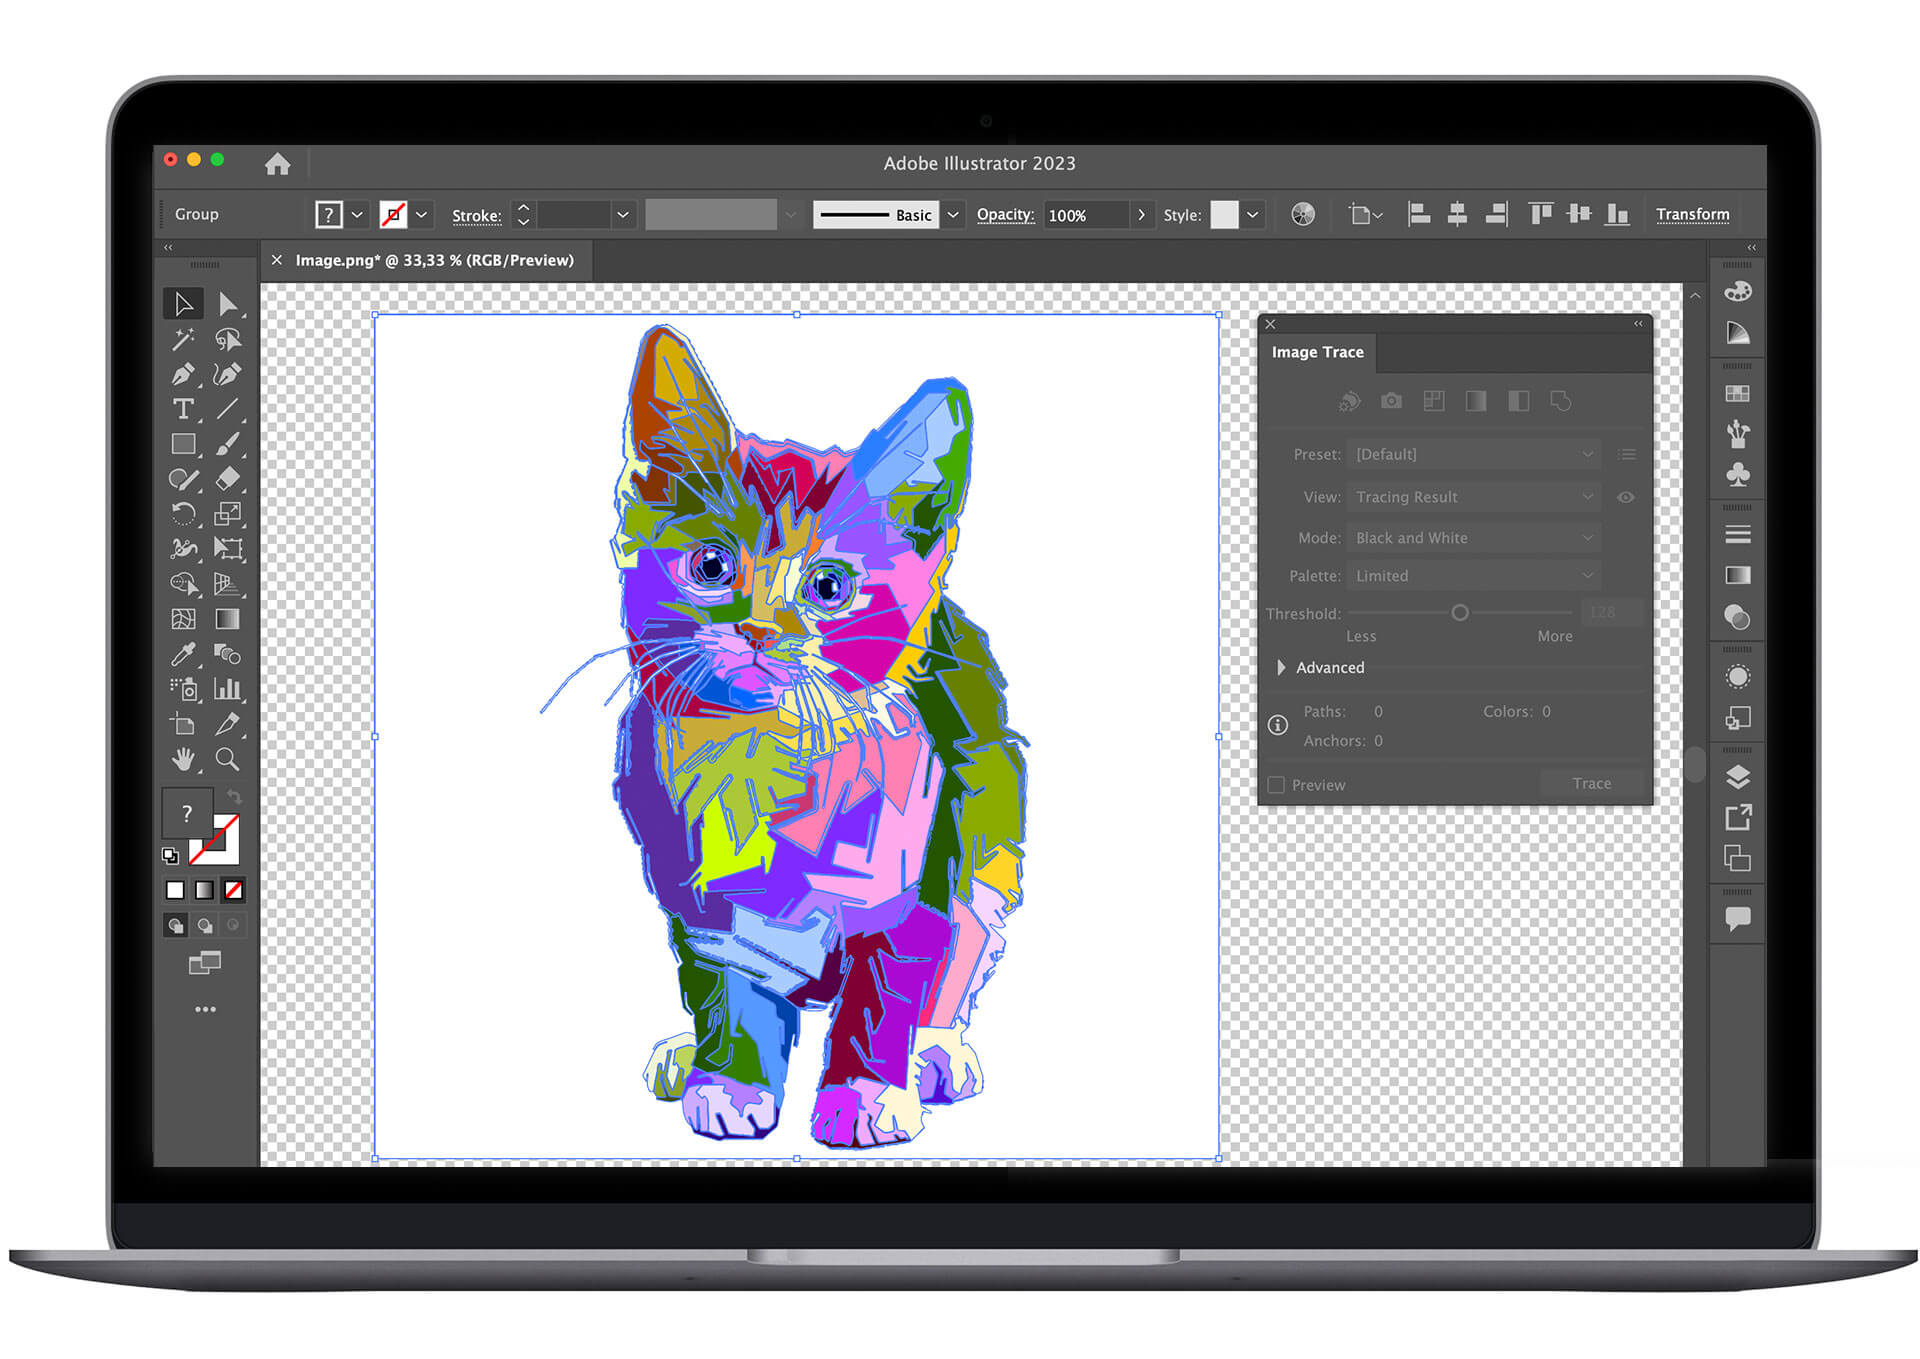
3. Open the Image Trace window by clicking Window > Image Trace in the dropdown menu.
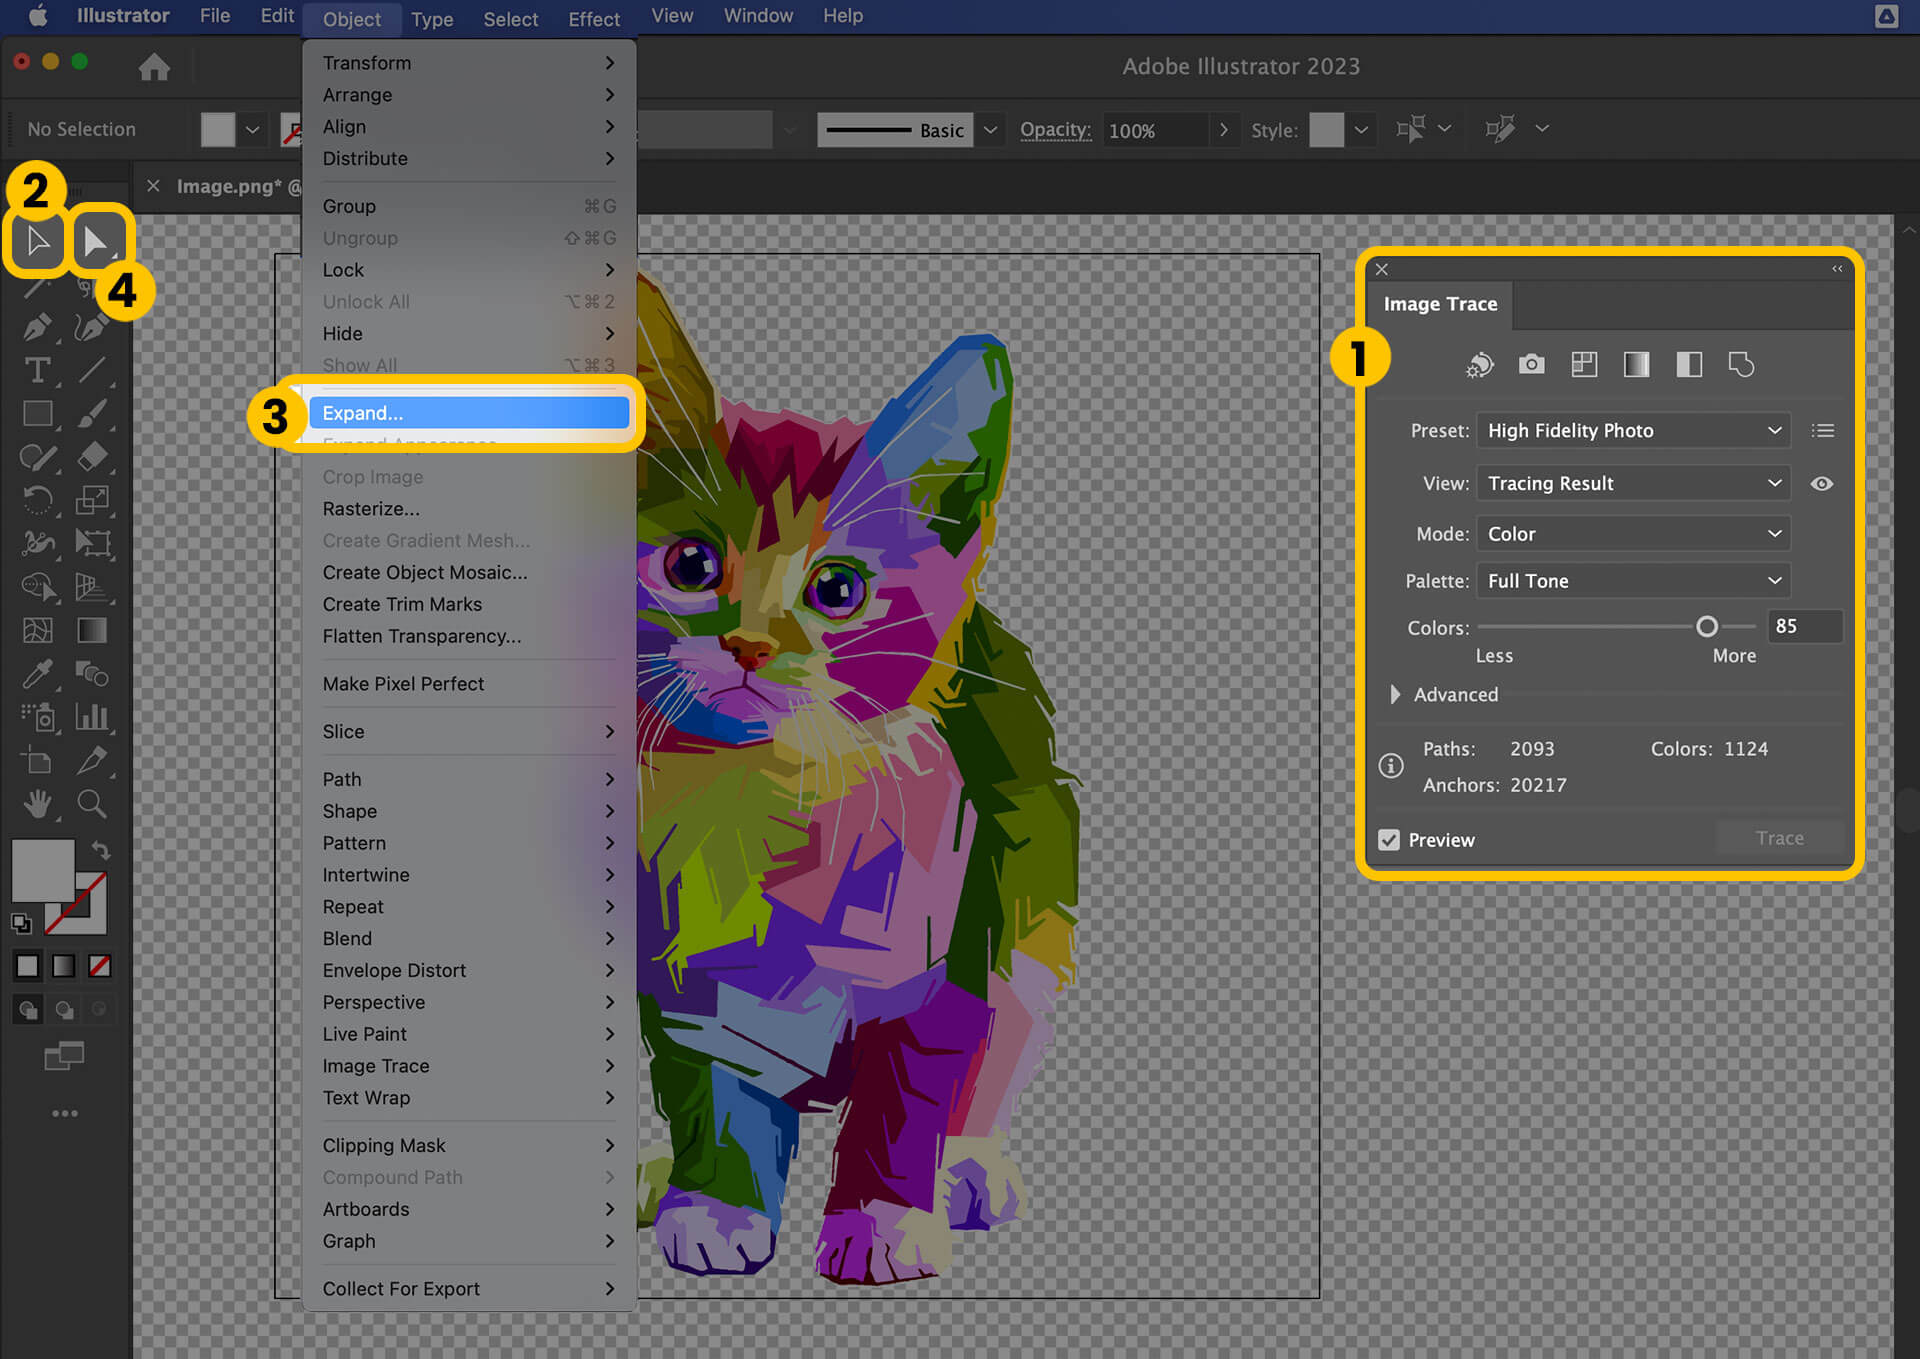
4. Click on the Selection tool (black arrow) in the toolbar and select your image by clicking on it.
5. Go back to the Image Trace window and choose High Fidelity Photo for the best results or choose one of the other two presets that best matches your image.
6. Click on Object > Expand in the dropdown menu; this will convert it into a vector.
7. Now, use the Direct Selection tool (white arrow) in the toolbar to click on and select the background parts you want to get rid of. Press Delete. You might have to do this for each area.
8. Export the file as .PNG or EPS file (see third step), making sure you have checked the Background Transparent box.
Tips & Ideas
5 Different Ways to Remove Background in Photoshop
2. Using the Pen Tool to remove the background in Illustrator with a clipping mask
Another way to delete the background in Illustrator is with a clipping mask. What’s that? This object hides or masks other images, so only what lies within the range is viewable. It’s like a template you can clip around and inside.
A clipping set is the name of the mask and the objects hidden. They can comprise all objects in a group or layer – or you can make a selection.
Your clipping mask will be a vector, but you can also mask regular old JPEGs and other file types.
Let’s get started!
The first thing to do is to select the image you want to leave behind when you remove your background. Use the Pen Tool to make your selection.
Adobe’s Standard Pen Tool is a great way to remove backgrounds in Illustrator. It gives you extremely precise control when drawing straight segments and curves, although it takes a bit of getting used to.
Here’s how to do it:
1. When you have your object open, zoom right in. The quality of your mask will depend on getting a precise mask around your object. You can press Z or choose the zoom tool from the toolbar.
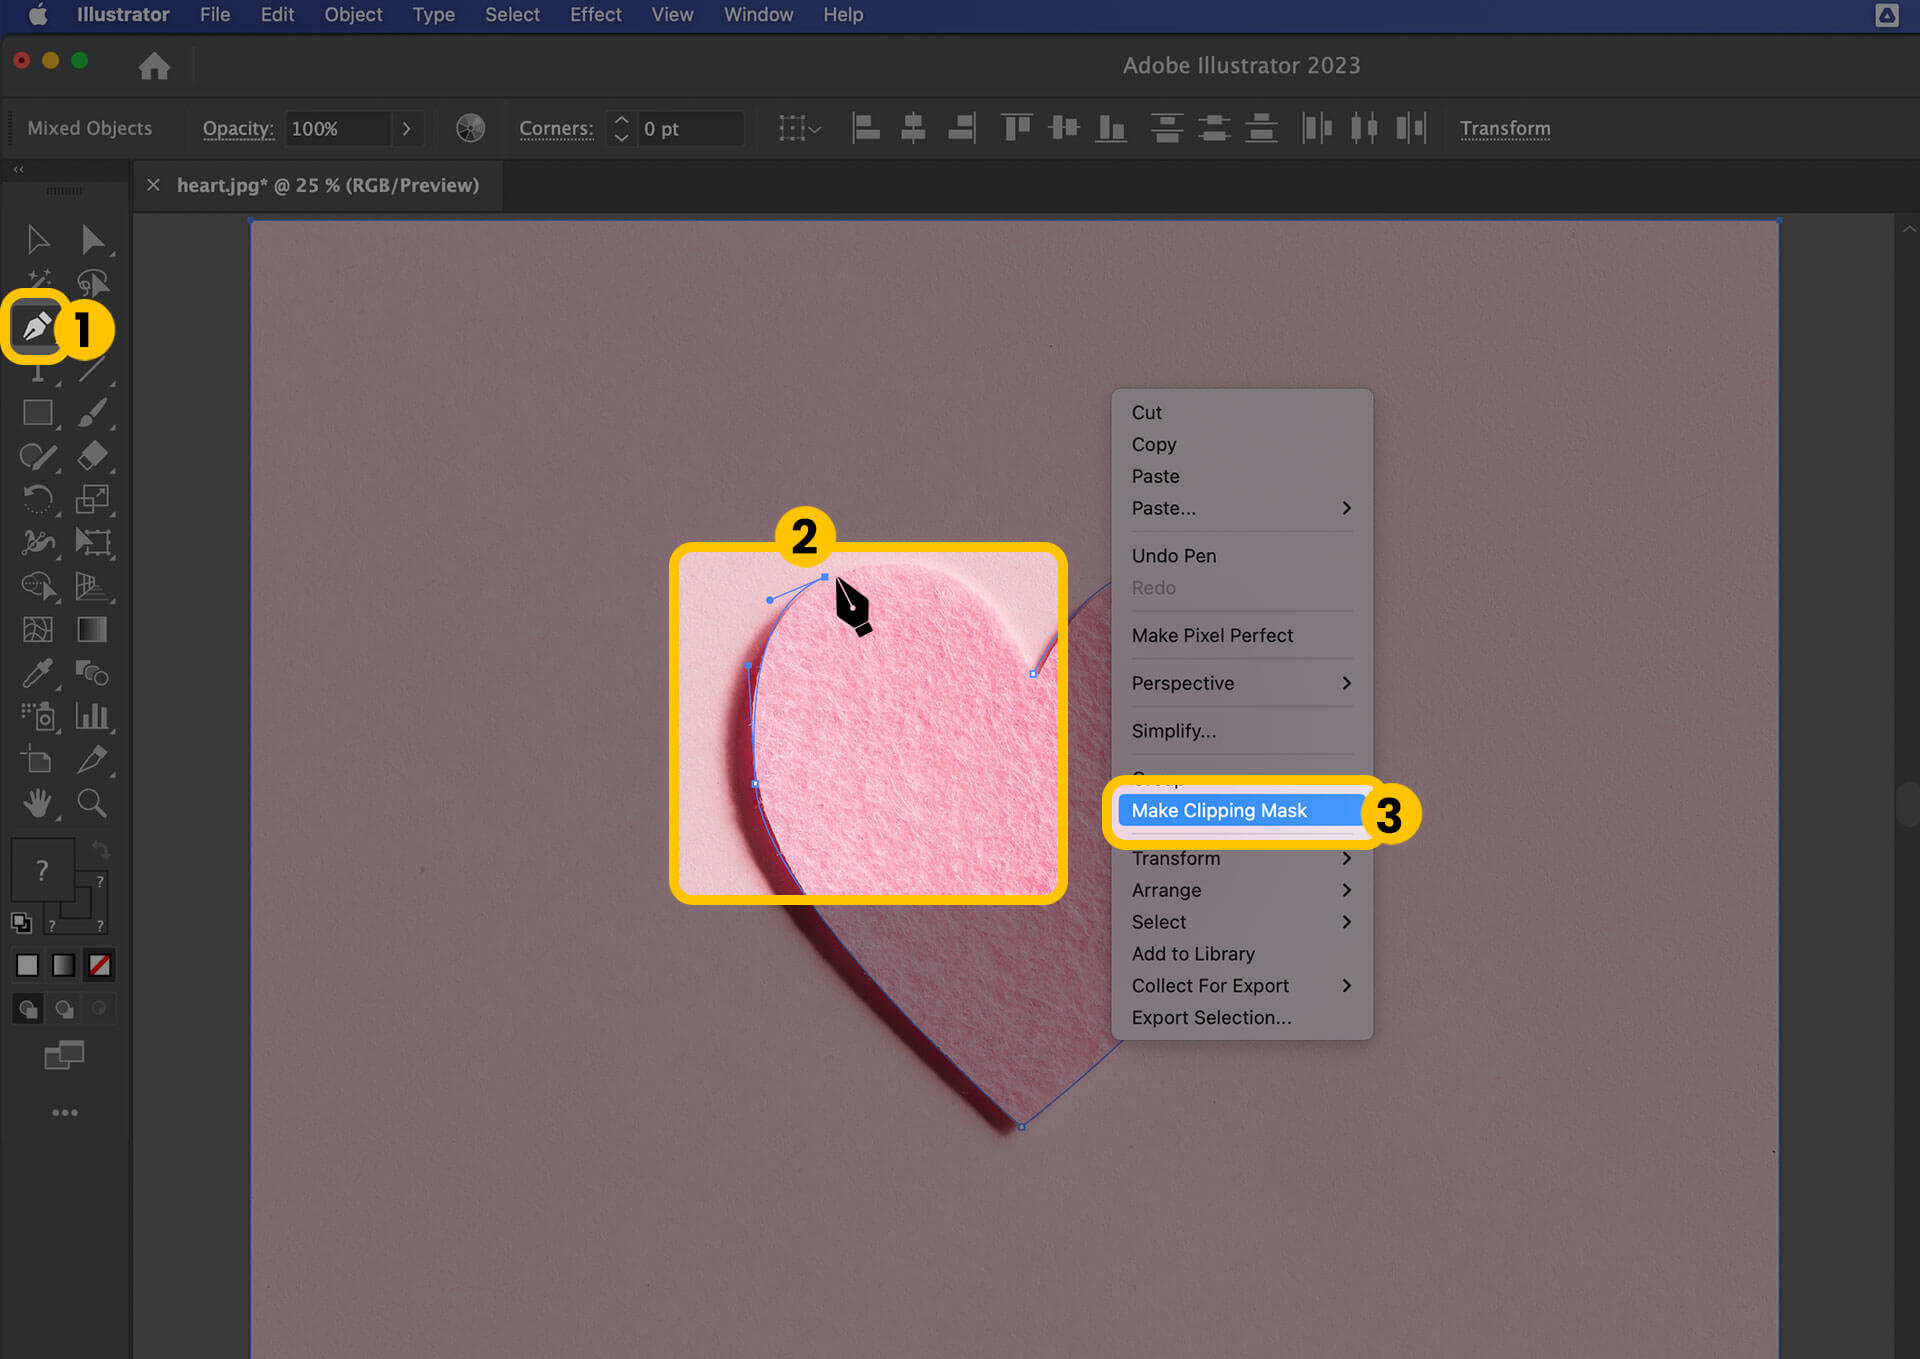
2. Open the Pen Tool. Choose your stroke color and select the No Fill option. You will produce your outline by clicking around the image and creating anchor points (dots). You can then manipulate the line that joins it up by creating new straight lines, using the dots to shape curves, or subdividing. It’s an intuitive learning process. You can find more information here.
3. When you have created your best-fit outline, click on the first anchor point to close up your shape. It doesn’t need to be perfect. You can alter it in the next step.
When you have created your selection with the Pen Tool, it’s time to make a Clipping Mask.
1. Select both images, the whole image, and your outline, by pressing shift and clicking.
2. Right-click the mouse on PC or CTRL-click on a Mac and select Make Clipping Mask. You should be left with your object standing alone.
3. You can keep making adjustments to your mask by using the Direct Selection tool or the Pen Tool to add more anchor points.
4. To visualize the checkerboard background indicating transparency, click on View > Show Transparency Grid (or Shift+CTRL+D, Shift+Command+D in Windows and Mac, respectively).
4. Export the file as .PNG or EPS file (see third step), making sure you have checked the Background Transparent box.
3. Using the Magic Wand to remove the background in Illustrator
If the image you want to remove the background from is already a Vector file, for example, a file with the ending AI, EPS, SVG, or some PDFs it’s even easier to remove the background in Illustrator.
Start by selecting the part of the image you want to remove, in this case, your background. One of the easiest ways of doing so is by using the Magic Wand tool to make your selection.
The Magic Wand is great when you want to select objects, sections, or parts of your project that share similar characteristics. The tool tries to guess what you want to select, and you can add or subtract areas by clicking on them.
Follow these instructions to use the Magic Wand:
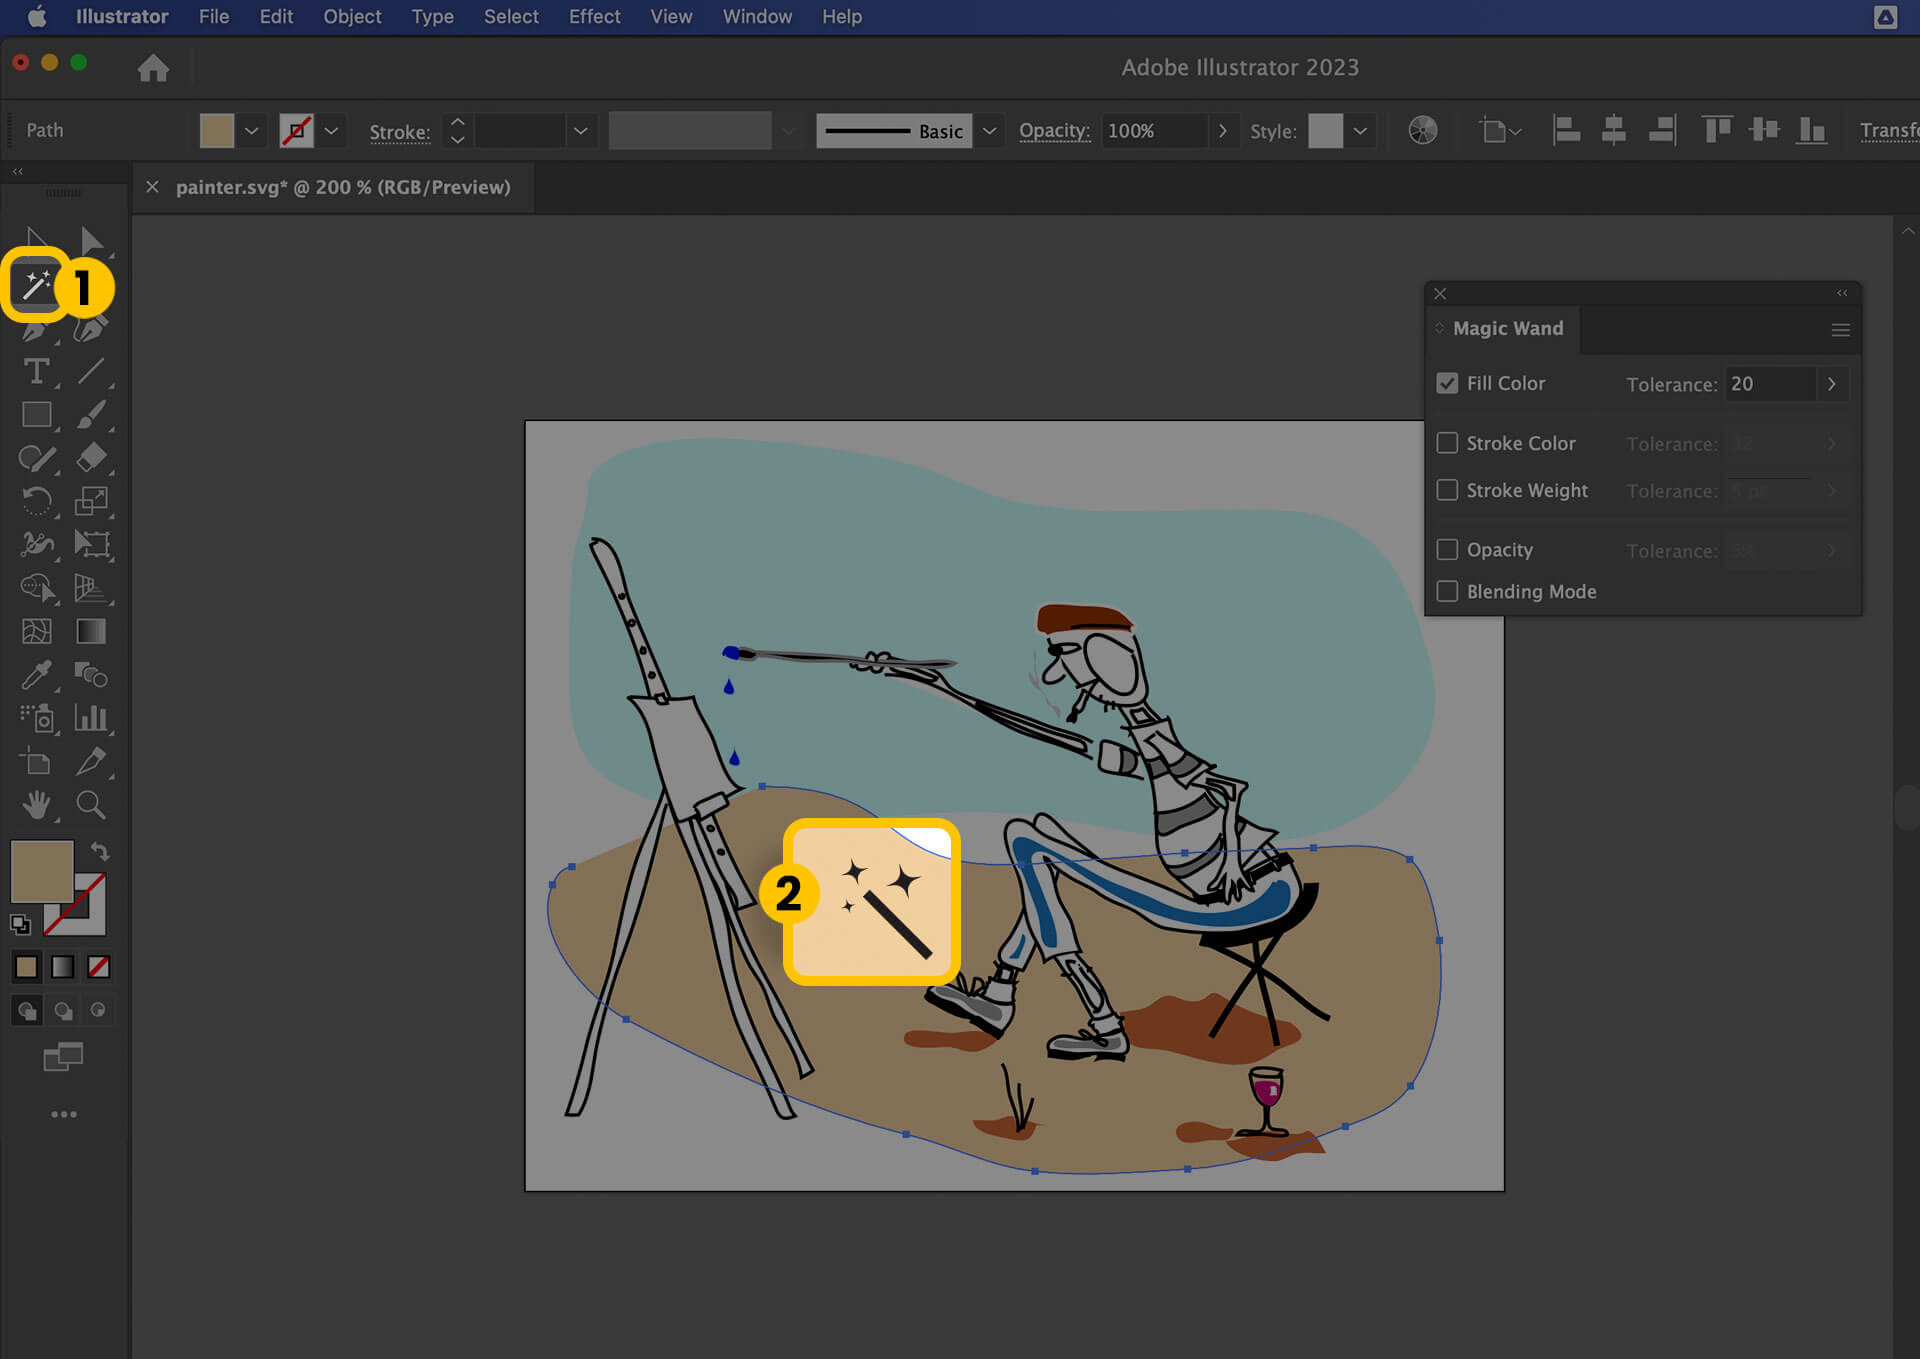
1. Click on the most representative part of your image (with the attributes you want to select). The Magic Wand tool will select matching elements.
2. You can add to your selection by holding down shift and clicking another part of the image which has elements you want selected.
3. If you have selected too many elements, press Alt (Windows) or Option (macOS) and click to remove items from your selection.
4. The tool is intuitive and somewhat quirky. If you want to make it more accurate, you can customize the settings in the toolbar. You can focus on selections that have, for example, the same (or nearly) color, opacity, or stroke weight. Plus, you can also change the likelihood the algorithm will select in each area.
5. Once all the background parts you want to get rid of are selected, press Delete. You can repeat this multiple times if needed.
4. Removing white backgrounds in Illustrator by saving as EPS files
We have talked about the value of working with vectors. Unlike bitmap files, they are scalable so they don’t look blocky even when you zoom in.
If you are creating a logo or other design, saving it as an EPS file can be a good investment for the future. You can make your image as large as you like before printing it or including it in a digital asset.
They are also a quick way of removing the white background in Illustrator: when you save an EPS file, the background automatically becomes transparent.
It’s easy to save a file as an EPS.
1. Click File and Save as. You want to choose Illustrator EPS from the menu that will appear. Press Save.
2. Go with Tiff (8-bit Color) from the next menu (Format) underneath Preview in the EPS window that will show up. You want to make sure it’s Transparent, so click that and press OK, and – hey, presto! – you have an EPS file with a transparent background.
If you want a quicker alternative: remove image backgrounds with remove.bg
If you don't have an Illustrator license, or you are short on time, you can use an easier and faster tool: remove.bg.
remove.bg allows you to remove image backgrounds automatically in just a few seconds. Here's how to do it:
-
Go to the remove.bg website.

-
Drag and drop or upload your image onto the site. remove.bg will automatically remove its background.
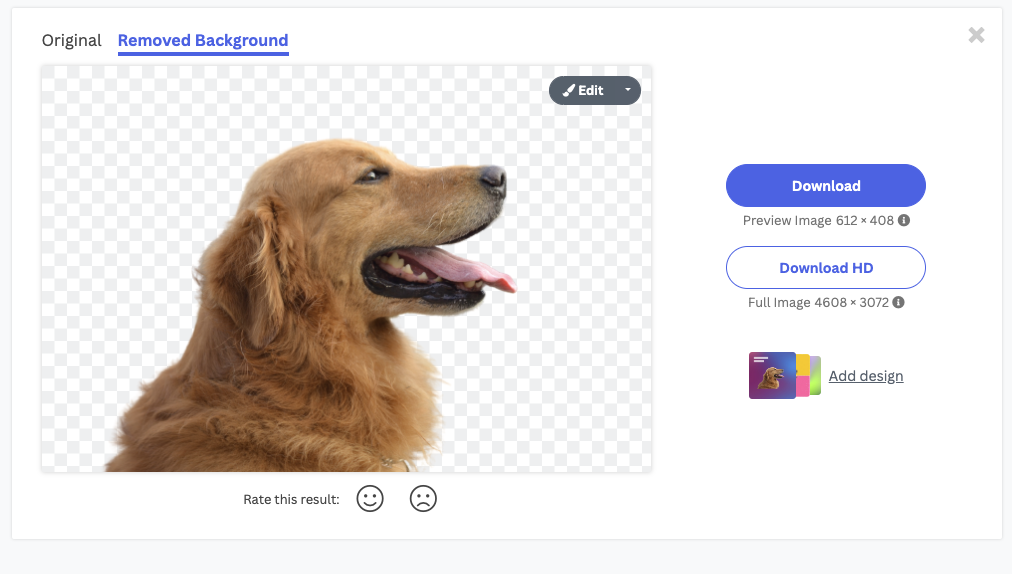
That's it! You can now click > Download to save your image with transparent background on your mobile phone or laptop.
If you want to switch up your image's background, click on > Edit and select one of the options in the gallery, or upload your own.
And voilà, your background-free image is ready for your new design or presentation.
We hope you find this useful. Have fun removing backgrounds!
Comments