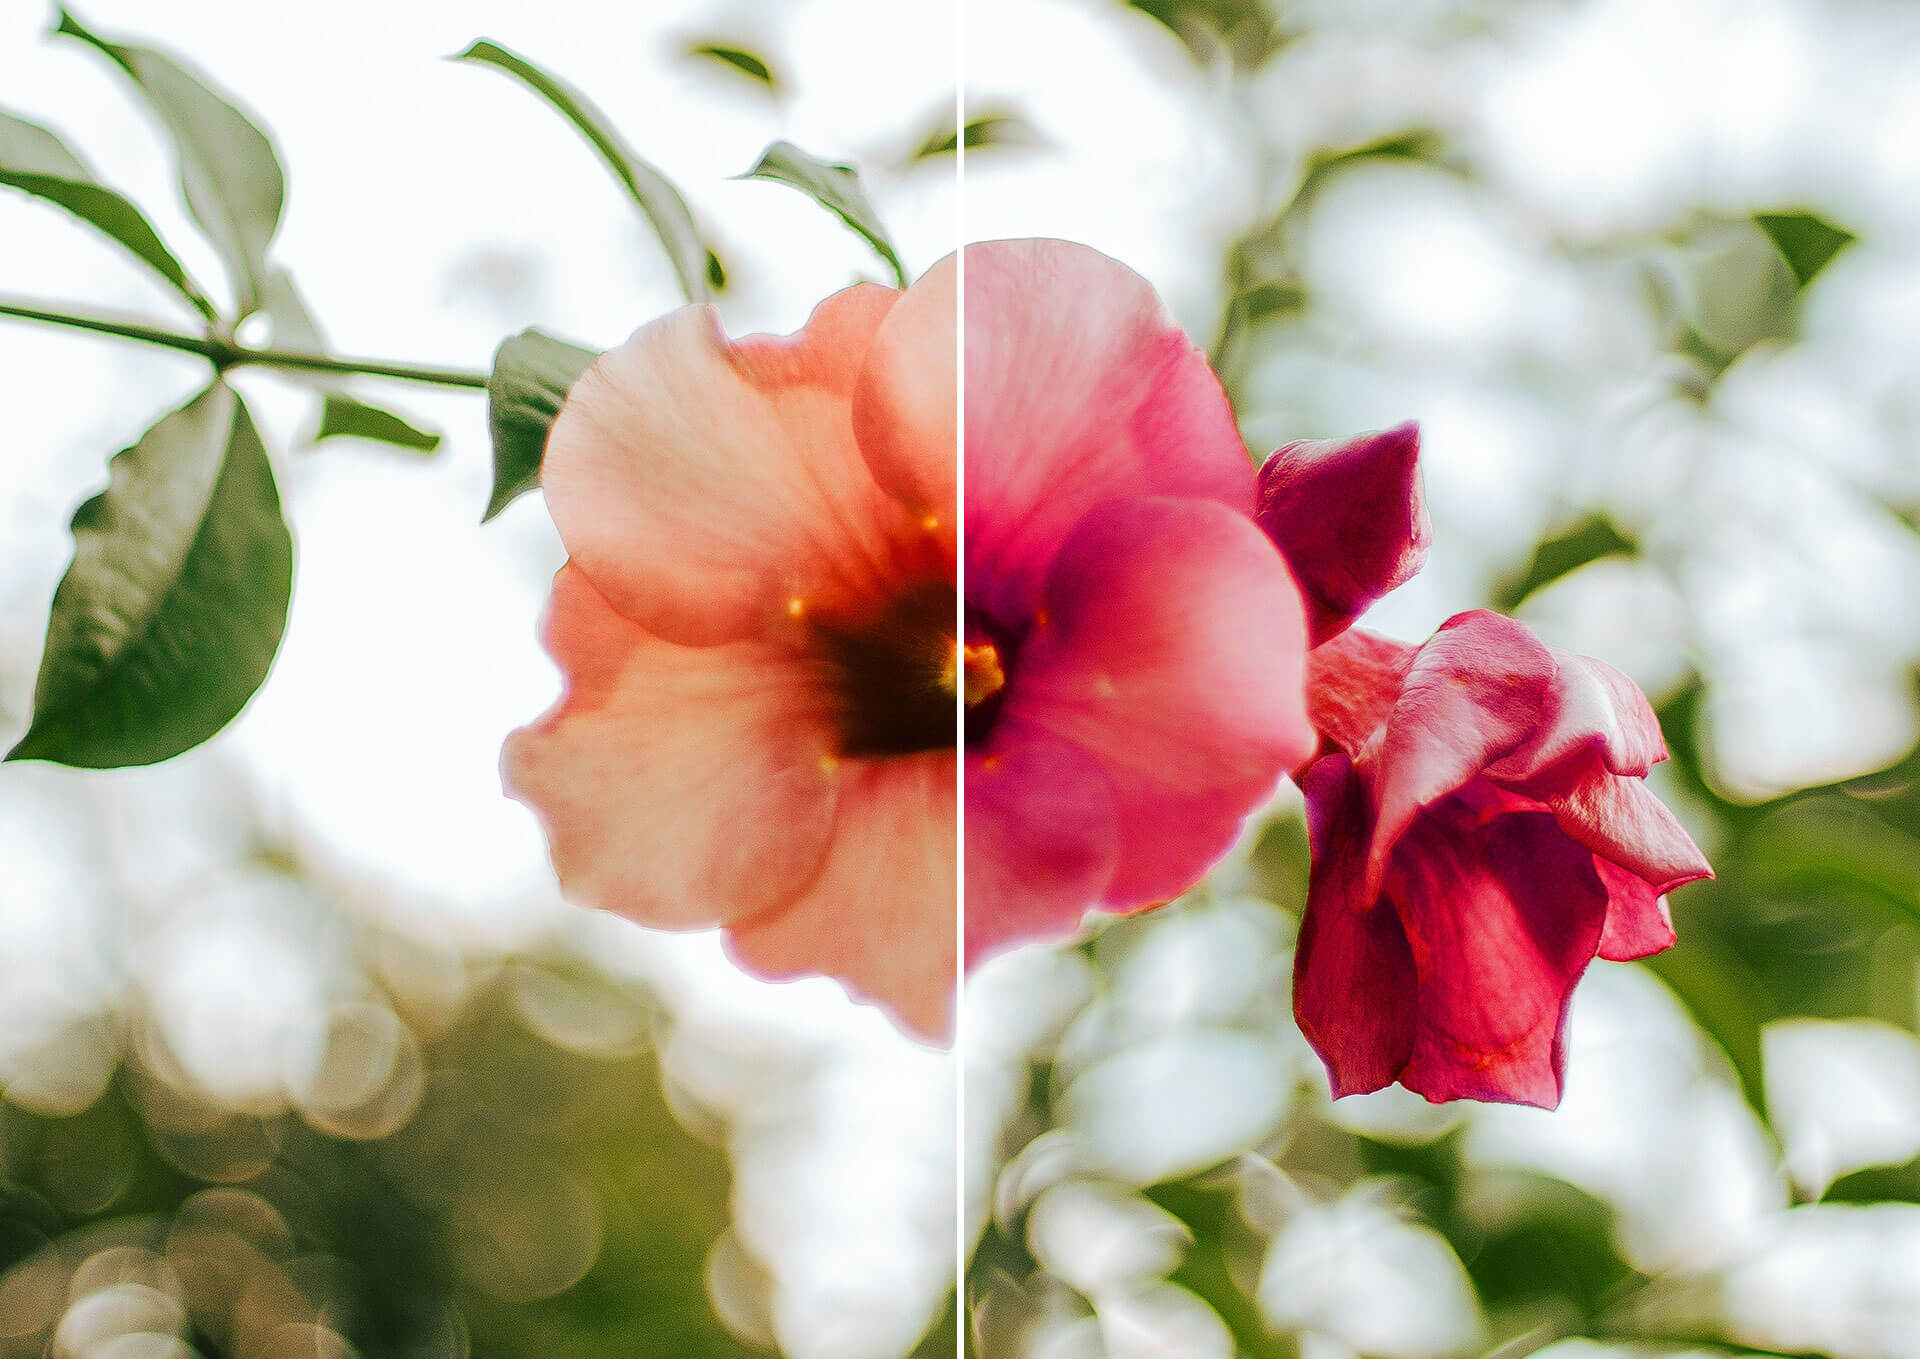
Want to instantly change the mood of your image or bring back the natural ambience? Color correction can help you do just that.
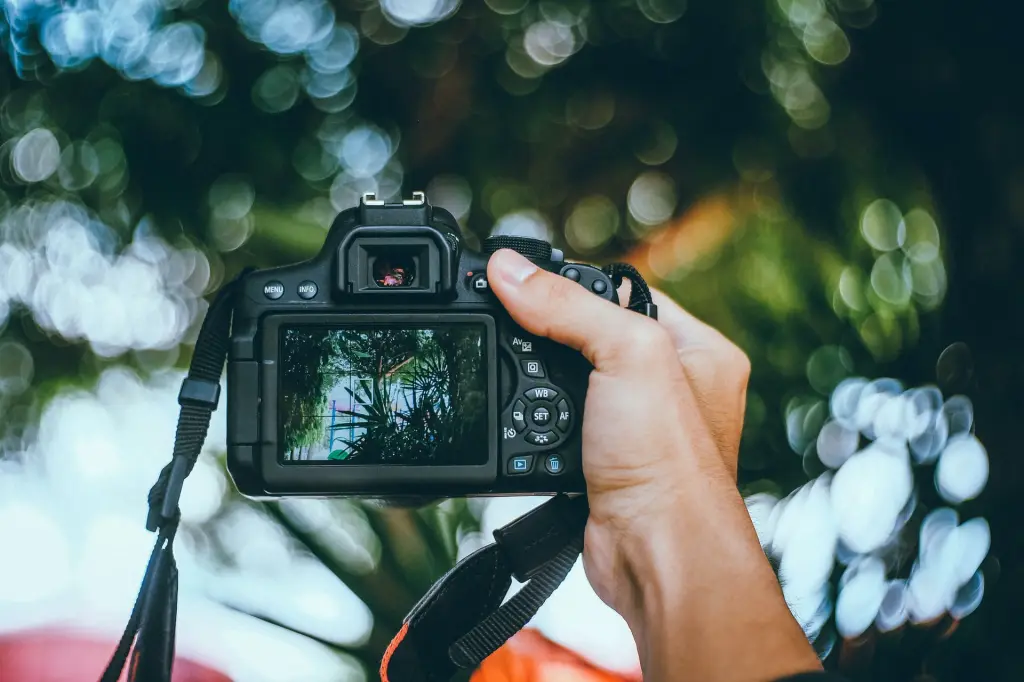
Because there’s a difference in the colors we see with the human eye and what the camera captures, and that can often lead to disappointment that you don’t have an image of something as you remembered it. You may notice that your picture has duller overtones and that the colors of everything from the sky to the scenery are in more muted shades than what you saw.
With the process of color correction in an image editor like Photoshop or Lightroom, that’s easy to rectify — here’s how.
Table of contents
- What is color correction in photography?
- Color correction vs color grading: what is the difference?
- How to color correct your images
- Instant ways to master color correction in photography
- Step-by-step guide: color correct image on Lightroom
- Step-by-step guide: color correct image on Photoshop
- Ready to color-correct and revive your photos?
What is color correction in photography?
Image color correction is all about improving a picture by adjusting, tweaking and balancing the series of colors found in the camera raw image file or photo to make it appear natural and unfiltered. Some people like to enhance particular color elements for dramatic effect, but the ultimate goal is to only have to make simple corrections so your pictures look the best they can be.
Color correction vs color grading: what is the difference?
Color correction is the process of editing an image to neutralize and correct any differences in how the human eye sees things. In digital editing, you’ll be making the image look, feel and appear how we saw it in its natural form with a few easy adjustments.
Have you ever looked at someone’s Instagram grid or photo album and seen a color theme or style? You can tell something has been color graded when every image has the same look and feel, regardless of what the subject is. Color grading enhances the colors of an image to create different moods and cinematic tones for creative and artistic aesthetics and add more detailed color tones and preferences.
How to color correct your images
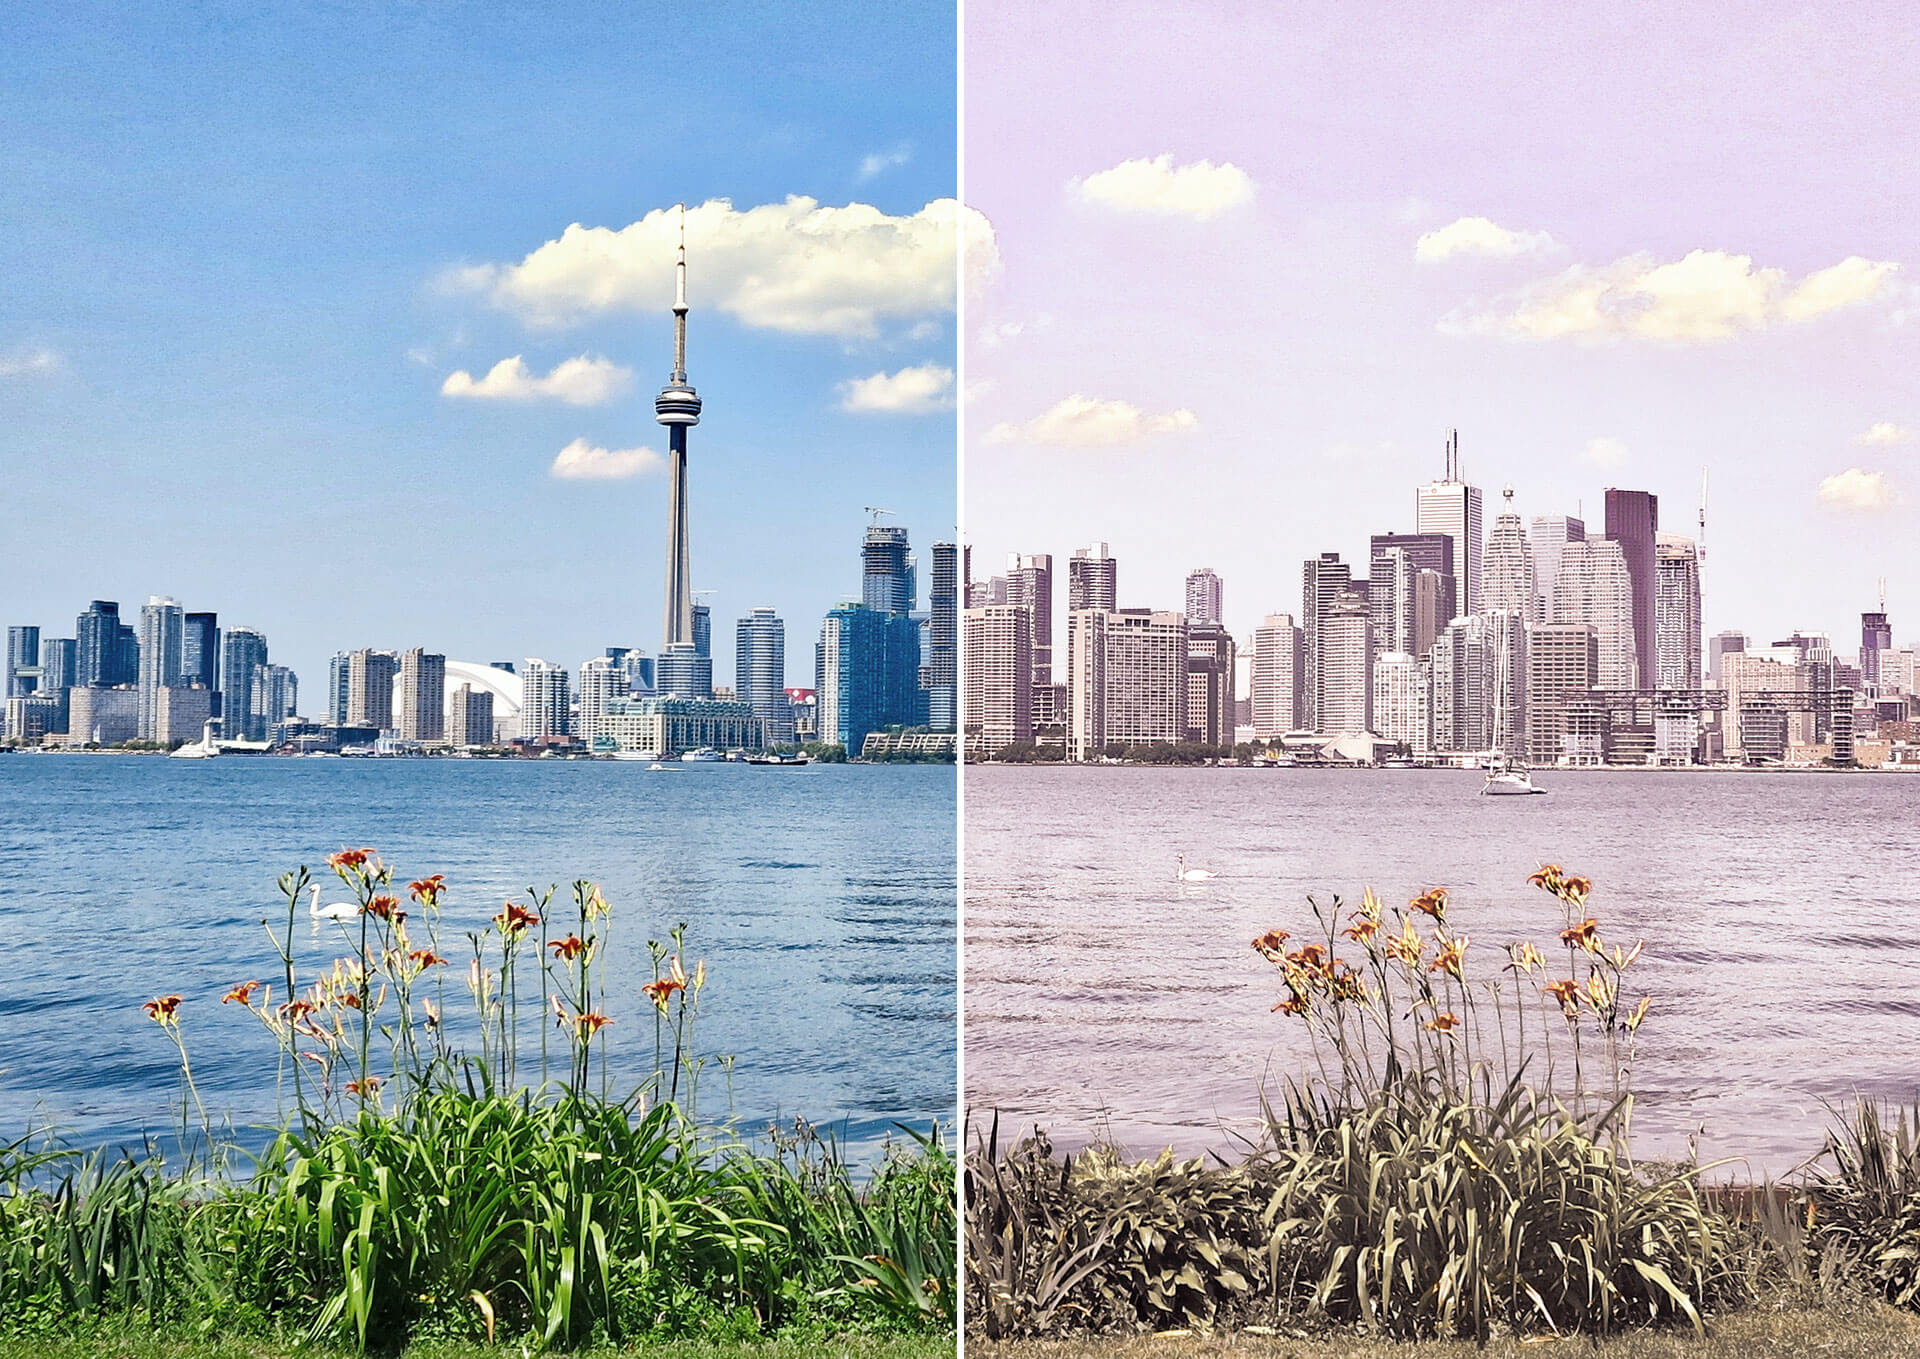
Confused by all the color correction terms and settings in your editing tool? Don’t be. There’s an easier way to look at it, and that’s by concentrating on just three things you can easily adjust and play with to beautify your photo – saturation, temperature and hue. Here are some handy tips on how each of them works and what they do.
1. Adjust the saturation to intensify colors
Maybe you already have a lot of color (hue) in your picture, but you want to make it stronger? Or perhaps you want to make the water bluer or the trees greener? Saturation allows you to change the intensity of all colors or focus only on a particular color to saturate. You’ll see it as a scale that starts at 0, and on the minus end of the scale, your images can appear more greyed and moody, and on the other, almost neon vivid.
2. Change the temperature to adapt to the mood
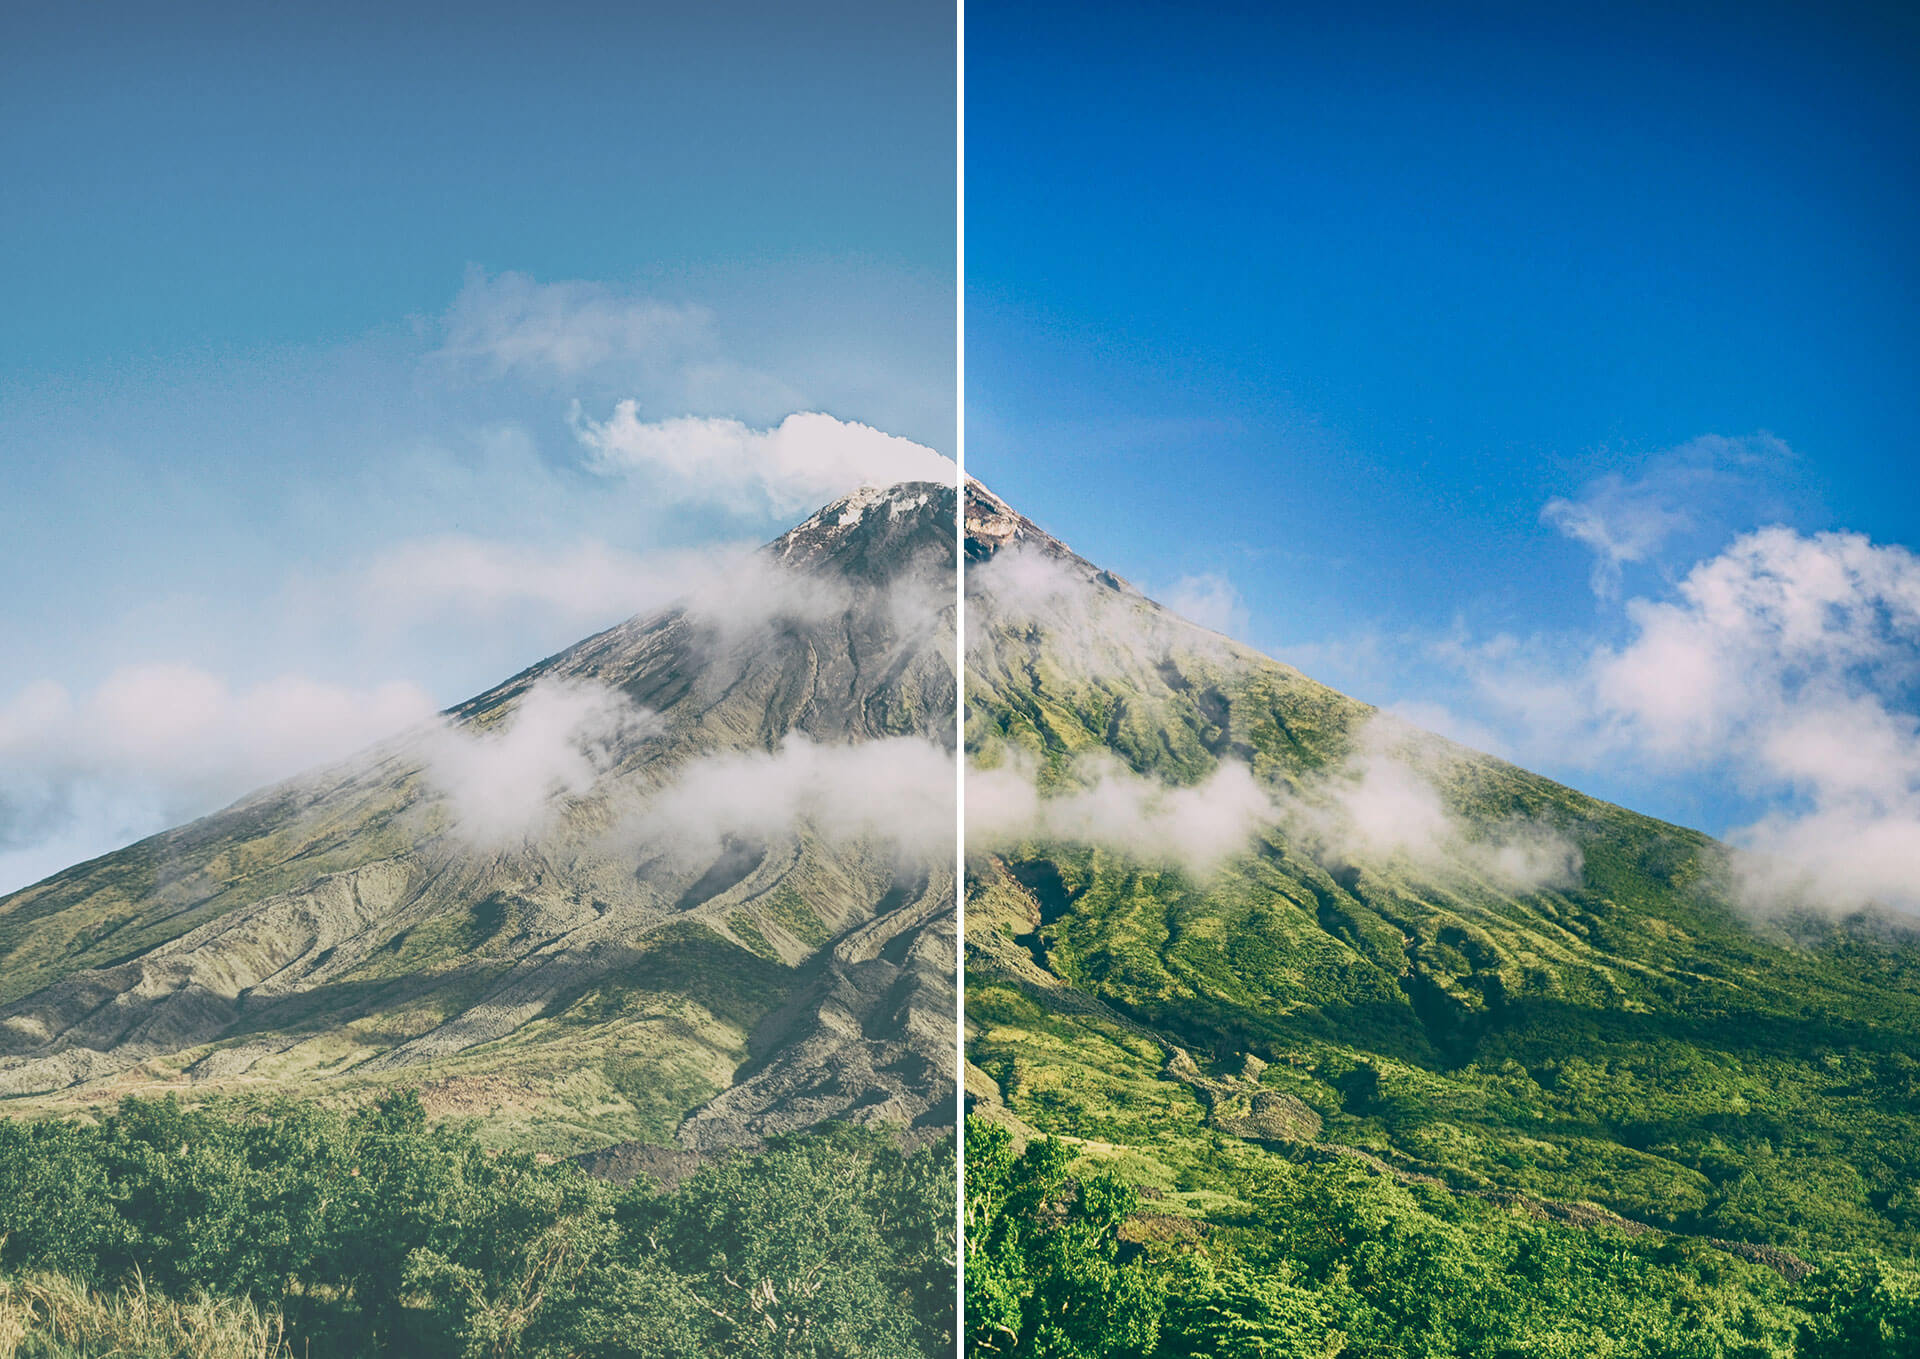
You might also want to add a happy or melancholy feeling to your photos. Think of color temperature or white balance like a light source or when choosing a light bulb. In an image editor, you’ll see it as a scale with blue at one end to adjust your image to cooler temperatures and yellow at the other to add warmth.
3. Use hue as your own personal style color wheel
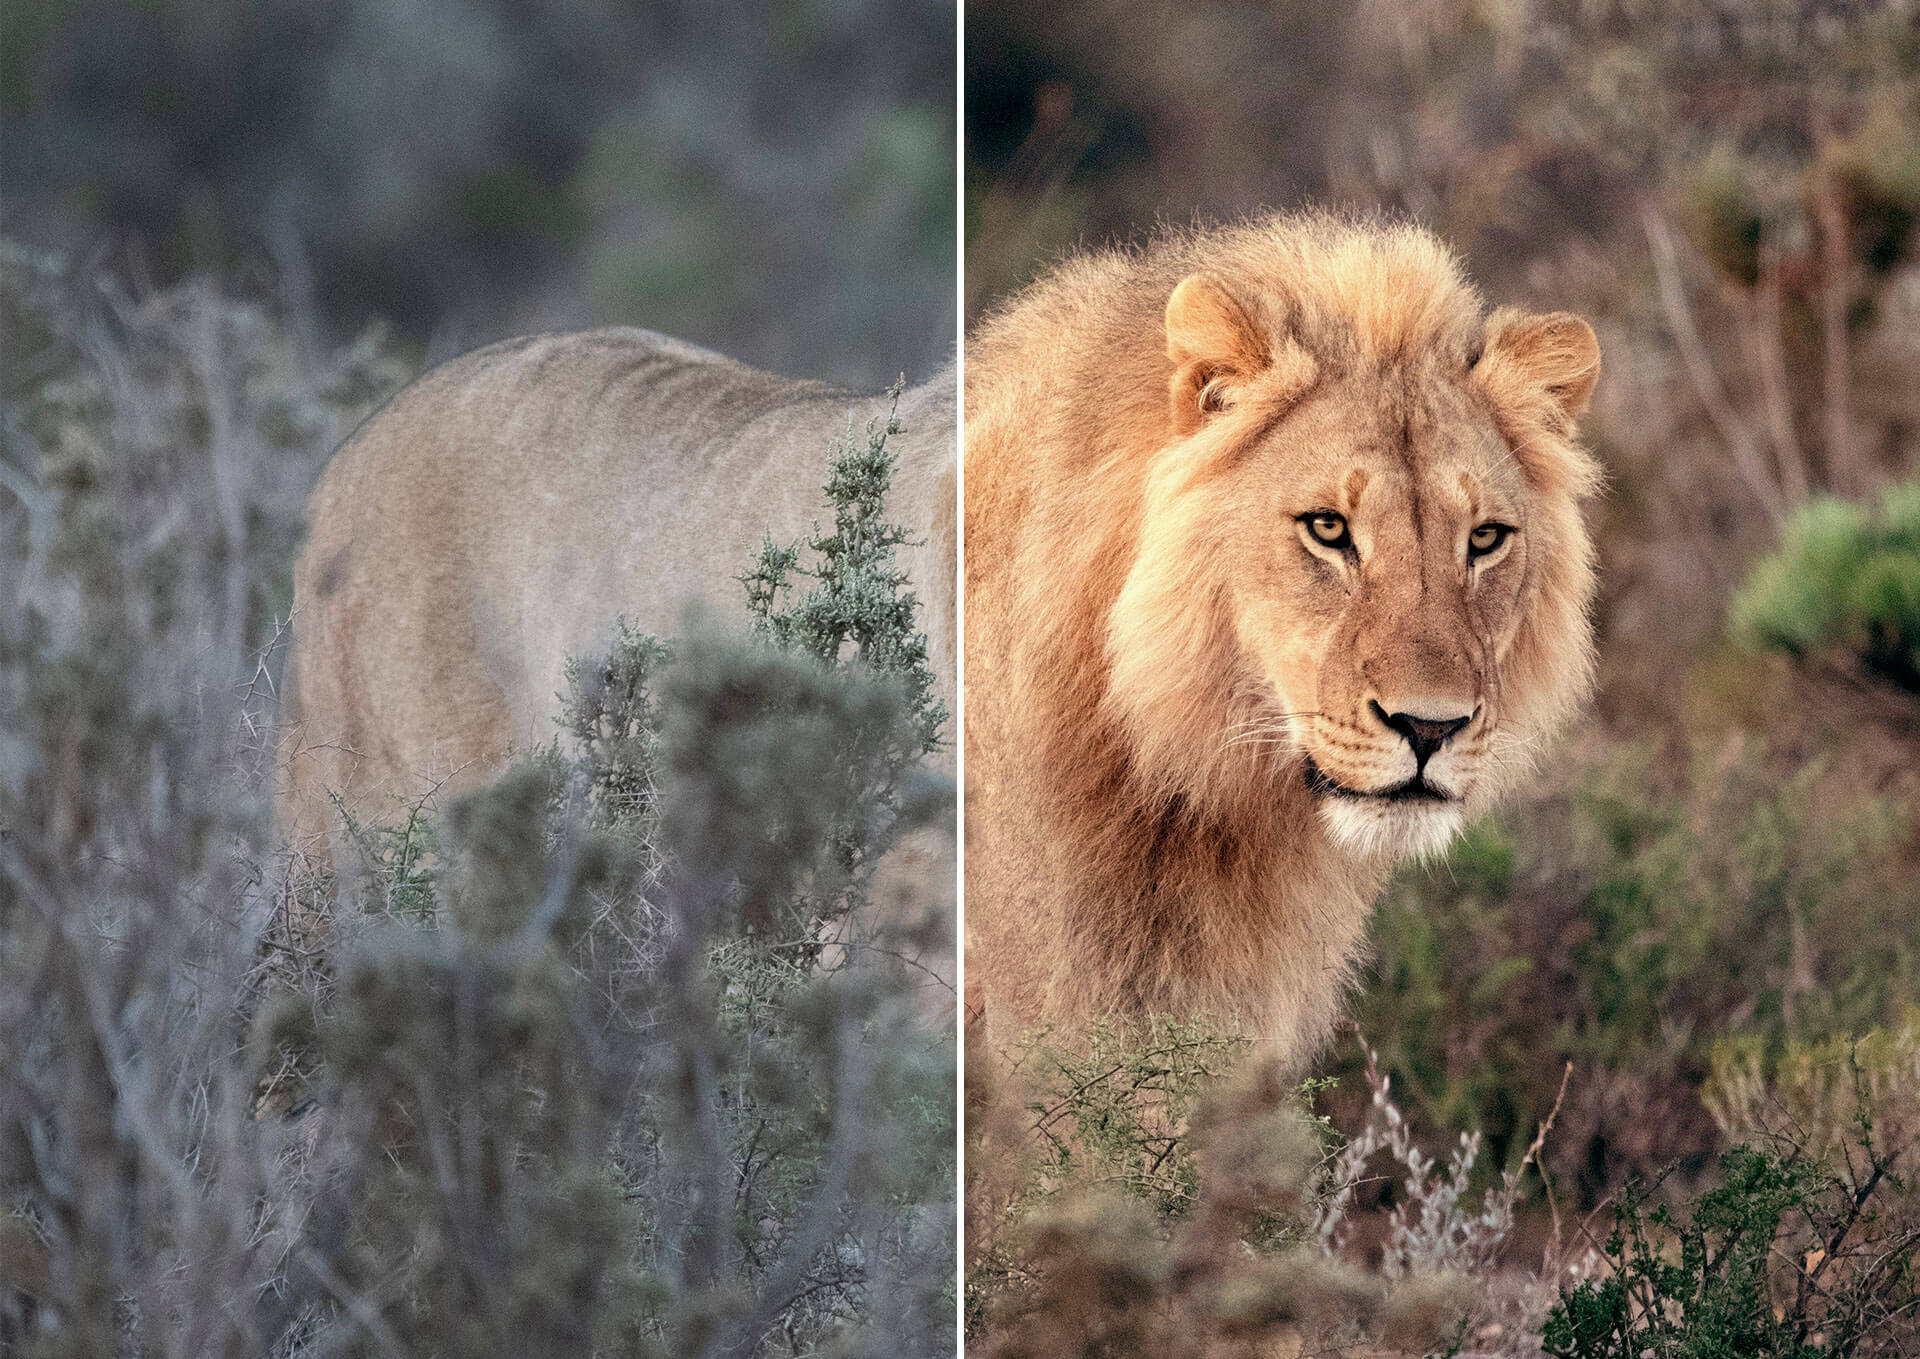
Do you want to show more of the actual colors you saw when taking the photo? Hue is the color wheel spectrum of pure pigment or color. Think of it as mixing paint using the primary colors red, blue, and yellow and the secondary colors of orange, green, and purple. With image color correction and when color grading photos, you can adjust the vibrancy of each hue. But do so one by one and scale slowly, or your image can end up being chromatically unrealistic.
Looking for extra editing hacks? Check out more of our photo editing tips and tricks.
Instant ways to master color correction in photography
It’s best to color-correct your image in daylight when the light source is optimal for fine-tuning it to a natural form. To produce a realistic-looking image, it’s important not to have artificial lighting, shadows, and reflections that can significantly affect how you edit your pictures.
When choosing an editing tool for color correction photography, Lightroom is the easier choice. But if you want to make significant improvements in just a few clicks, you can use the Auto adjustments settings in each tool.
In Photoshop, this is found under Image > Corrections and in Lightroom > Presets on the left bar.
Taking time to practice changing individual color correction aspects of an image allows you to be more precise and learn basic editing to get pictures you love and want to share. For example, it could be that you only want to color correct or color grade a person or object because you want to remove the background and insert it on another, which is easy to do with the remove.bg Android app.
Step-by-step guide: color correct image on Lightroom
Lightroom is perfect for beginners, and you’ll soon get the hang of how it works. It’s simple to import/upload images into Lightroom and easy to find the main tools you need for color correction. Saturation, temperature, and hue can all be found in the same sidebar, ready for you to perfect your photo in just a few simple steps.
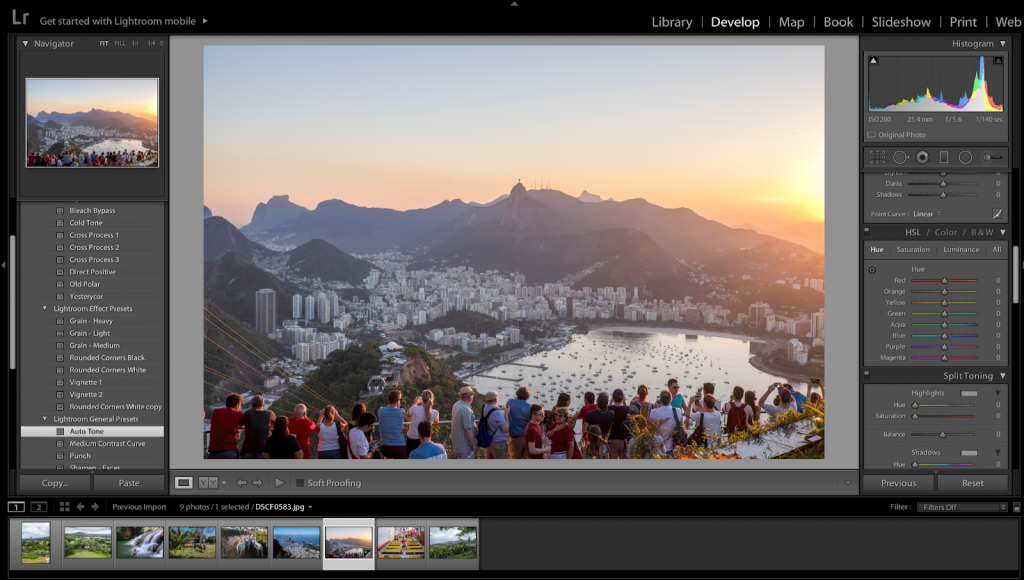
1. Open Lightroom > Library > Import in the bottom left corner. Under Source, choose an image from your files and click > Import in the bottom right. Select > Image and click Library on the top bar.
2. You are now ready to begin color-correcting your image using the tools under the Basic Panel.
3. Temperature is the first sliding bar mechanism you will see under the Custom section, set to 0. You can move towards colder and blue tones to -100 and warmer and more yellow tones to +100. Under Presence, you can quickly and easily adjust the overall saturation of all colors in the same way.
4. For precision in hue and saturation adjustments, go to the third box, labeled HSL / Color / B&W. Here, you can individually change the hue and saturation of red, orange, yellow, green, aqua, blue, purple, and magenta.
5. To save your image, select it on the bottom bar, click File > Export > save to your desired settings > Export.
Play with some of the other settings, too, like exposure, highlights, shadows, and clarity – by quickly undoing your last adjustment or resetting to your original image; Lightroom is perfect for learning.
Step-by-step guide: color correct image on Photoshop
Already familiar with digital editing tools and want to experiment how to color correct an image in a more detailed way? Photoshop is a much more advanced tool, but it doesn’t mean its basic settings and features are off-limits to beginners. Here are two ways to approach editing your image in Photoshop for both quick edits and a first step in learning about its unique features.
Option 1: Quick adjustments.
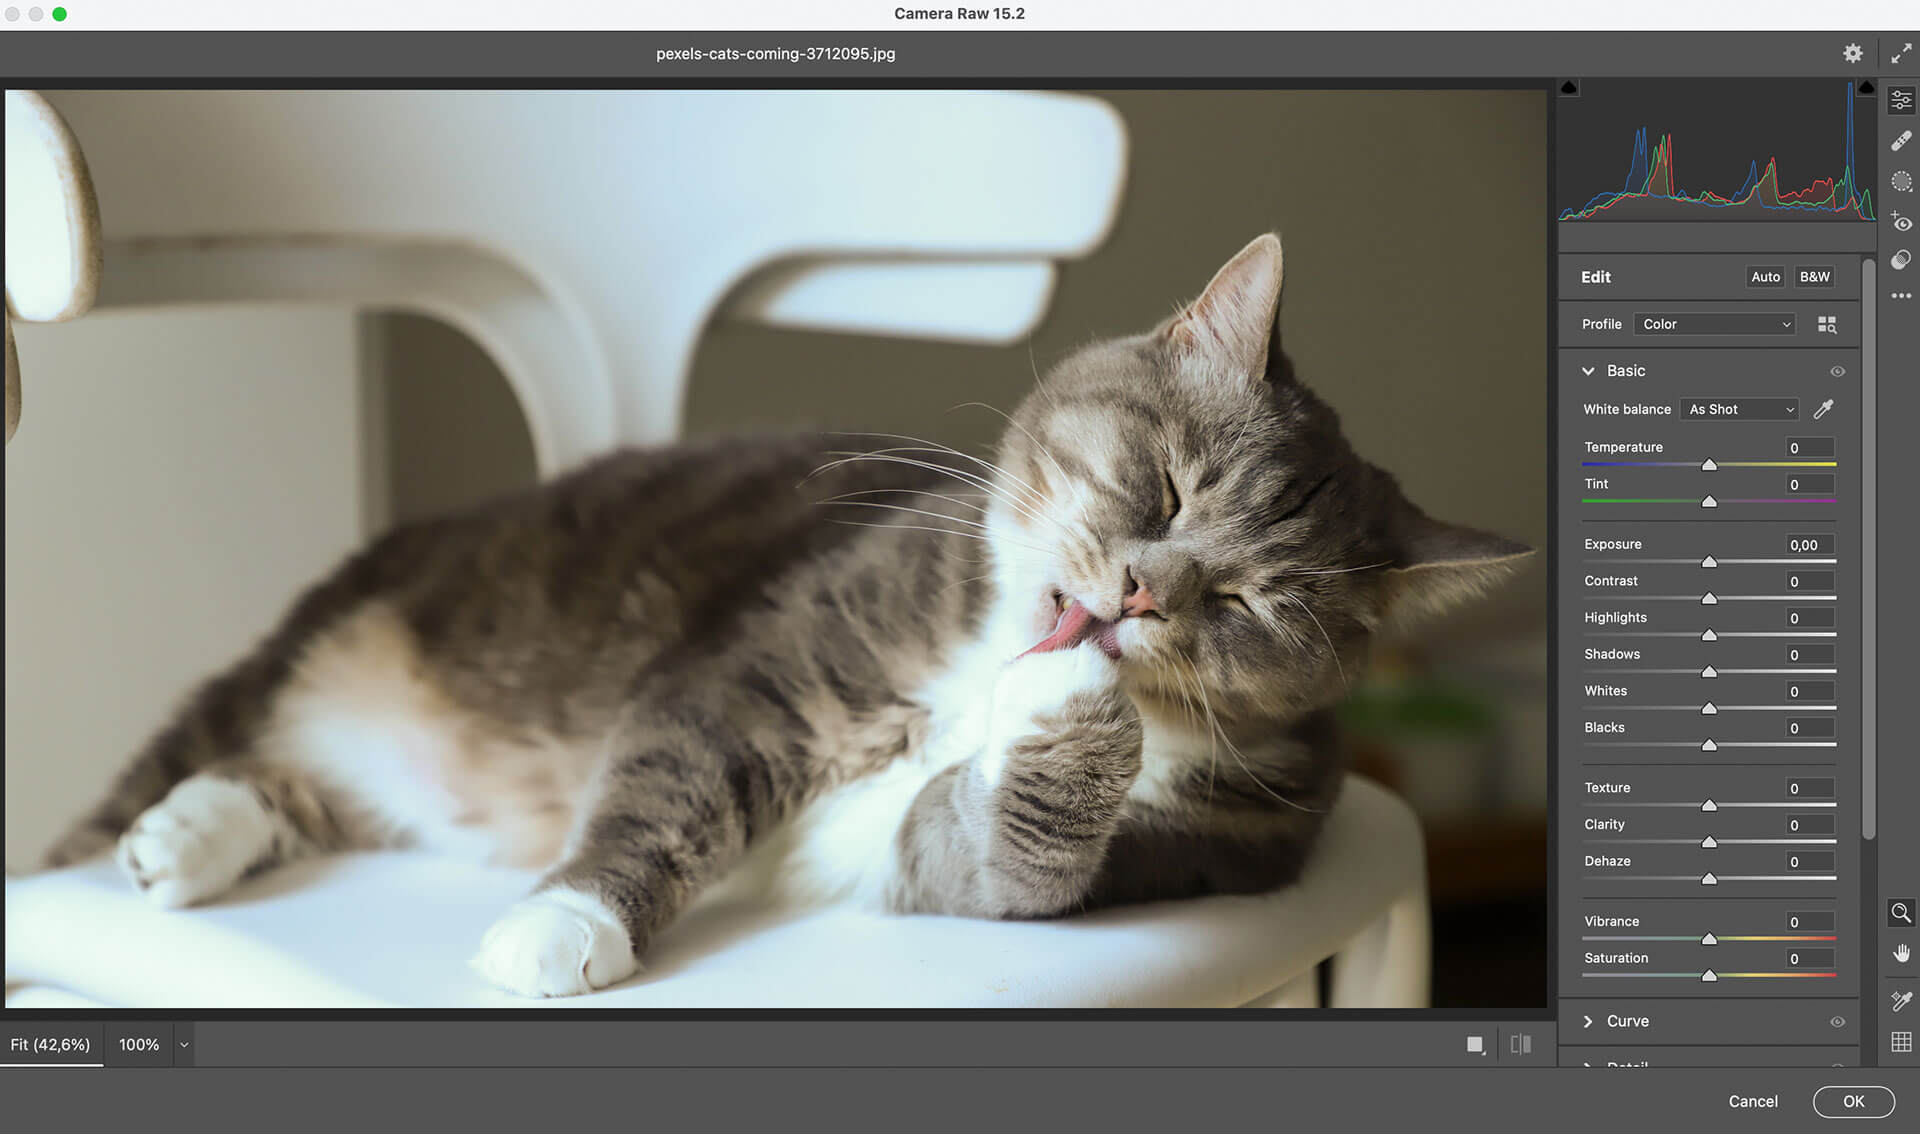
1. Open Photoshop > Filter > Camera-Raw Filter. The image will appear ready for editing using the toolbar that appears on the right side.
2. You will find a sliding temperature bar to adapt between cool blues to warm yellows and, further down, a saturation bar to change the vibrancy of all colors present in the image.
3. Under the Color Mixer tab, you will find the slider bars for hue and luminance to individually change the red, orange, yellow, green, aqua, blue, purple and magenta shades.
4. To save your image within Photoshop to edit again later, click File > Save. To save your image into a file on your device, click File > Export, save as desired file type like a JPEG > Export.
Option 2: More precise adjustments.
1. Open Photoshop > Open > Choose an image from your files. The image will appear ready for editing using the toolbar that appears on the right side.
2. Click Image on the top bar > Correction > Hue and Saturation. Here you will find a sliding bar to adapt the color grading of your image.
3. For temperature, go to Correction > Photo Filter, where you will find a selection of colder blue to green tones and warm yellows, but listed as individually named filters and tints you can choose.
4. To save to a file, click File > Export, save as desired file type like a JPEG, and rename it not to overwrite your original RAW file > Export.
As a beginner, it can be easy to find yourself lost in the maze of Photoshop. But when using the basic settings described above, you can experiment with some of the other sliding bar features that change exposure, sharpness, and shadows or use our Photoshop plugin.
Ready to color-correct and revive your photos?
It just takes a few simple steps to get your image bursting with color the way you remember first seeing the object, landscape, or person you were photographing. By following our handy tips, you’ll have a vibrant image in minutes.
Want to improve even more? Check out this article:
Tips & Ideas
8 Tricks to Optimize your Photoshop Workflow
Comments
No comments so far.