High school coming to an end? Here’s a way to keep those fond memories alive even as you prepare for college: with a great yearbook and clean, professional shots for your yearbook photos. If you’re wondering how to take a yearbook photo at home or just how to take a good school photo in general, this article is for you.

Sadržaj
Best practices for how to take yearbook photos
Whether you’re the one responsible for taking the photos or handing them to your school yearbook committee, there are a few steps you can take to get great school photos in general. If you don’t have an expensive camera or studio equipment, don’t worry — a regular smartphone works just fine for capturing high-quality shots.
Here are a few tips and tricks for creating the school yearbook photos of your dreams.
Find the right lighting
School photos have gotten (way) more relaxed over time, so taking them both indoors or outdoors makes great shots.
If you’re taking your school photos outdoors, golden hour is your best bet for a flattering natural light: this could be a few hours after sunrise or before sunset. But in case you’ve landed in Tim Burton land and are having a cloudy day outside, this can make for great (even dramatic, Instagram-worthy) yearbook photos too.
If you’ve gotten lucky with the weather, just make sure the sun isn’t directly overhead, or you’ll end up squinting and with unflattering shadows on your face. Likewise, if the sun is directly behind you, you’re going to end up looking like a ghostly silhouette instead.
Rather, aim for sunlight from the side, and preferably with it blocked by another object (like a building or one of your school basketball team players).
Here’s an example of an ideal sunny outdoors shot:

Why does this make a great yearbook photo? Well, for starters, the girl getting photographed looks relaxed, authentic, and 100% comfortable in the moment. The image also has a gorgeous background, which doesn’t draw attention away from her, the photo's subject.
If you’re taking school photos indoors, ditch the tube lights and find an open window. If this natural light is too harsh, you can hang a sheet of white paper over the window to soften it. Just like the outdoors example, try and let the natural lighting fall to your side rather than directly overhead or behind you.
Here’s an example of a great indoors school photo:

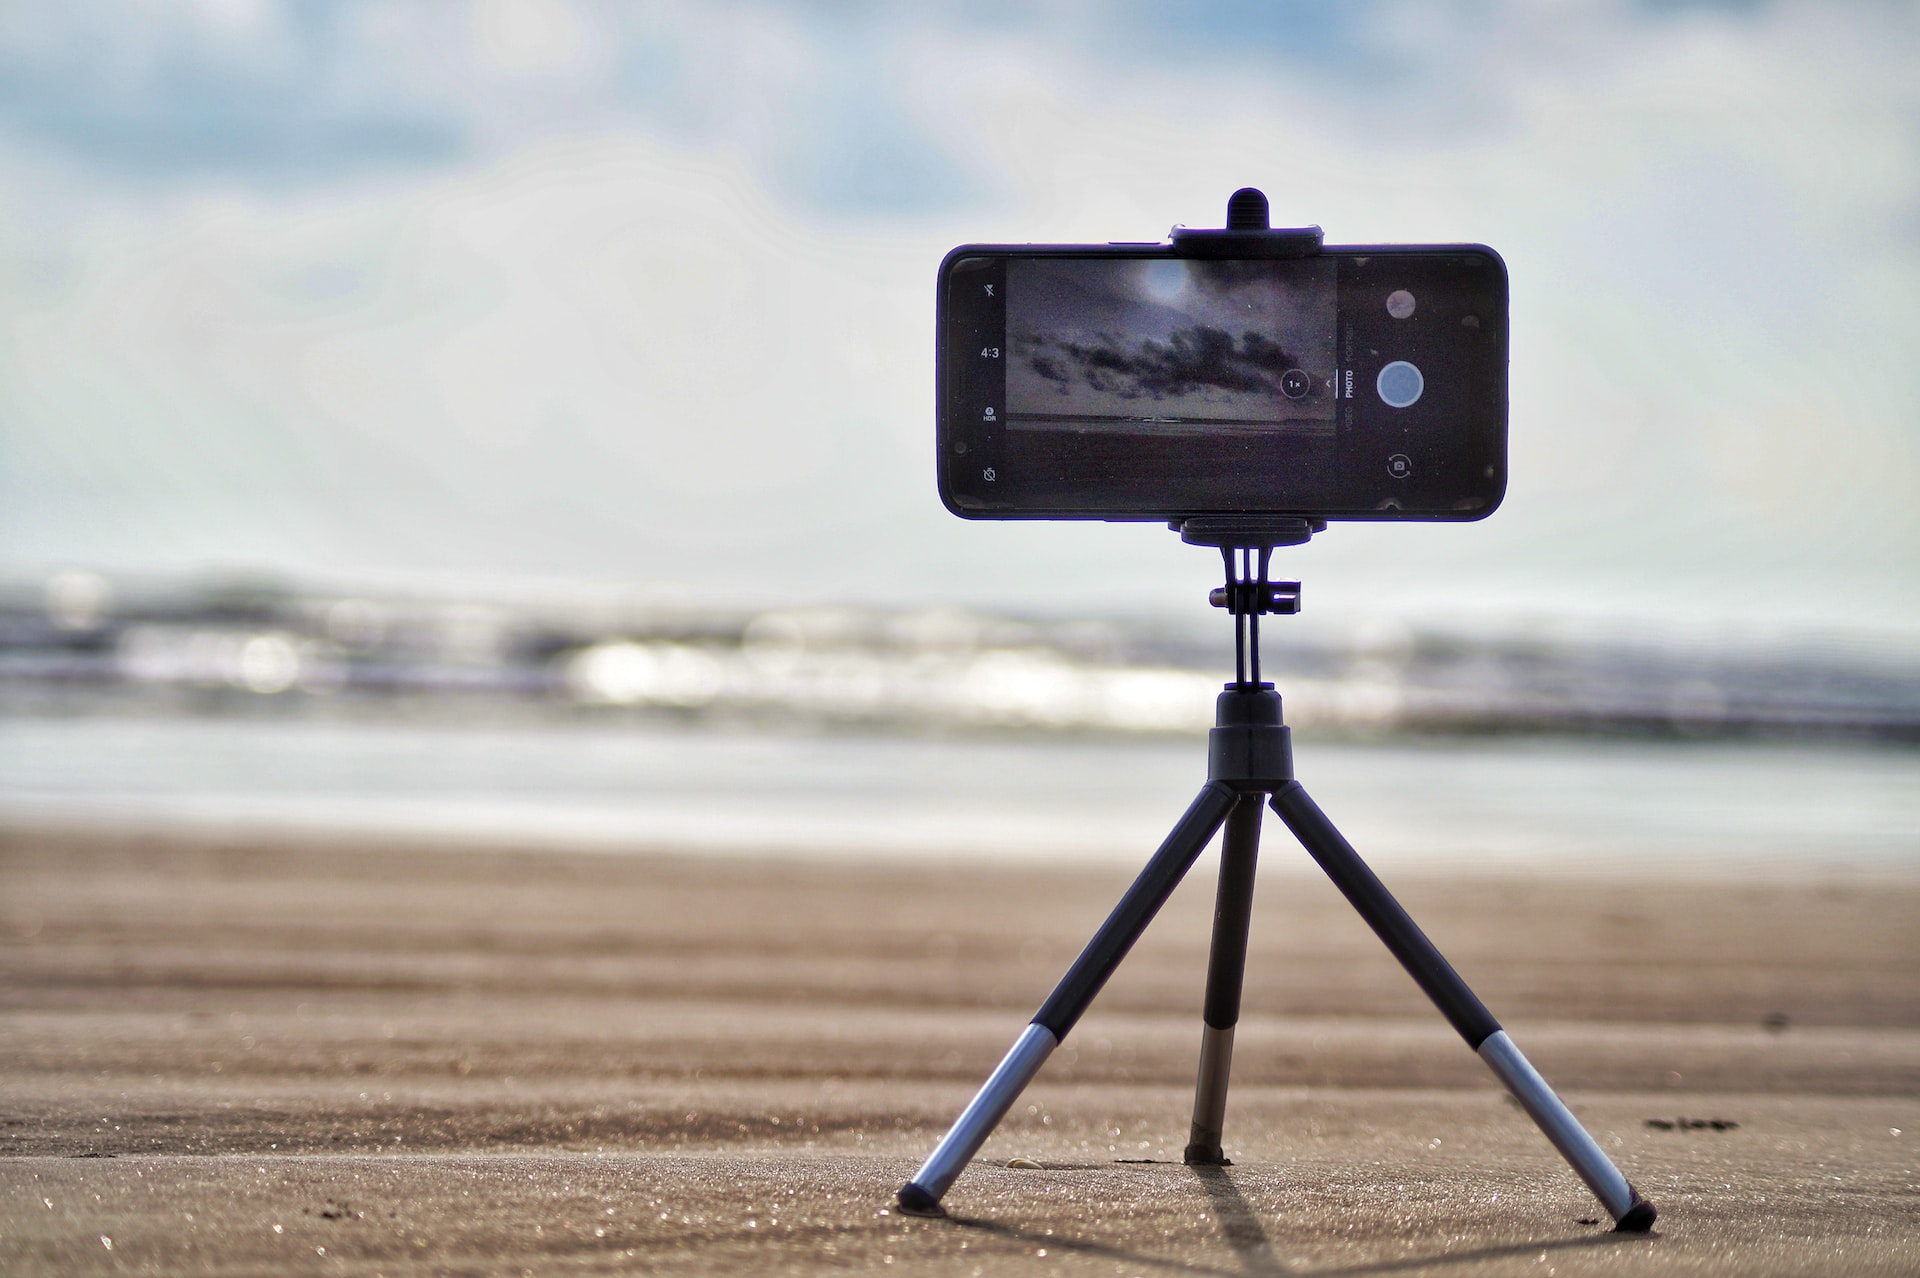
Use a tripod
Even the best professional photographers occasionally get blurry, unfocused shots from weird angles: it’s why many of them invest in shooting photos with a tripod, which keeps your pictures clear, focused, and sharp. It also ensures your photos get the right angles for everyone getting photographed and that your focus is steady.
We highly recommend using a tripod for steady, clear yearbook photos: taking tons of pictures per day can get pretty tiring for everyone involved, but a tripod is a reliable investment in the long term for clean, professional shots.
Keep a bit of distance
We’ve all laughed at at least one meme or image of an extreme close-up — but for a great yearbook photo, you’re better off keeping a bit of distance between camera and subject. Some schools even include strict requirements for head and shoulders only for yearbook photos, which will also need a comfortable distance.
It’s helpful to find a balance here: too close, and the resulting shot might be more appropriate for group chats with your besties than a school photo. Too far, you’re going to have to wonder how to hide those Pokémon posters on your bedroom wall.
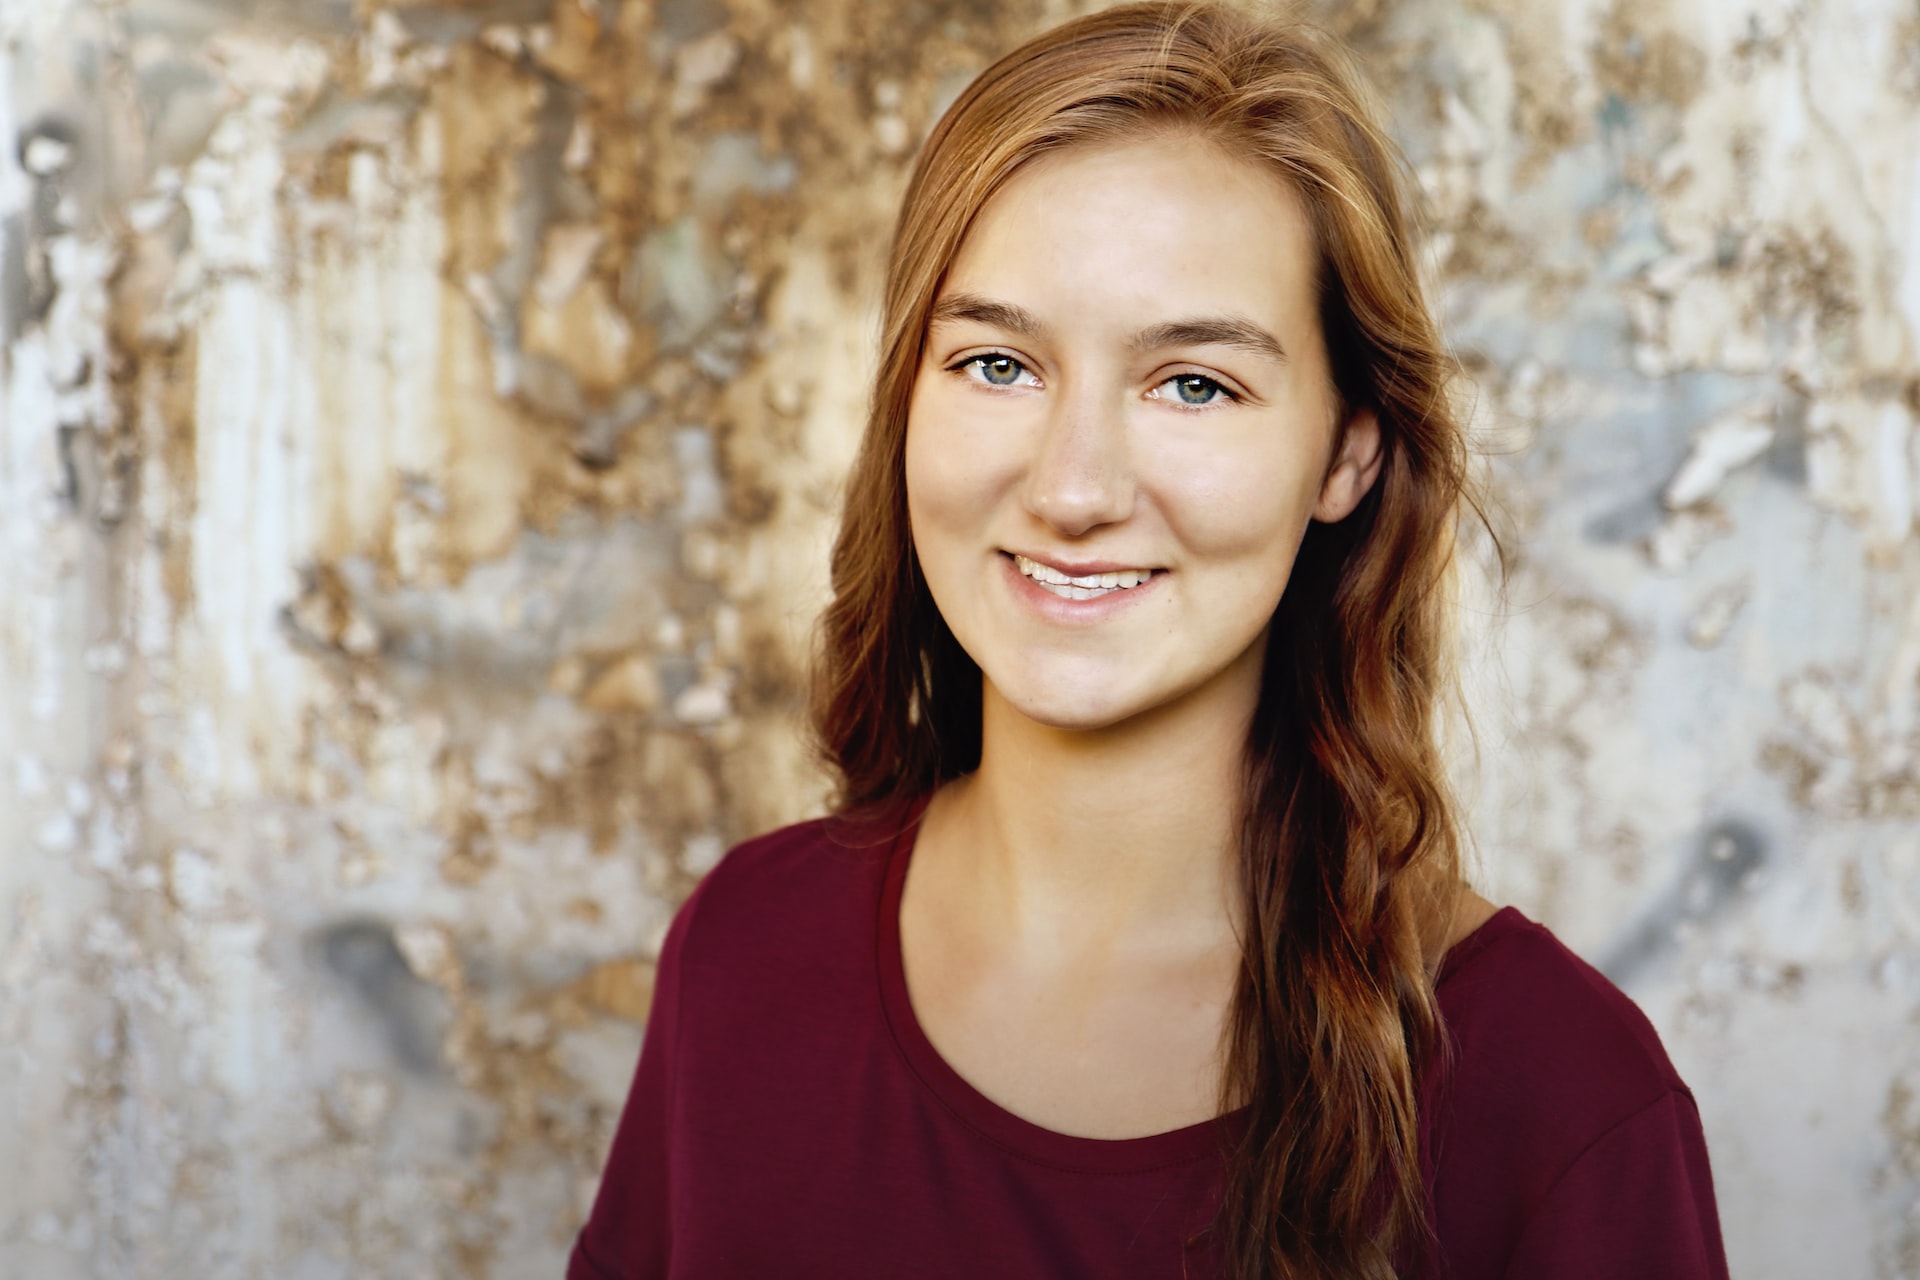
We recommend keeping a distance of around 4-5 feet away to get a good shot. This keeps your subject comfortably in place within the photo and balances the image between subject and background. Here’s an example that gets it right:

Shoot at an angle
Standing with your arms at your side and facing the camera head-on makes for a great shot if you’re planning on joining the military or getting a mugshot. It also tends to make you stiffen up and stand unnaturally, which doesn’t make for great yearbook photos (or any photos, in general.)
We recommend turning to one side at around a 45-degree angle. If you can’t decide which side suits you best, just whip out your phone and turn on selfie mode: the side you turn your face when taking a selfie is what you subconsciously think is the one that suits you better.
How to take a yearbook photo at home
School photoshoot canceled? No problem. There are plenty of ways you can DIY your yearbook photo at home, either by yourself or with a little help from your loved ones.
Along with following the tips from before, here are a few extra steps you can take for taking school photos without a professional photographer or a studio.
Get someone you know to take your photo
There’s a reason why the best professional photographers take the time to really get to know you before they get to work: they’re trying to help you relax, breathe, and interact with them naturally as you might with a friend or someone you know and trust.
As we’ve mentioned, stiffening up doesn’t make for great photos. To this, we’d also like to add that taking a selfie won’t likely pass for a great yearbook photo either.
Here’s our recommendation in case investing in a professional photographer isn’t in your budget: get a friend or a family member to photograph you instead. When we’re with friends and loved ones, we tend to feel more relaxed, and our body language is much more natural.
So it’s possible that when they’re the ones taking your photo, you’re more likely to loosen up and be more comfortable having your photograph taken than with someone you don’t know.

Find the right background
Imagine finding the proper lighting, standing at a flattering angle, getting a lovely, natural photograph of you taken for your school yearbook and you get asked to take another one because something in the background doesn’t look right.
Taking a yearbook photo at home comes with challenges, but finding the right background is probably the most important one. It’s why professional photographers and studios tend to use backgrounds on the blander side: white, beige, and other neutral colors, so that the person getting photographed stands out more.
Luckily, there are a few options for helping you with finding a proper background for your school photos:
Find an open piece of wall or a neutral-colored blank space for your photo. Make sure to remove any hanging images.
Hang up a (ginormous) sheet of white paper behind you (it’s tempting to use a white bedsheet, but trust us, paper tends not to wrinkle or crease.)
Edit out those wall hangings and fairy lights with Canva, Photoshop or Lightroom.
Use remove.bg to remove the image background in just two simple steps and replace it with another one (you can also check out more options on Designify).
In case you’re strapped for time, we highly recommend testing out remove.bg and Designify as your options for getting this step right. Next, let’s explore how you can get this done.
How to take school photos with remove.bg
remove.bg is an online tool for quickly and easily removing image backgrounds — 100% automatically and for free. Here’s an example so you can see it in action for yourself:

1. Drag and drop or upload your image to remove.bg.
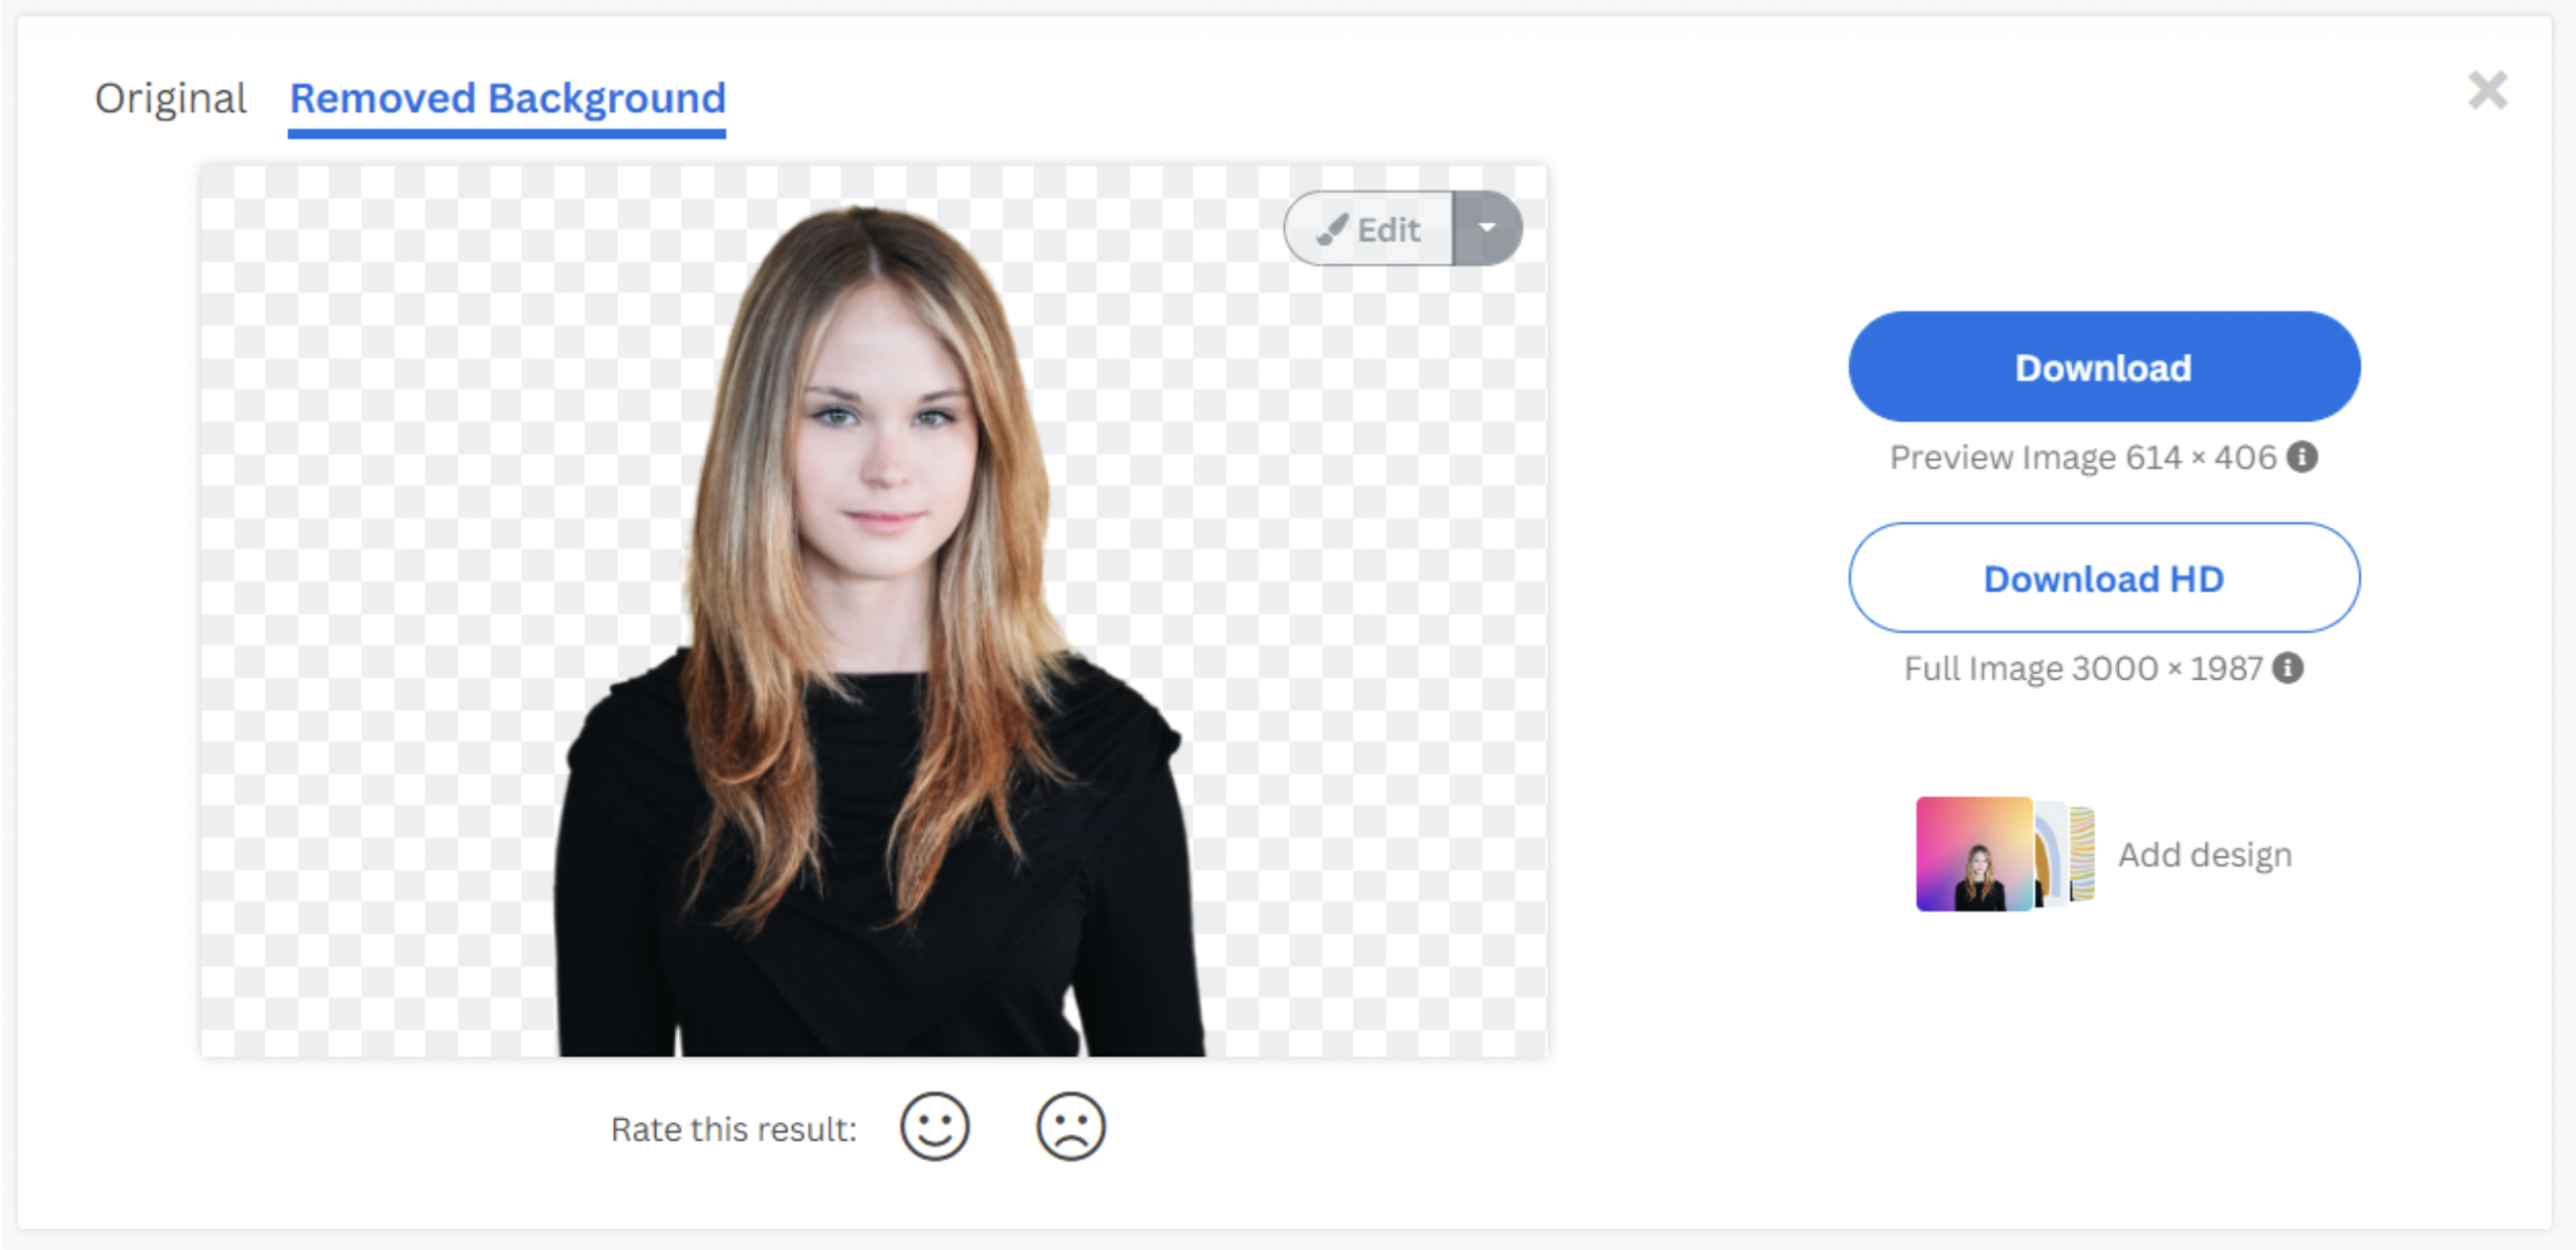
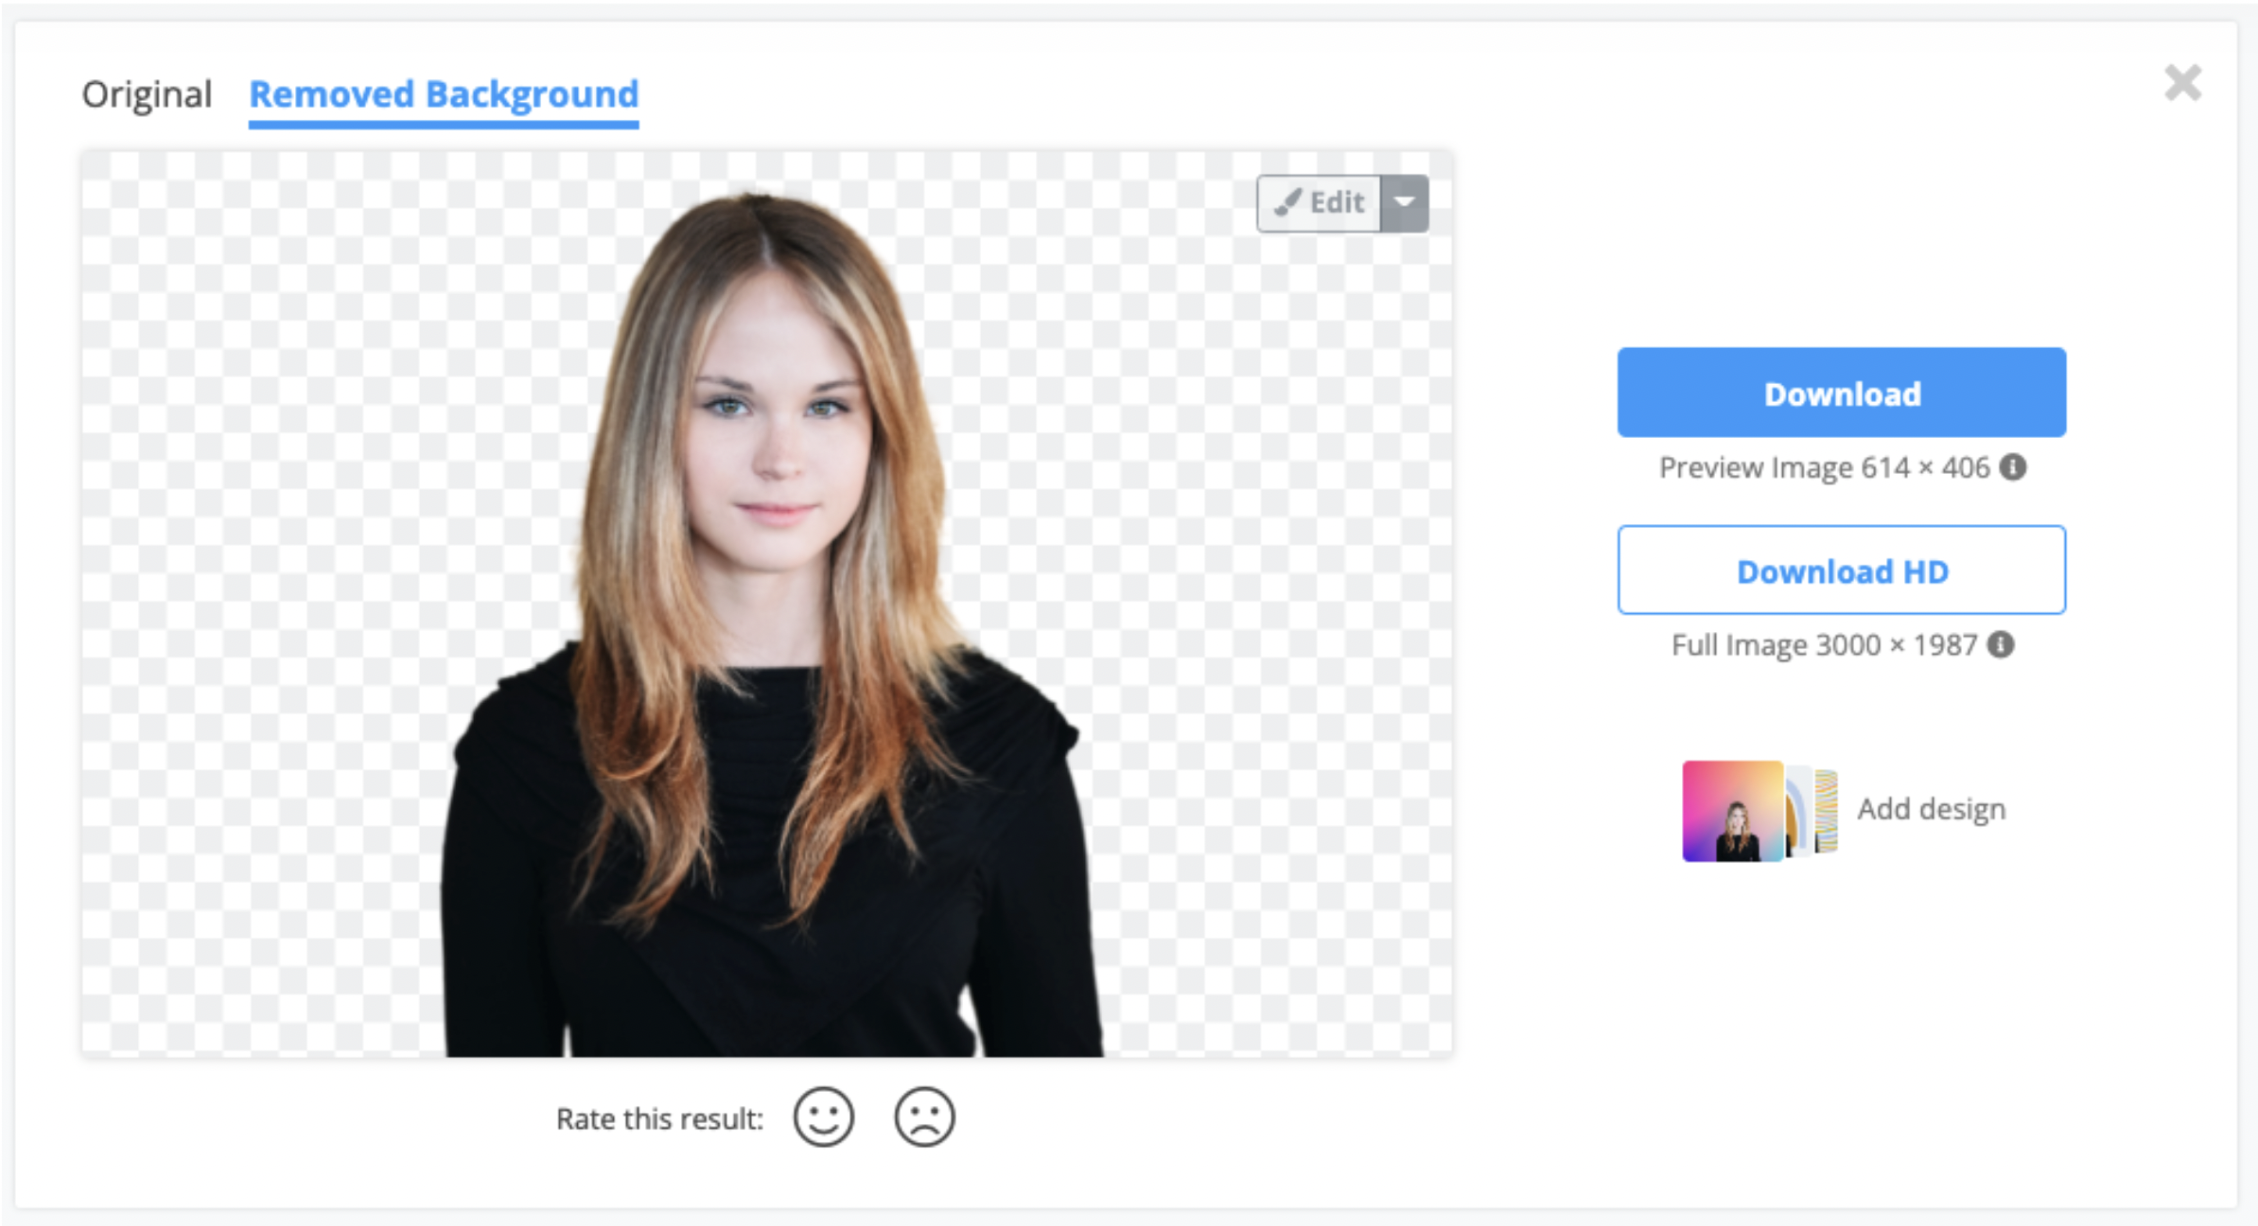
2. Wait around 5 seconds for your new transparent background.
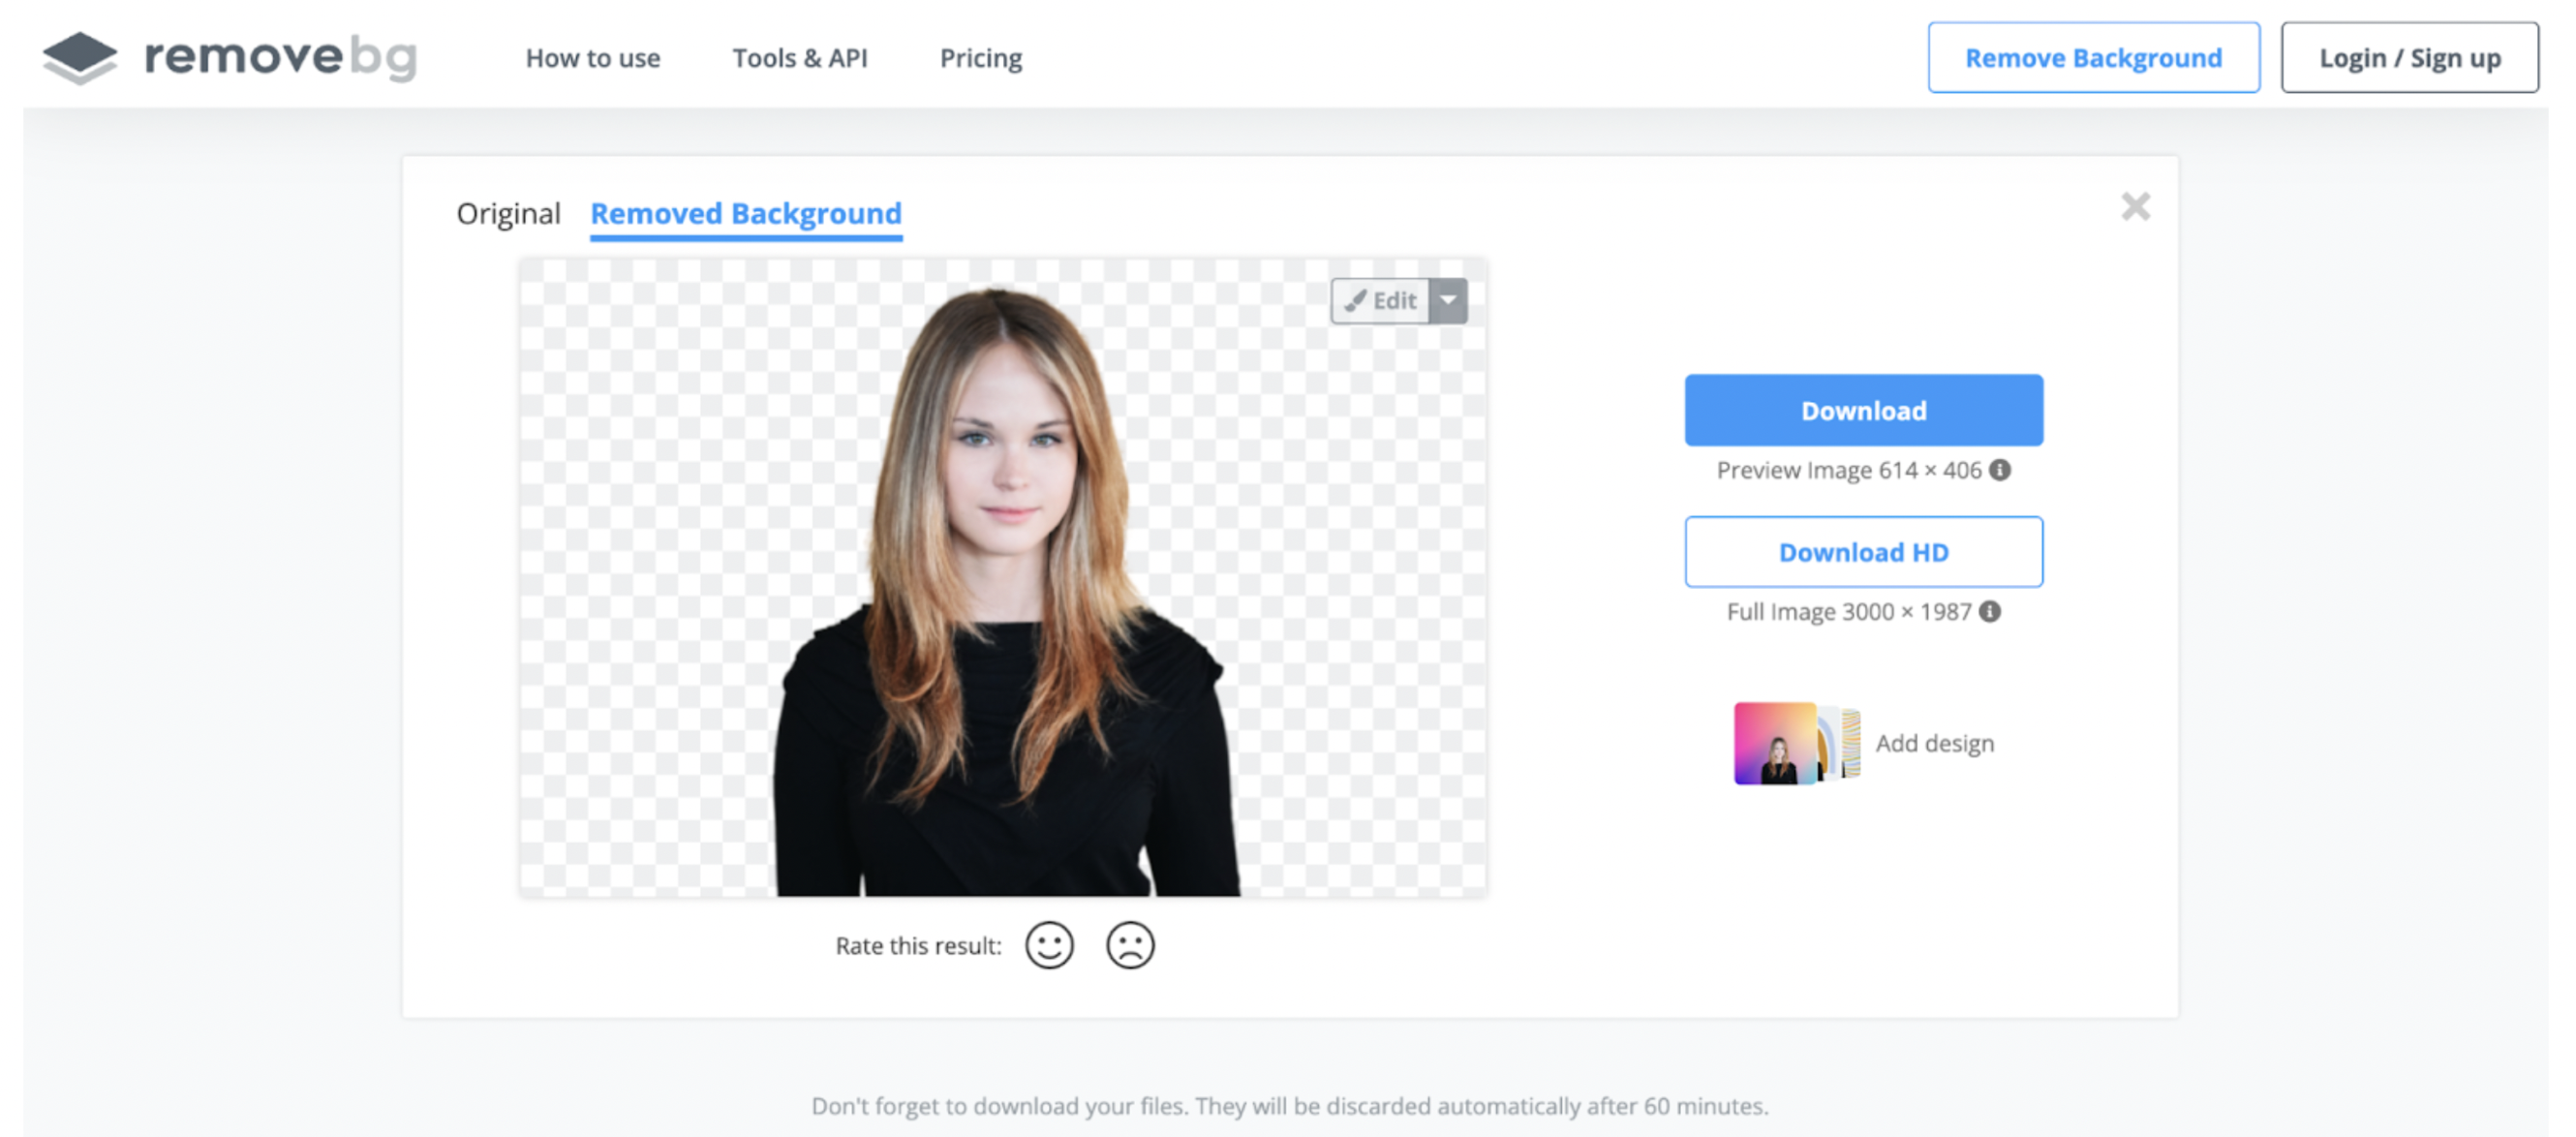
3. Here’s your new school photo with a transparent background, not a strand edited out of your new hairdo.

4. If you want to add a simple image background, hit > Edit.
5. Pick a background from the options.
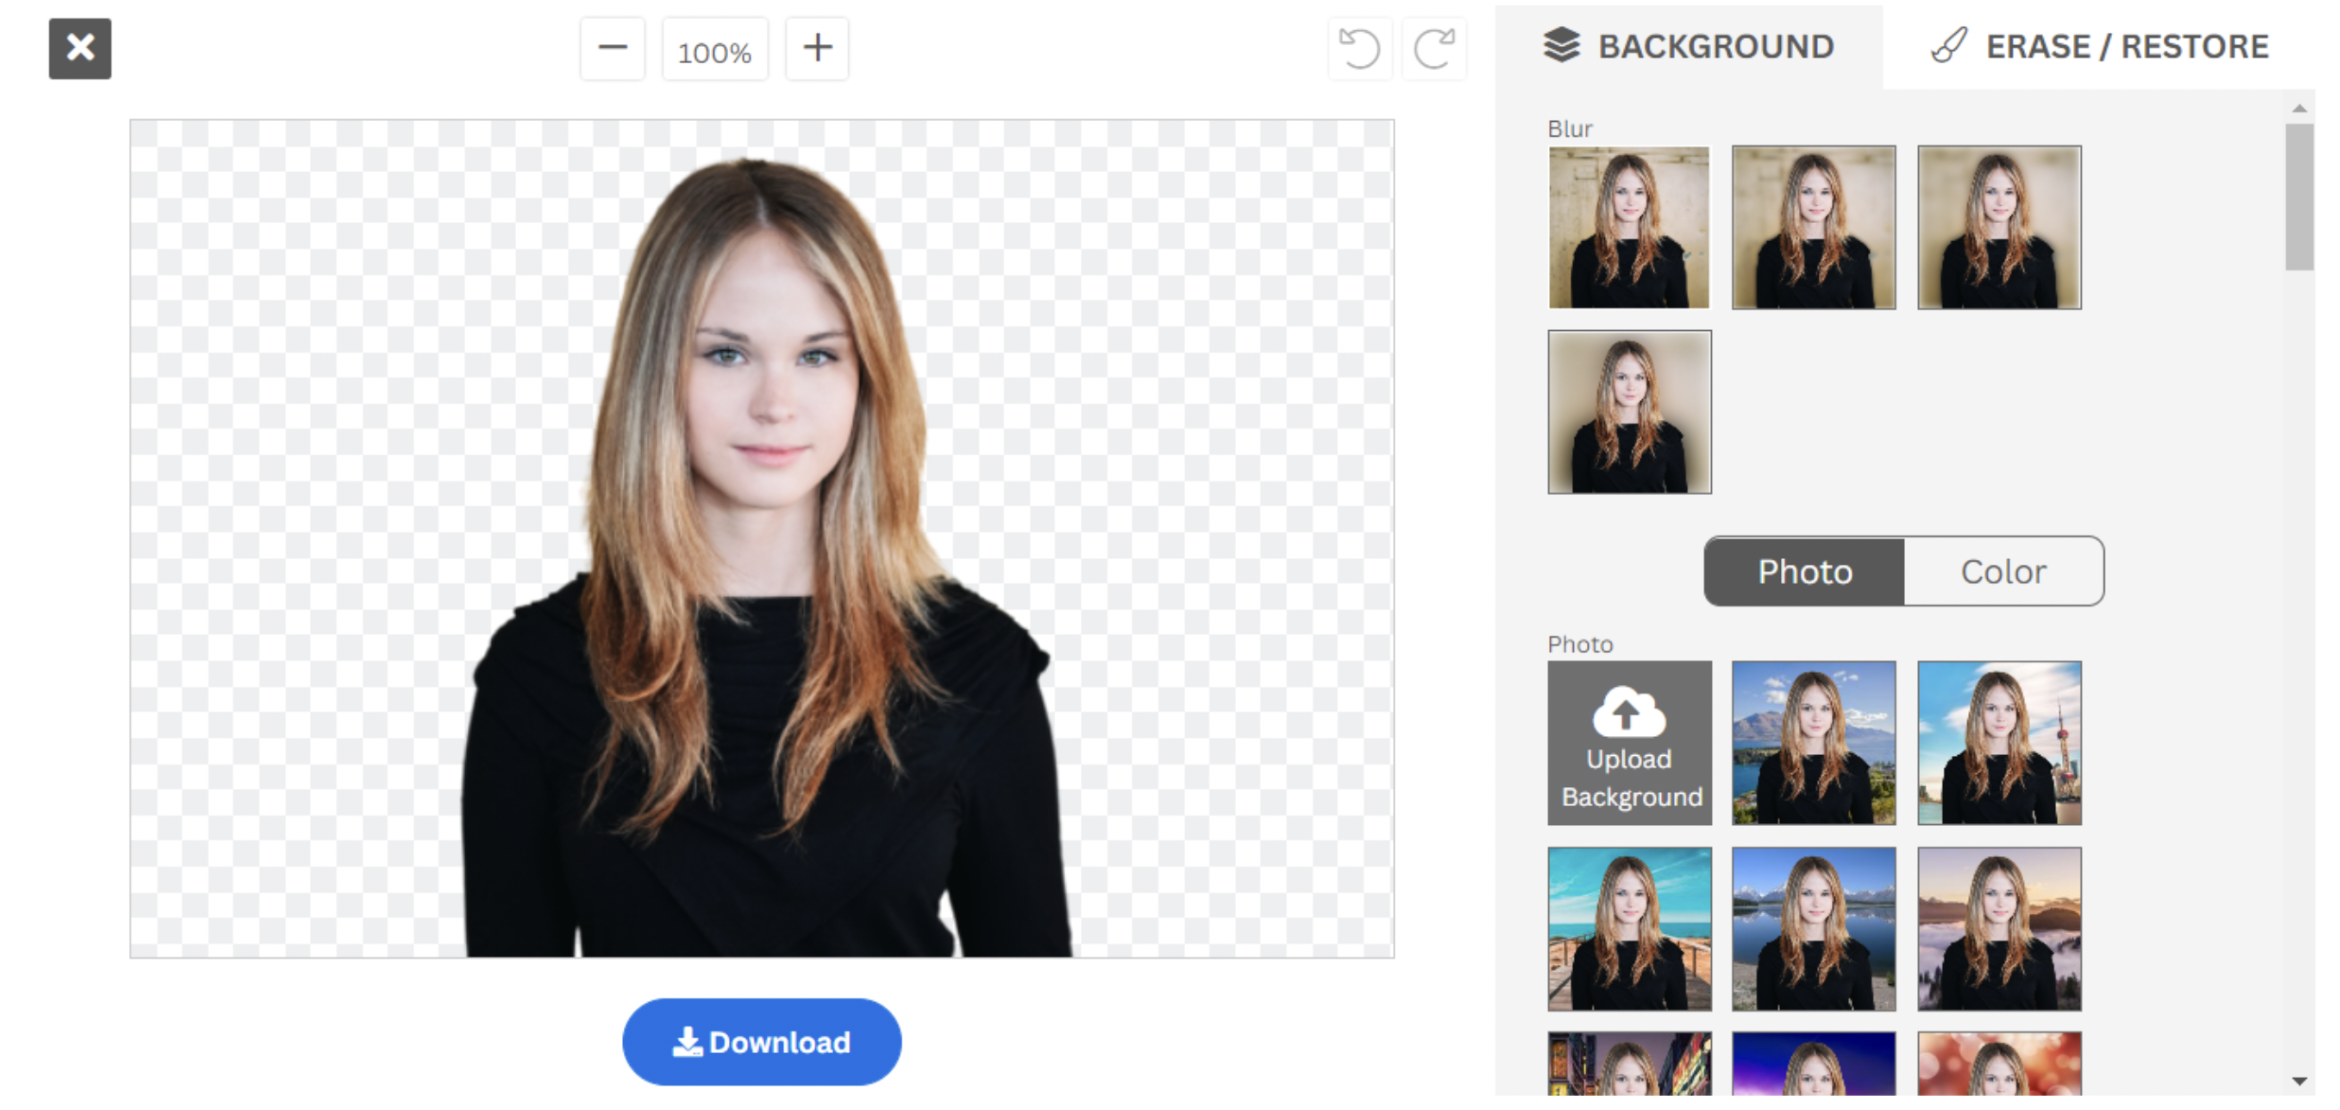
remove.bg gives you a whole bunch of background options for your school photos. For example, you can:
Blur the background without any change to image sharpness or quality.
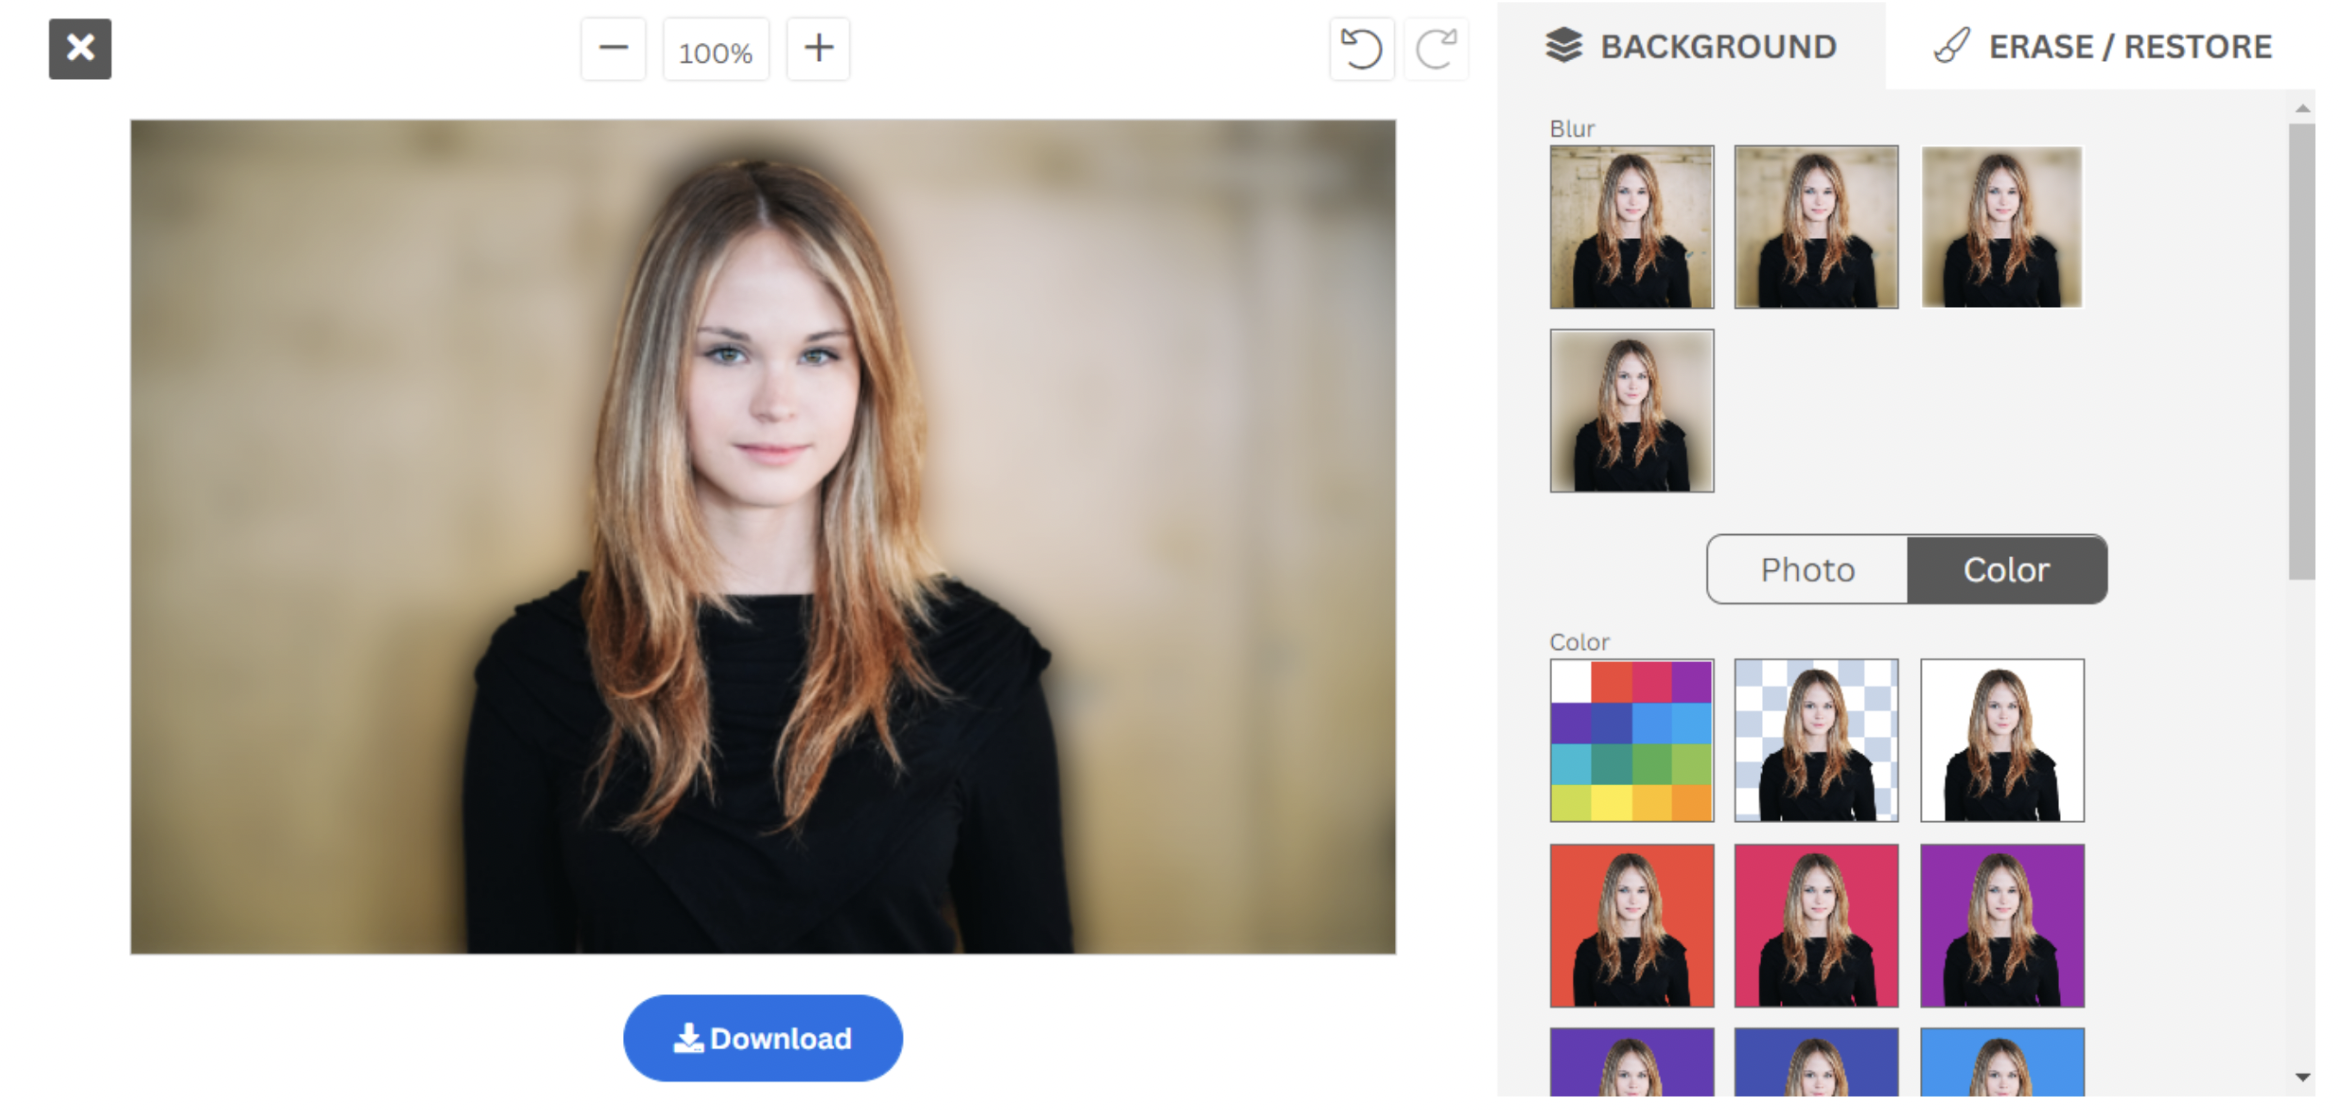
Upload a photo from your device for a background (and blur it with remove.bg, if you’d like.)
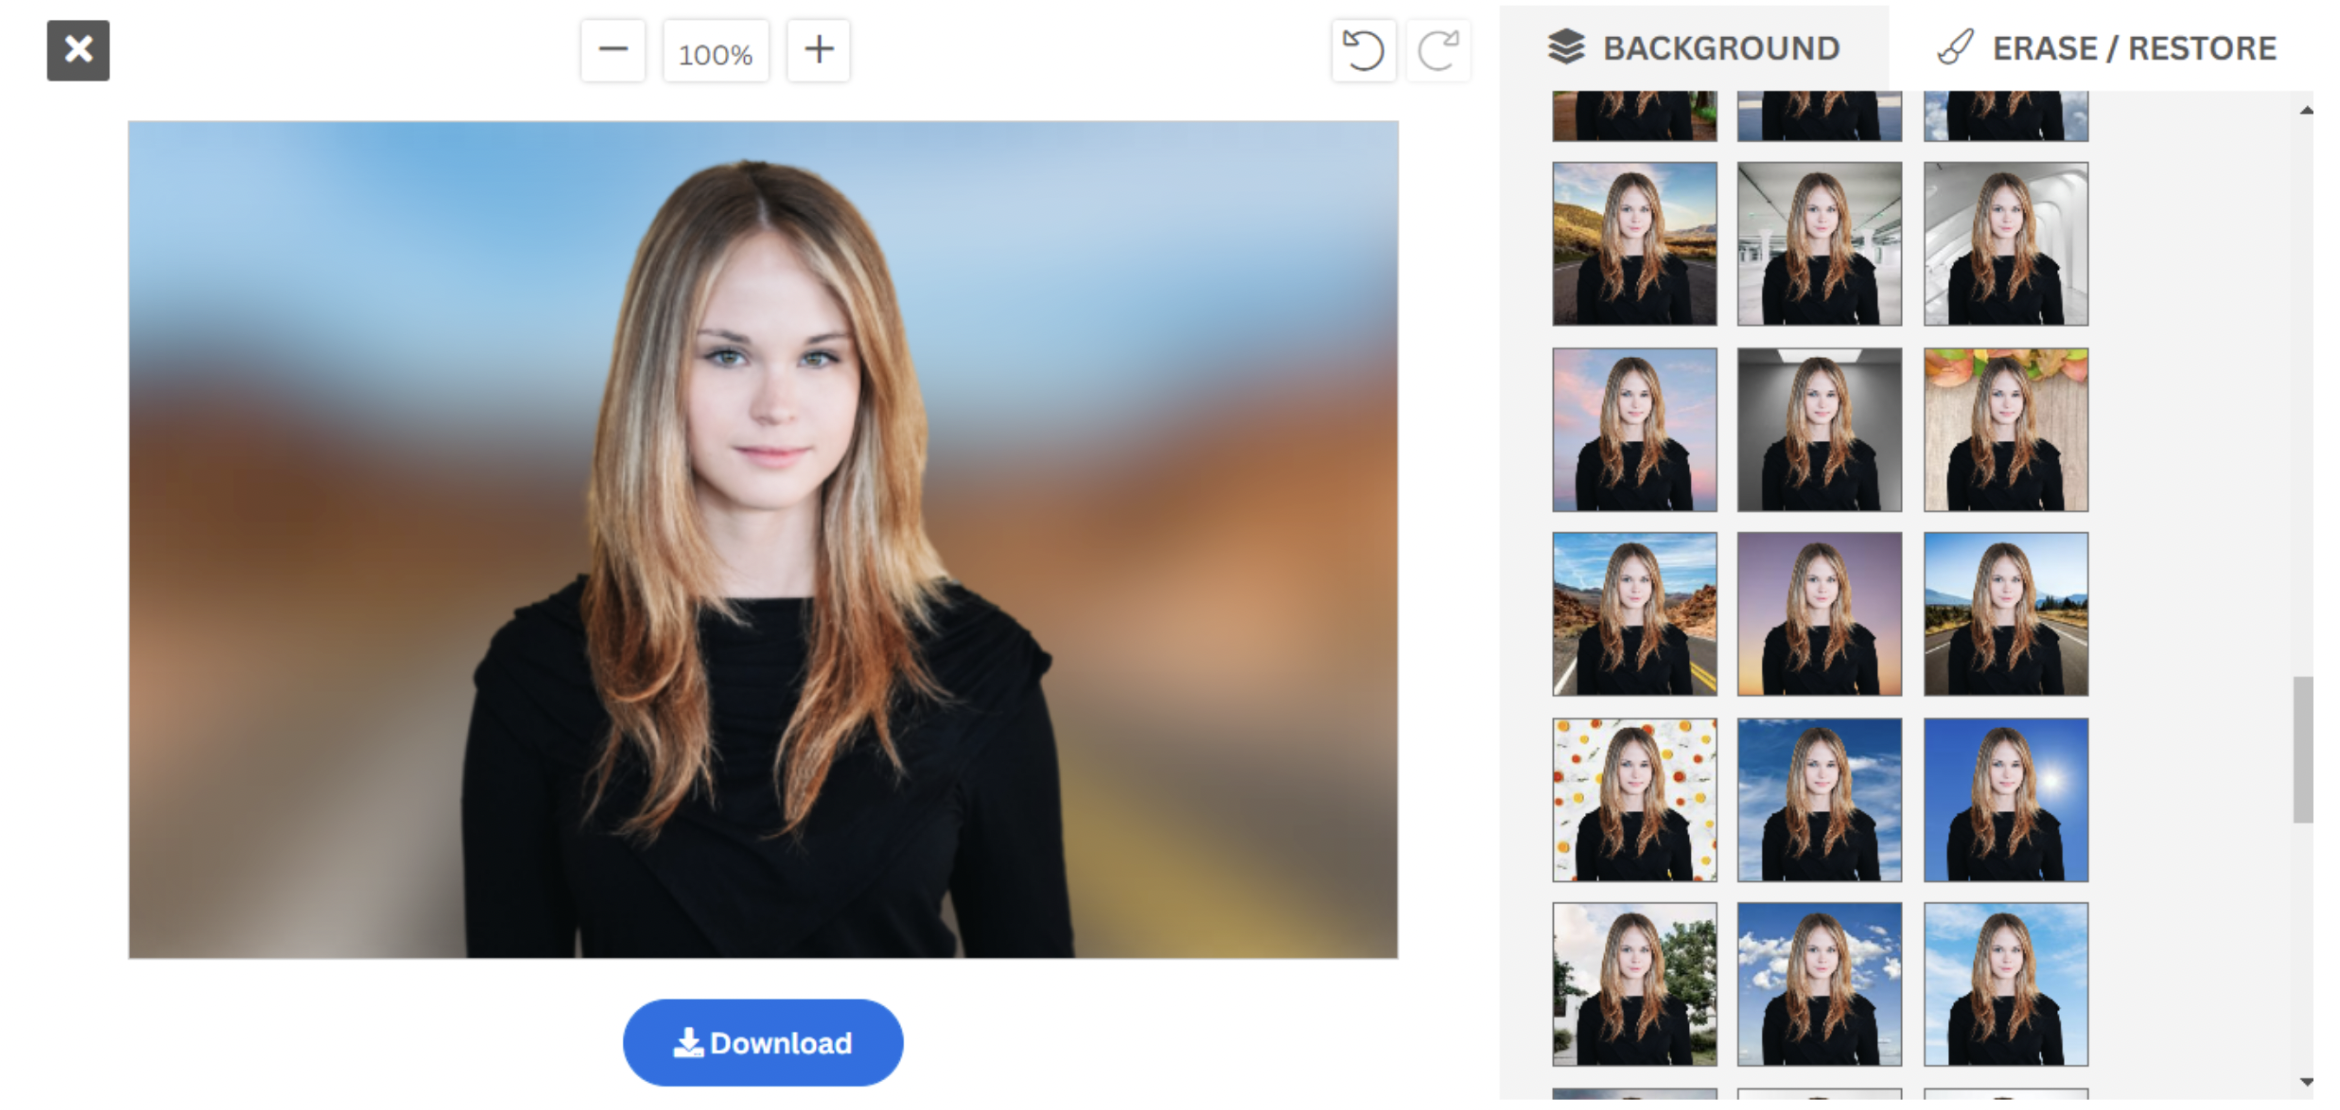
Choose one of remove.bg’s photo backgrounds for your image.
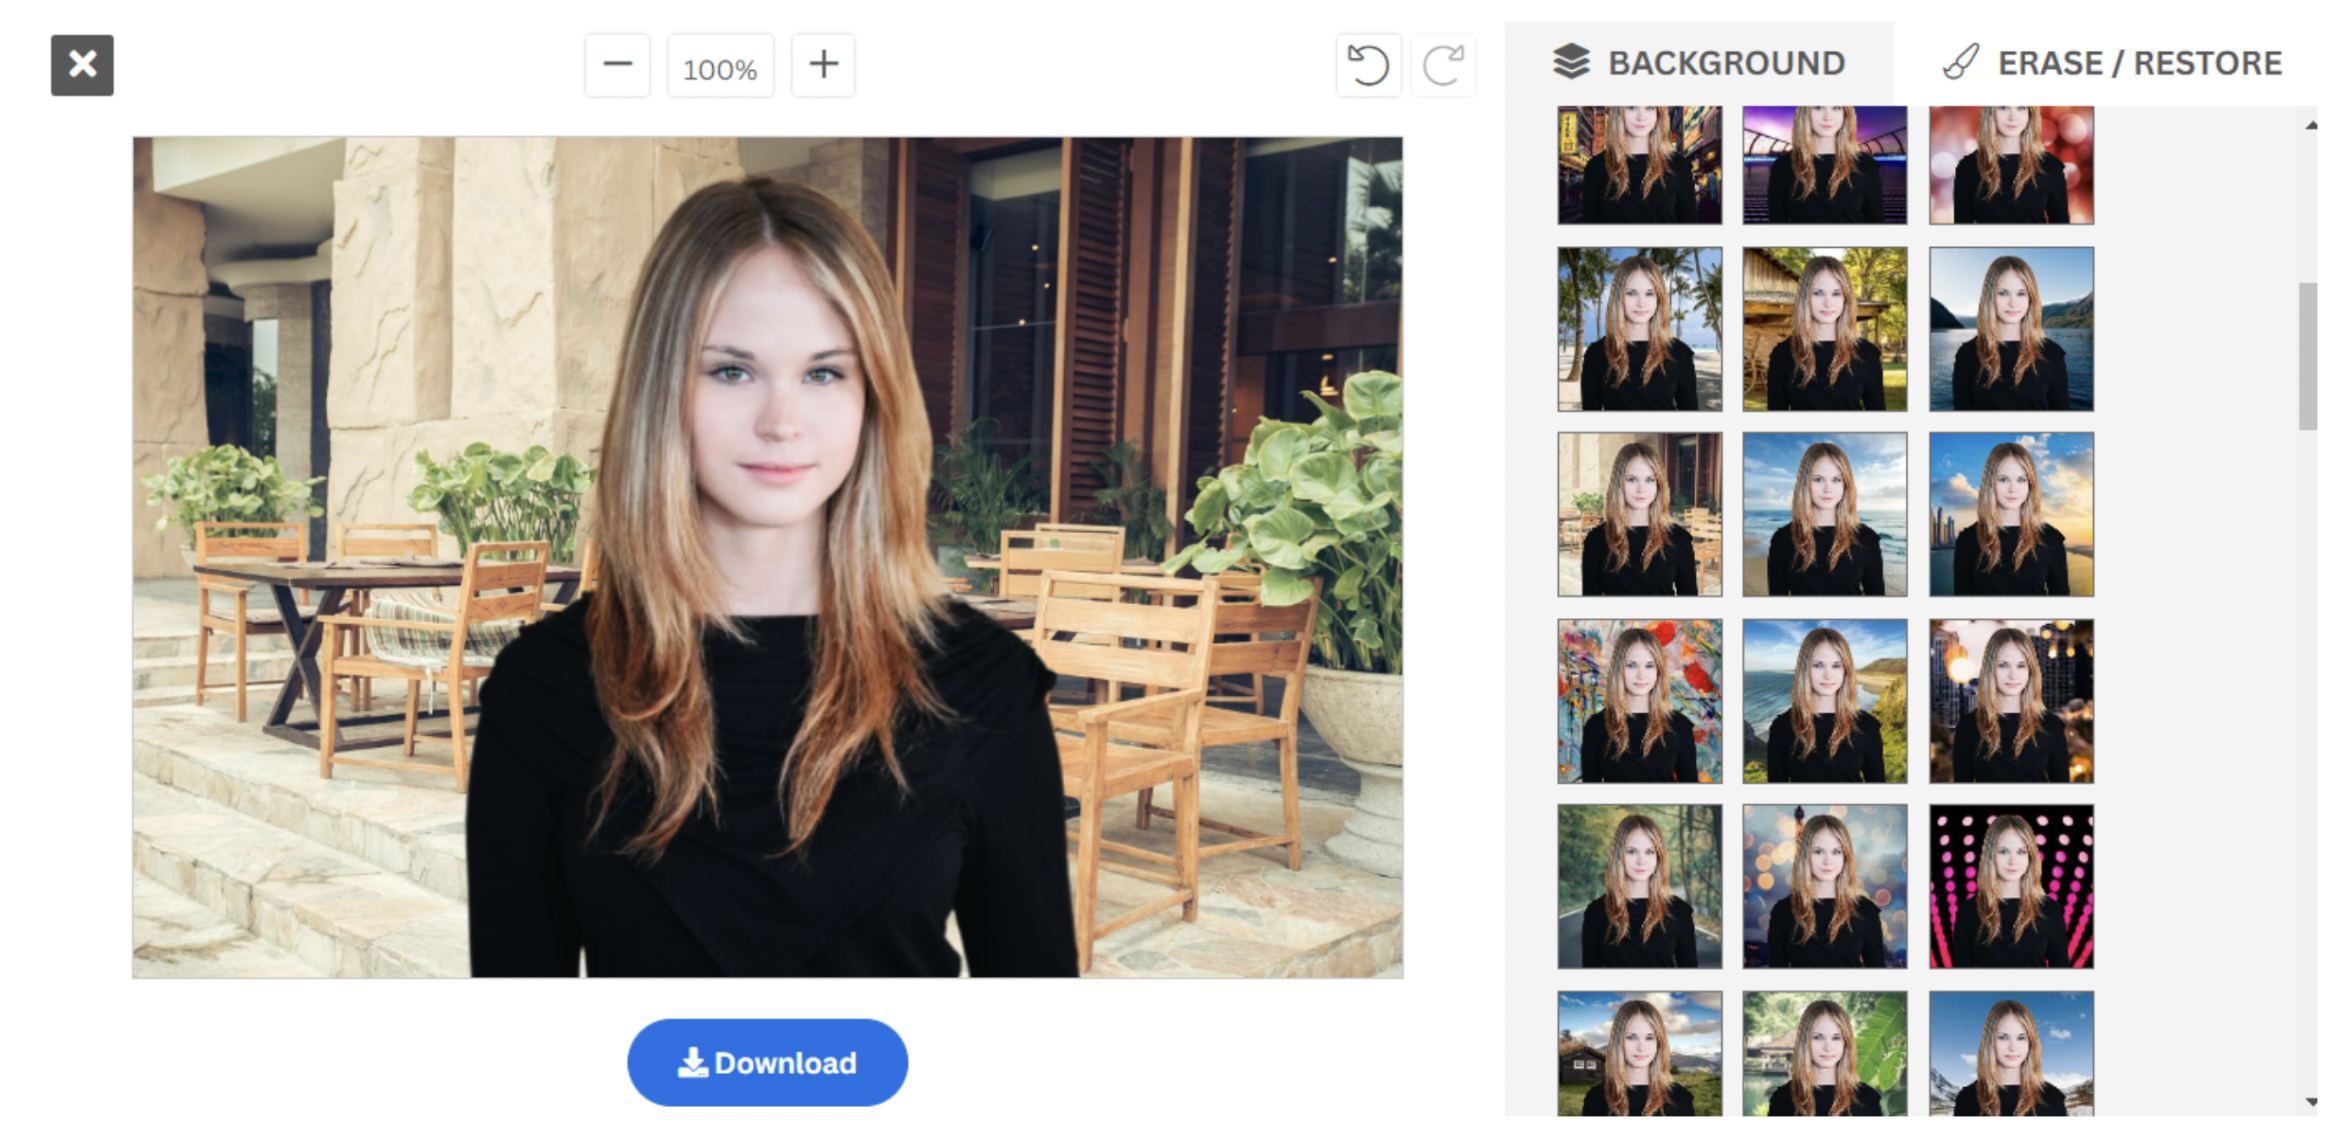
Pick a solid block color for your background. In case you want a specific color, just hit the > Color option.
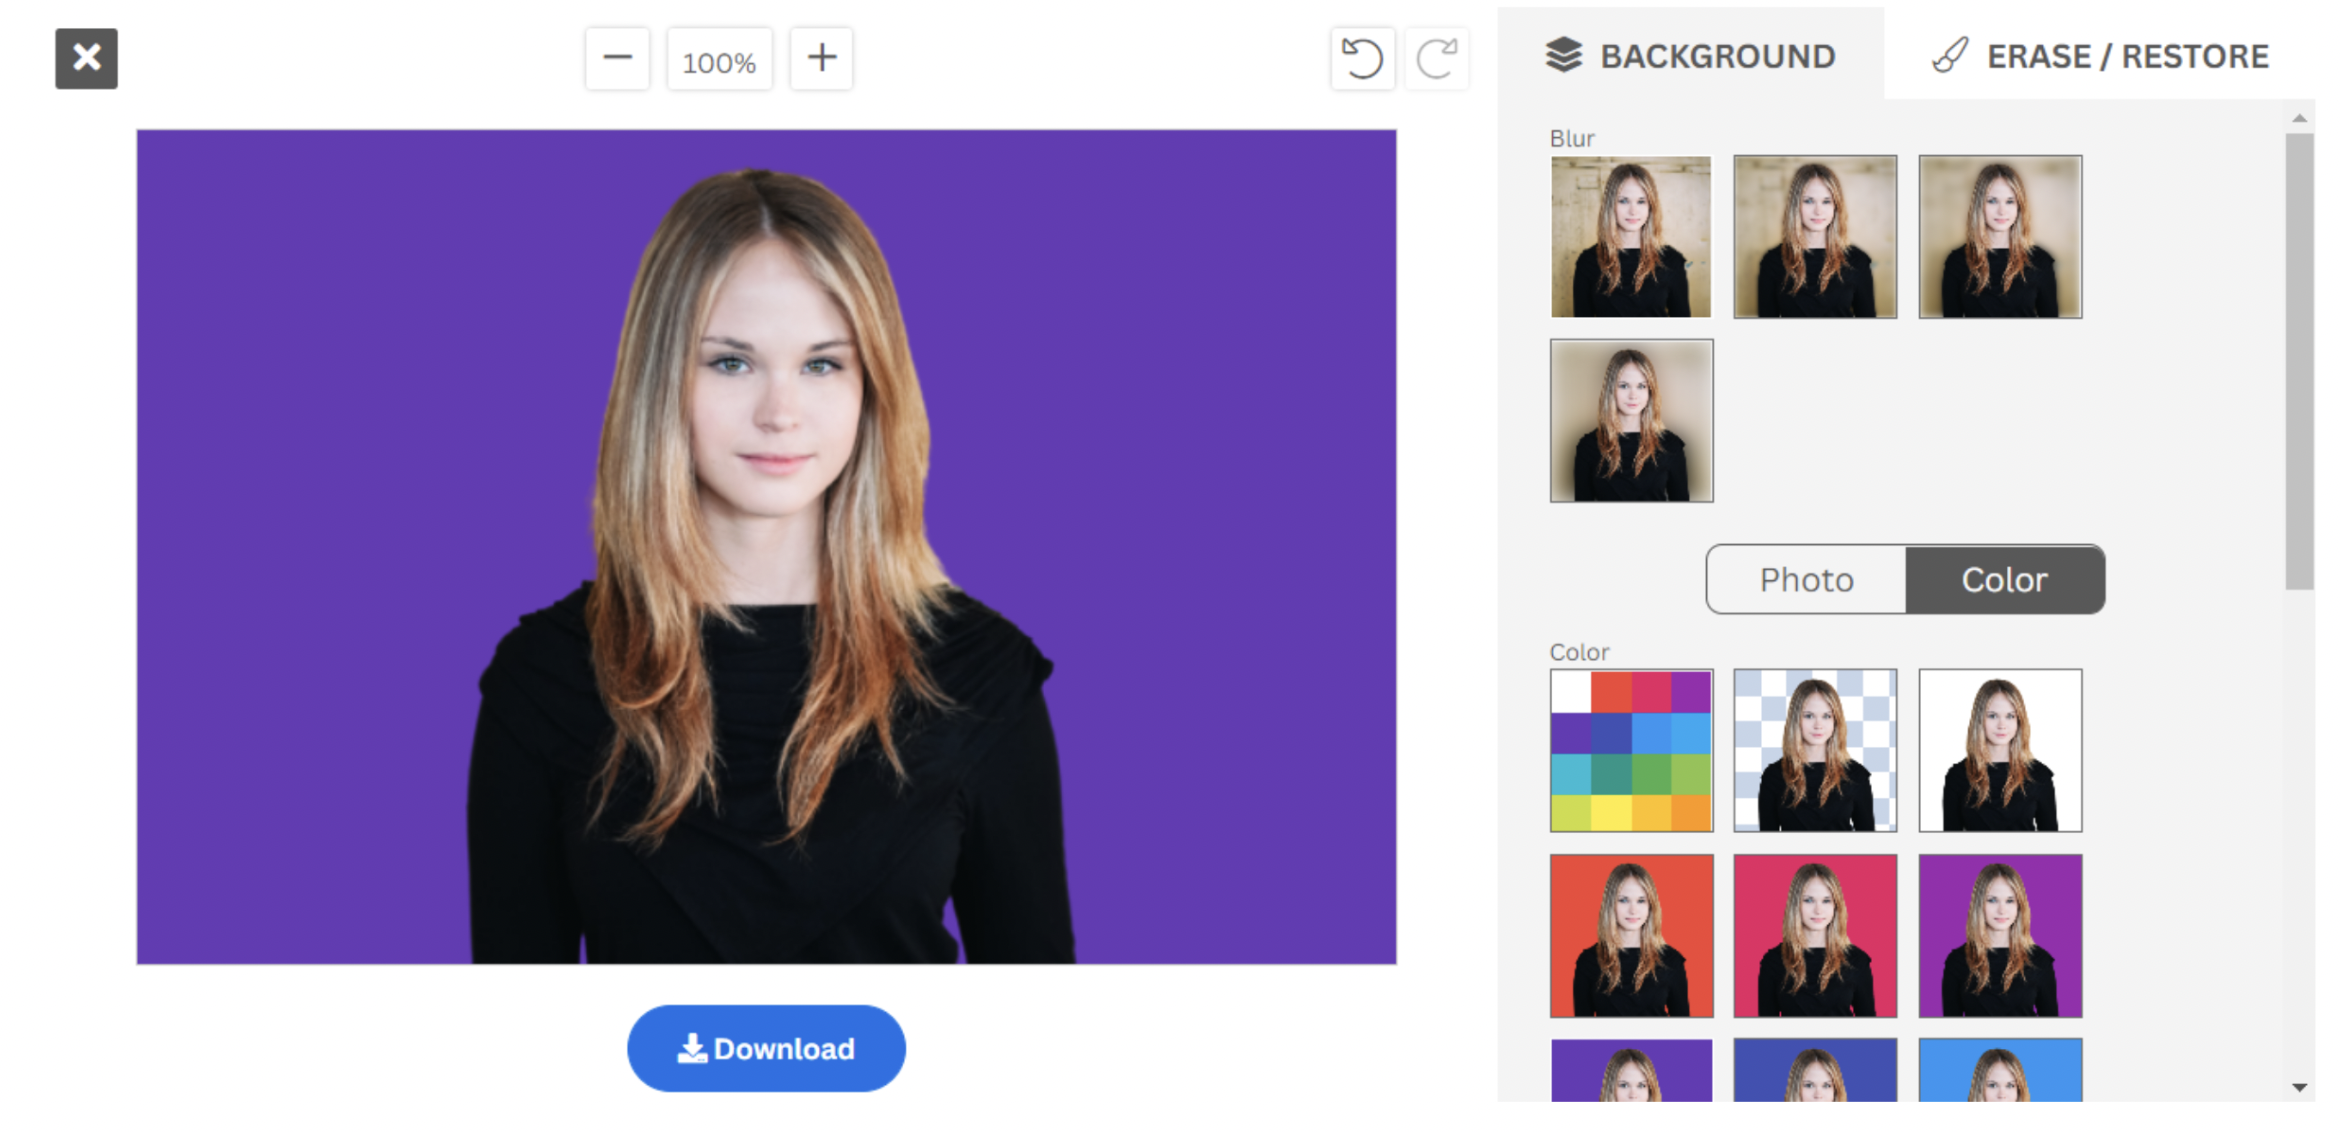
Once you’re done, click > Download to save your new image as a PNG file.
Want to get even more creative and use even cooler background colors or textures for your yearbook photo? You’re going to love Designify.
How to edit school photo backgrounds with Designify
Designify has a variety of gorgeous backdrops that can make your yearbook photos absolutely pop (and meet the requirements of your school administration, of course.) Here’s how you can use it for some great school photos:
1. Once you’ve removed the image background with remove.bg, click > Add design.
2. Pick a new design for your background with designify’s gallery of customizable backgrounds.

3. Here’s an example of designify’s Photostudio 4 background — a common neutral background used in yearbooks and school portraits.
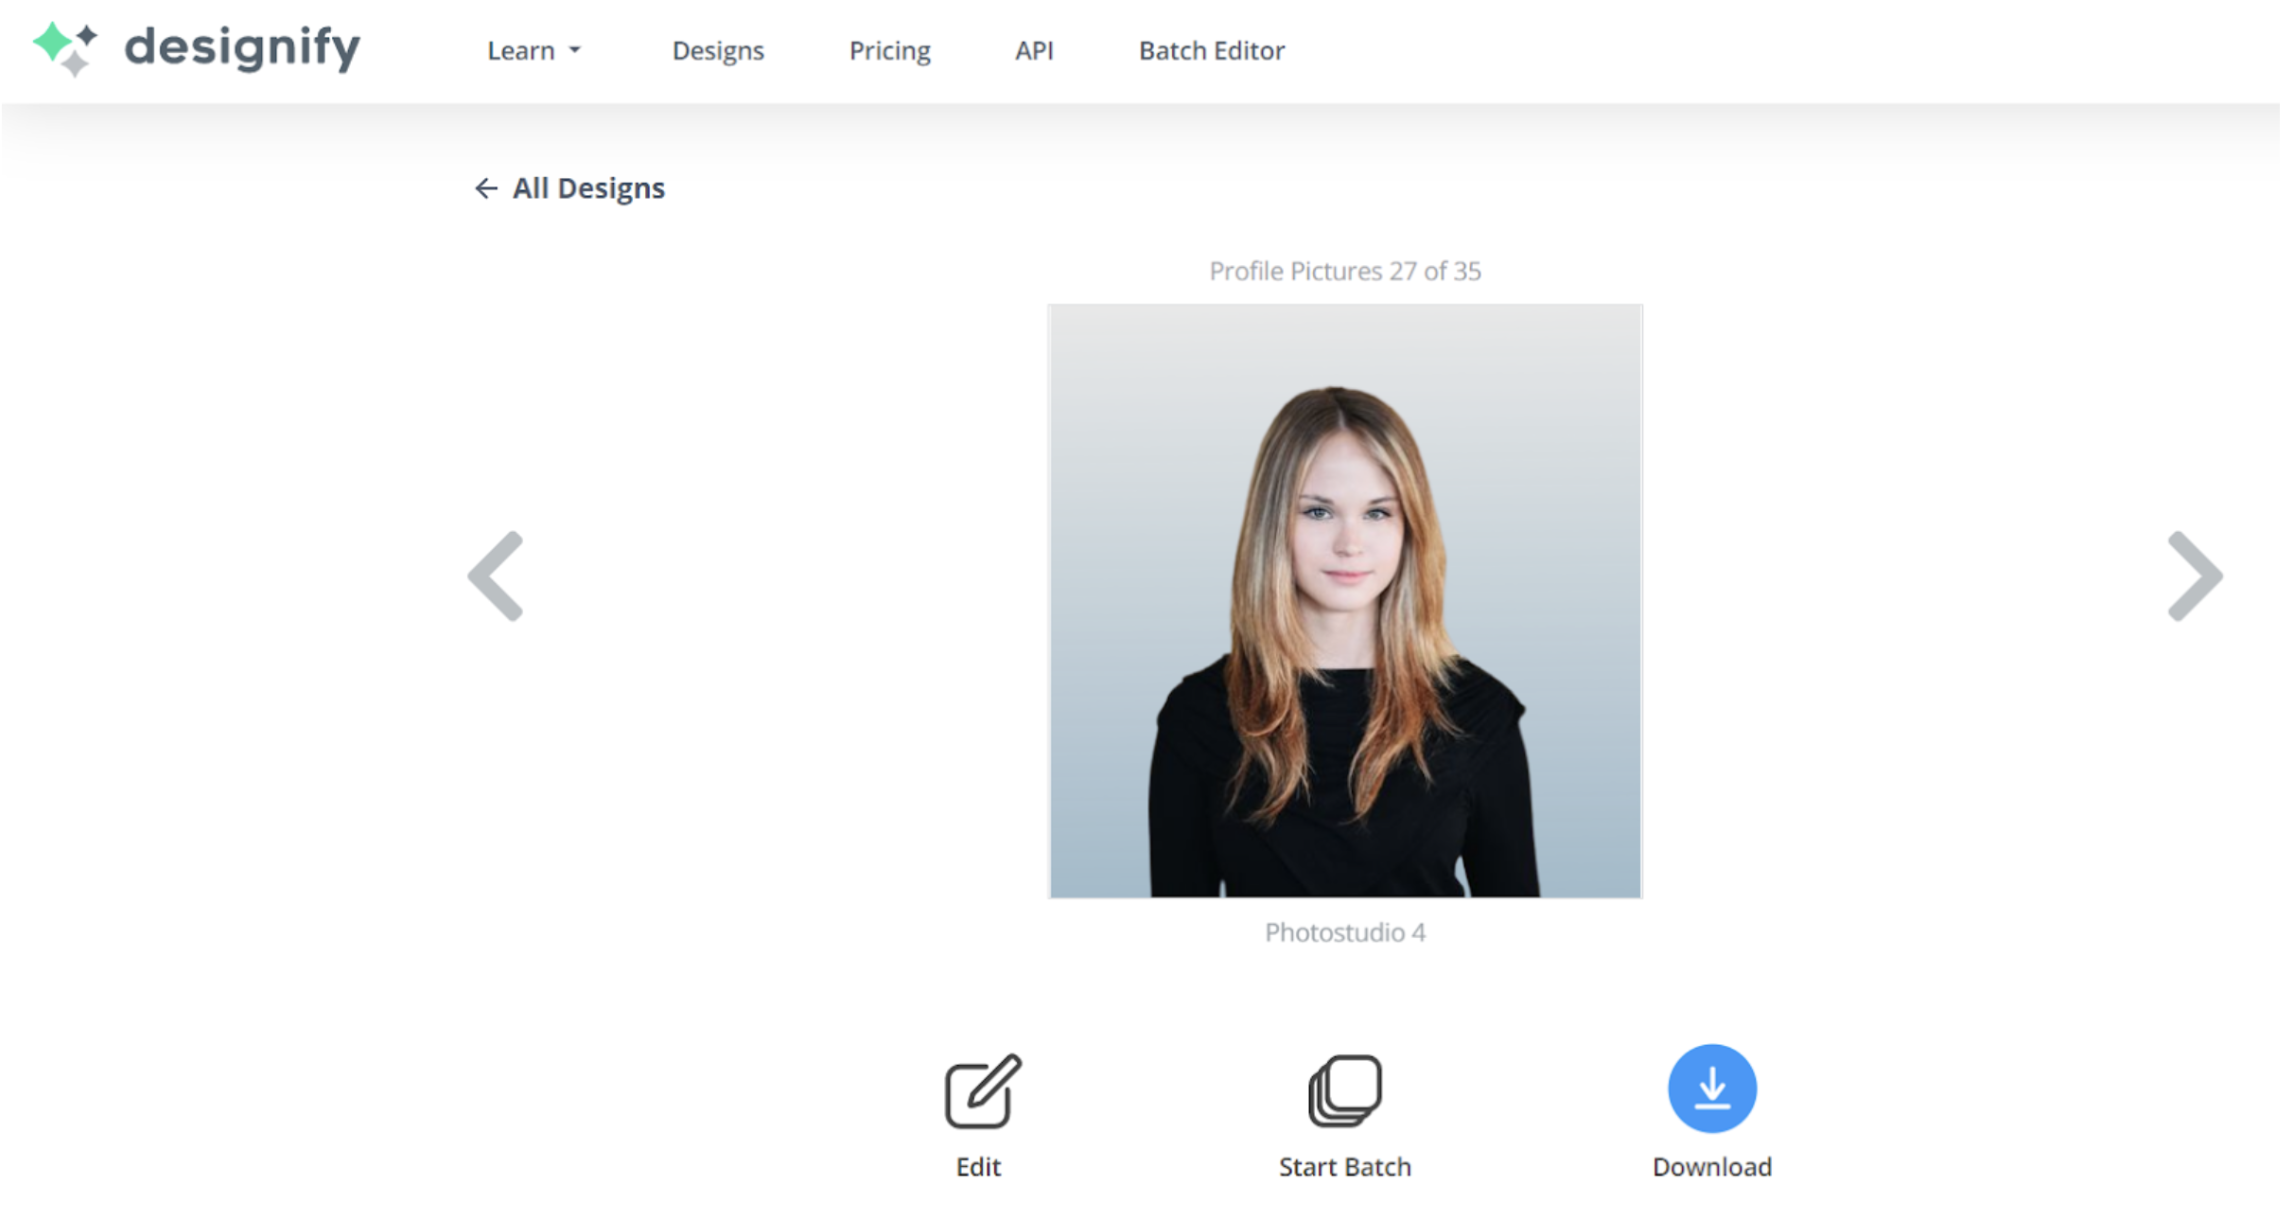
4. Hit > Download to automatically save your new yearbook photo as a PNG file.

No need for expensive cameras, studios, or photoshoots — remove.bg, and Designify have you covered for when you’re wondering how to take (or edit) a good yearbook photo and when you don’t have much time at hand. If you want to edit multiple images at once, Designify Pro includes batch editing features just for this.
Yearbook committee nagging you about school photos? Or are you on the yearbook committee and unhappy with your classmates’ shots? Then, hop on over to remove.bg and Designify to create a high school yearbook that’ll keep some great memories for a lifetime.
Komentari