Selling jewelry on Shopify, Etsy, or on your online store? When it comes to marketing your jewels, photos are going to ignite that emotional spark and ultimately make your customers click on that buy button.
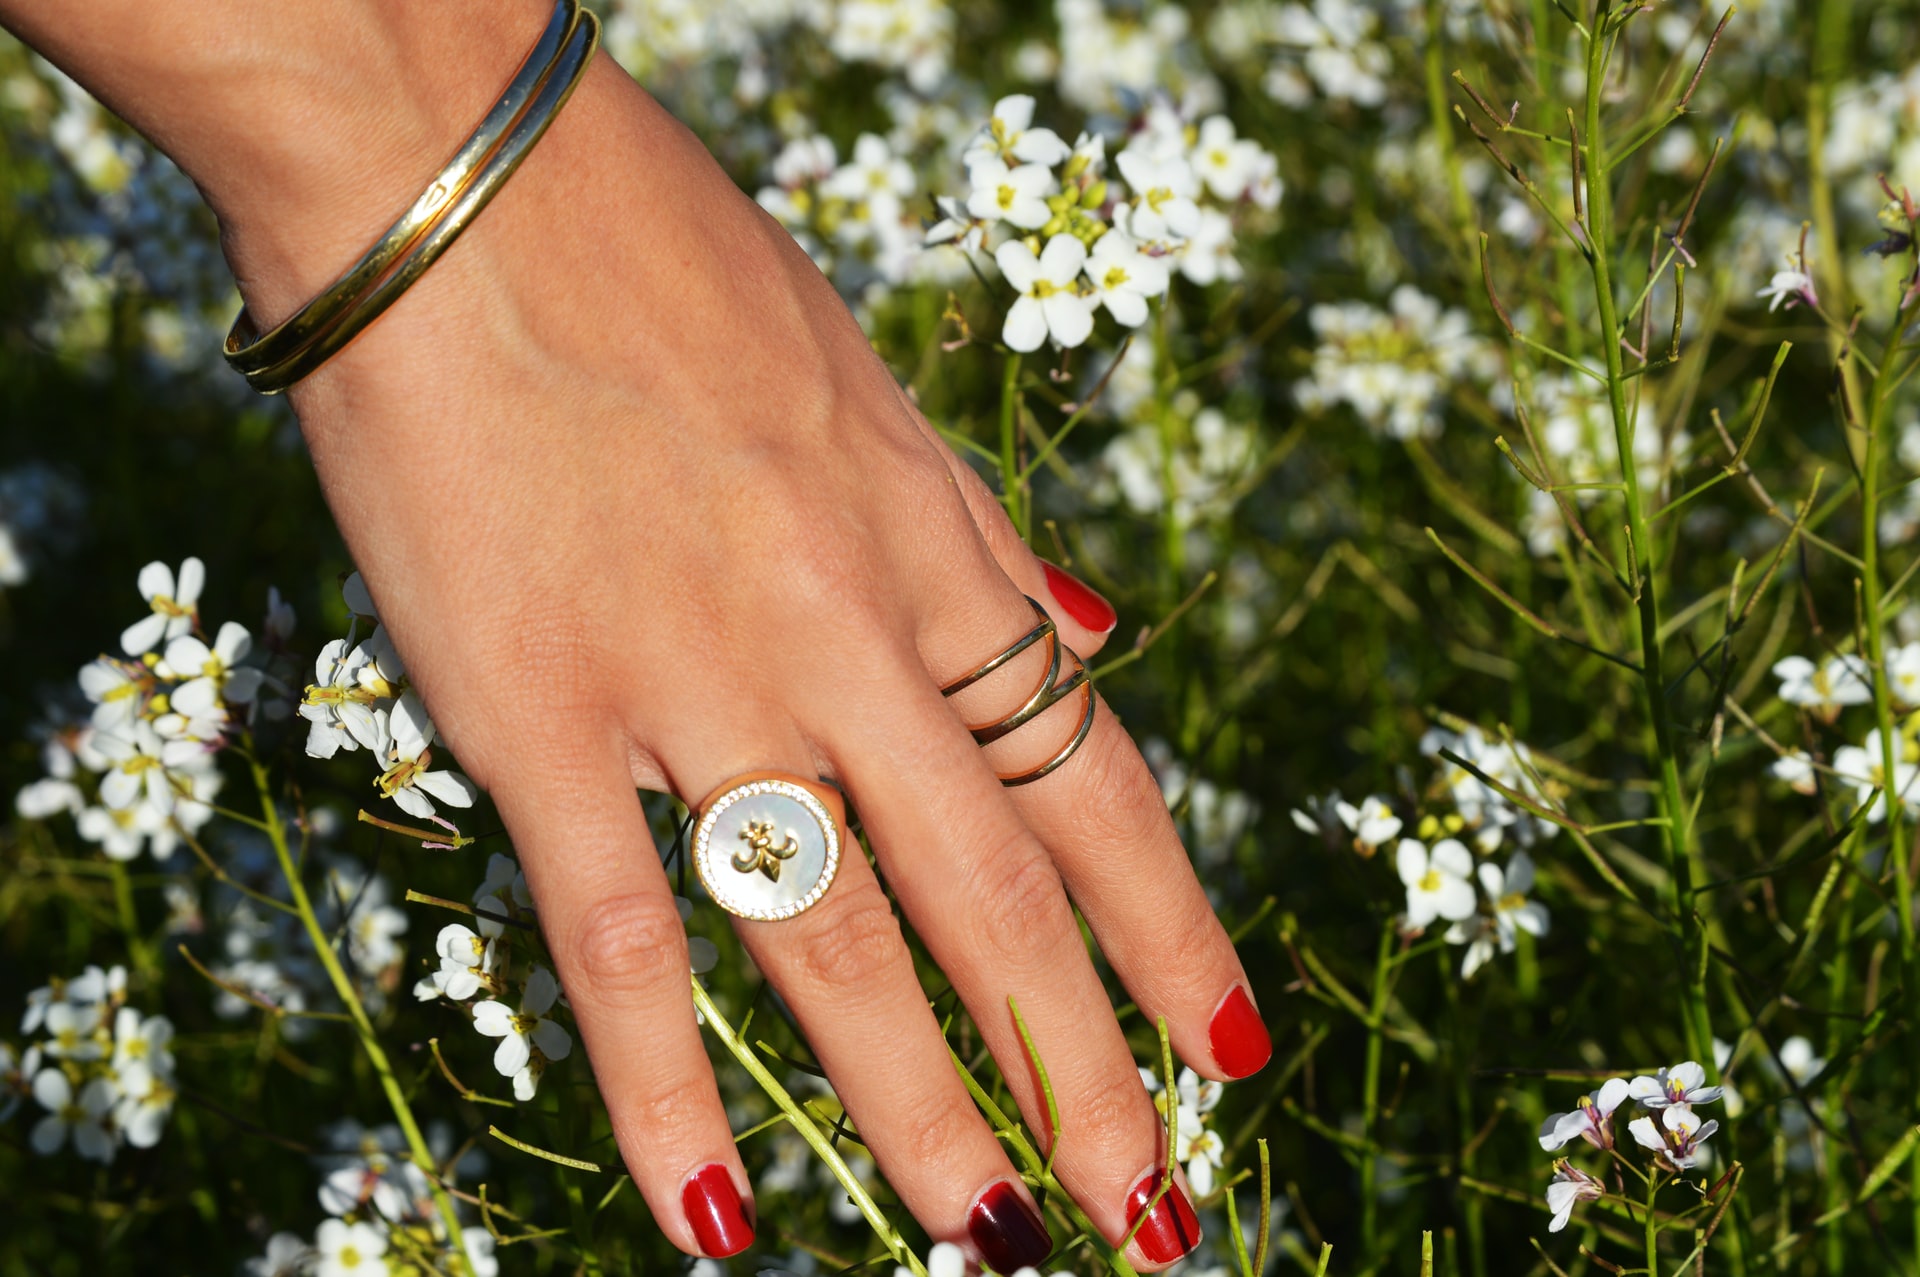
Now, you might wonder if that means burning your hard-earned savings hiring expensive studios, photographers, designers, and models? Short answer: nope, not necessarily. Below you will find our best tips and tricks on how you can DIY your jewelry photography and get professional results.
Not only that, a tool like Designify can automatically help you create the perfect jewelry backdrop in minutes and bulk apply it to a ton of photos in seconds. Scaling your jewelry photography has never been easier.
目次
How to take product photos of jewelry
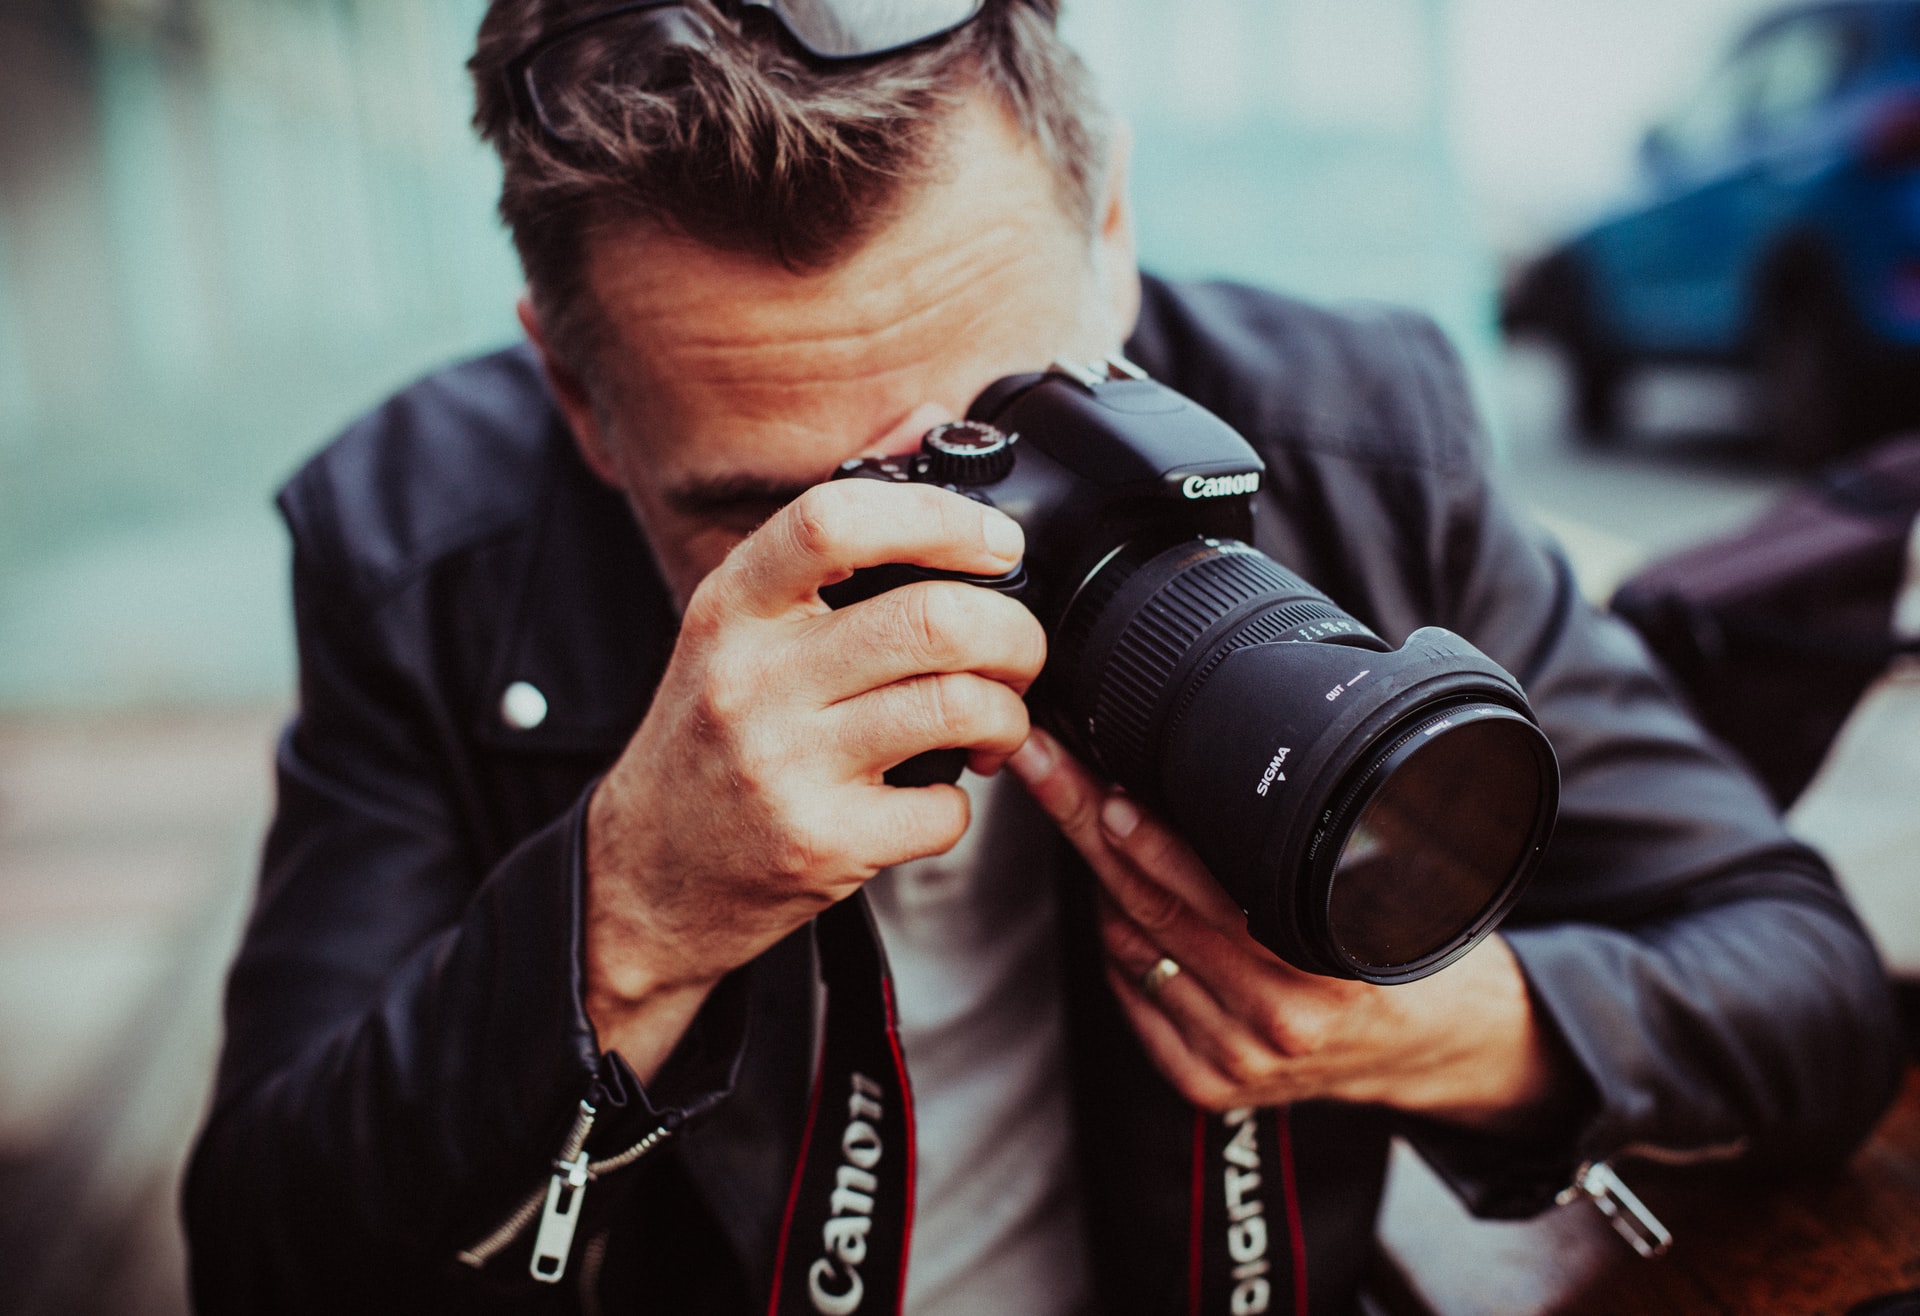
Taking great photos for jewelry needs some budgeting, but luckily you might not need a bunch of expensive equipment. Here are some best practices for photographing your jewelry without breaking the bank.
1. Choose & use the right tools
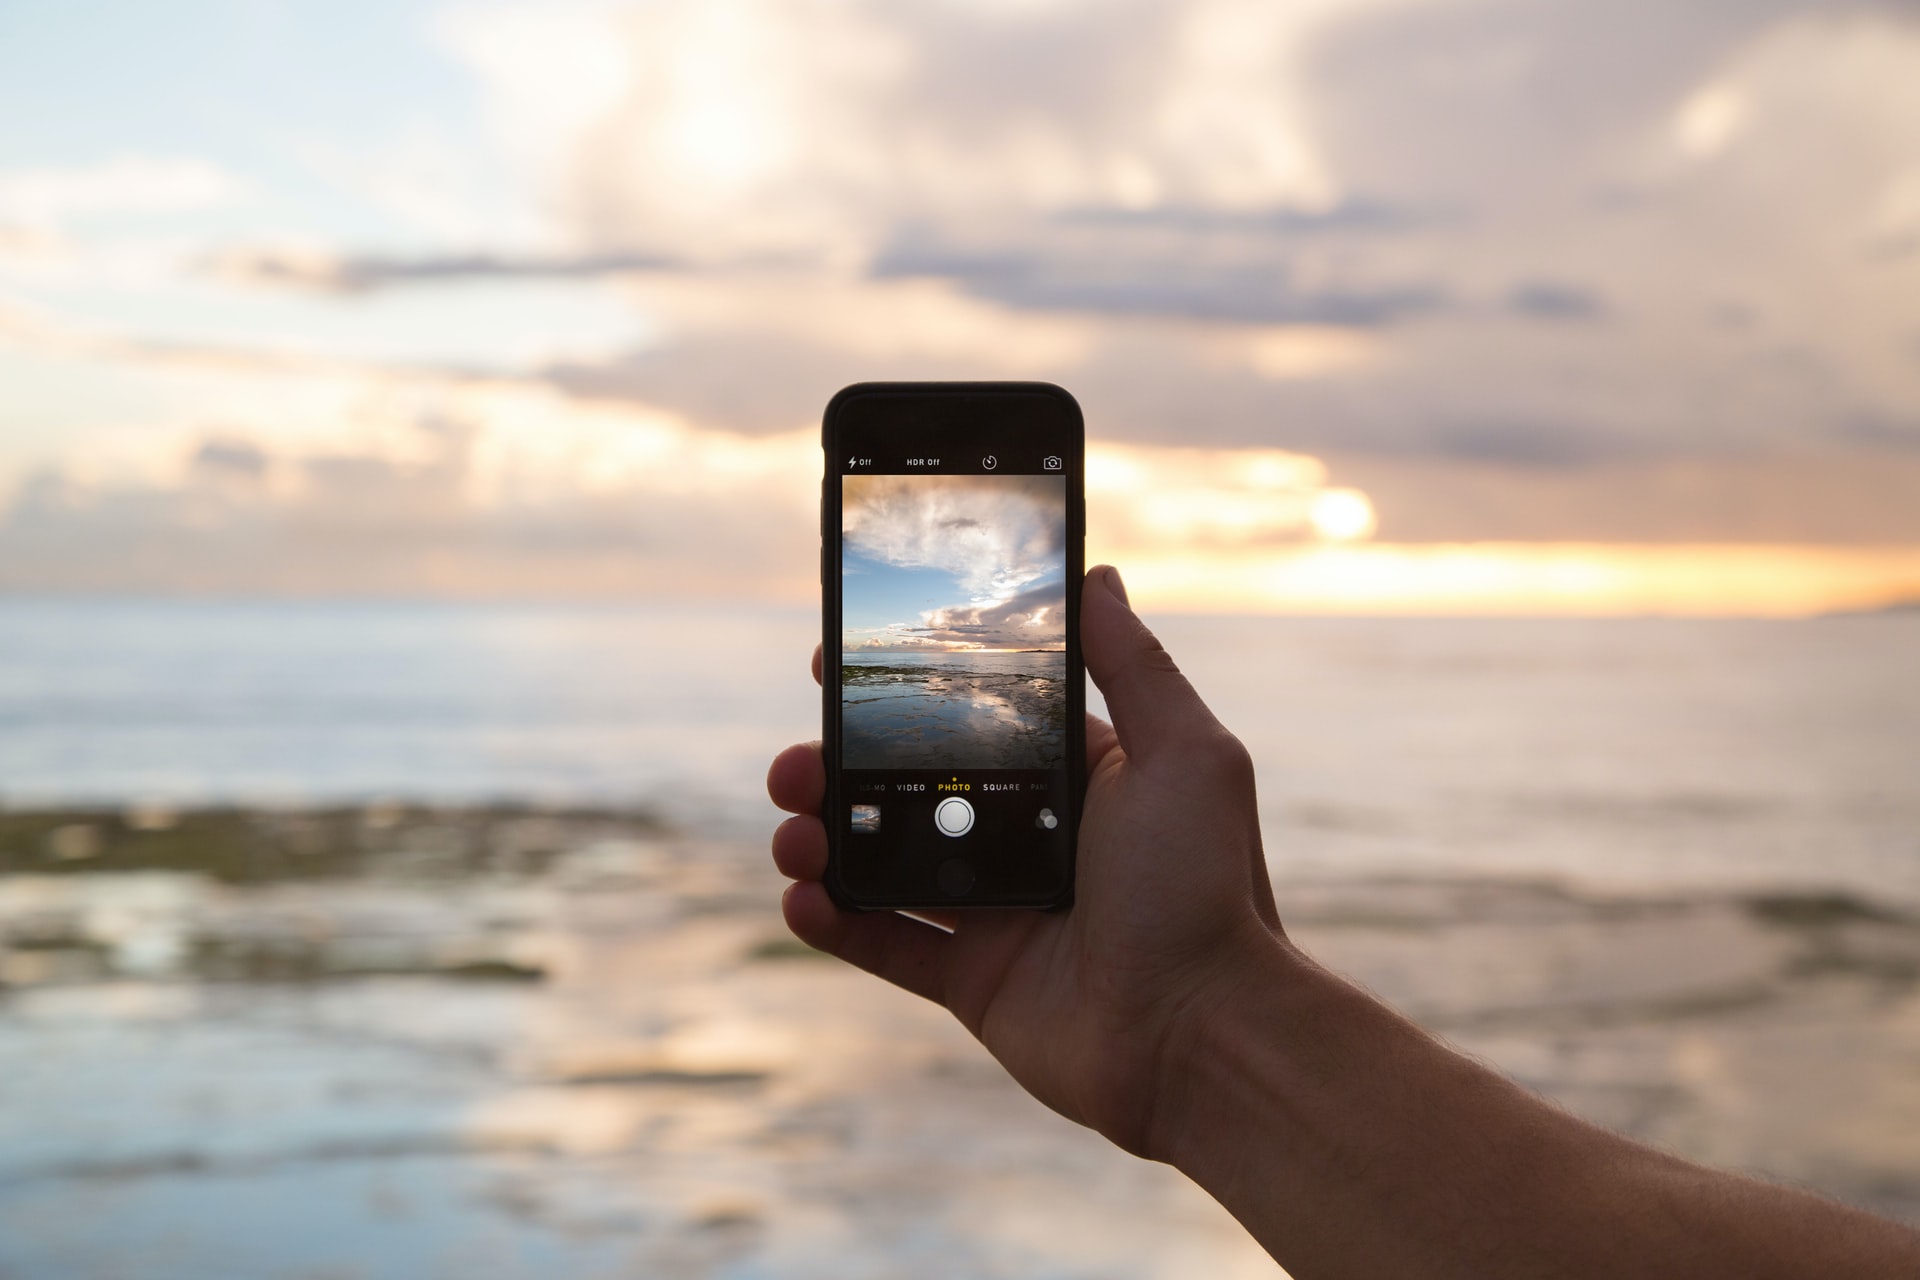
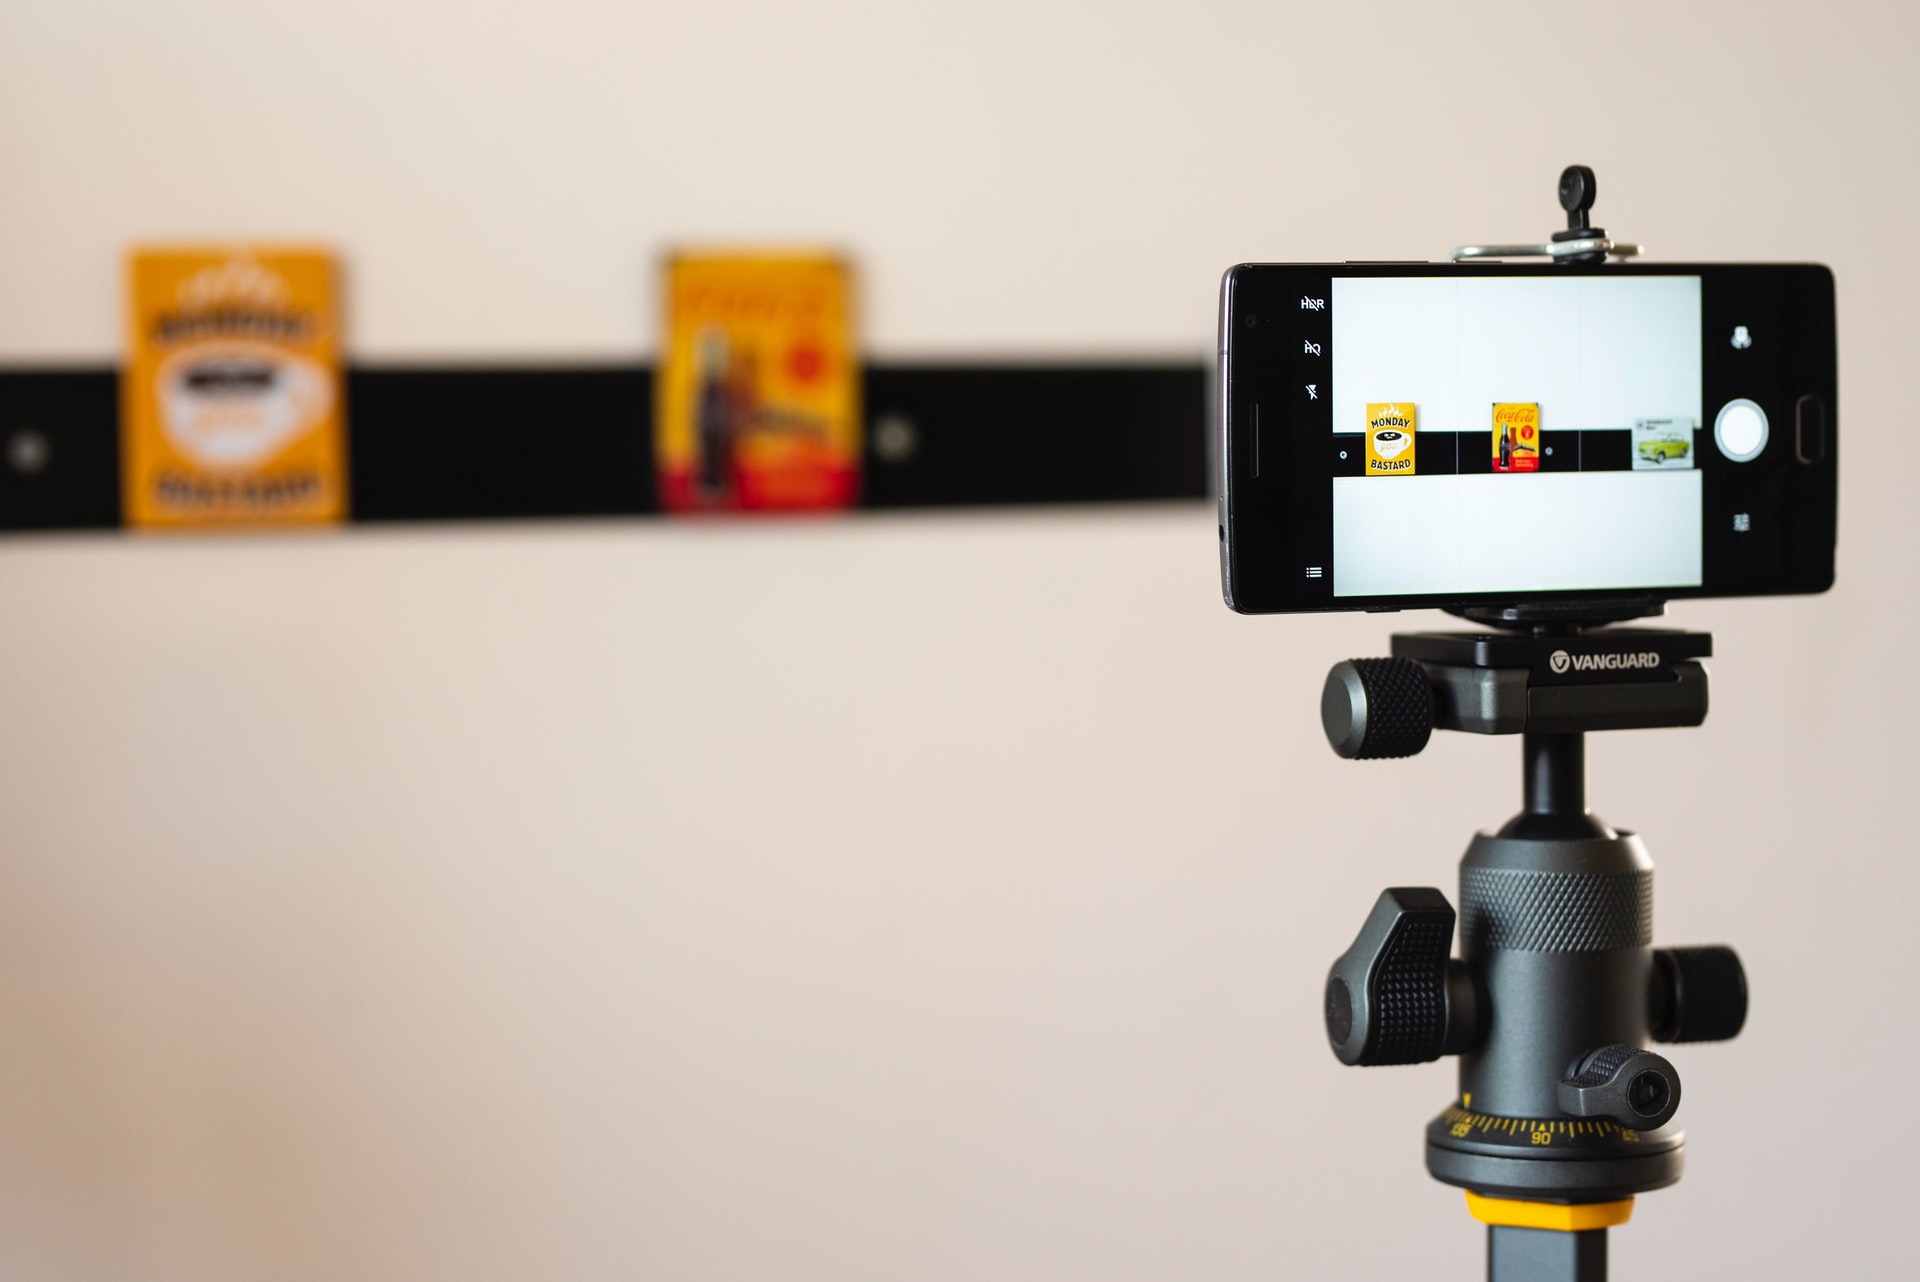
You don’t necessarily need an expensive DSLR to capture the best jewelry photos. A regular smartphone works just fine. If you’re worried about your camera shaking, consider investing in a tripod that helps take clear, stable shots.
Also, a few simple props can go a long way — like these:
Double-sided tape works great to prop up smaller jewelry pieces, such as rings.
A bit of string is also helpful for pieces such as earrings.
If you’ve decided to invest in a camera, after all, experts recommend investing in one with a macro lens and a focal length of 60 mm. This helps your image proportions appear more lifelike. No more complaints about product size from customers!
A small aperture (f11or f16) is considered ideal for jewelry shots. This helps your camera focus better and create sharp, high-quality images.
2. Find the right angle
Your customers only have a few images to check out your jewelry products from every angle. Put yourself in their shoes for a second: wouldn’t you also want to go over an expensive product from every angle to ensure you’re making the right purchase?
Your images should ideally display jewelry from the front, sides, and the back; add specific shots if there are any inscriptions. Experts encourage taking full-focus shots with an ISO of 100 to create high-quality images.
3. Use a model
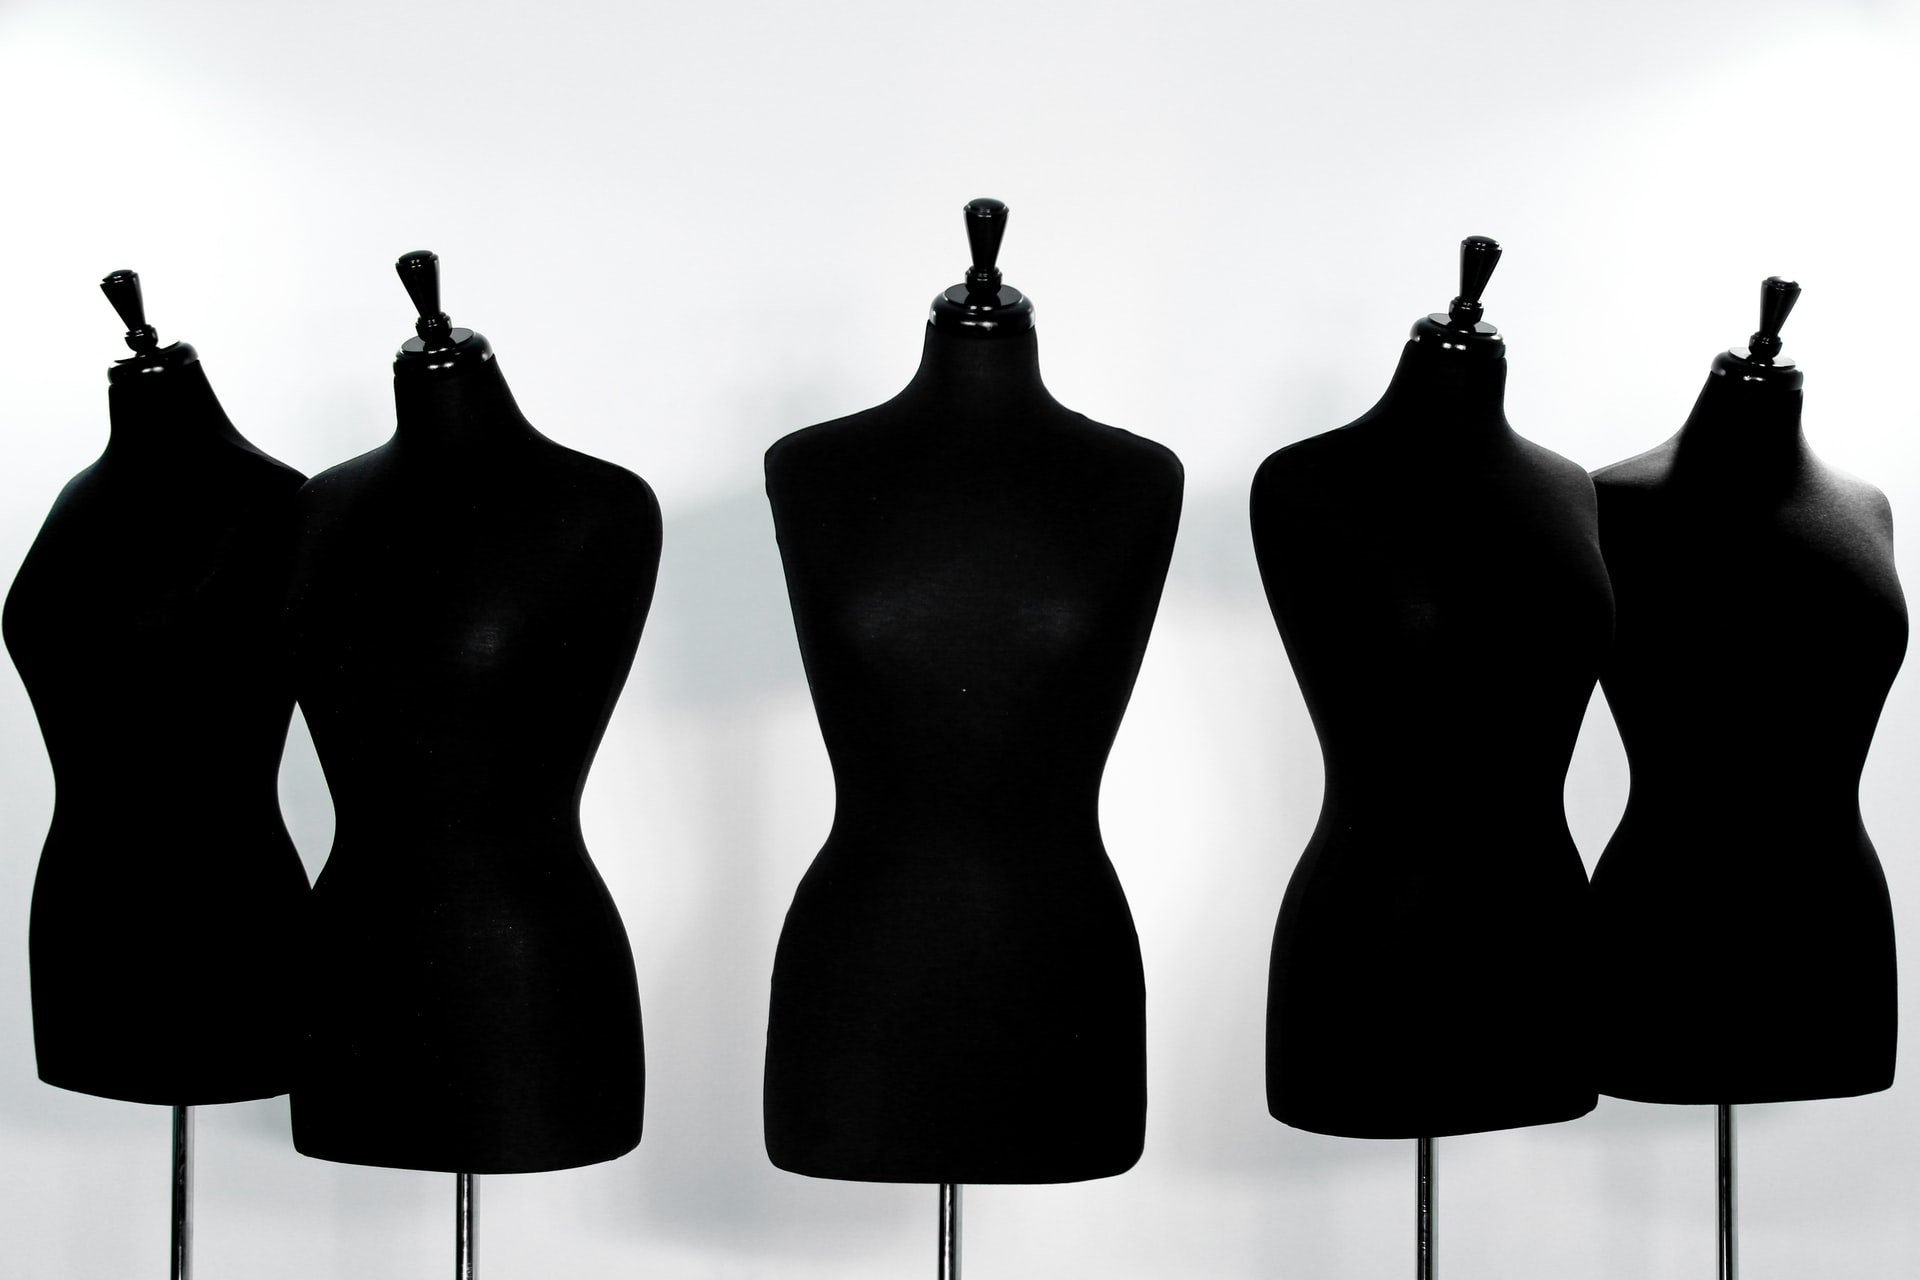
A classic black mannequin can create a picture of timeless elegance. They’re pretty readily available at craft stores, and you’ll need them for smaller products like rings and bracelets. Try pinning earrings and necklaces to a cardboard sheet if this isn't an option.
You could also use yourself as a model: your customers are more likely to buy if they can see how your product actually looks on another person.
4. Aim for soft, natural lighting
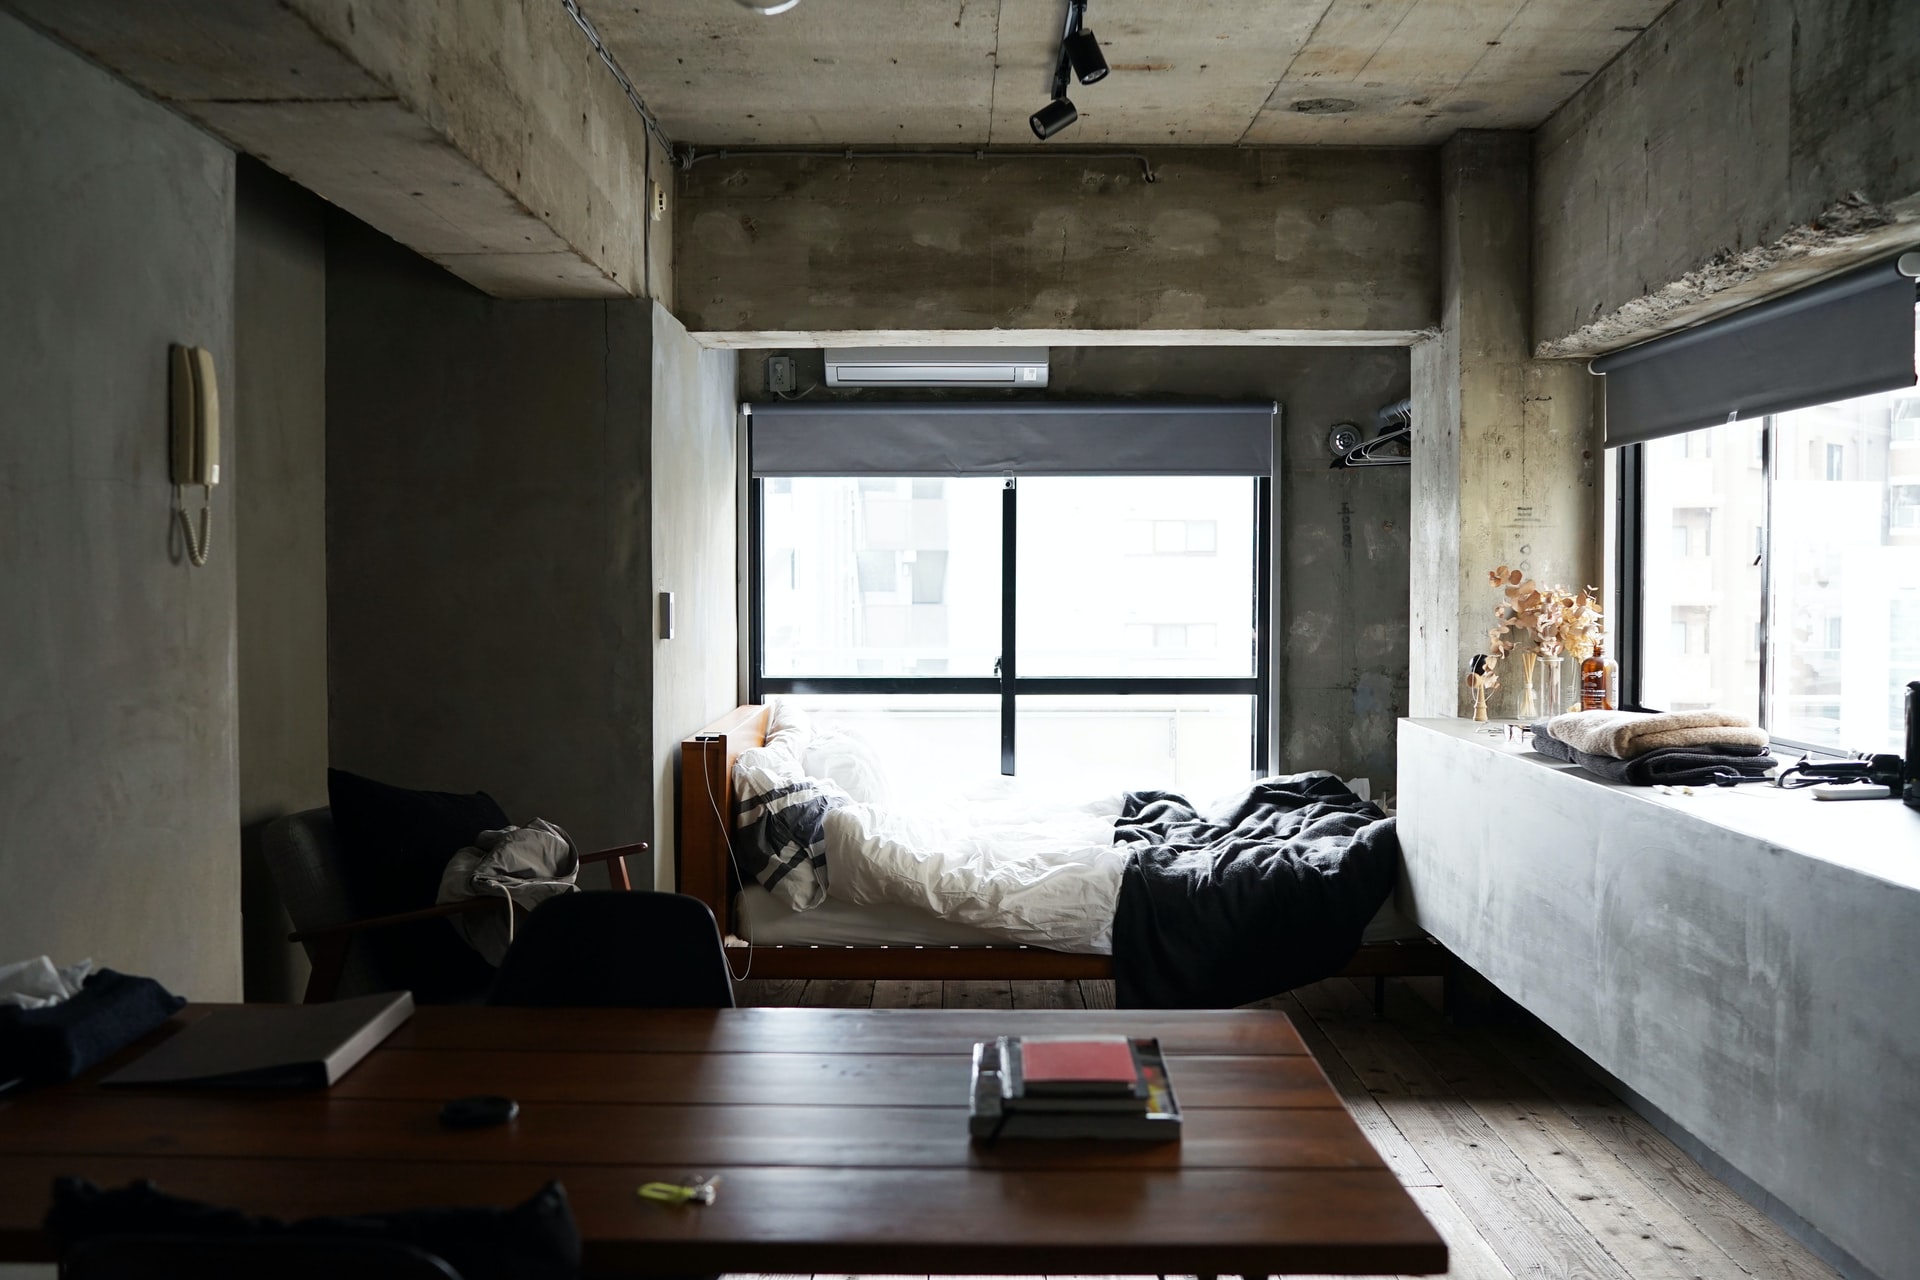
The best jewelry photos need soft, ideally natural lighting, which means avoiding the flash option on your camera and looking for an open window during the daytime instead. If the natural lighting is too bright, you can cover your window with a sheet of white paper to get a gentler effect.
5. Choose the right background for jewelry
The right background can determine whether your jewelry stands out well enough to warrant a purchase. Luckily, Designify has you covered.
How to use Designify to edit & automate jewelry backdrops
Think you need to hire a professional design team for your product photos? Think again. Designify is your key to turning any image into awesome – 100% automatically and free. It specializes in creating unique backgrounds for photos — particularly for shots of your products.
Editing your photos has never been easier. Here’s a breakdown of the steps for using Designify:
-
Drag and drop your images to the website (or upload them from your device).

Let Designify work its magic on your image.
-
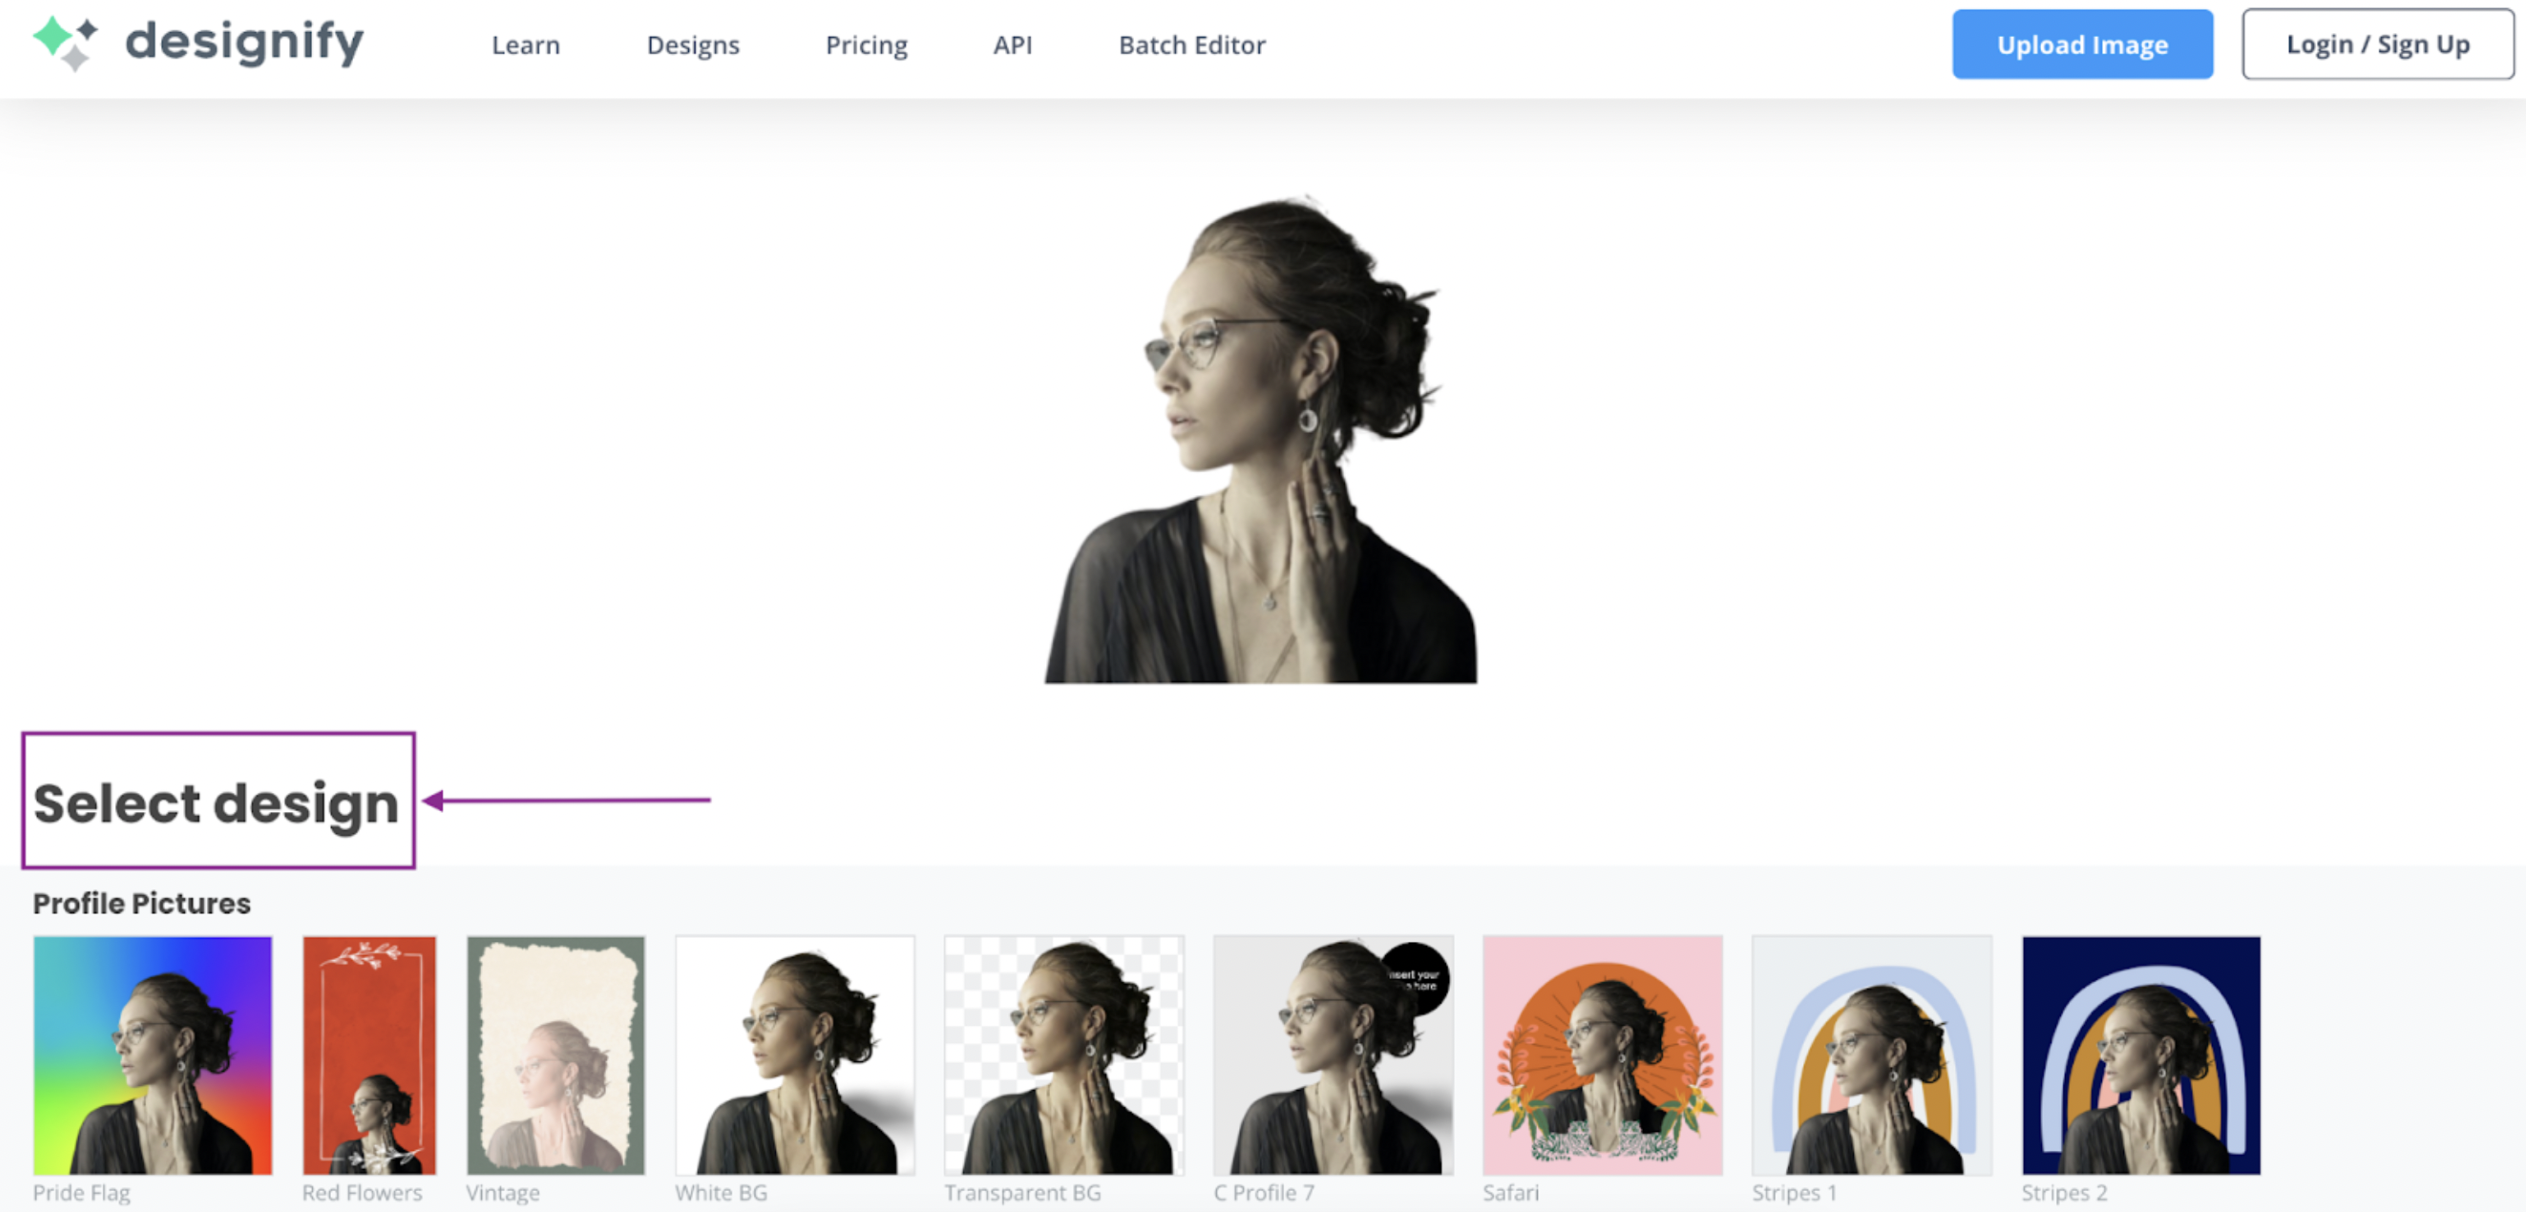
Voilà! You now have a whole range of unique backgrounds to choose from. Just click “Select Design” to turn your photos into awesome.
-
Hit Download to save your image as a PNG file.
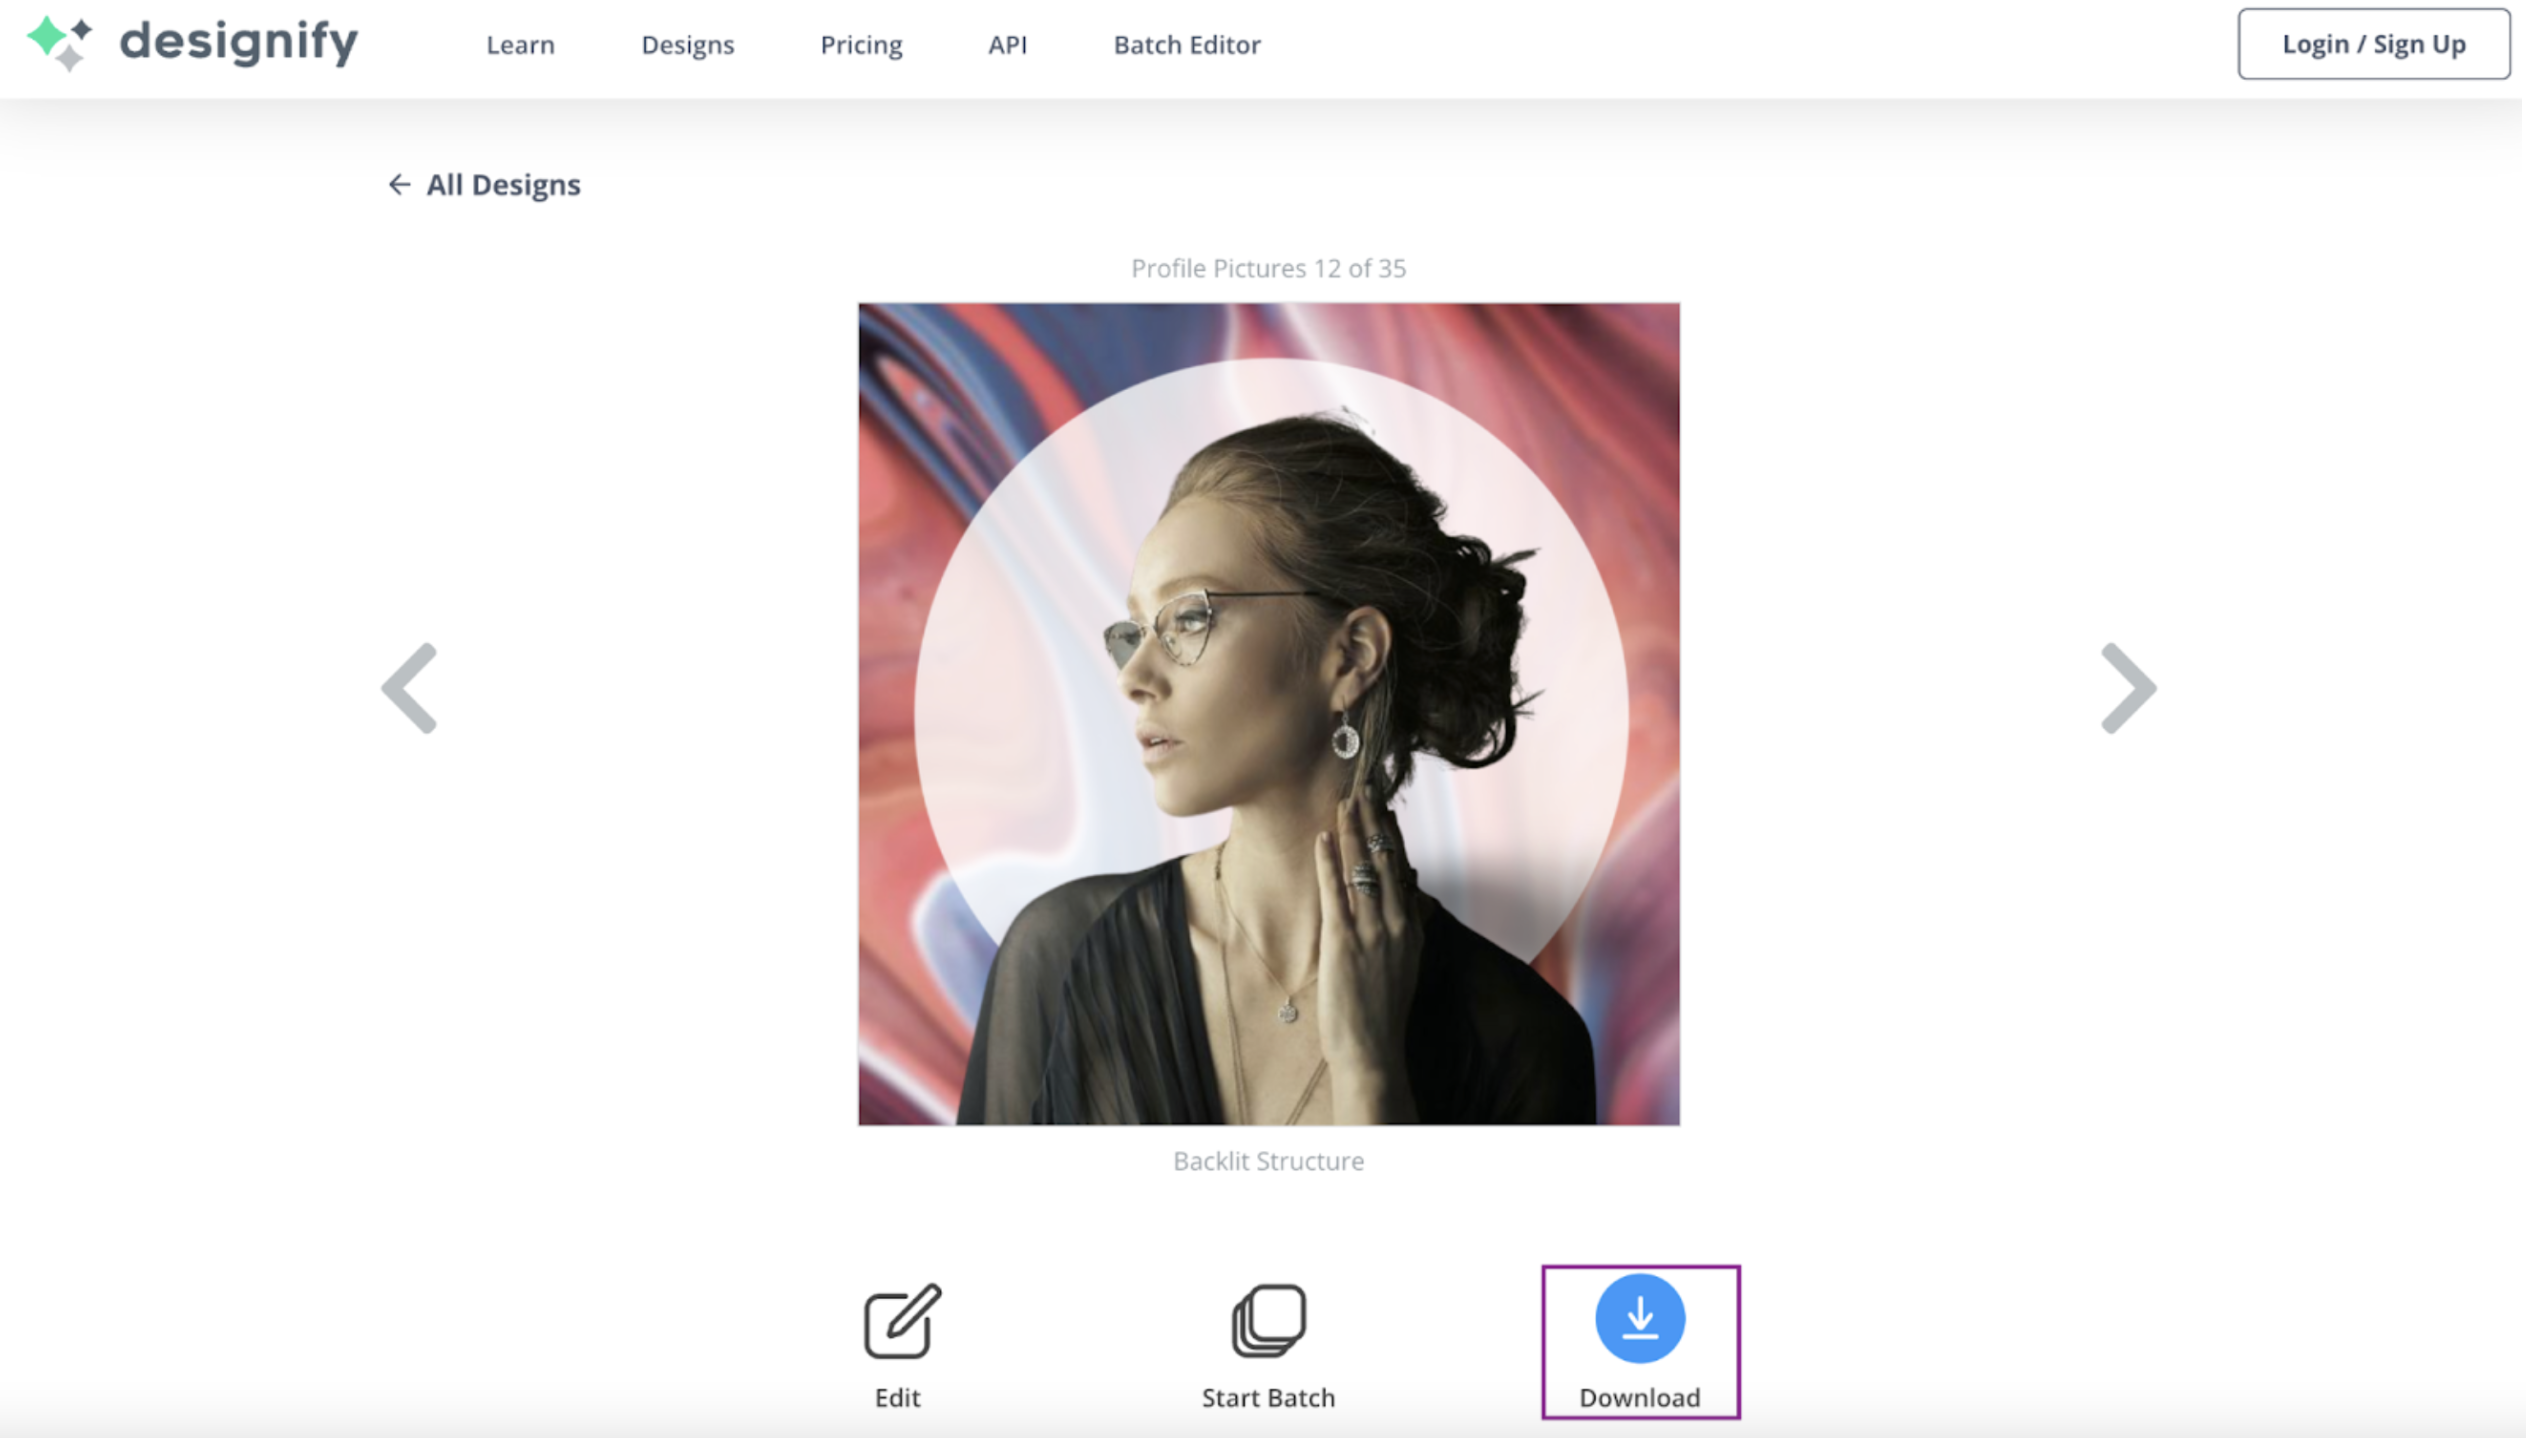
And there you have it. Here’s your picture with a gorgeous new background. Pictured below is an example of Designify's Backlit Structure background setting.
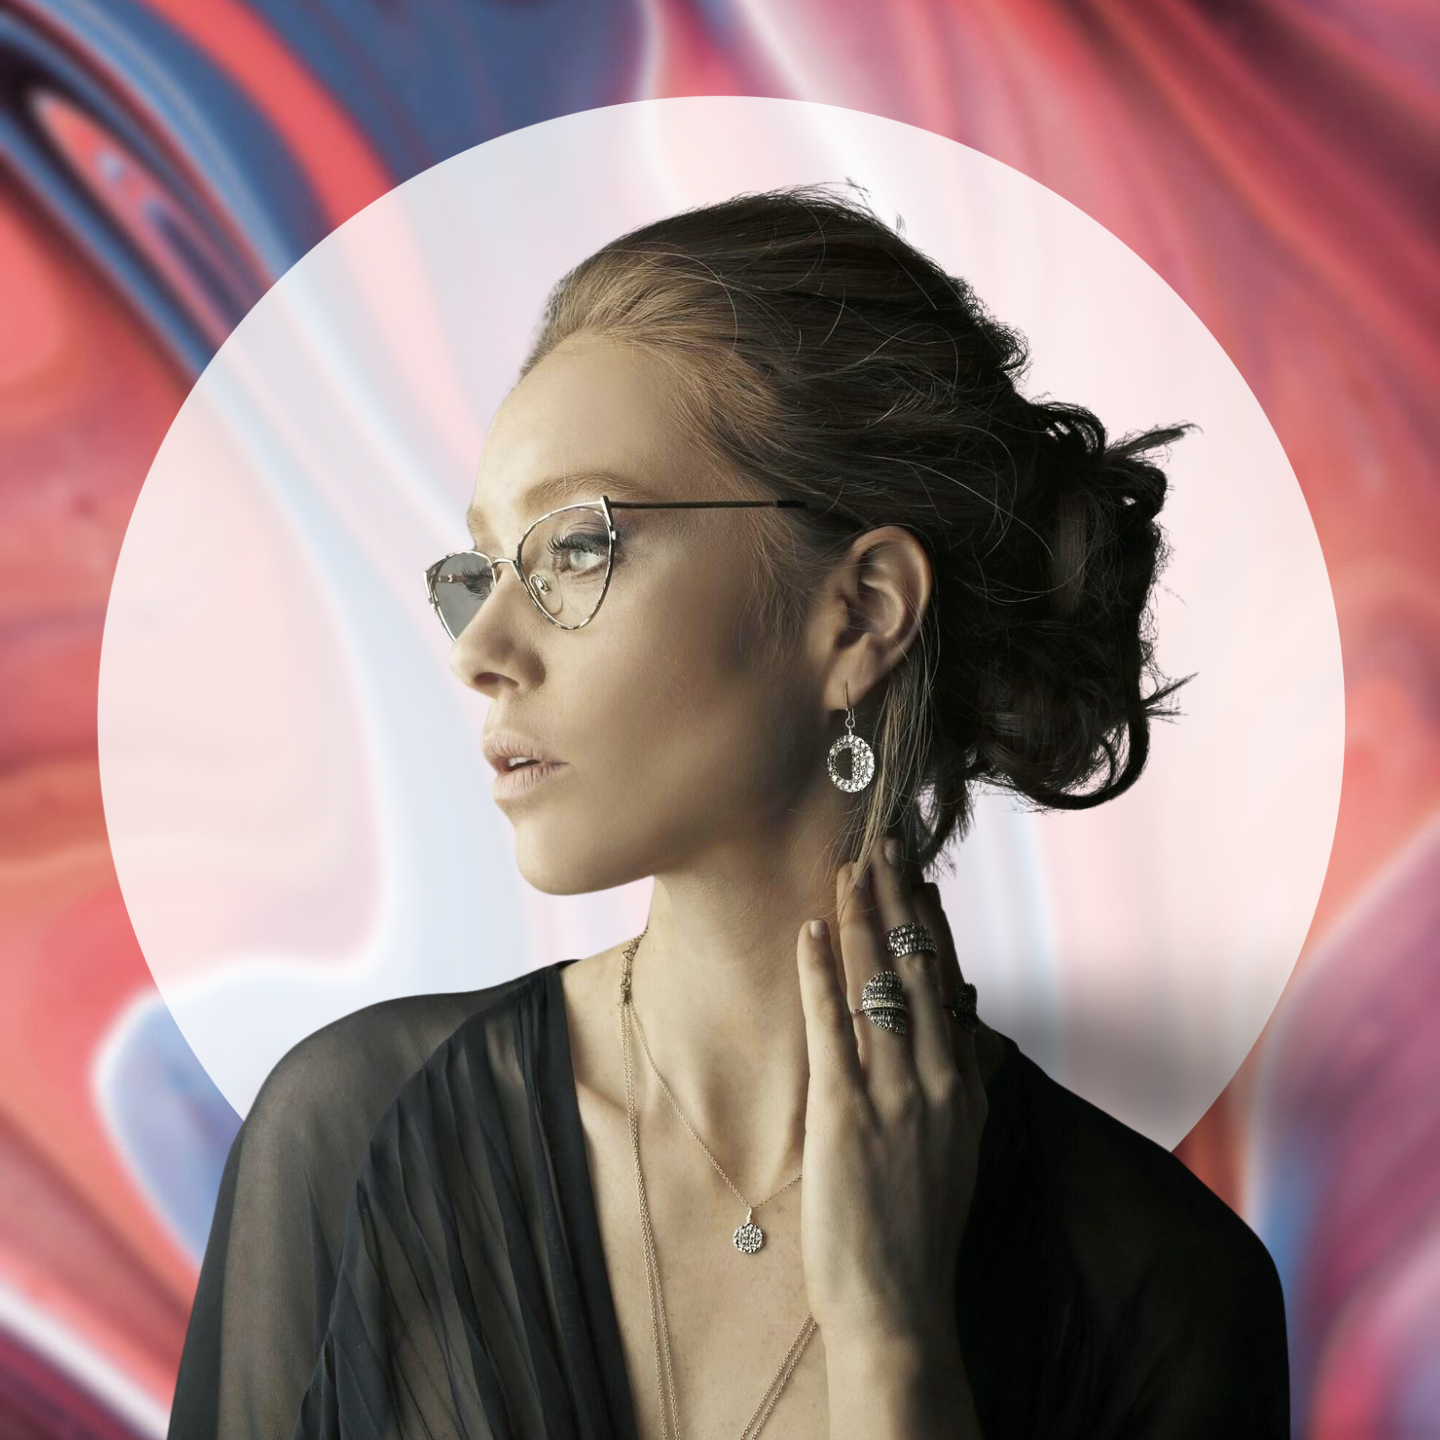
Need inspiration? Check out Designify’s stunning gallery of designs. It includes a wide range of options for e-commerce, marketing, social, fashion, and automotive backgrounds.
Your professional jewelry photos would shine brightest with backgrounds from the e-commerce section, but feel free to get creative! Keep reading for examples of backgrounds from Designify’s e-commerce section that would suit your products best.
The best backgrounds for jewelry photography
Neutral backgrounds
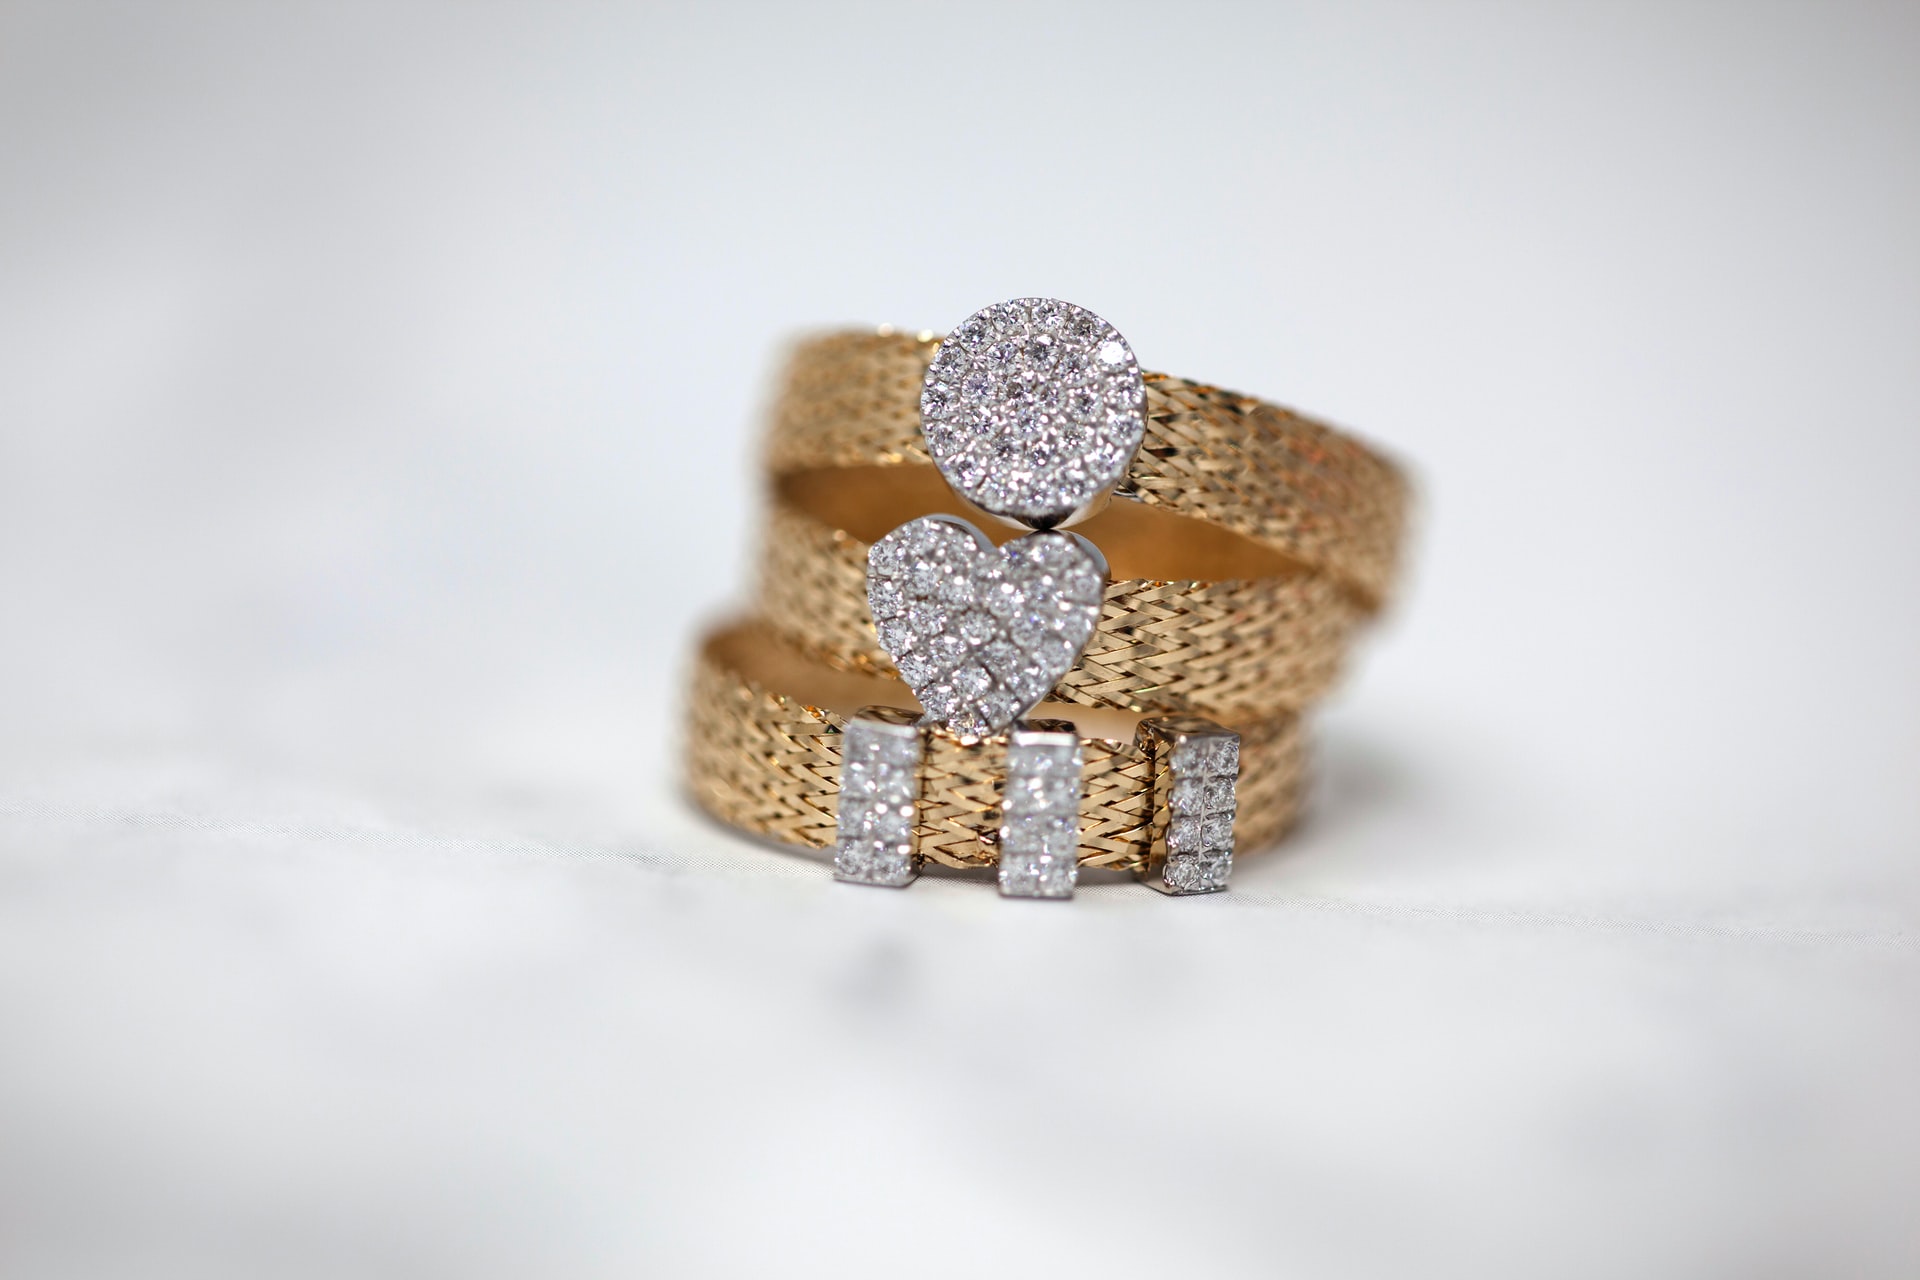
Luxury products like jewelry and understated backgrounds go hand in hand. Your best bet to create a visually stunning display is to invest in white, off-white, platinum, and beige backgrounds.
A plain white background can be edited to display a subtle hint of shadow, which helps jewelry appear more lifelike. Here’s an example using Designify’s e-commerce background features:
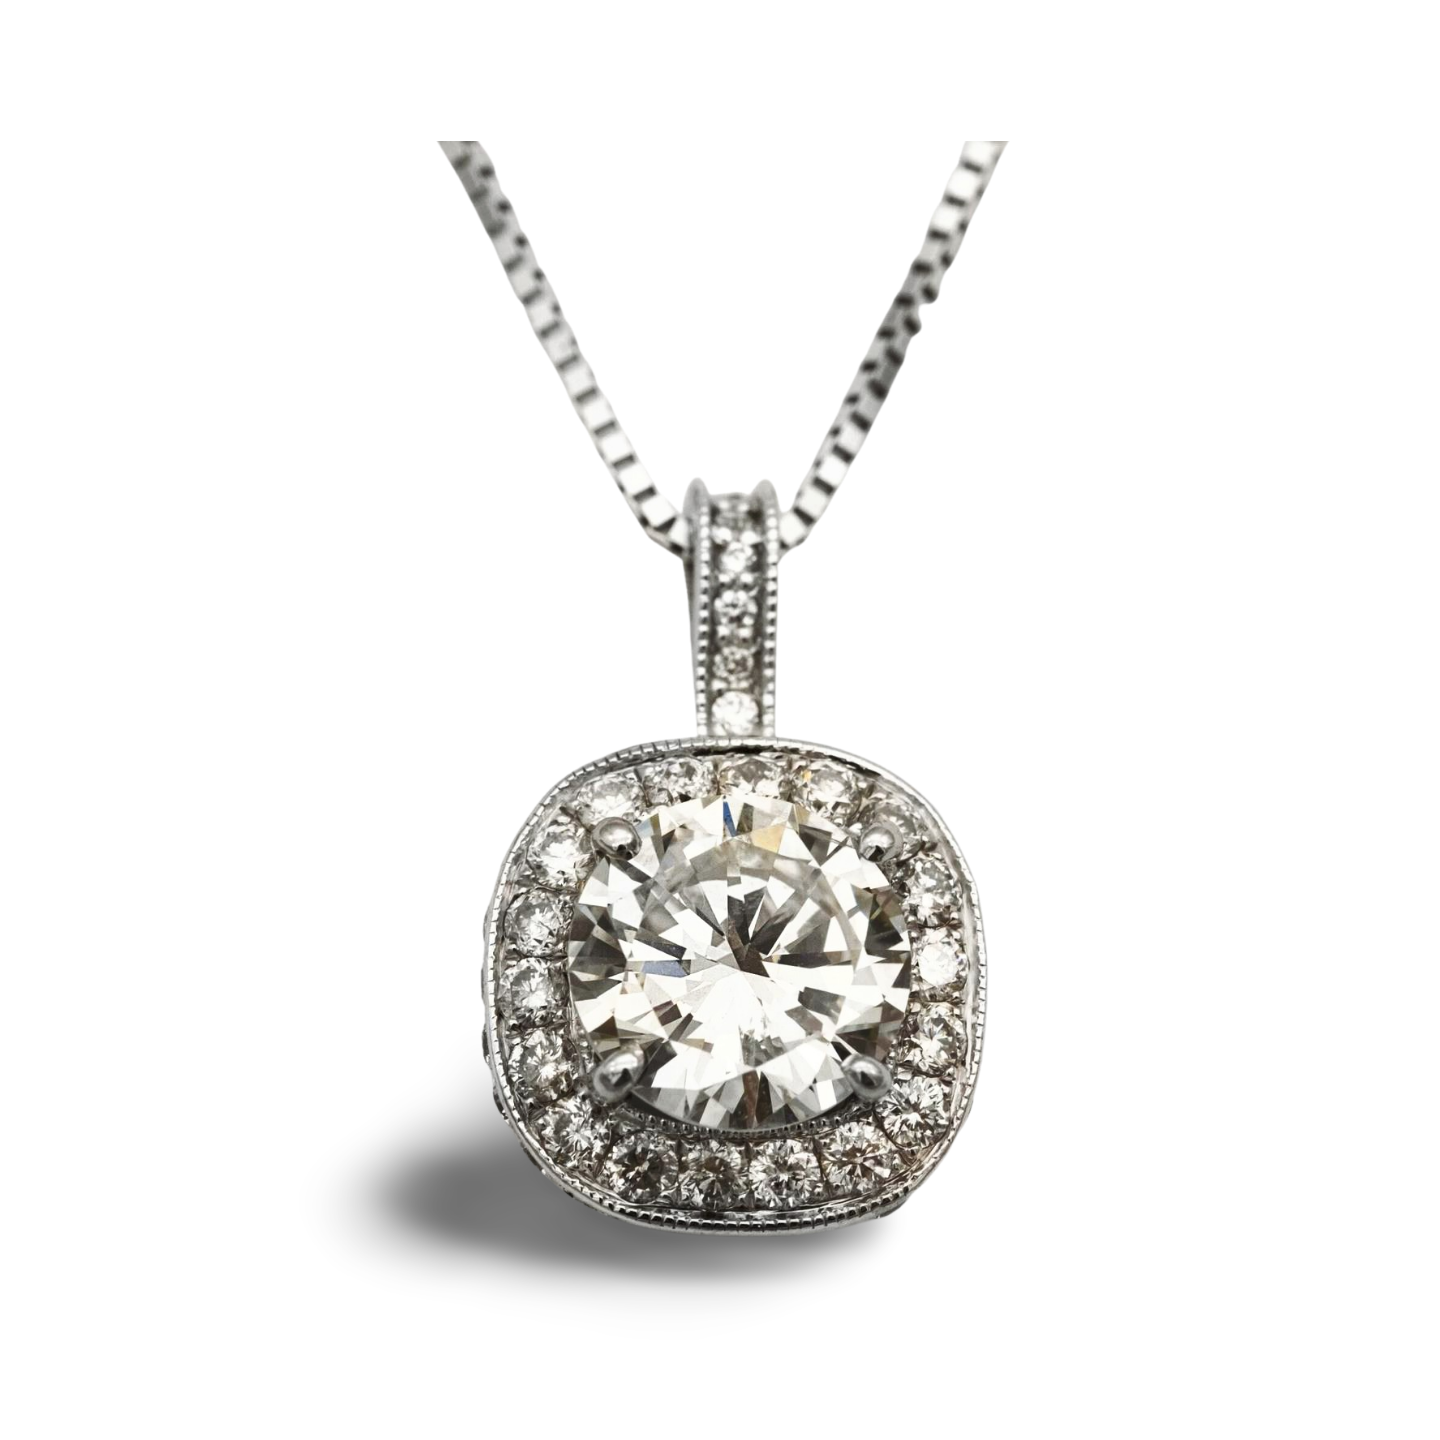
How to create this background image effect? Just follow these three steps.
-
Upload your image onto Designify.

-
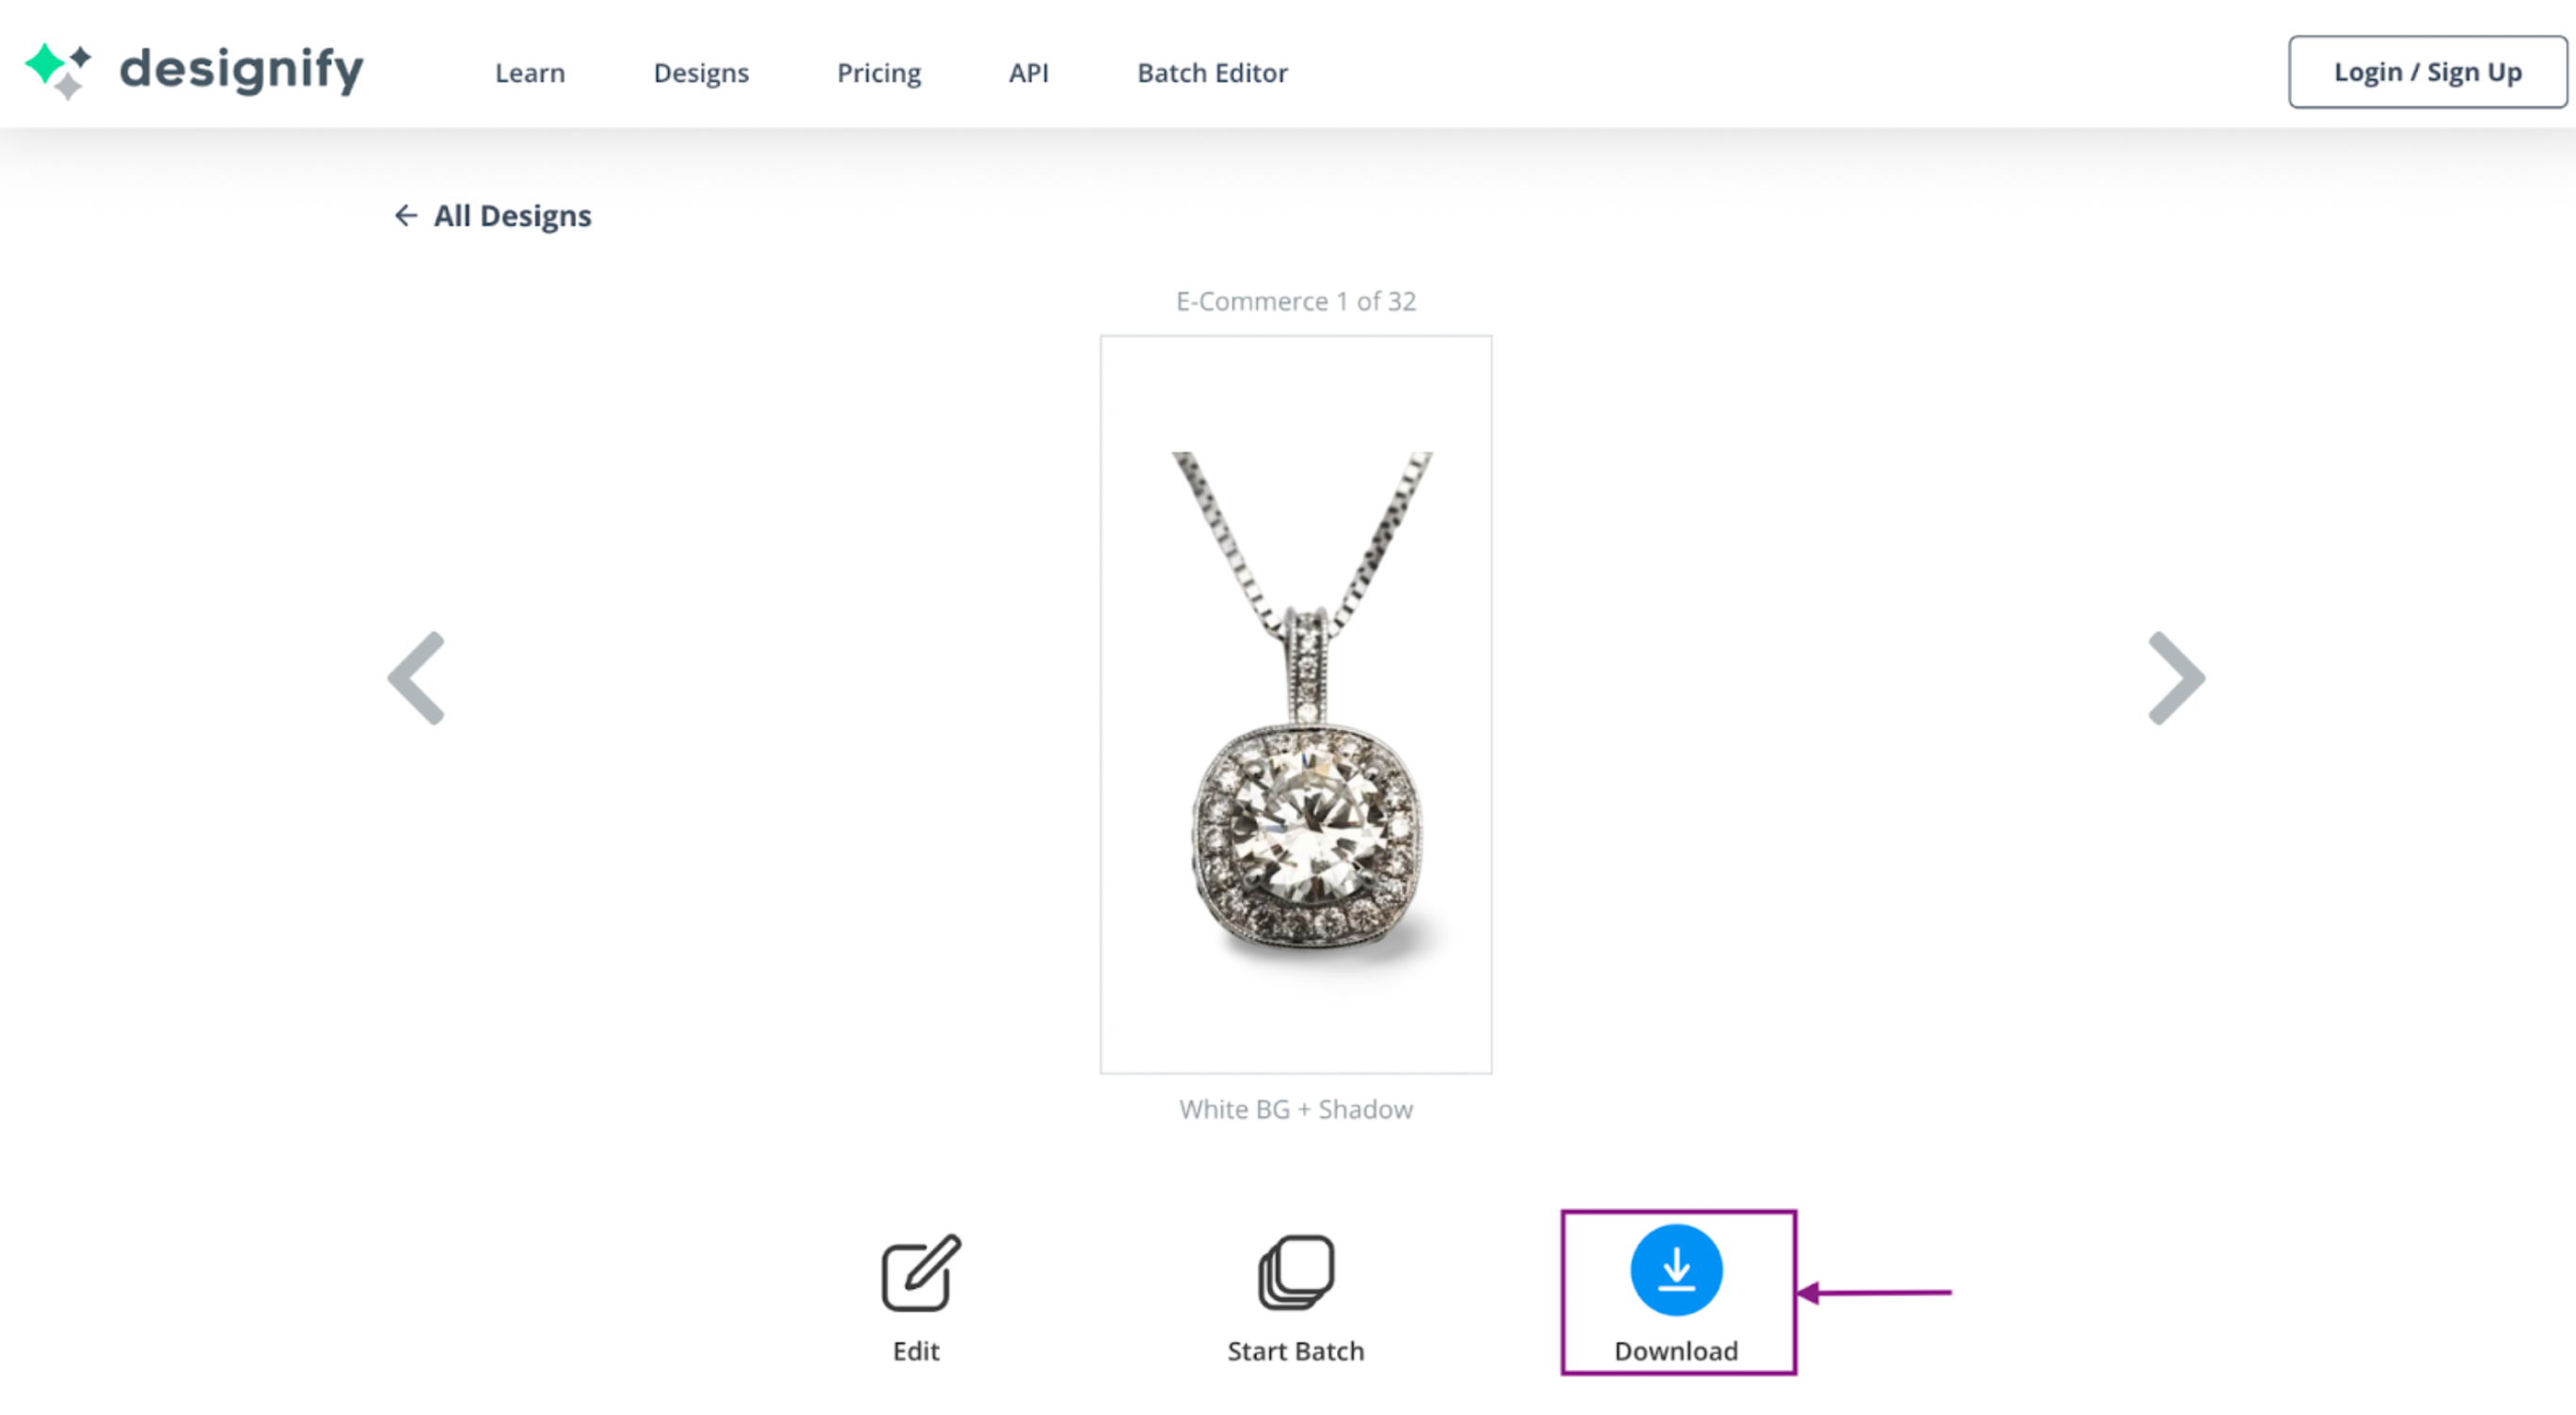
Select a design from the E-Commerce section.
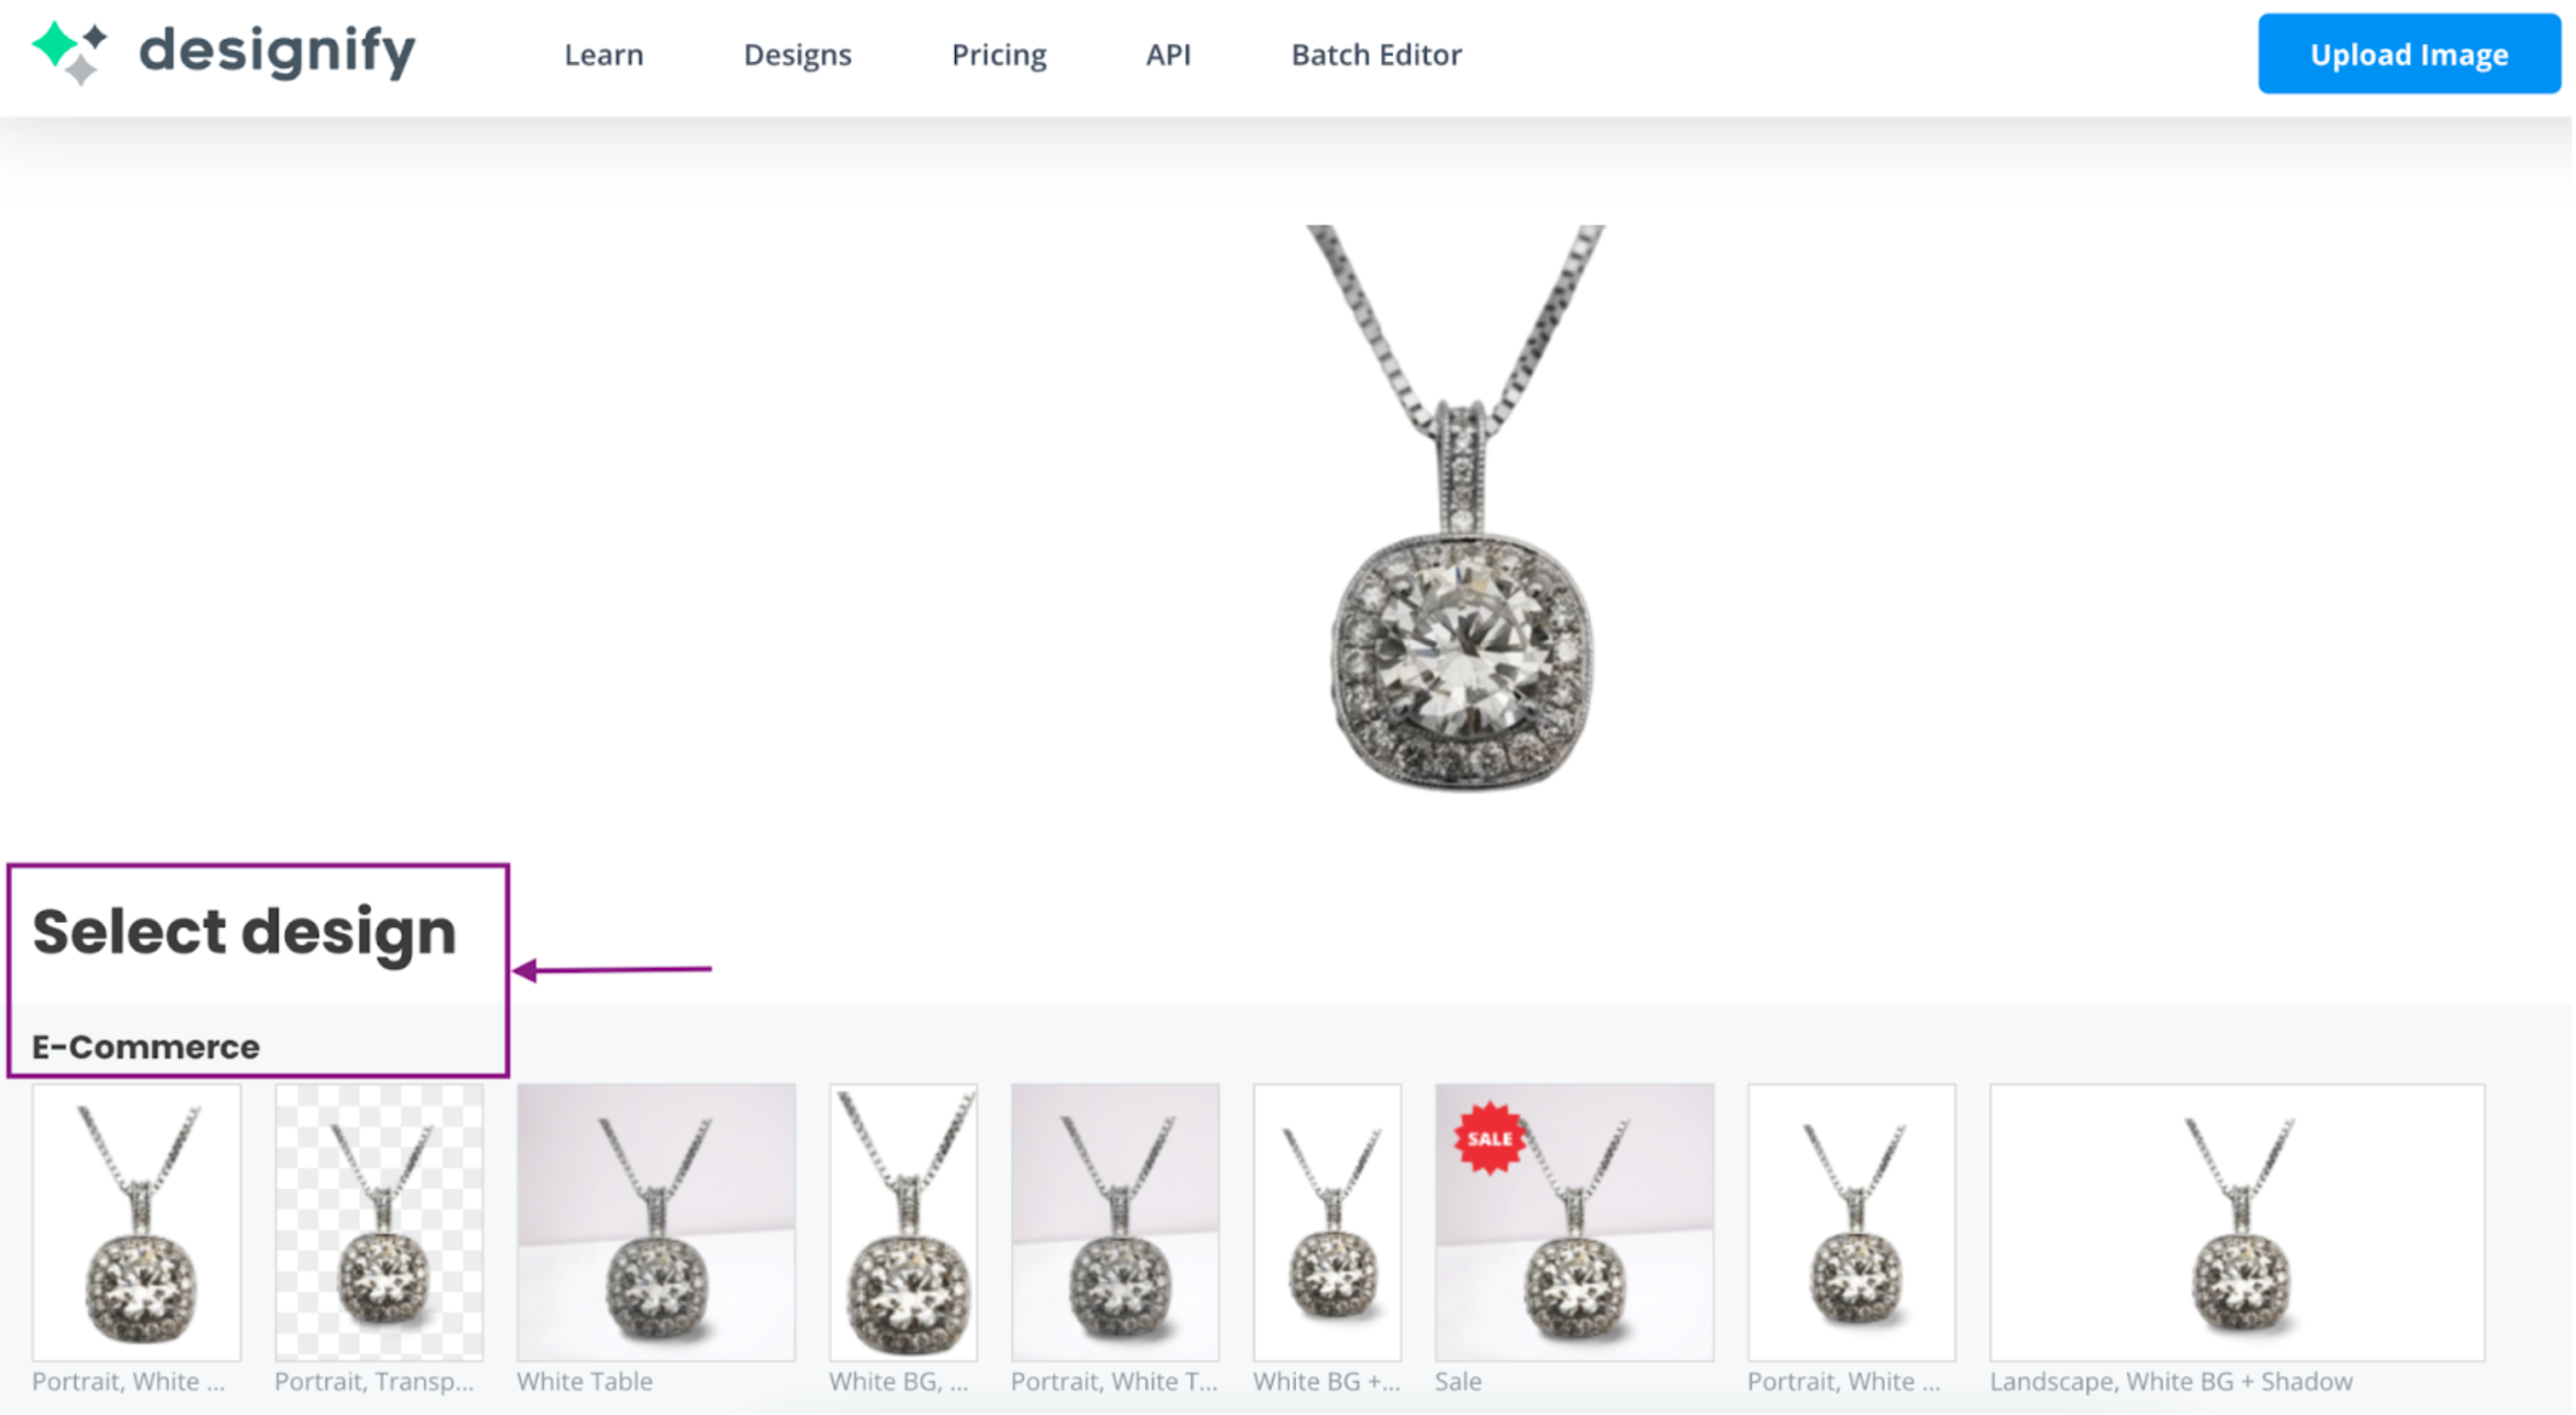
-
Hit the Download button to save your new image as a PNG file.
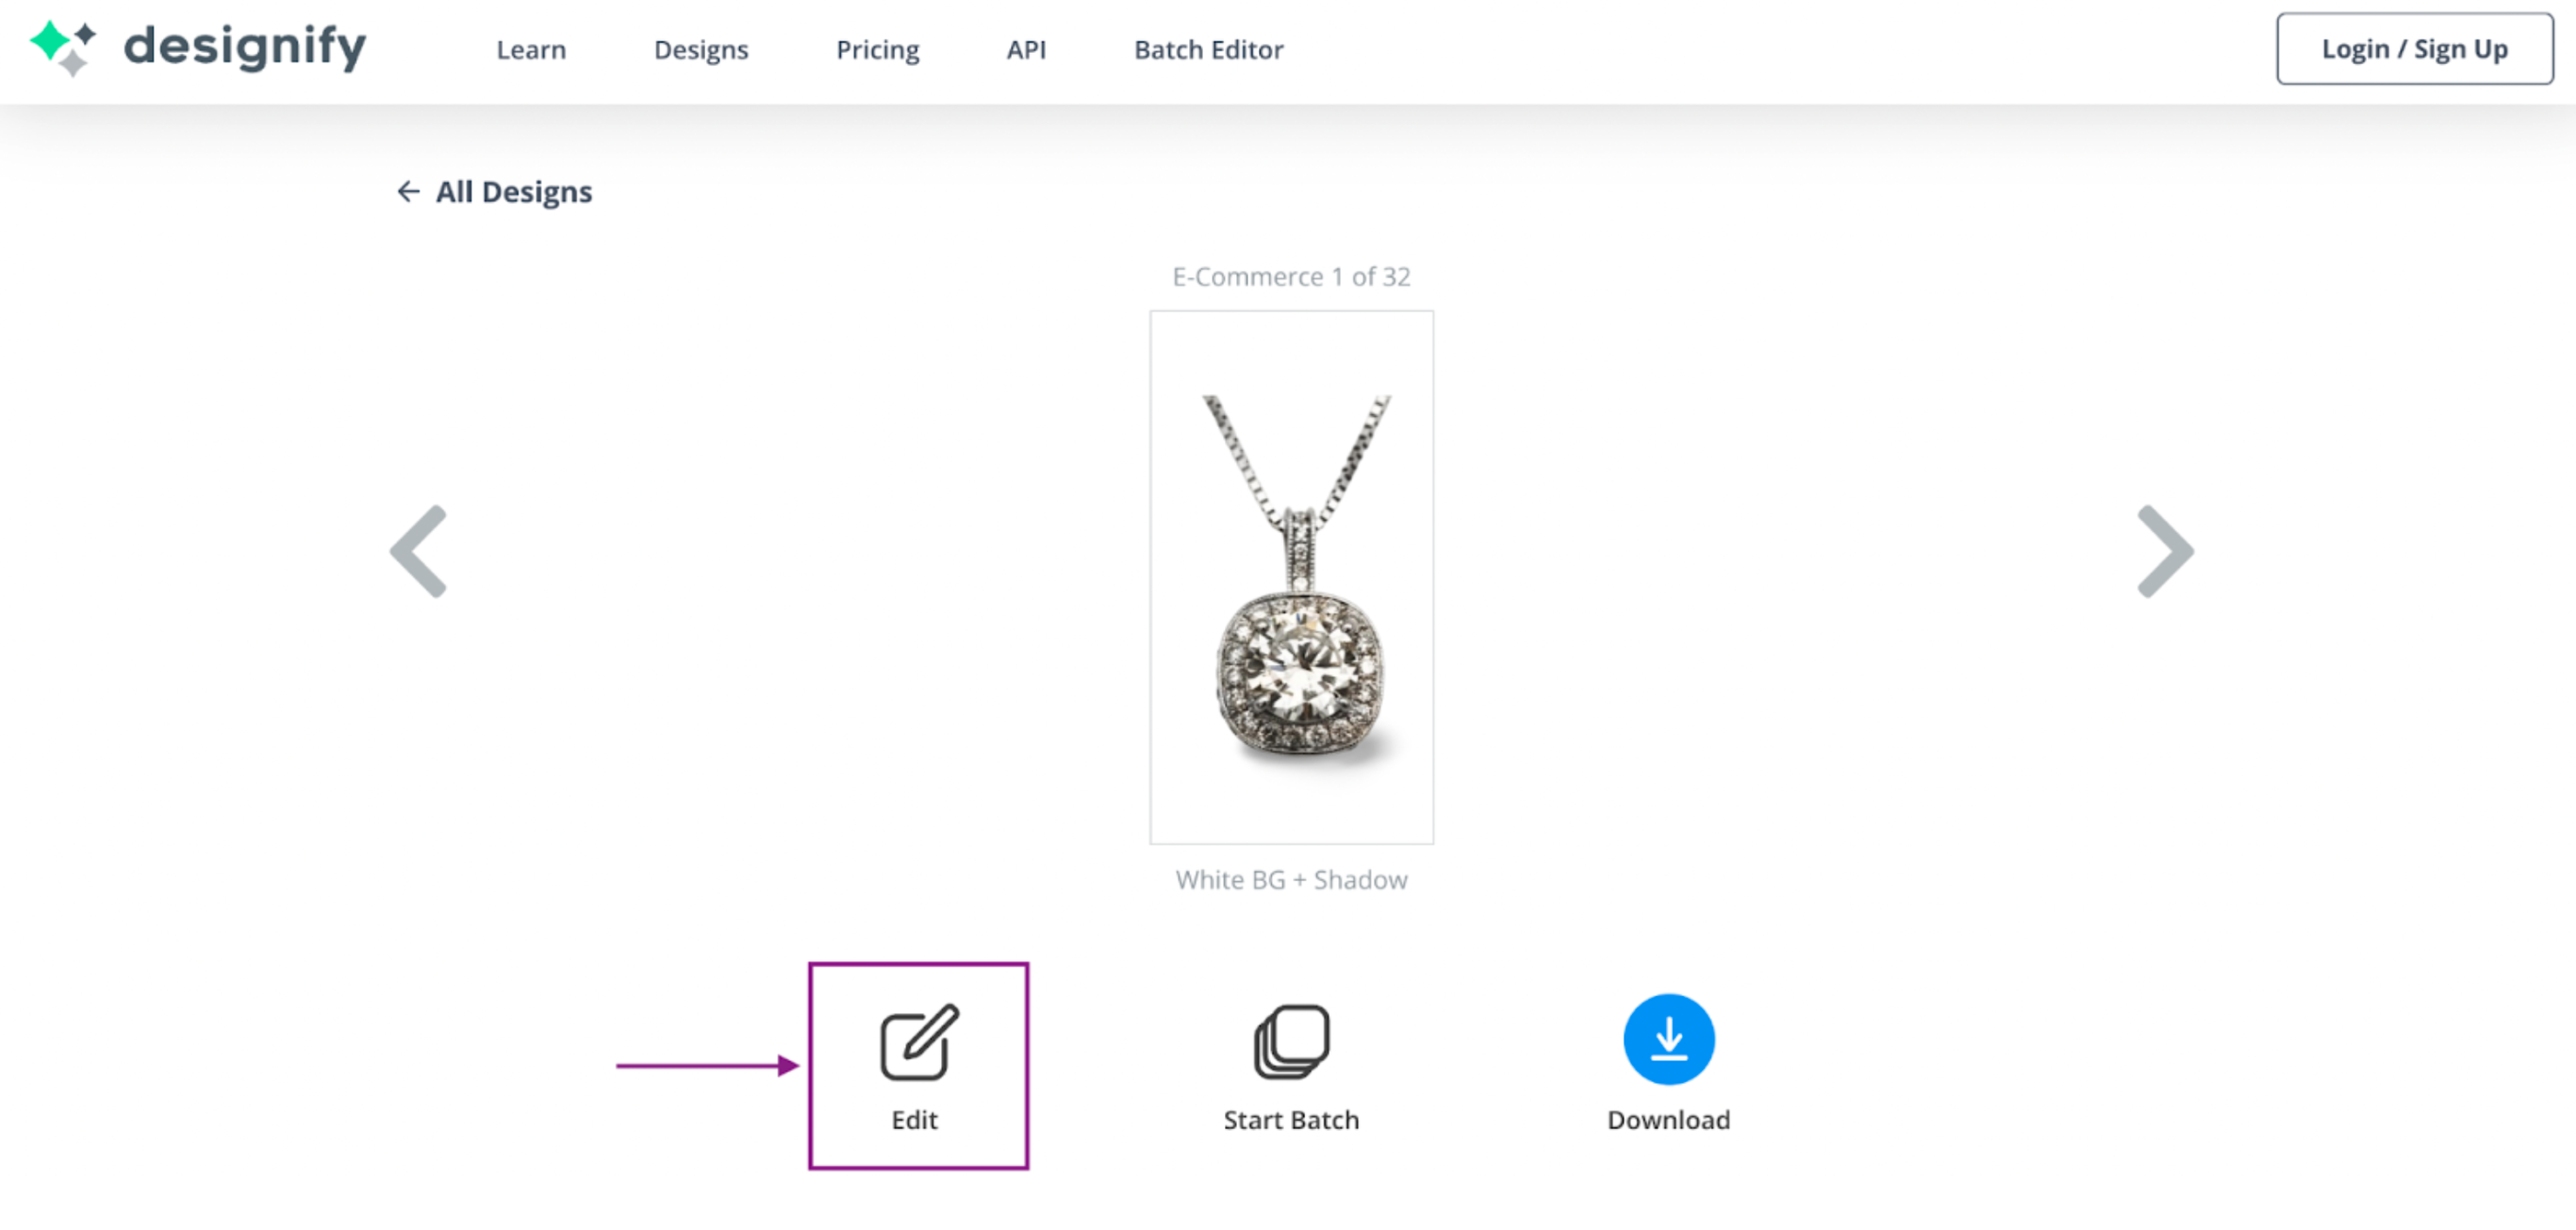
Want to edit your images even more? Check out Designify’s image and background editing features under the Edit button.
Designify’s editing options make professional jewelry photos easy as 1-2-3.
1. With the Add button on the top-right, you can include other images from your device along with your original image.
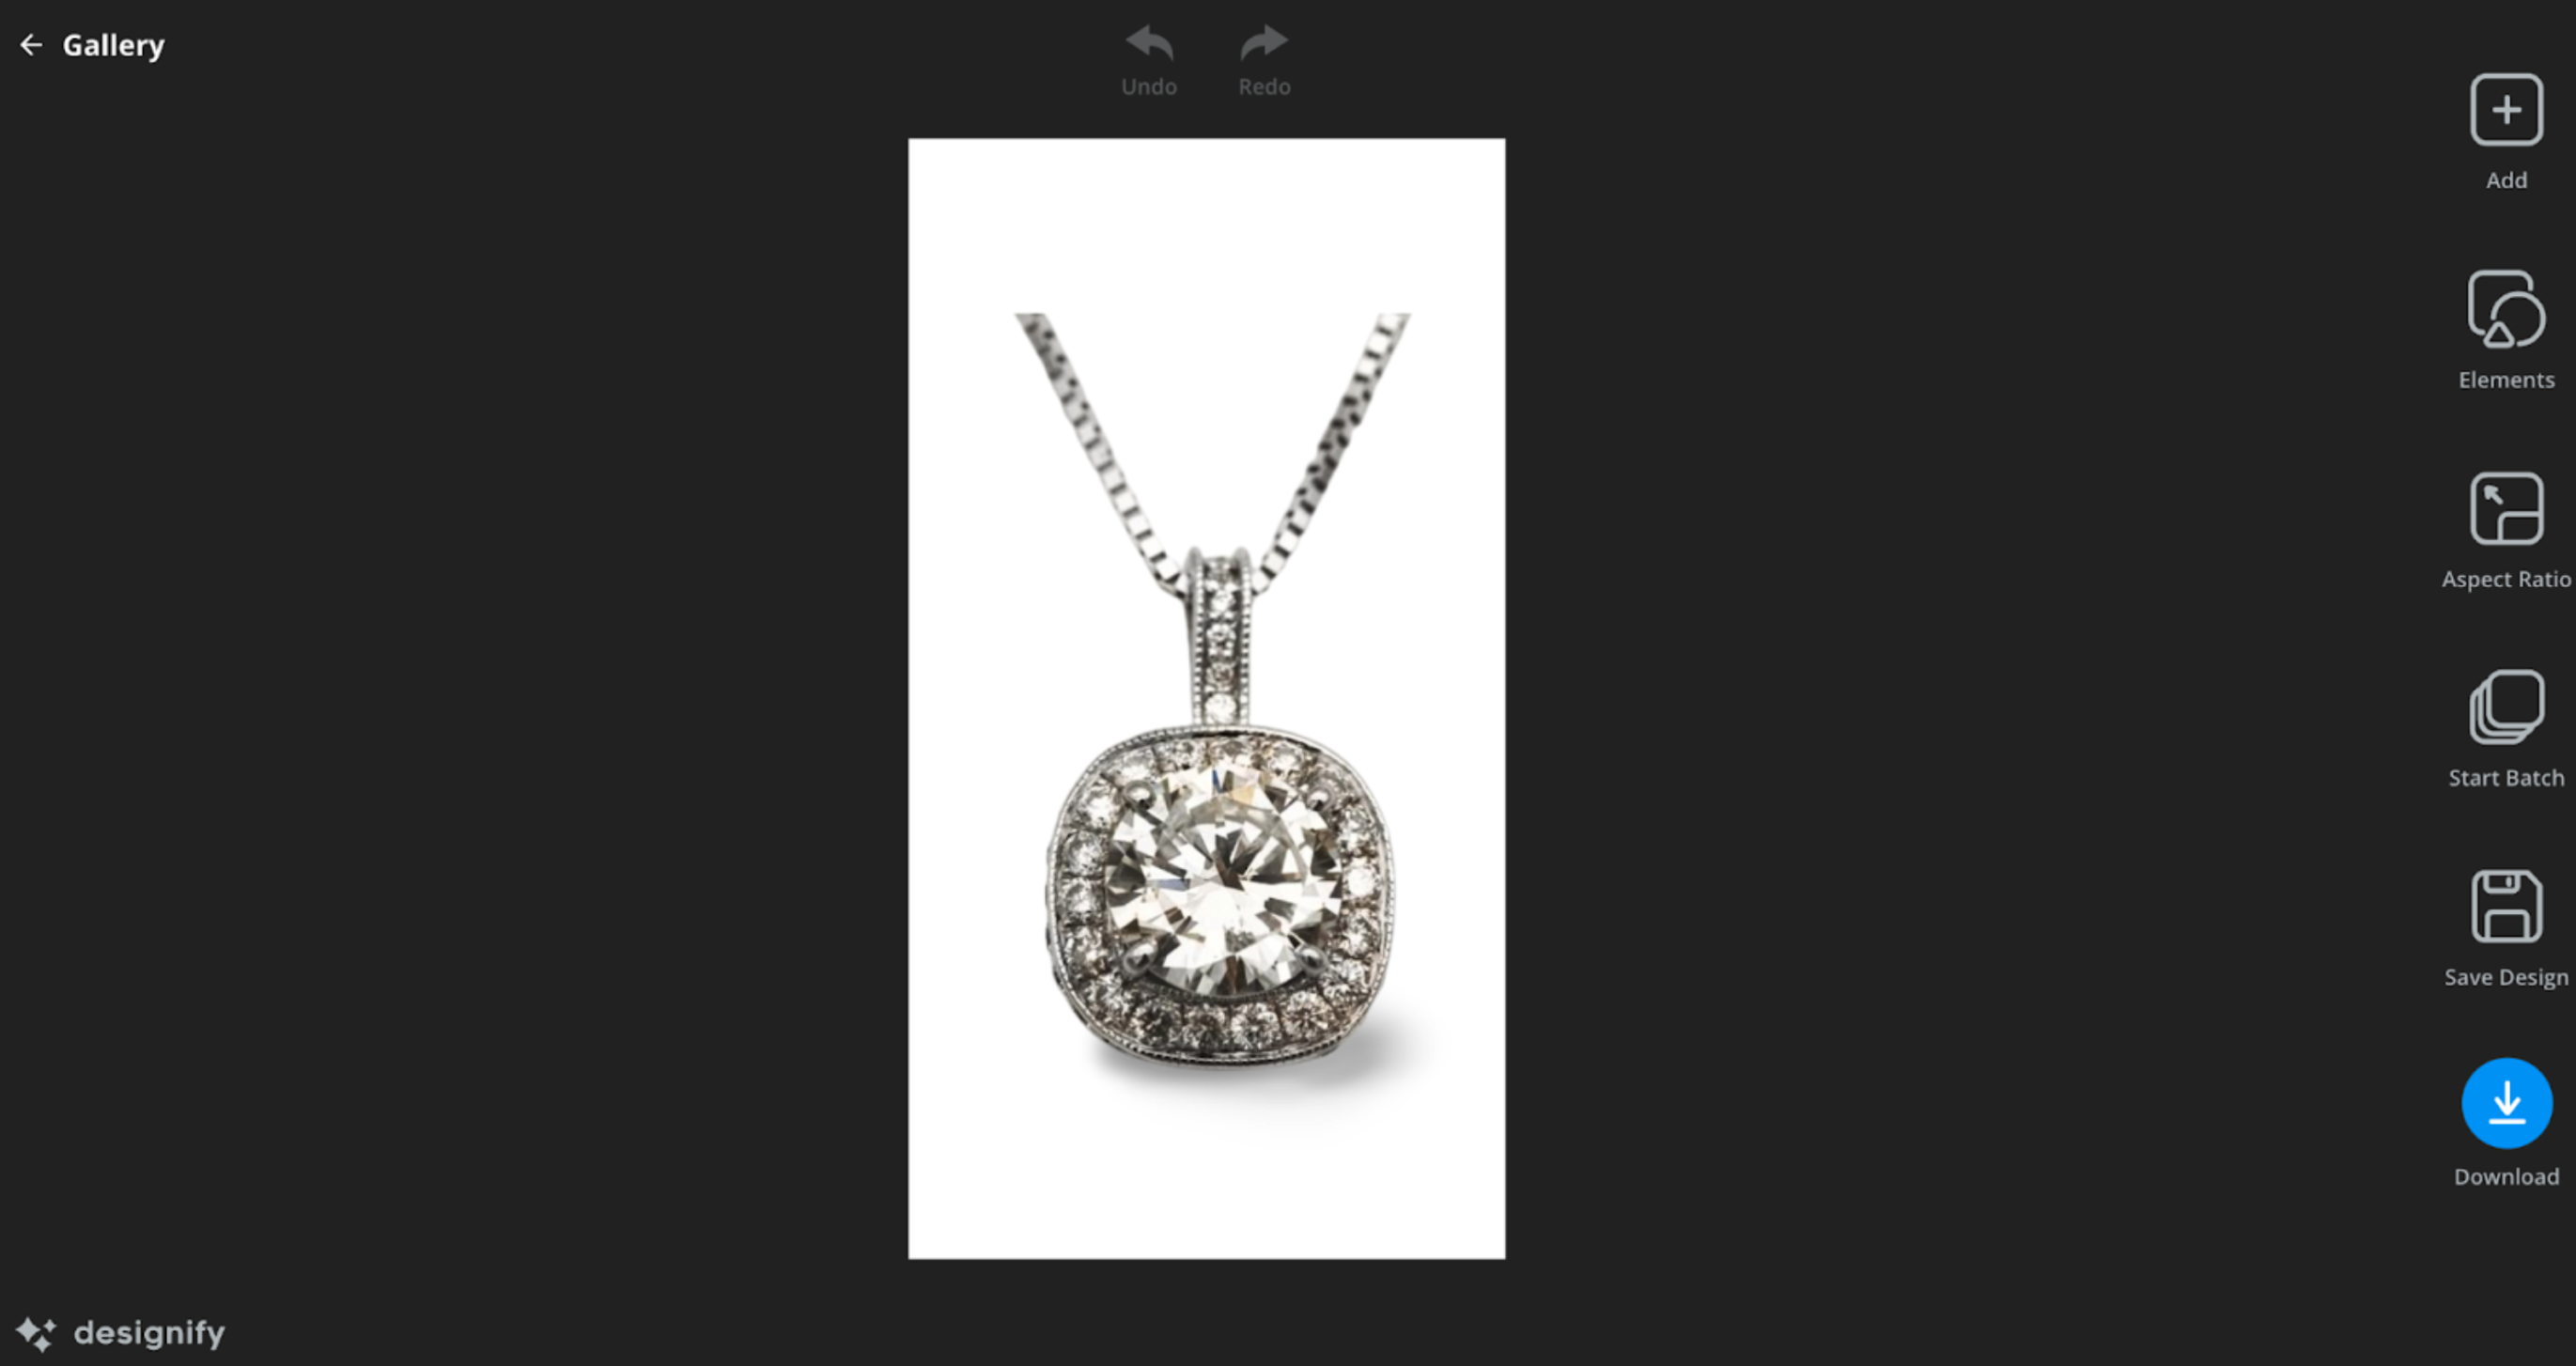
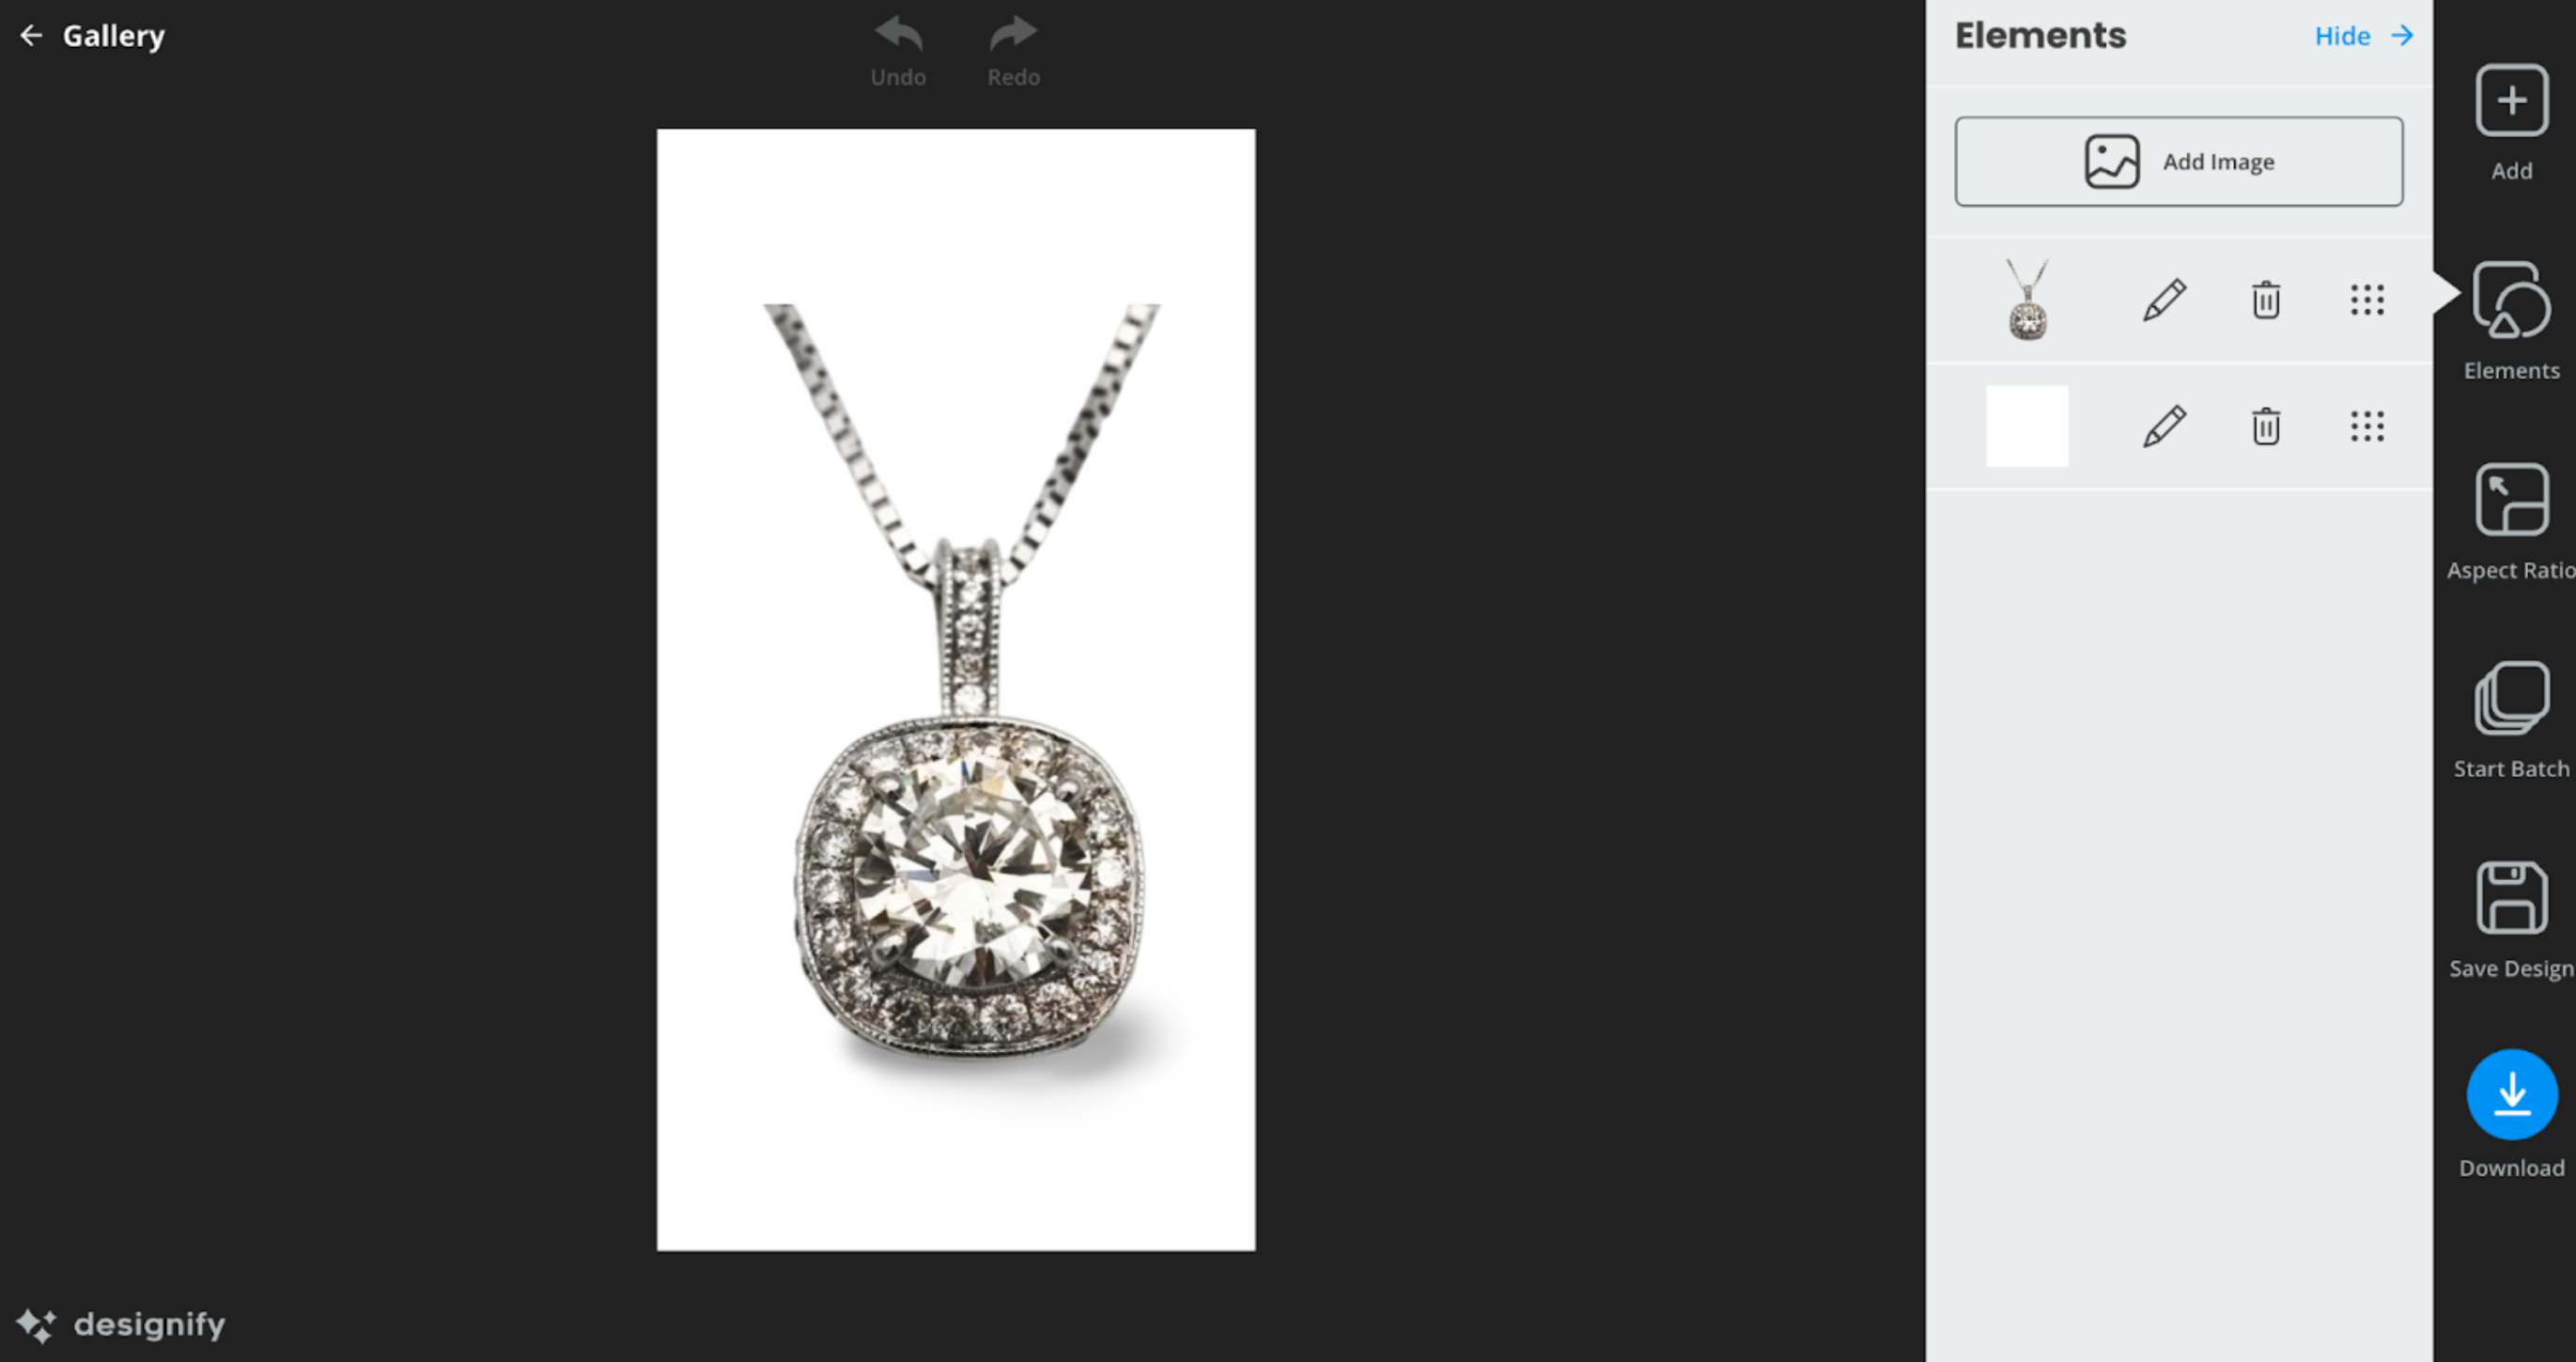
2. The Elements button lets you edit different images or elements separately. This comes in handy in case you’ve used the Add button to include more than one image.
3. The Aspect Ratio button allows you to adjust the size and dimensions of images. If you’ve already edited your image, the Auto option automatically matches the aspect ratio of the original image.
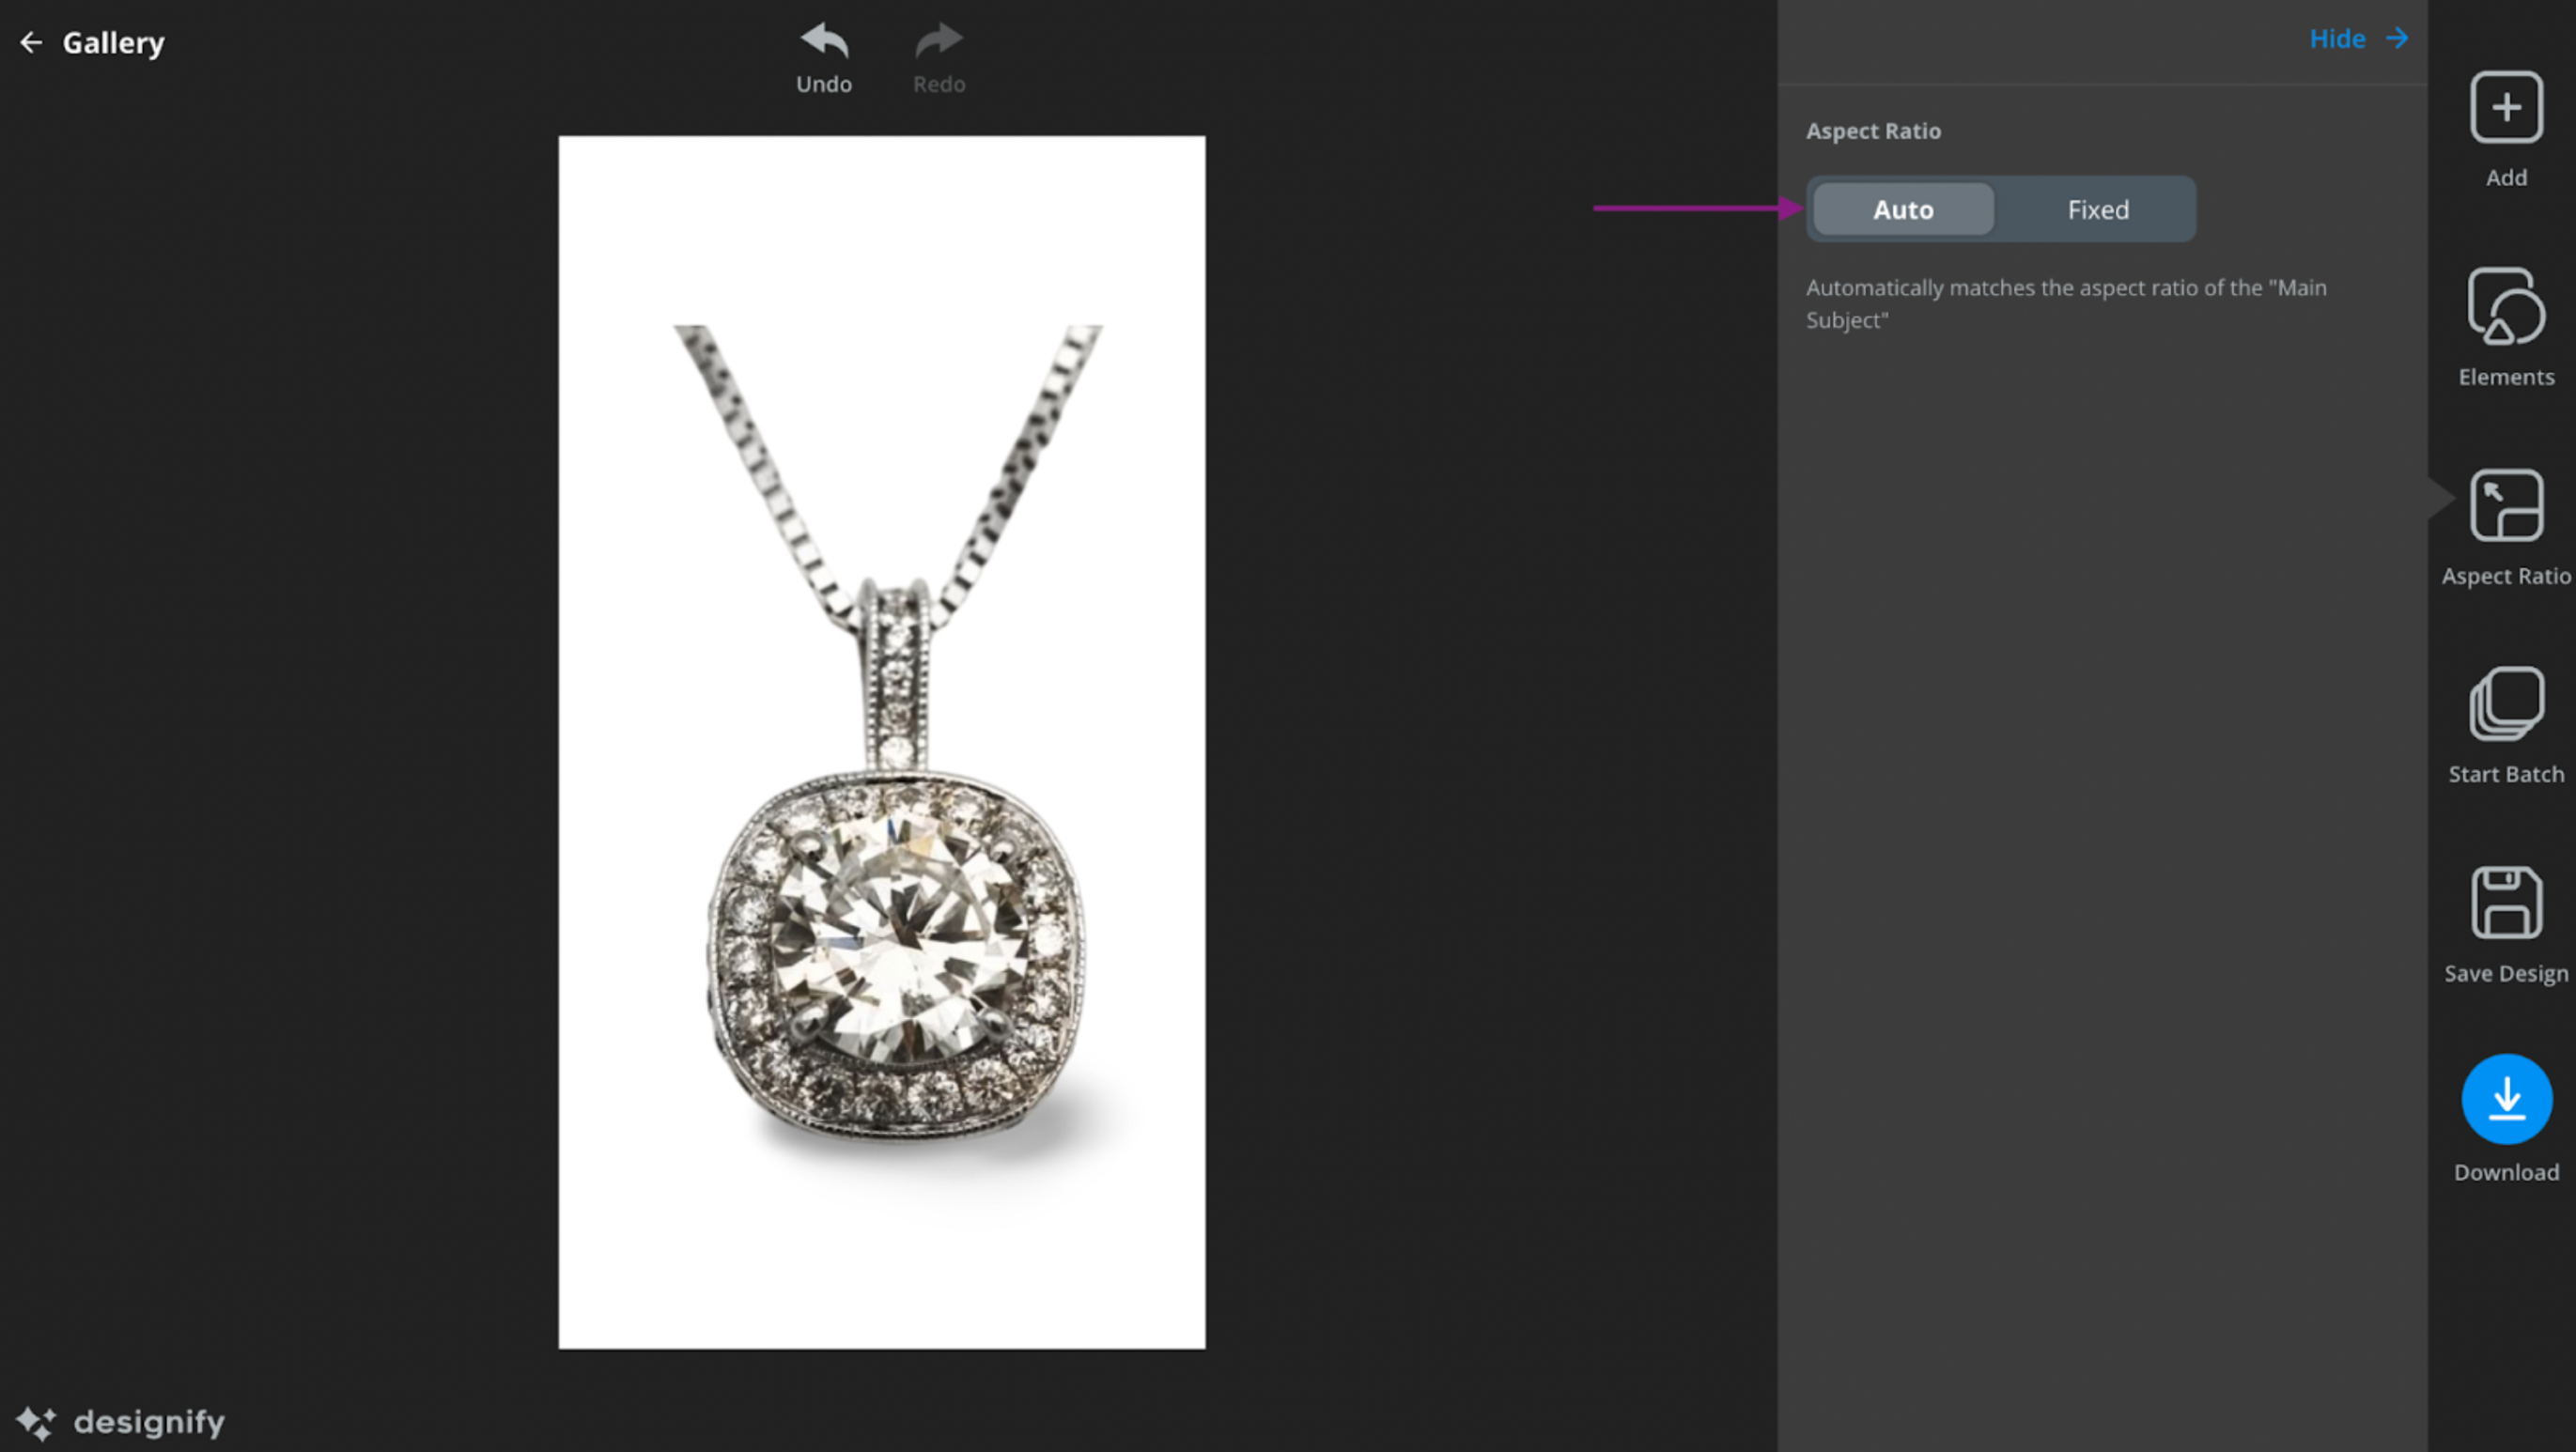
On the other hand, the Fixed option next to it is a great option for adjusting your image for different social media platforms, including:
Instagram Reels (9:16)
Instagram posts (4:5 for portraits, 1:1 for a square post)
Facebook Stories (9:16)
Facebook posts (40:21)
Facebook Marketplace (1:1)
Youtube (16:0).
Twitter posts (16:9)
LinkedIn posts (3:2)
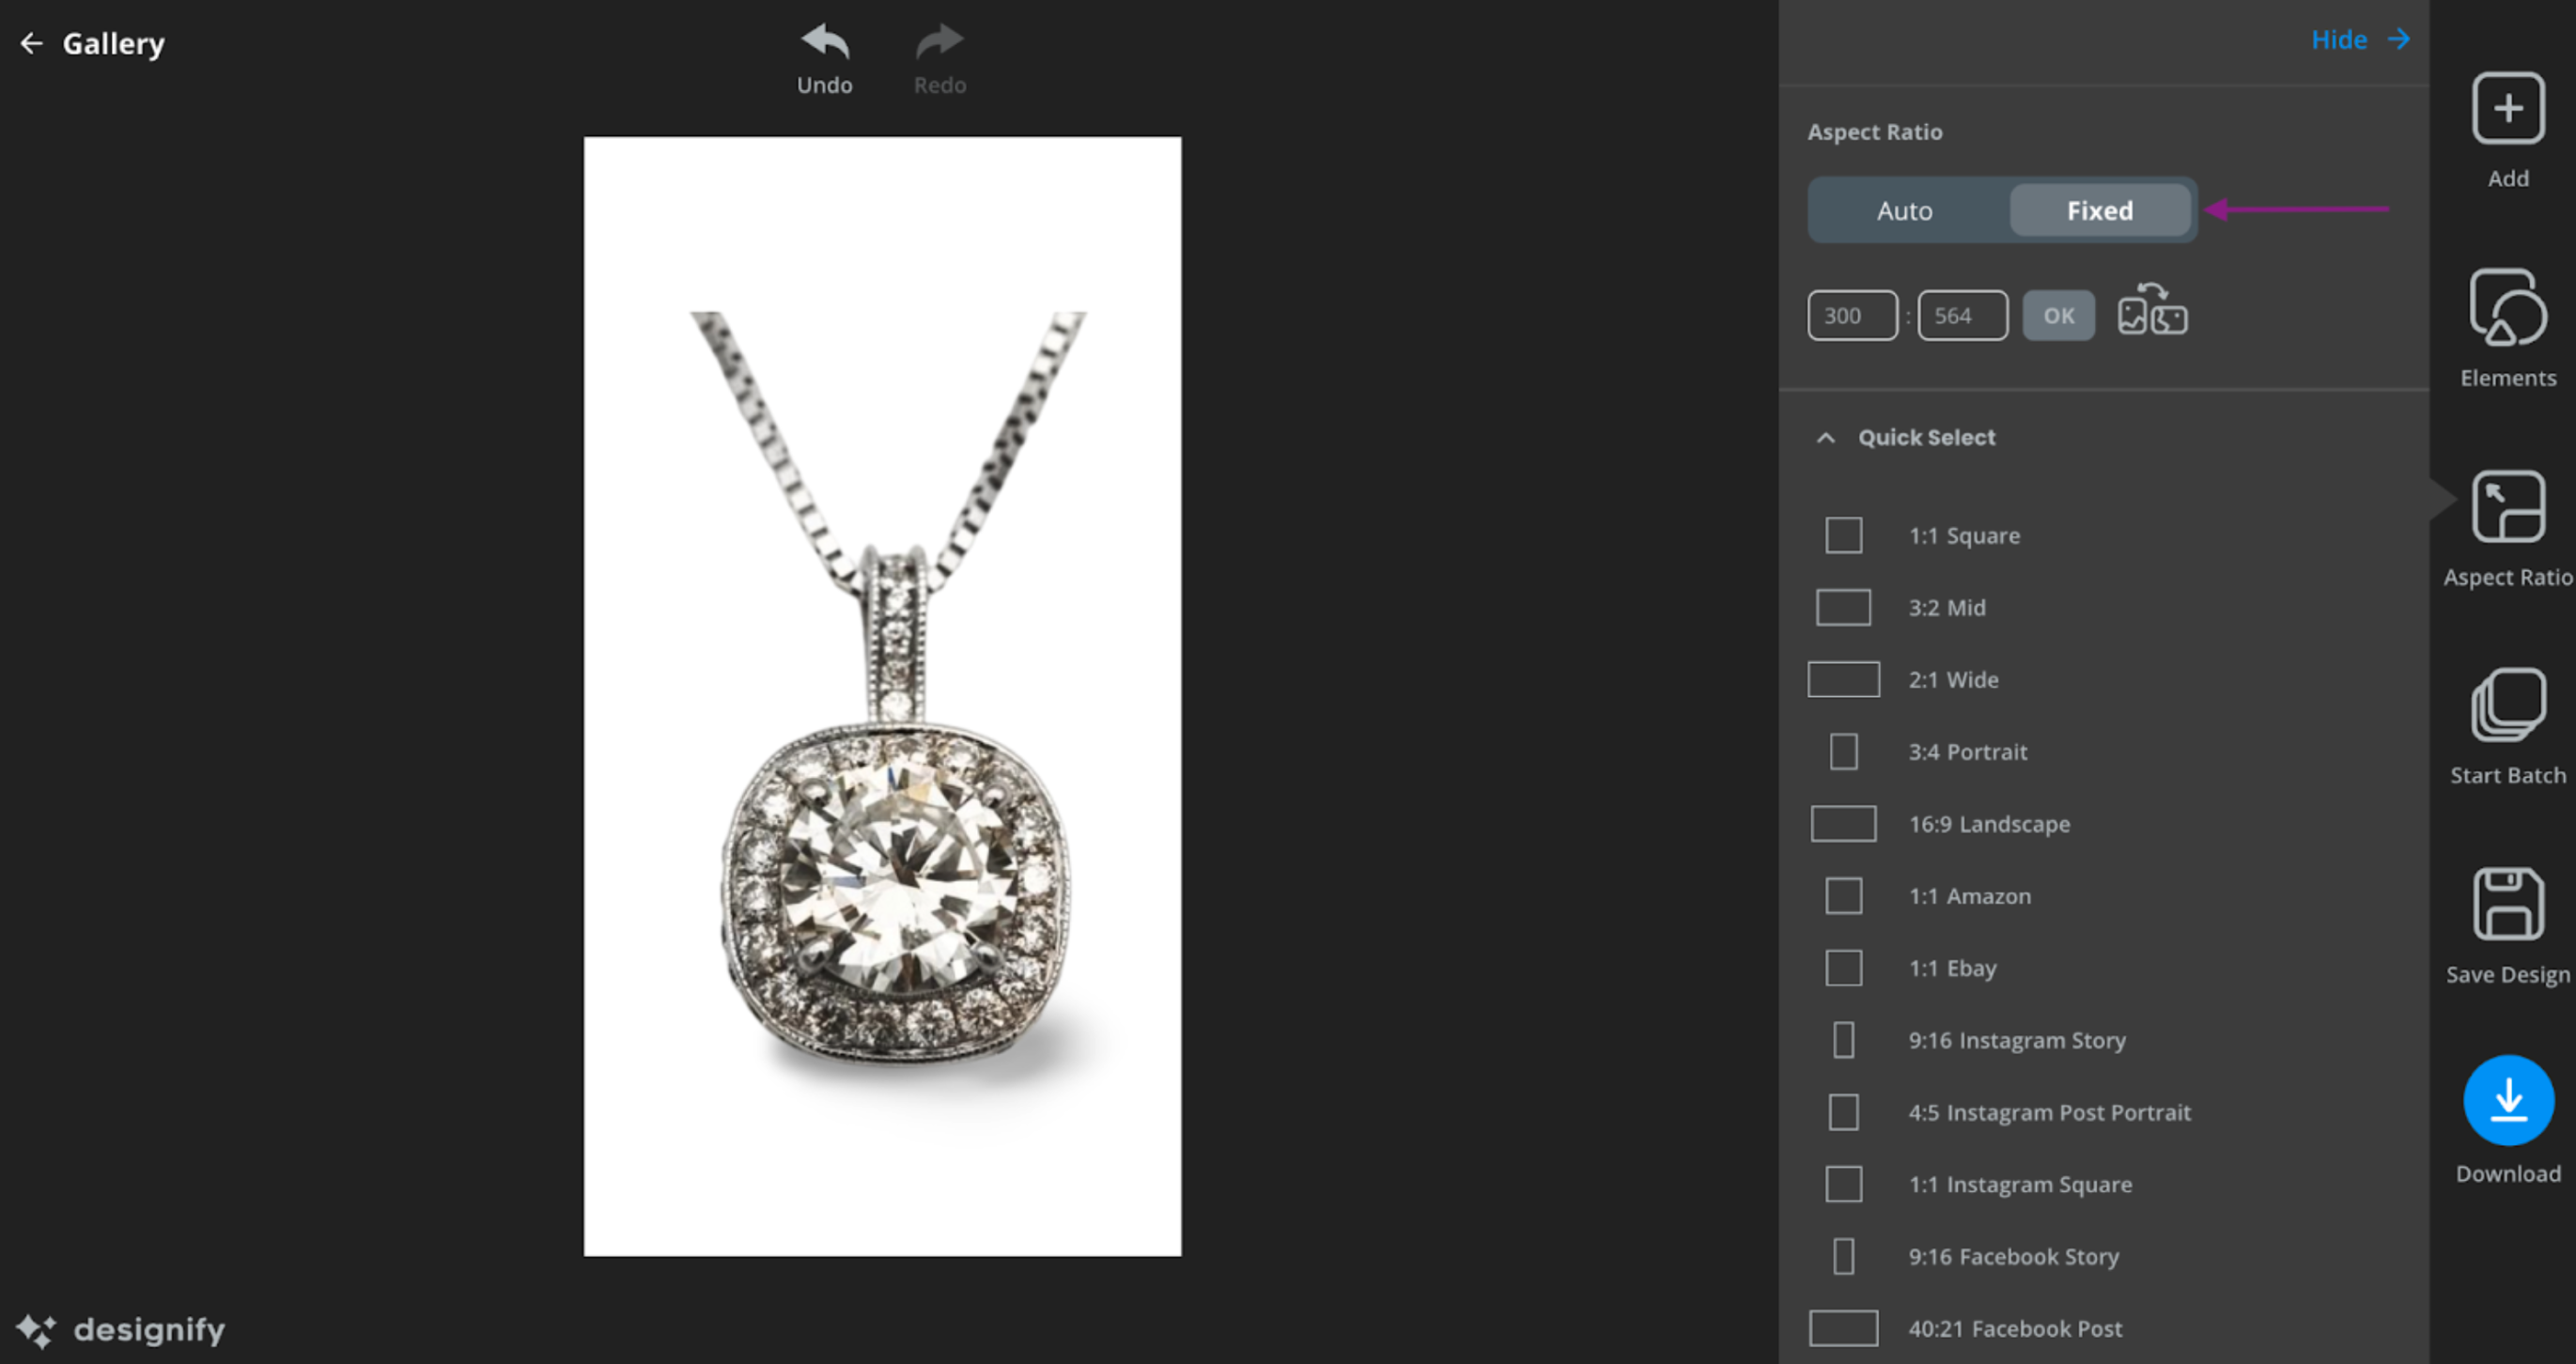
The Aspect ratio option also includes e-commerce options such as Amazon and Ebay (both 1:1). No more customer complaints about products being the wrong size.
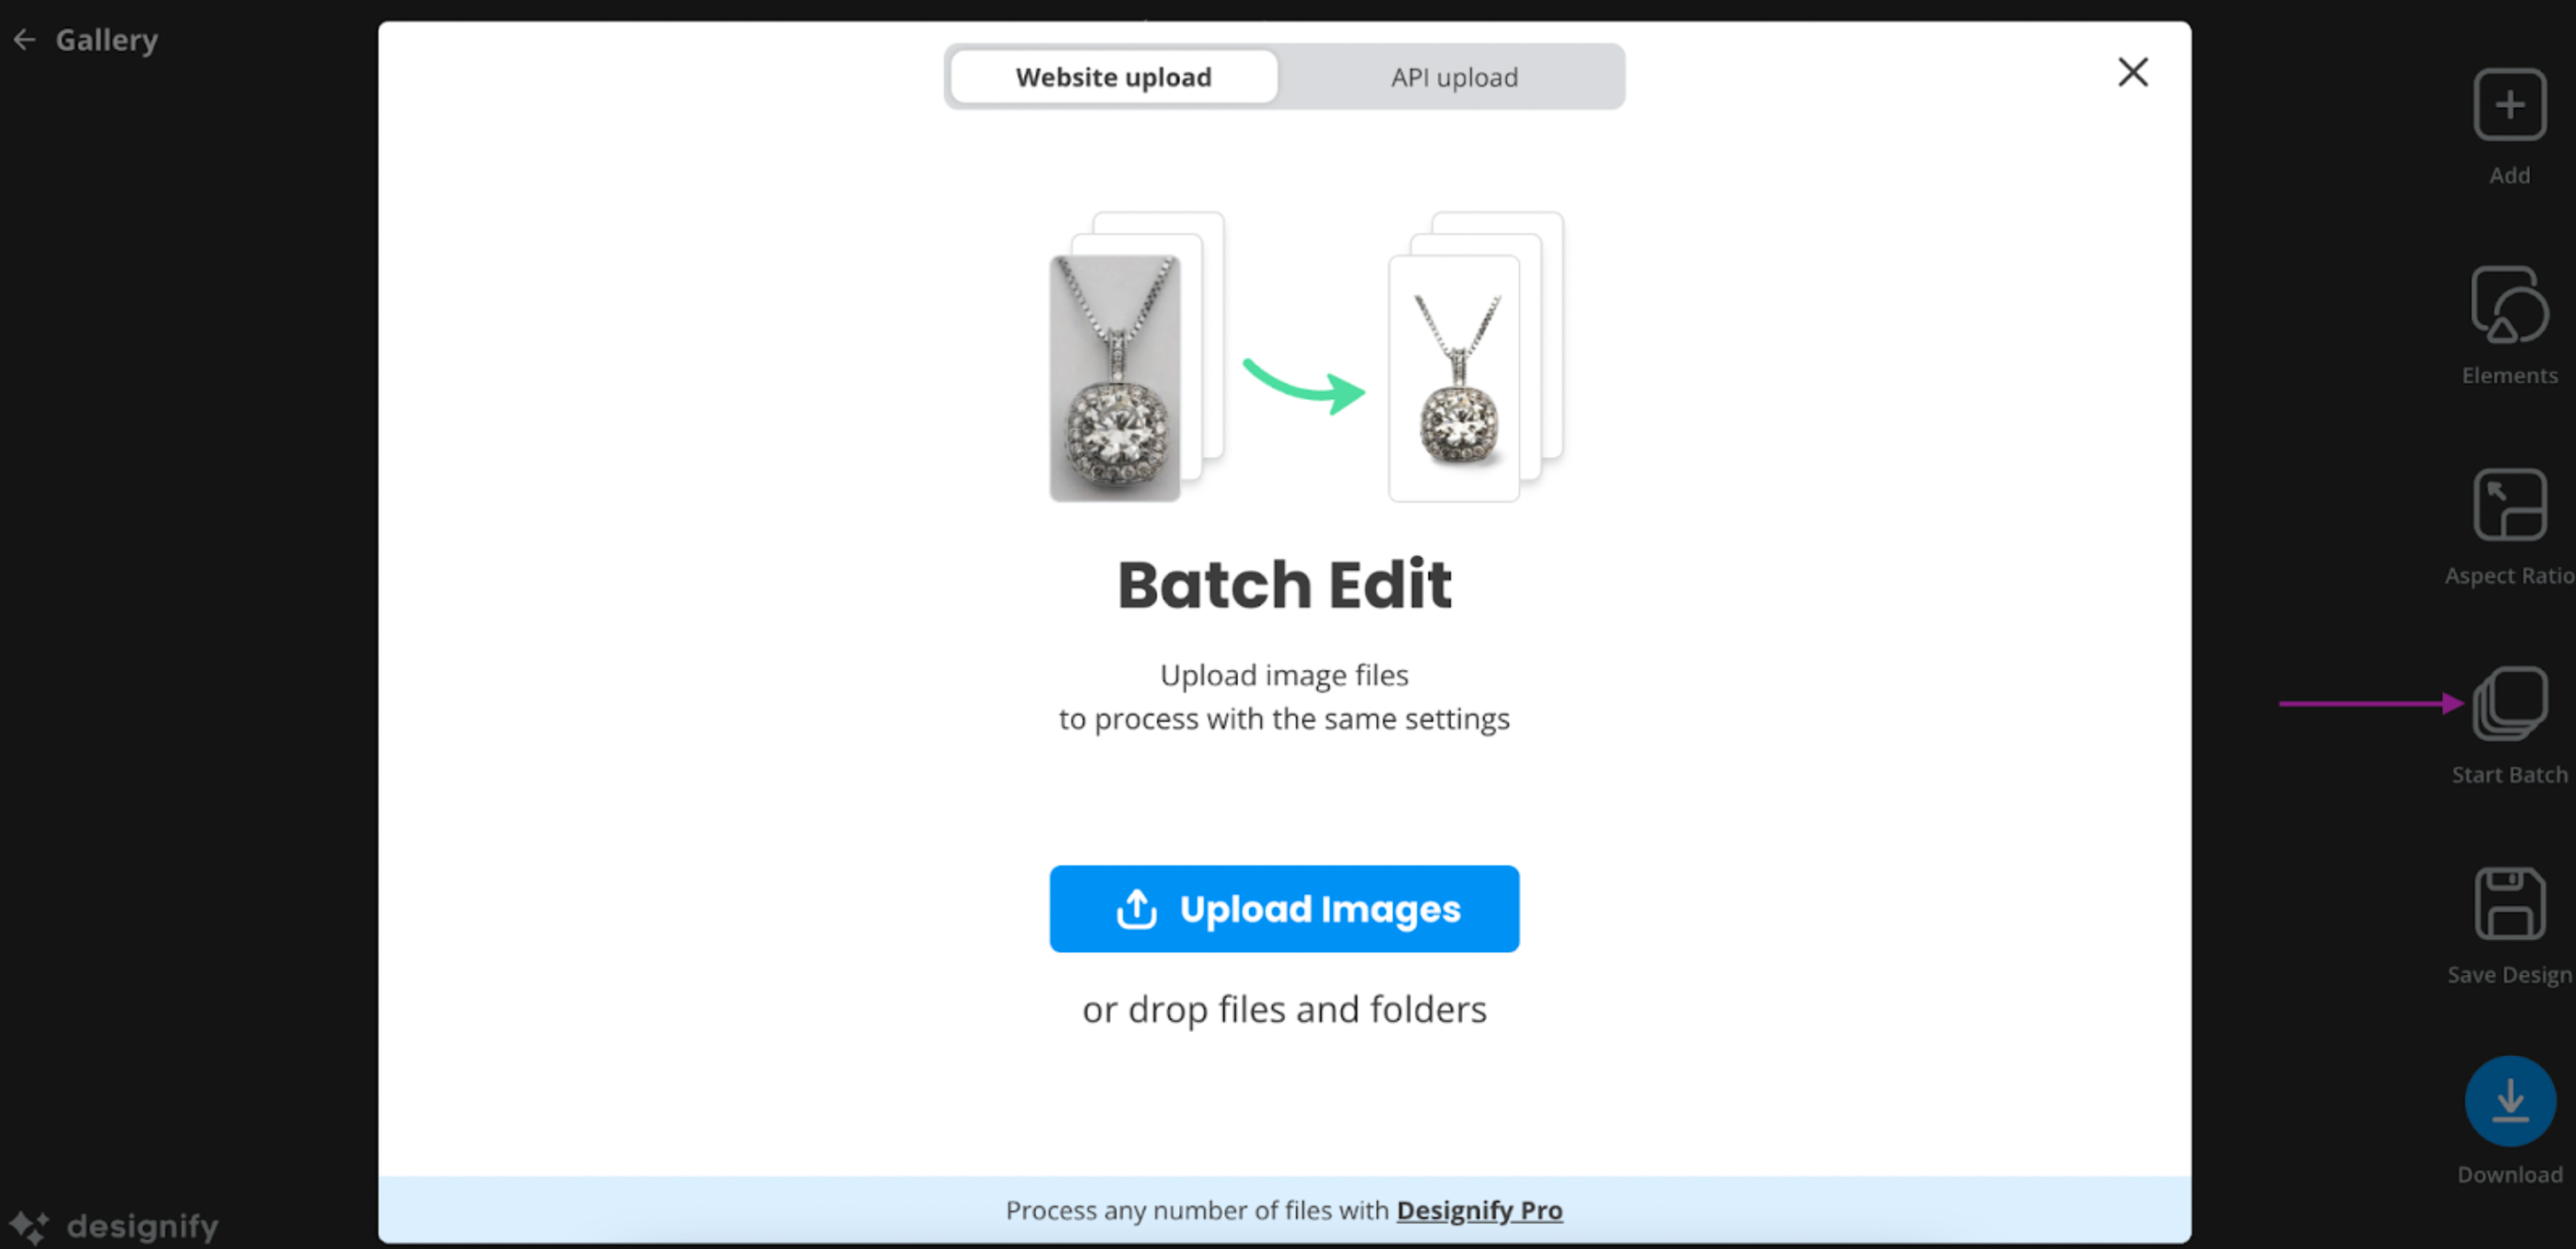
4. The Start Batch button allows you to batch edit, or upload multiple images to process with the same settings. If you want to bulk-edit an unlimited amount of images you can upgrade to Designify Pro.
5. The Save Design button allows you to save images to your Designify user account. You will first need to create a Designify account to access this option.
Once you’re satisfied with your new image, hit Download to save it to your device in PNG form.
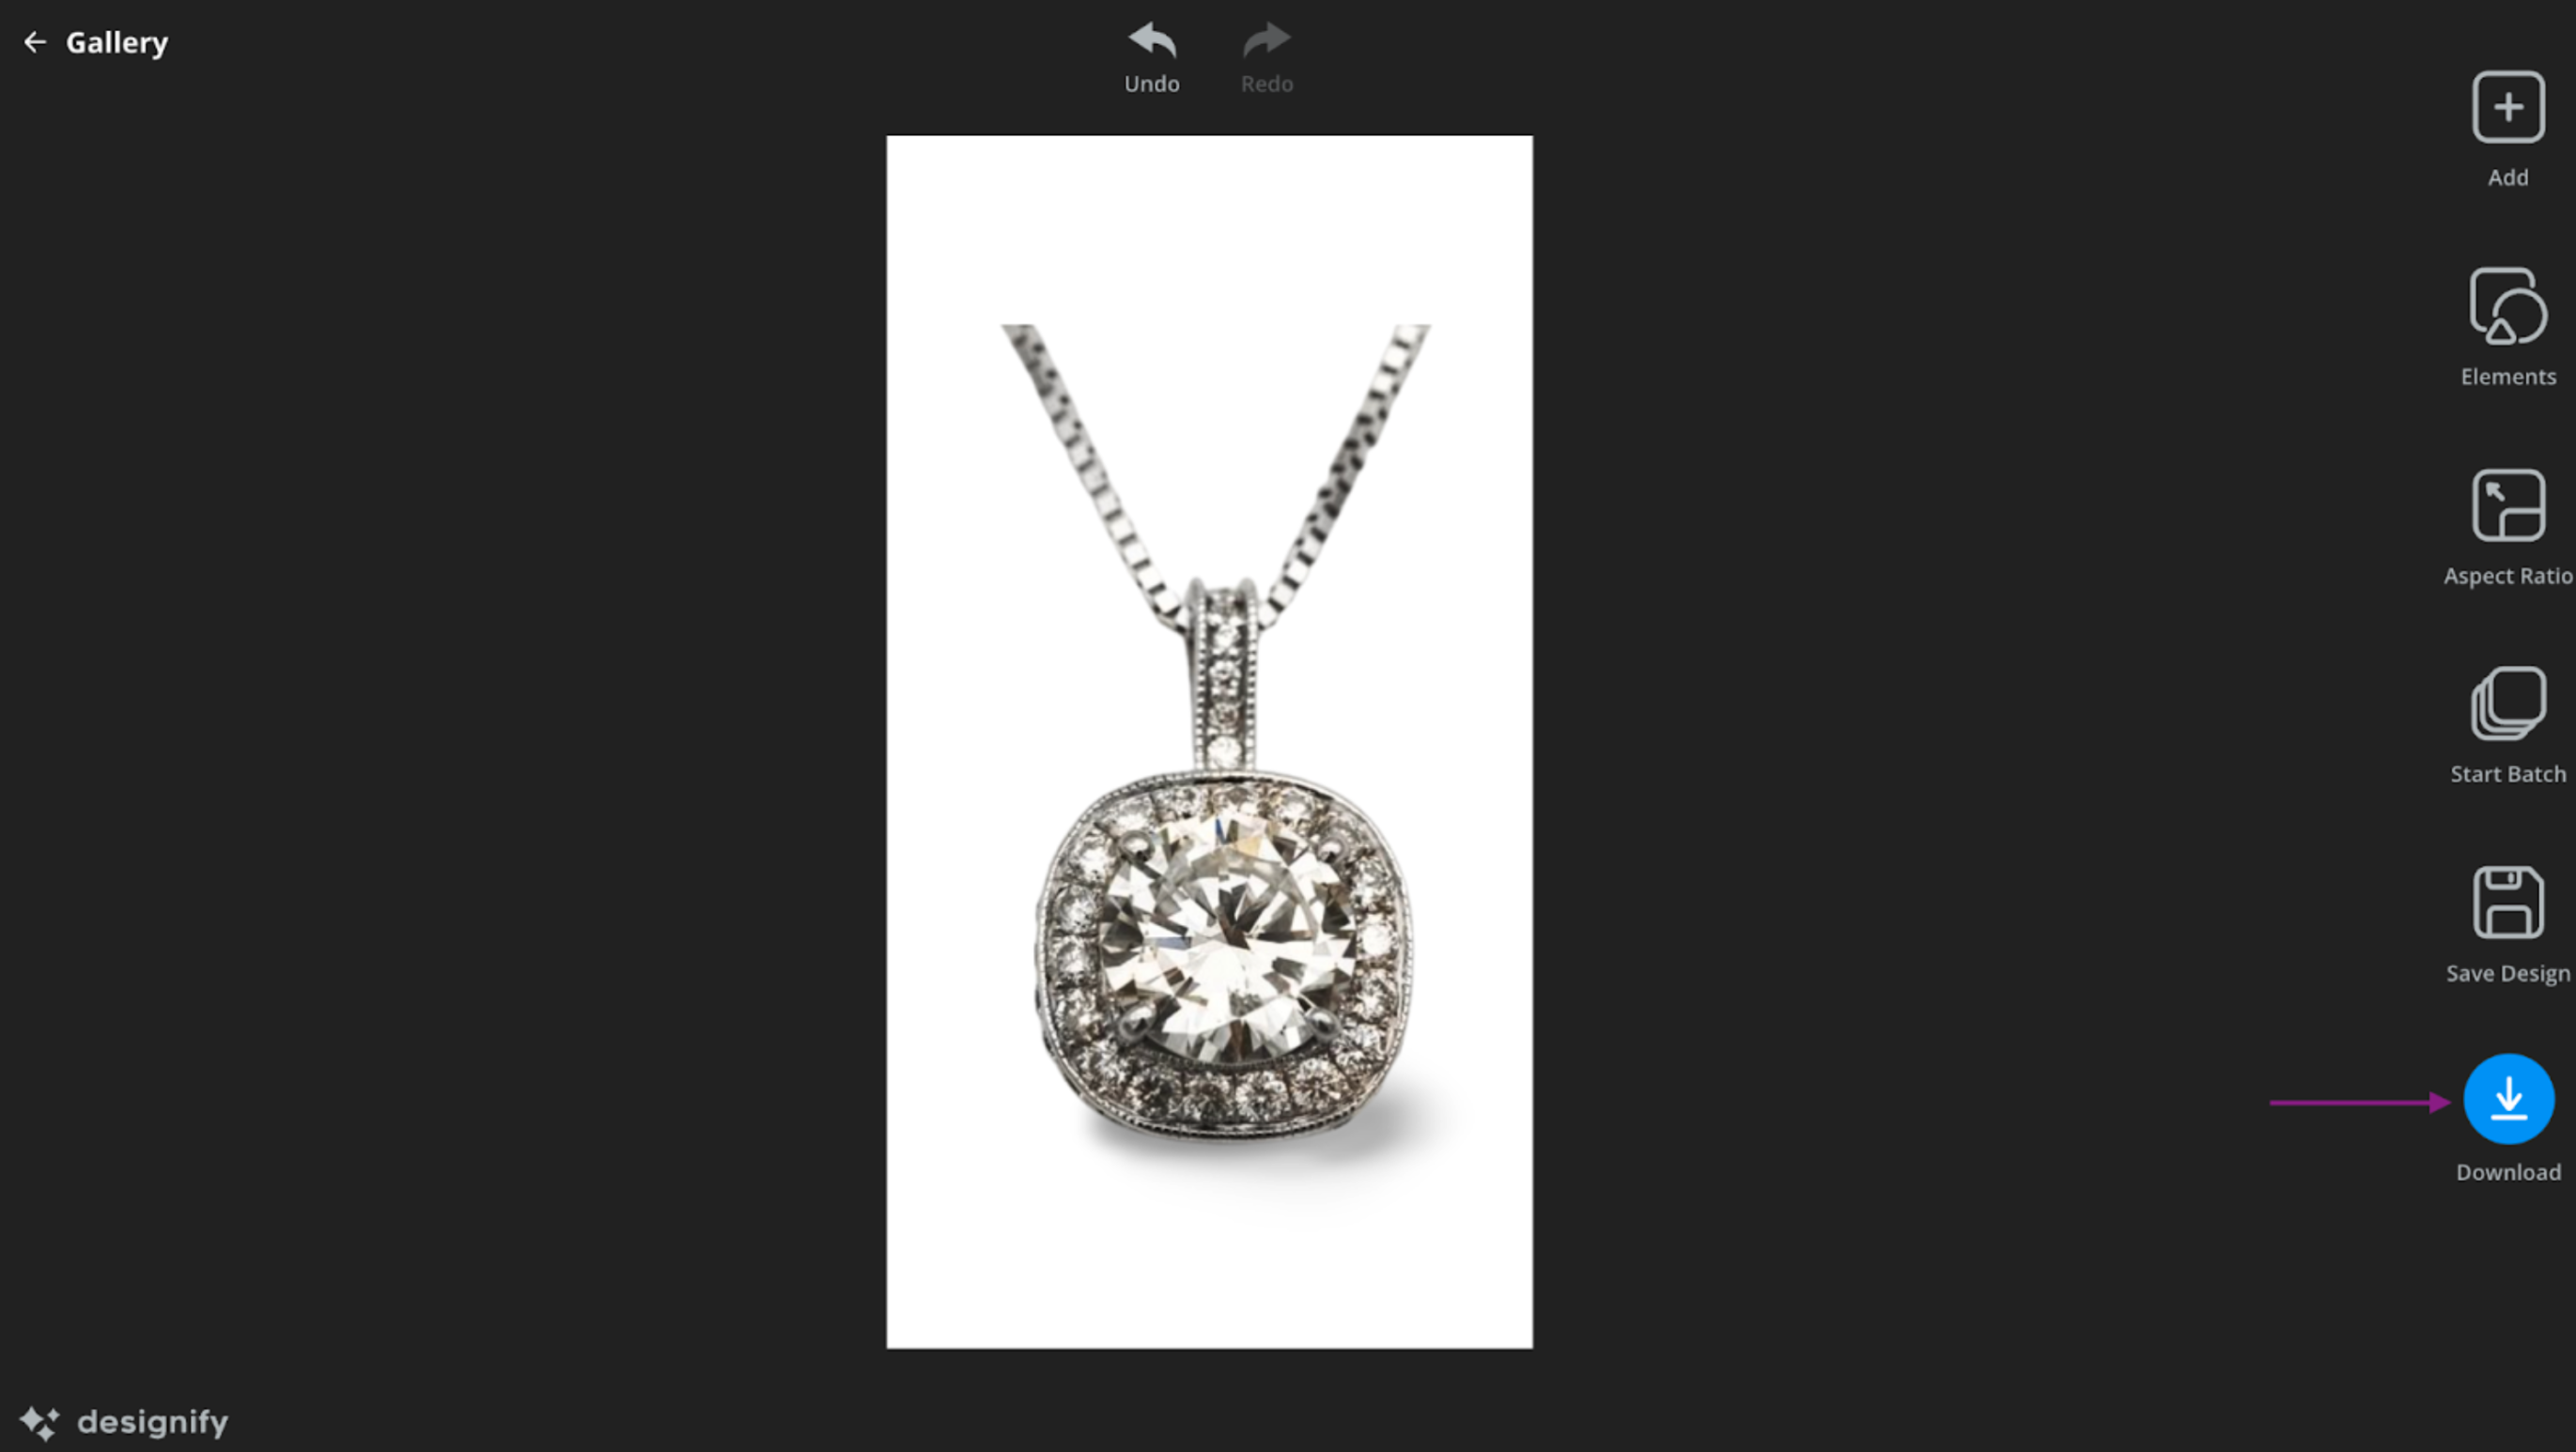
Let’s put our new editing skills to the test! Here’s an example with Designify’s white table background for a more elegant, understated look:
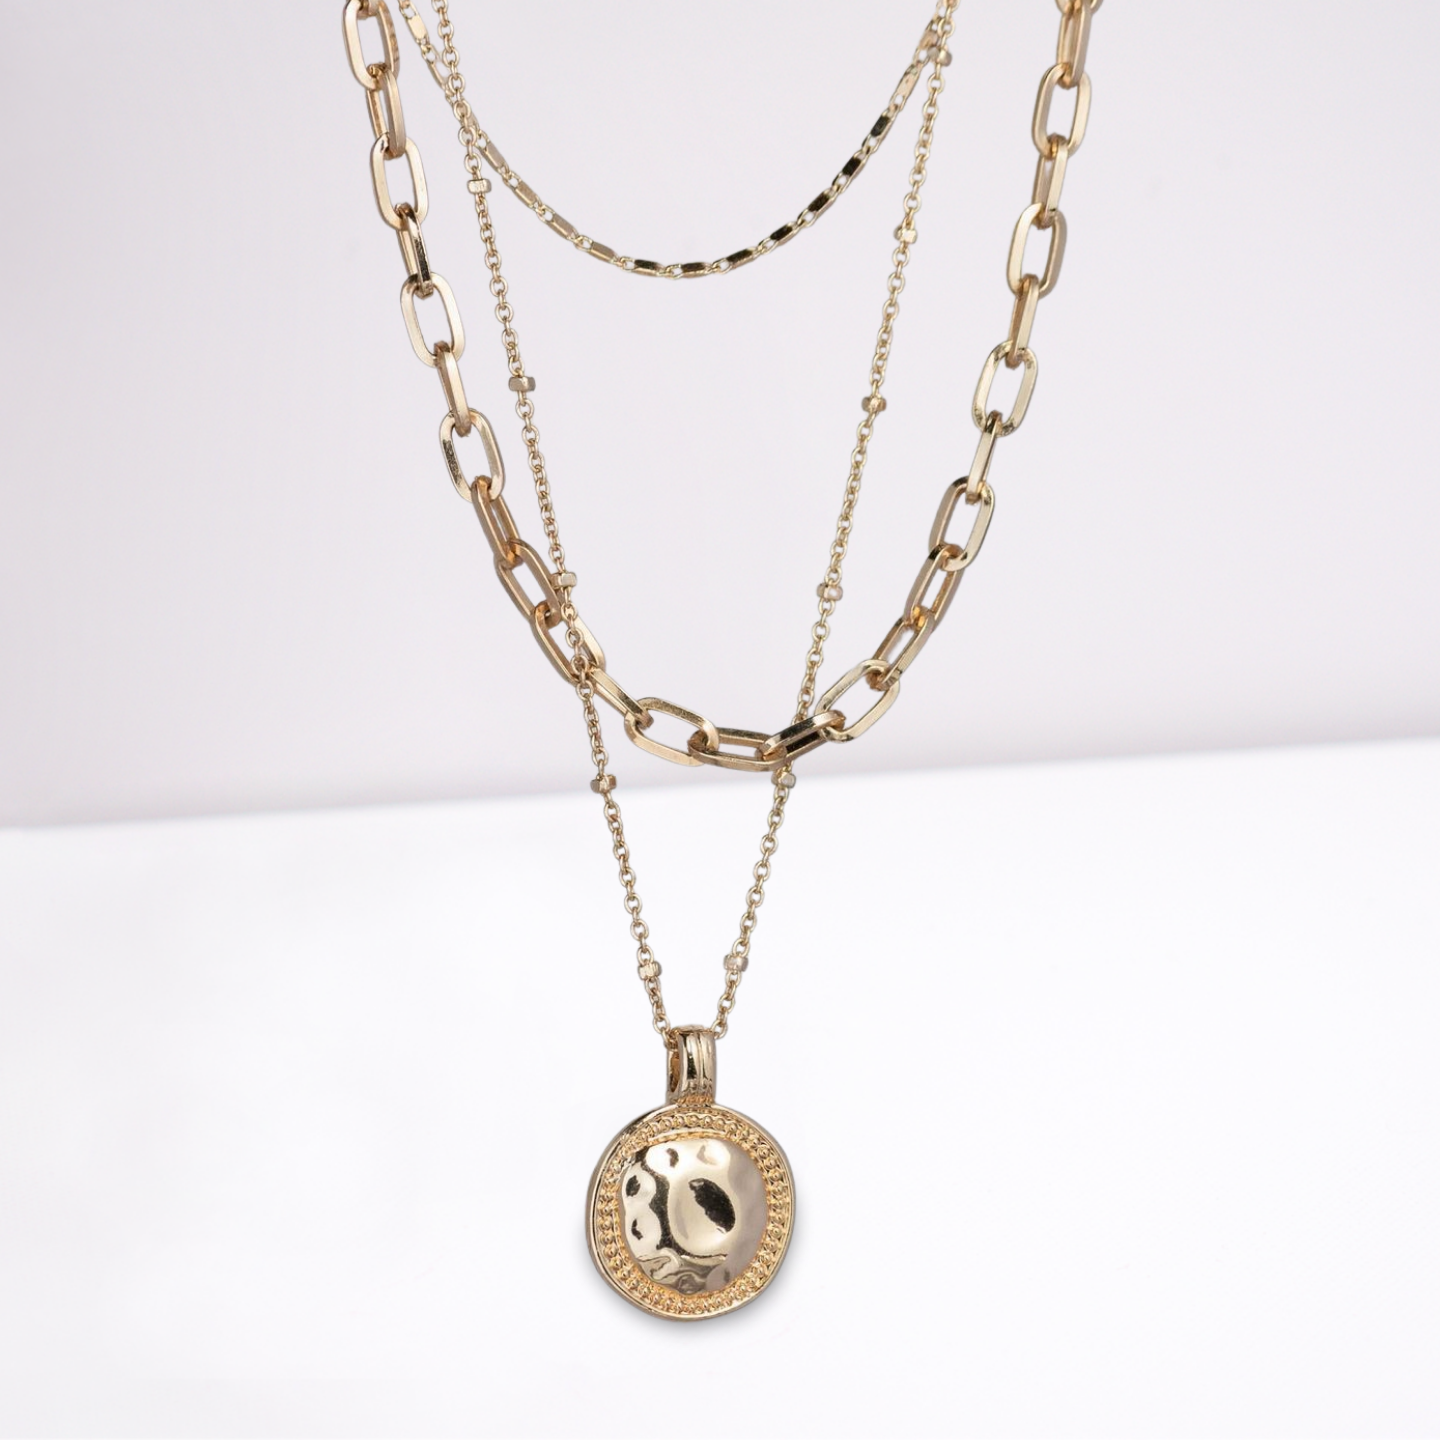
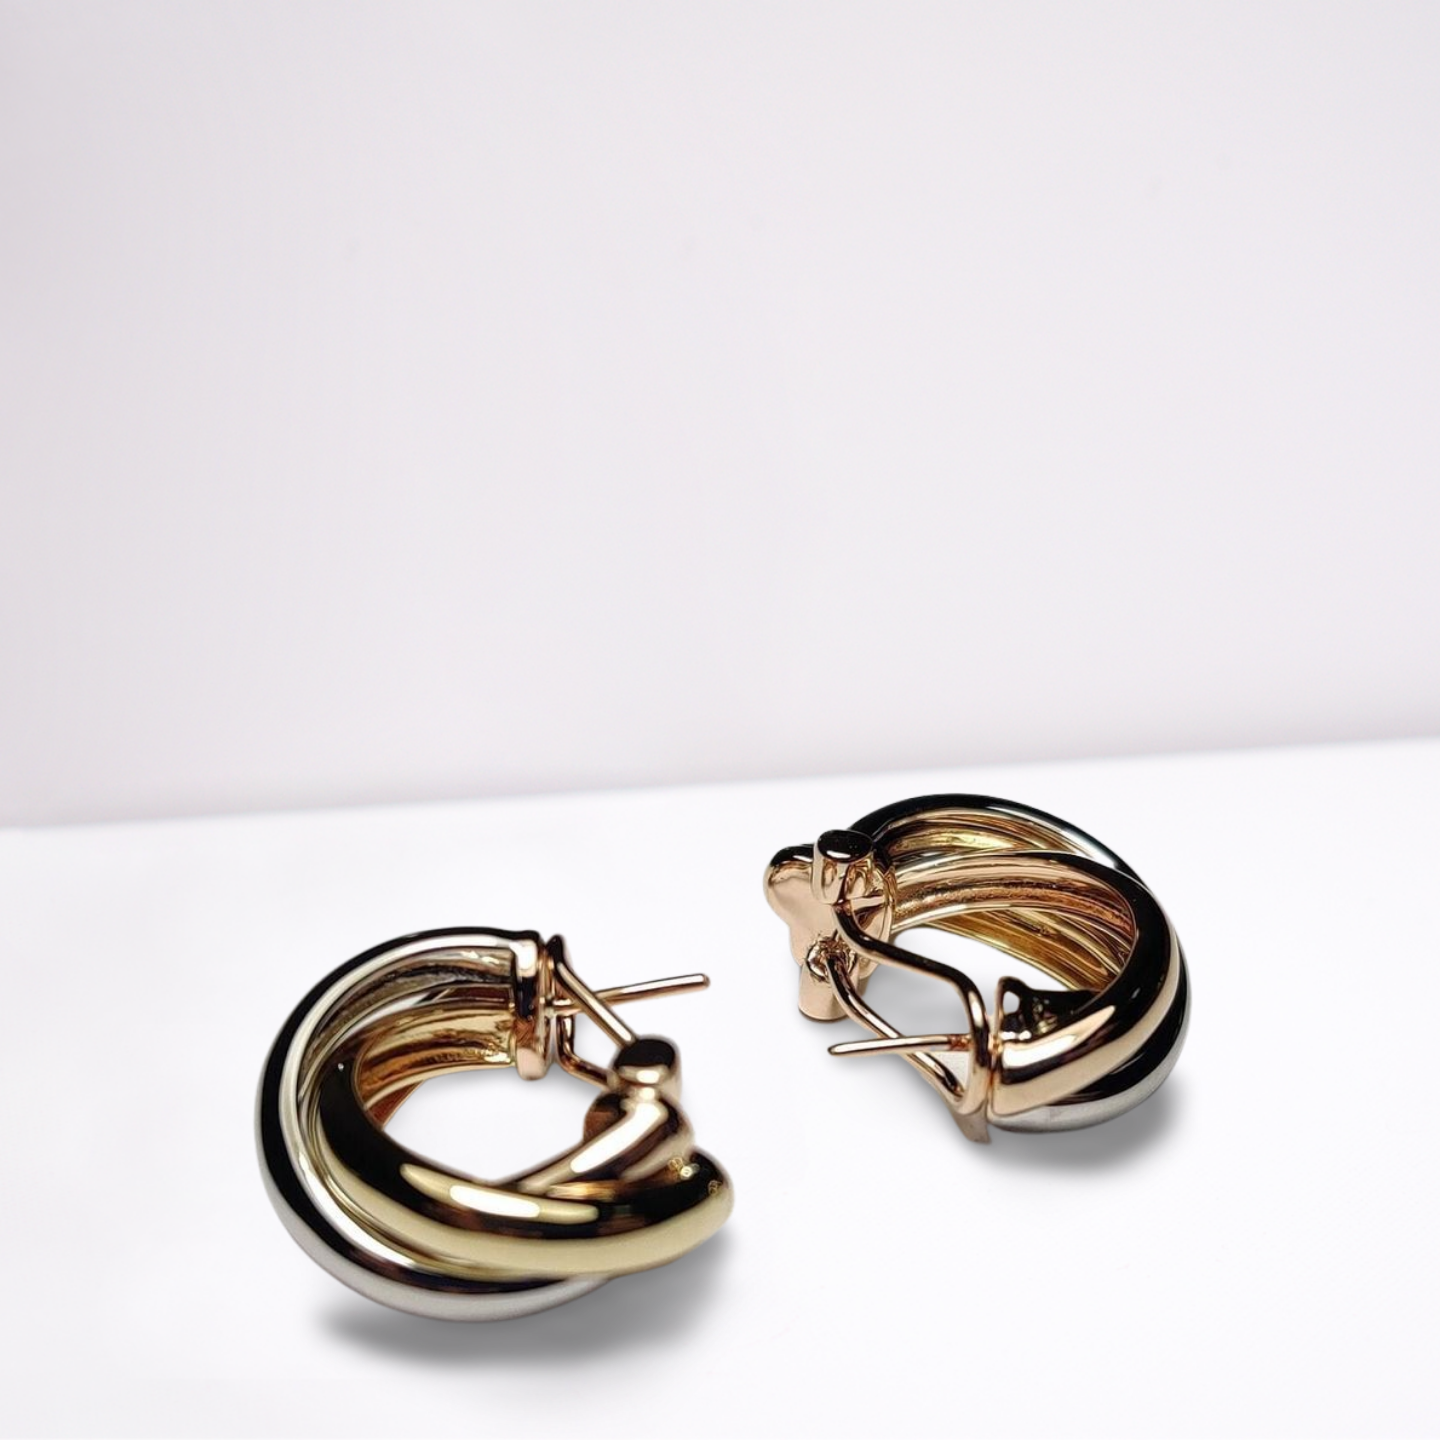
From Designify’s E-Commerce background options, you can also include other image attributes such as a bright “For Sale” sign to draw attention, create interest, and make buying decisions even quicker:
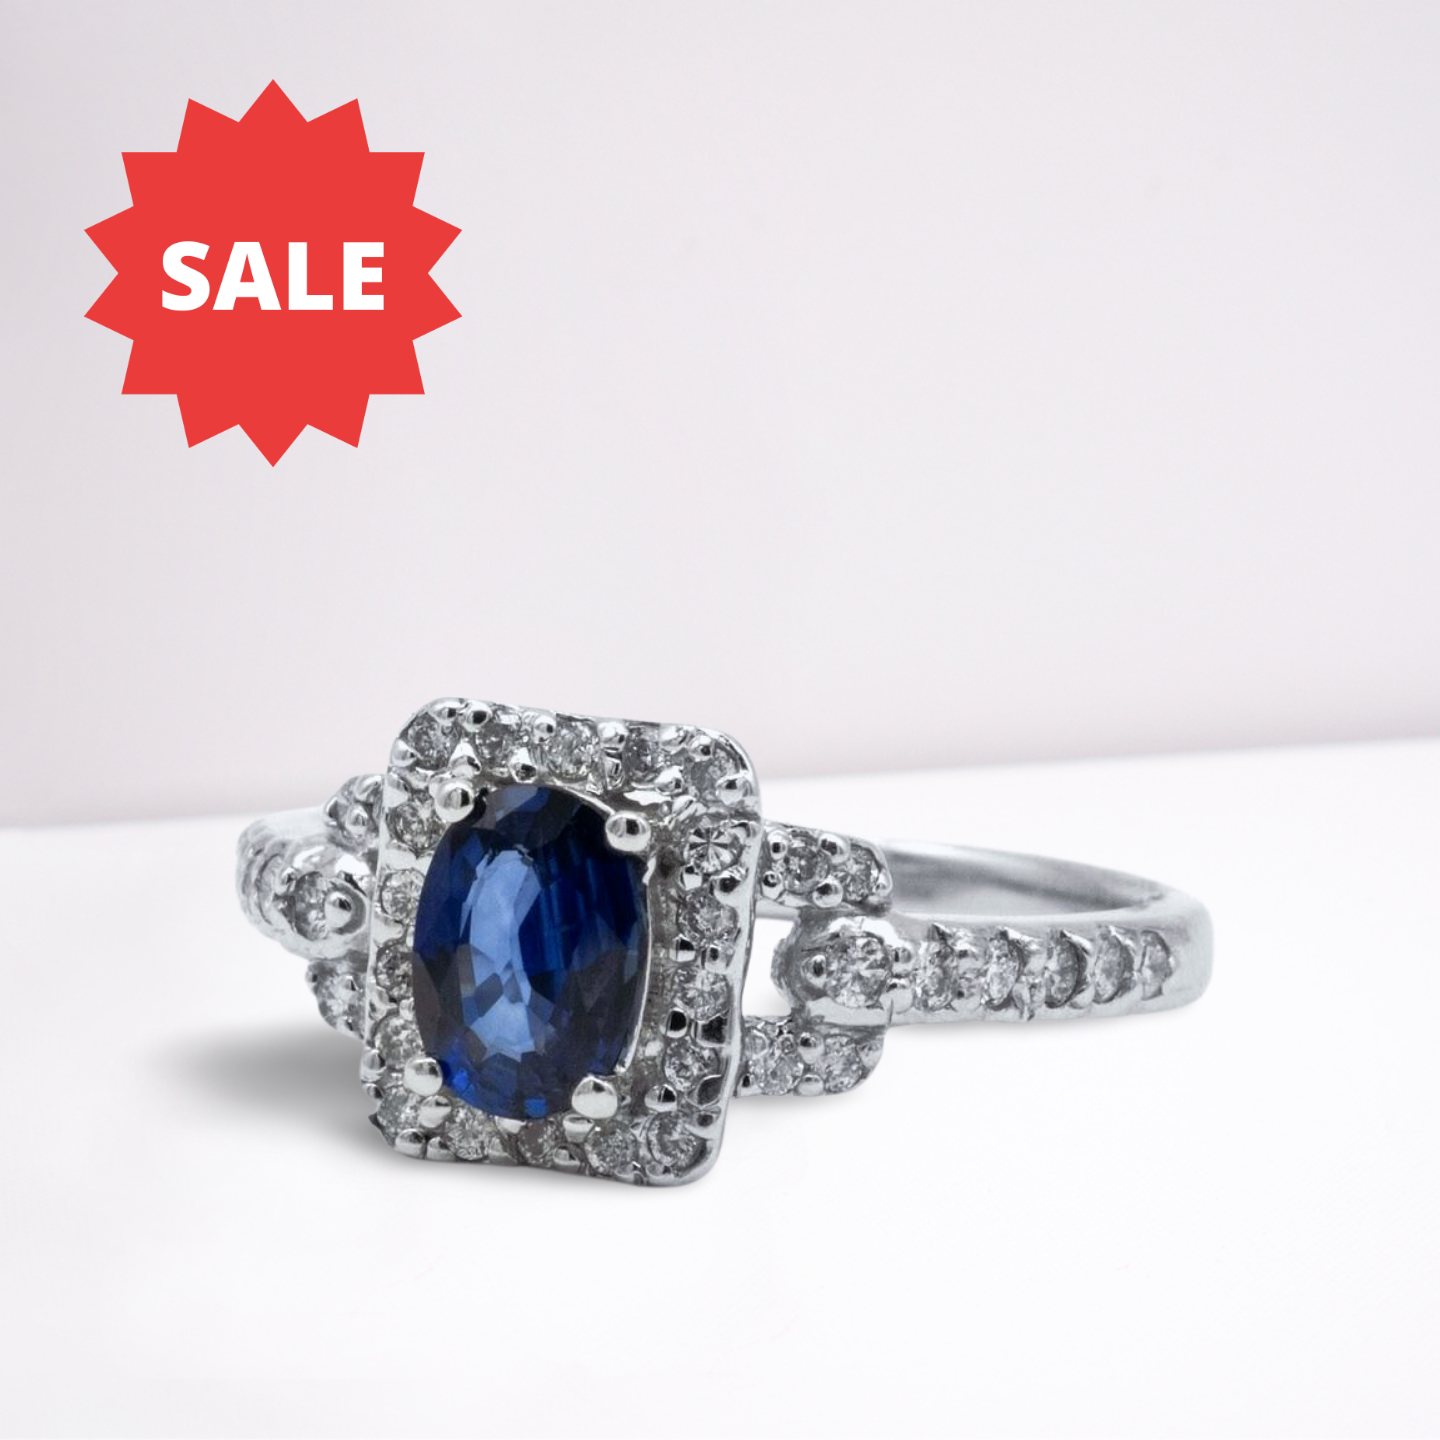
With Designify’s editing features mentioned earlier, you can adjust the shape, size, and position of the “Sale” logo as you please.
Colored backgrounds
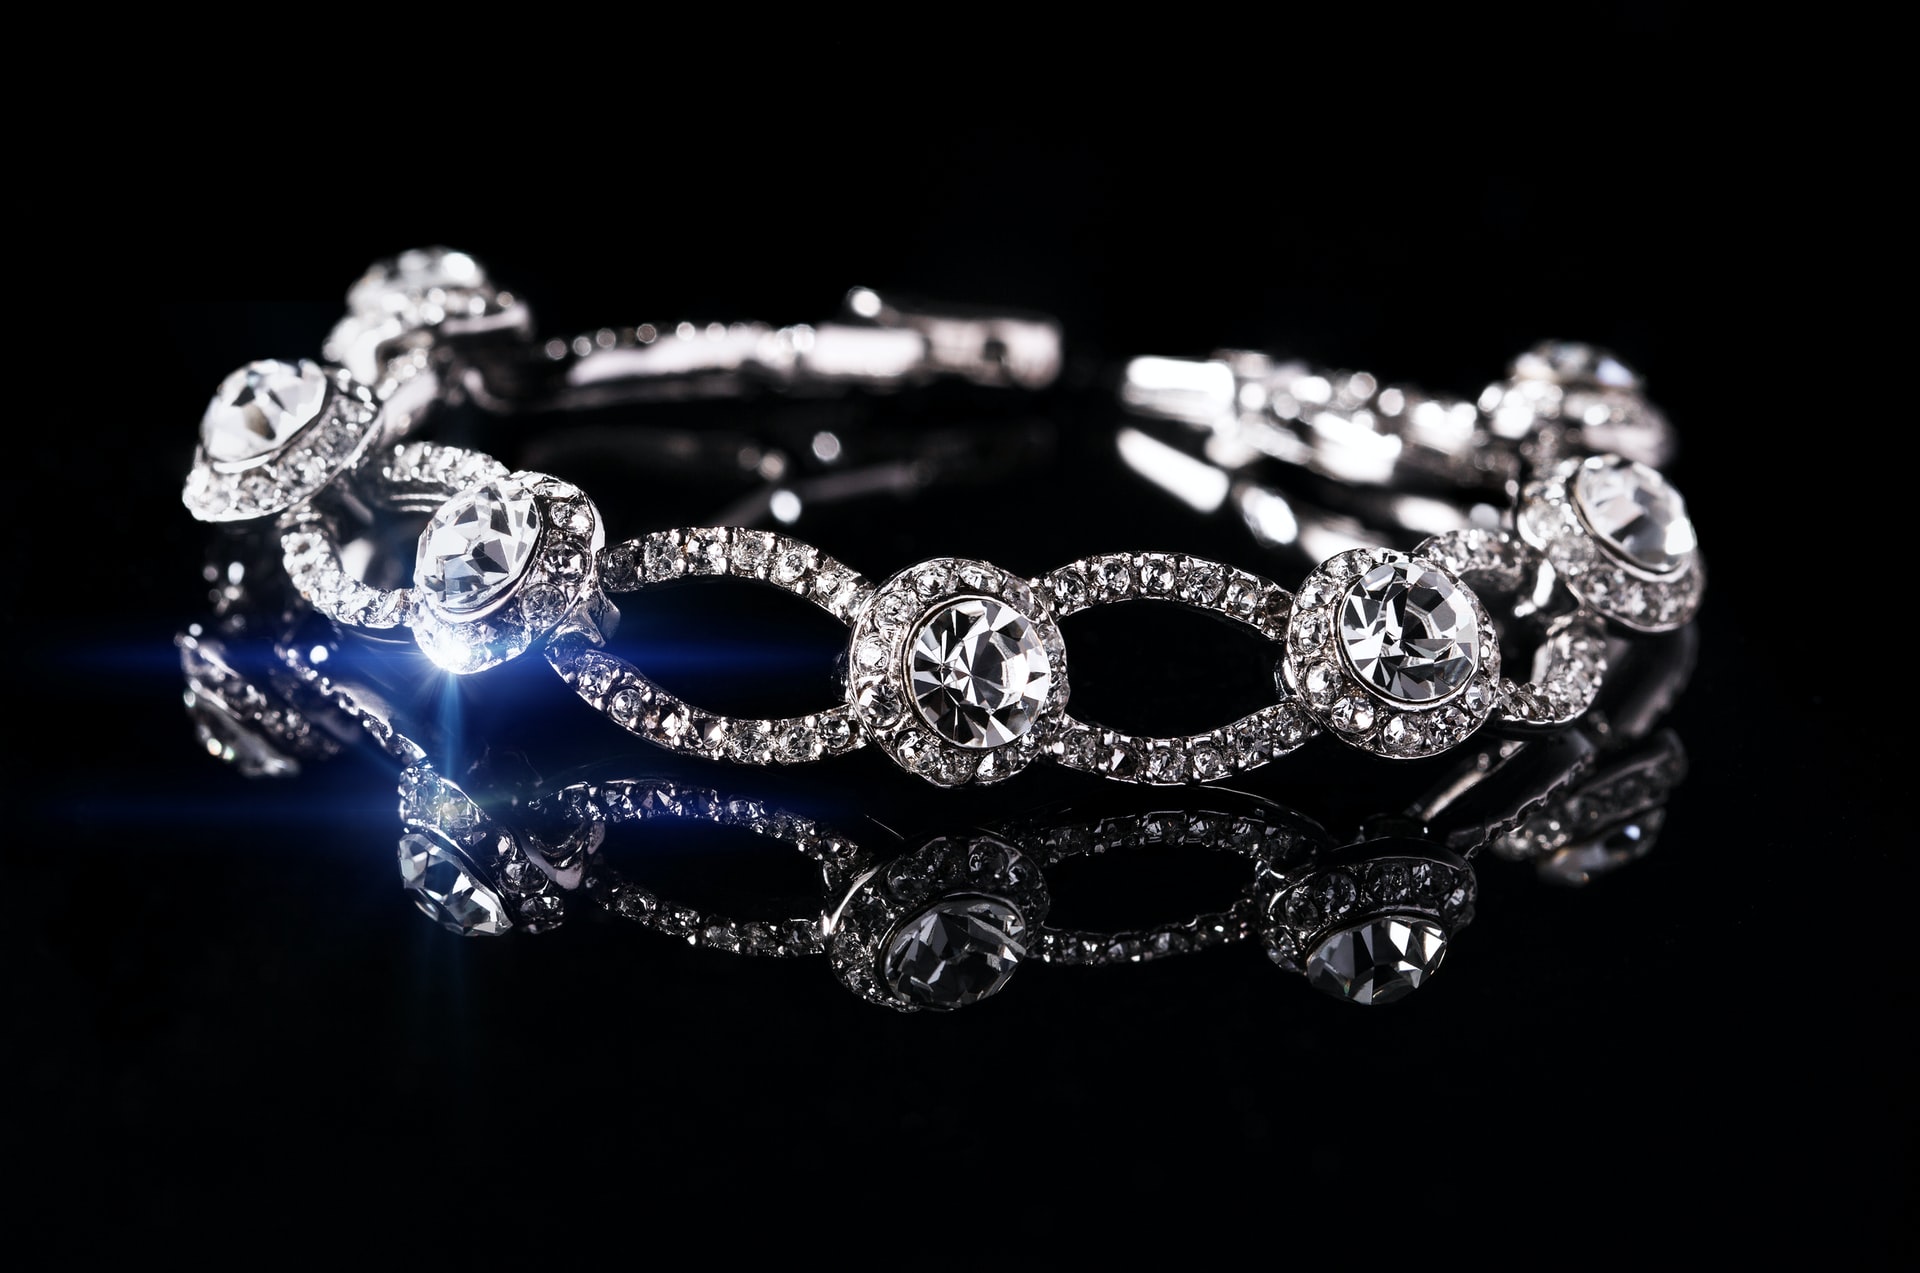
After neutral colors, your next best option is on the darker end: blacks and grays, especially to make your jewelry photos stand out with gorgeous contrast. Designify goes even further and allows you to get creative. Check out our range of colored backgrounds:
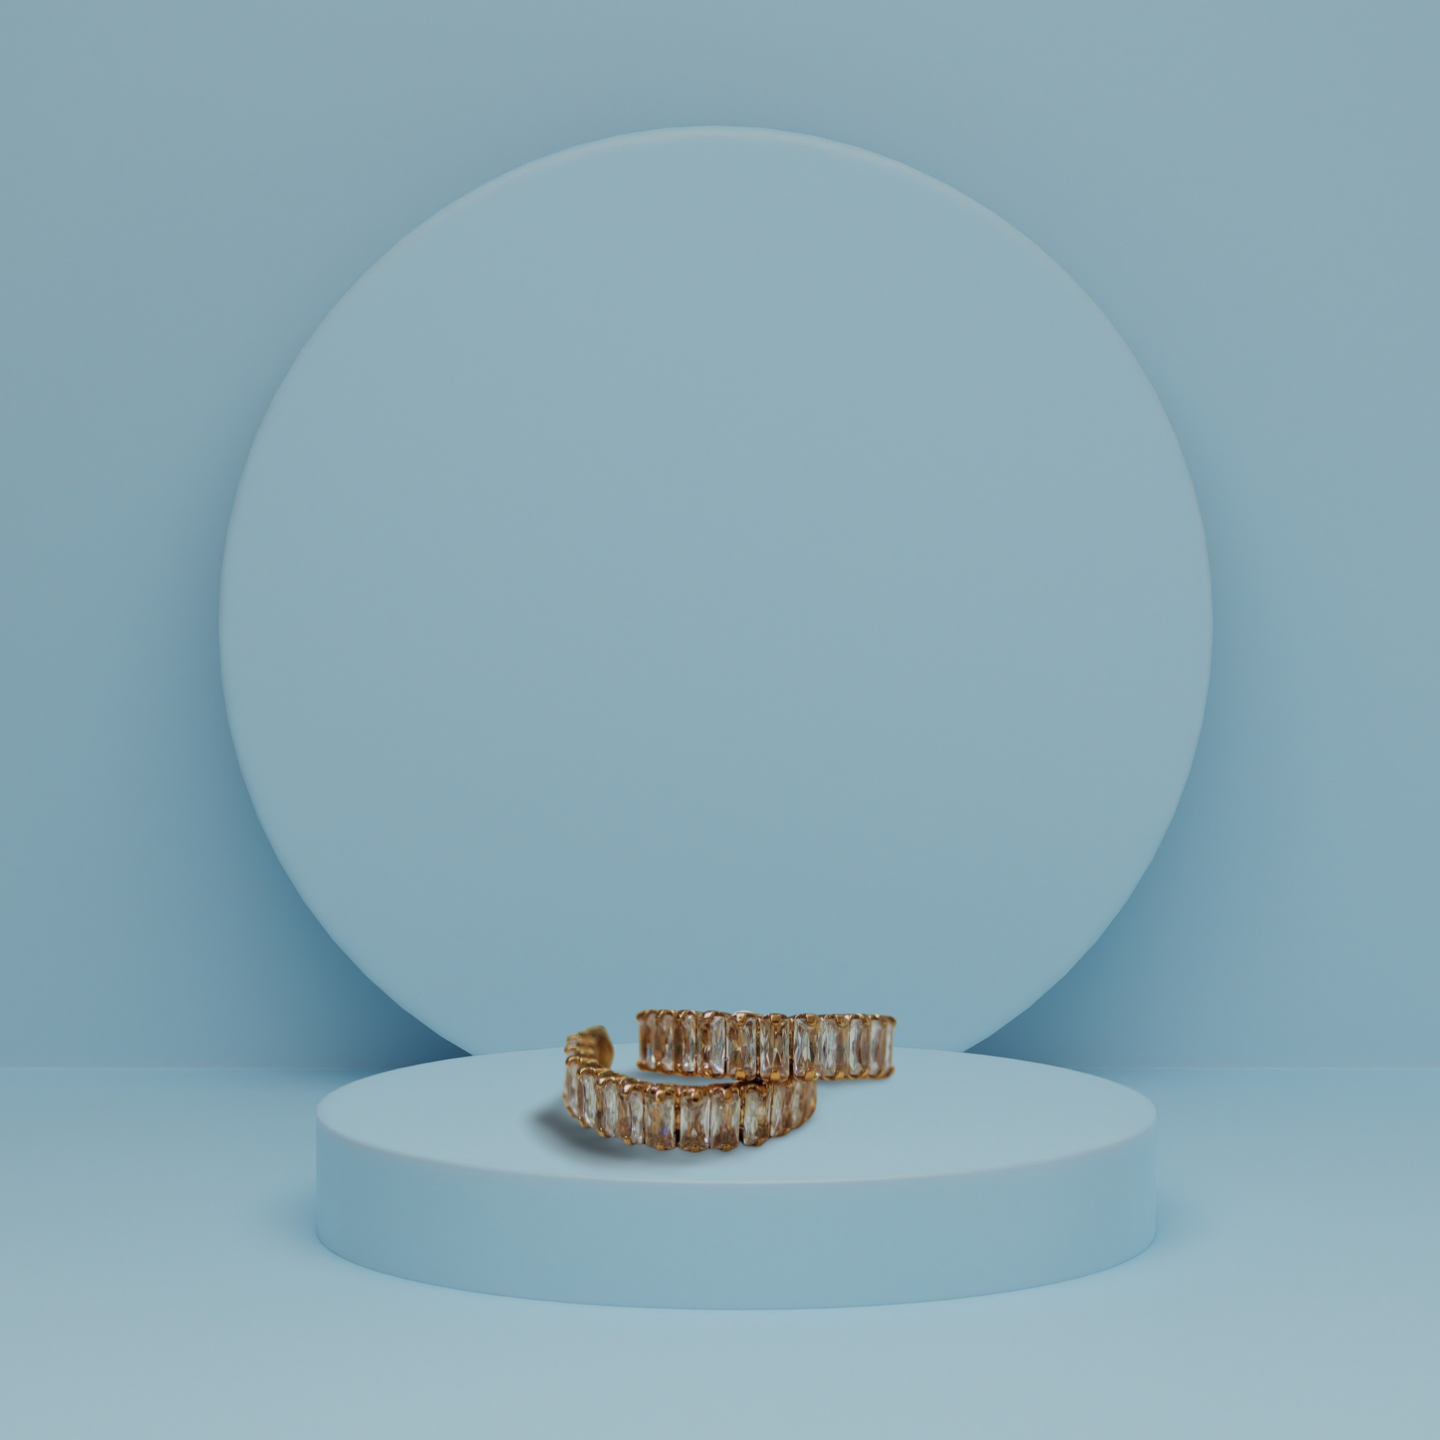
Our classy Pewter blue background — a great option for simple, understated, elegant pieces.
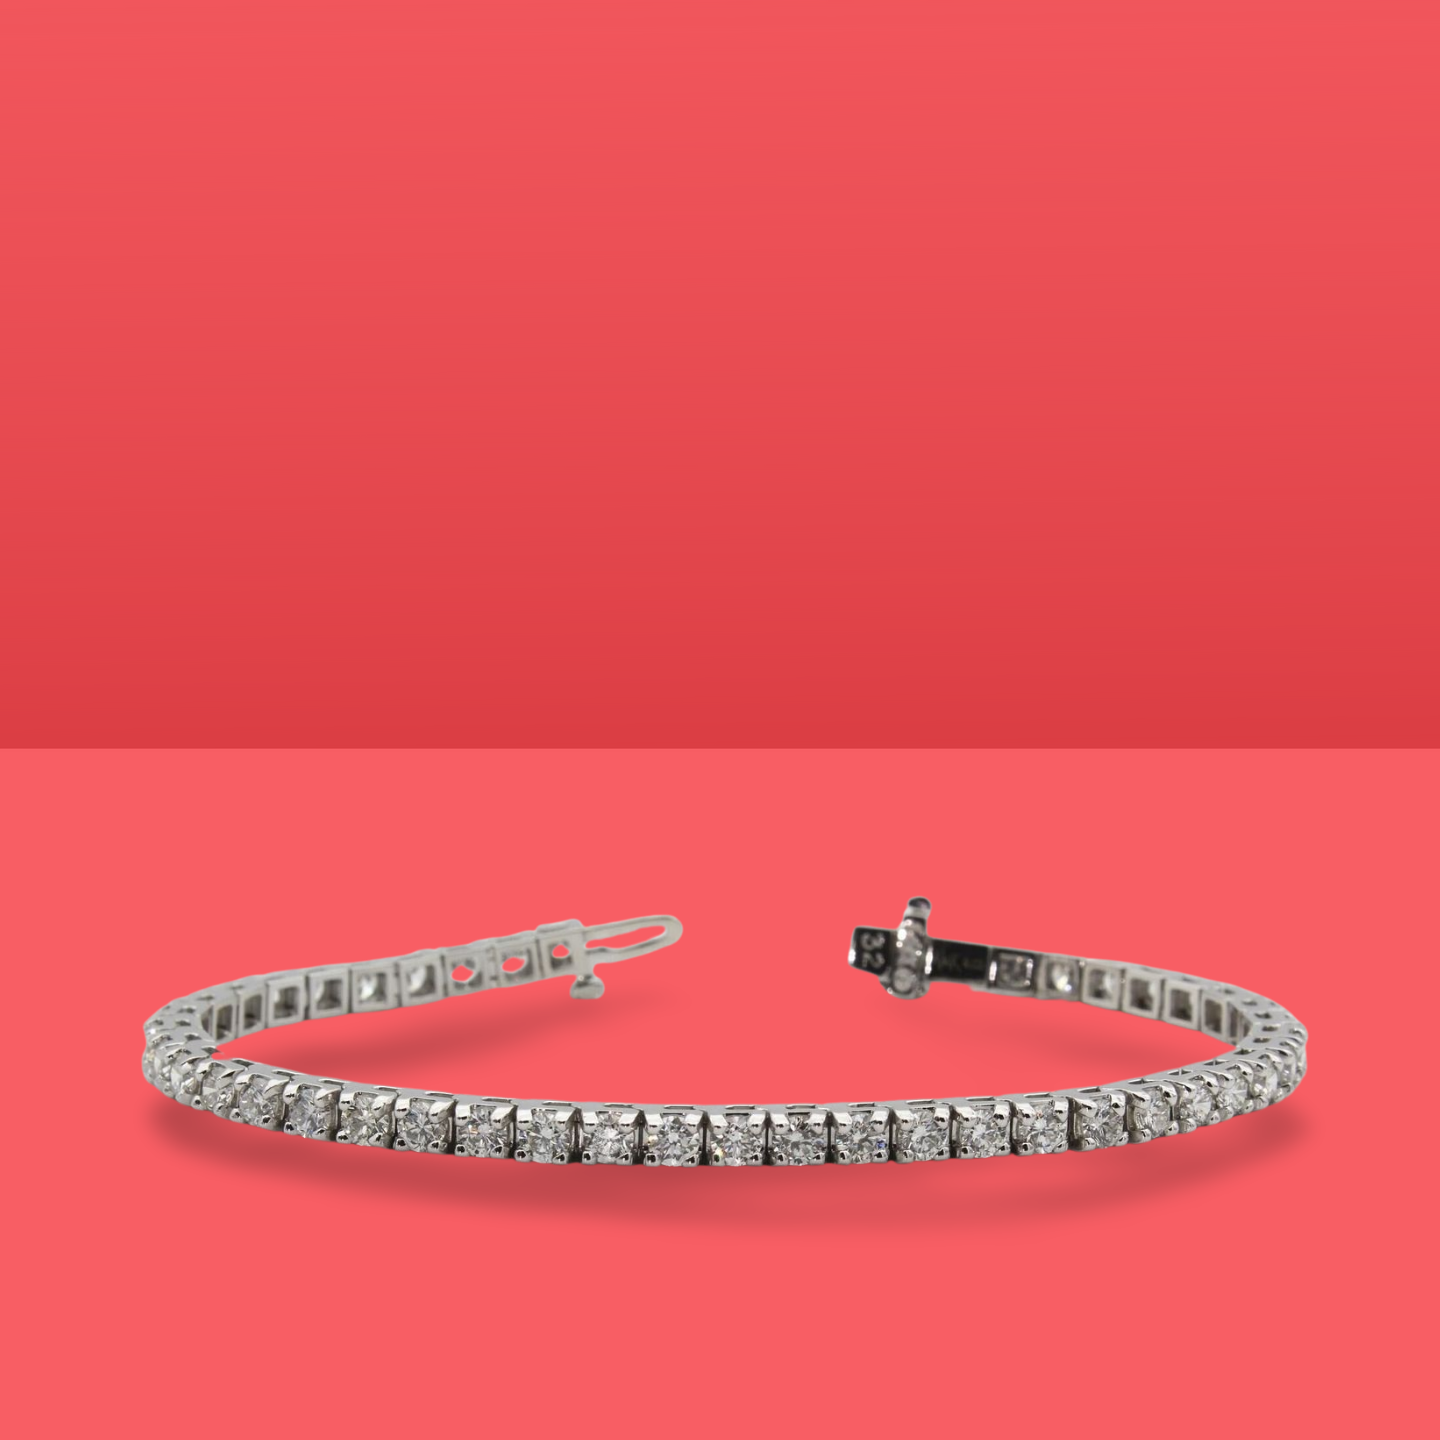
Or our bold Sizzling Red background. Consider this when you’re advertising wedding jewelry in countries where brides typically wear red (including most Asian countries).
Contextual backgrounds
Sometimes just plain color isn’t enough: your jewelry photos might need that extra “oomph” to really stand out and catch your customers’ attention. Designify’s contextual backgrounds have just what you need to create a story around your jewelry. Here are a few examples:
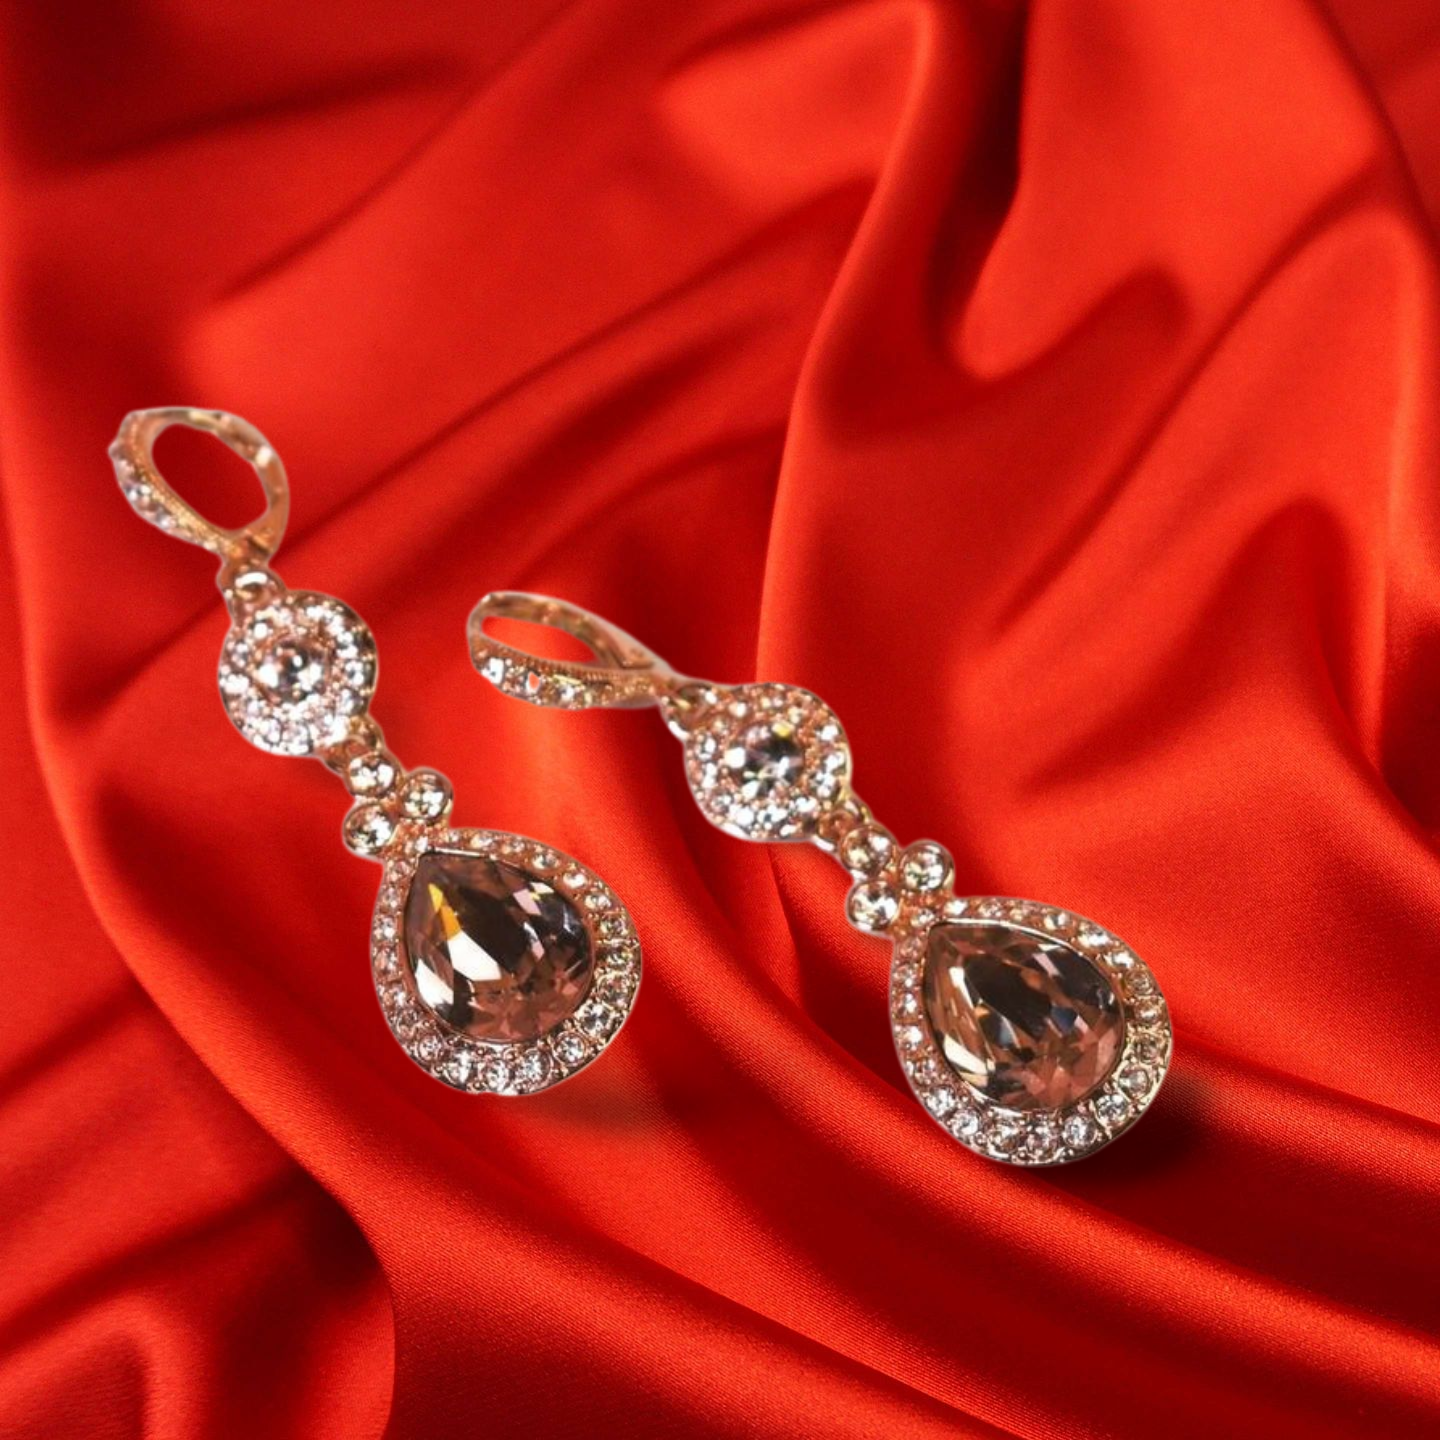
Get glamorous with the lavish Royal background. This is a great choice for your higher-end products. Who doesn’t want to feel like they’re royalty?
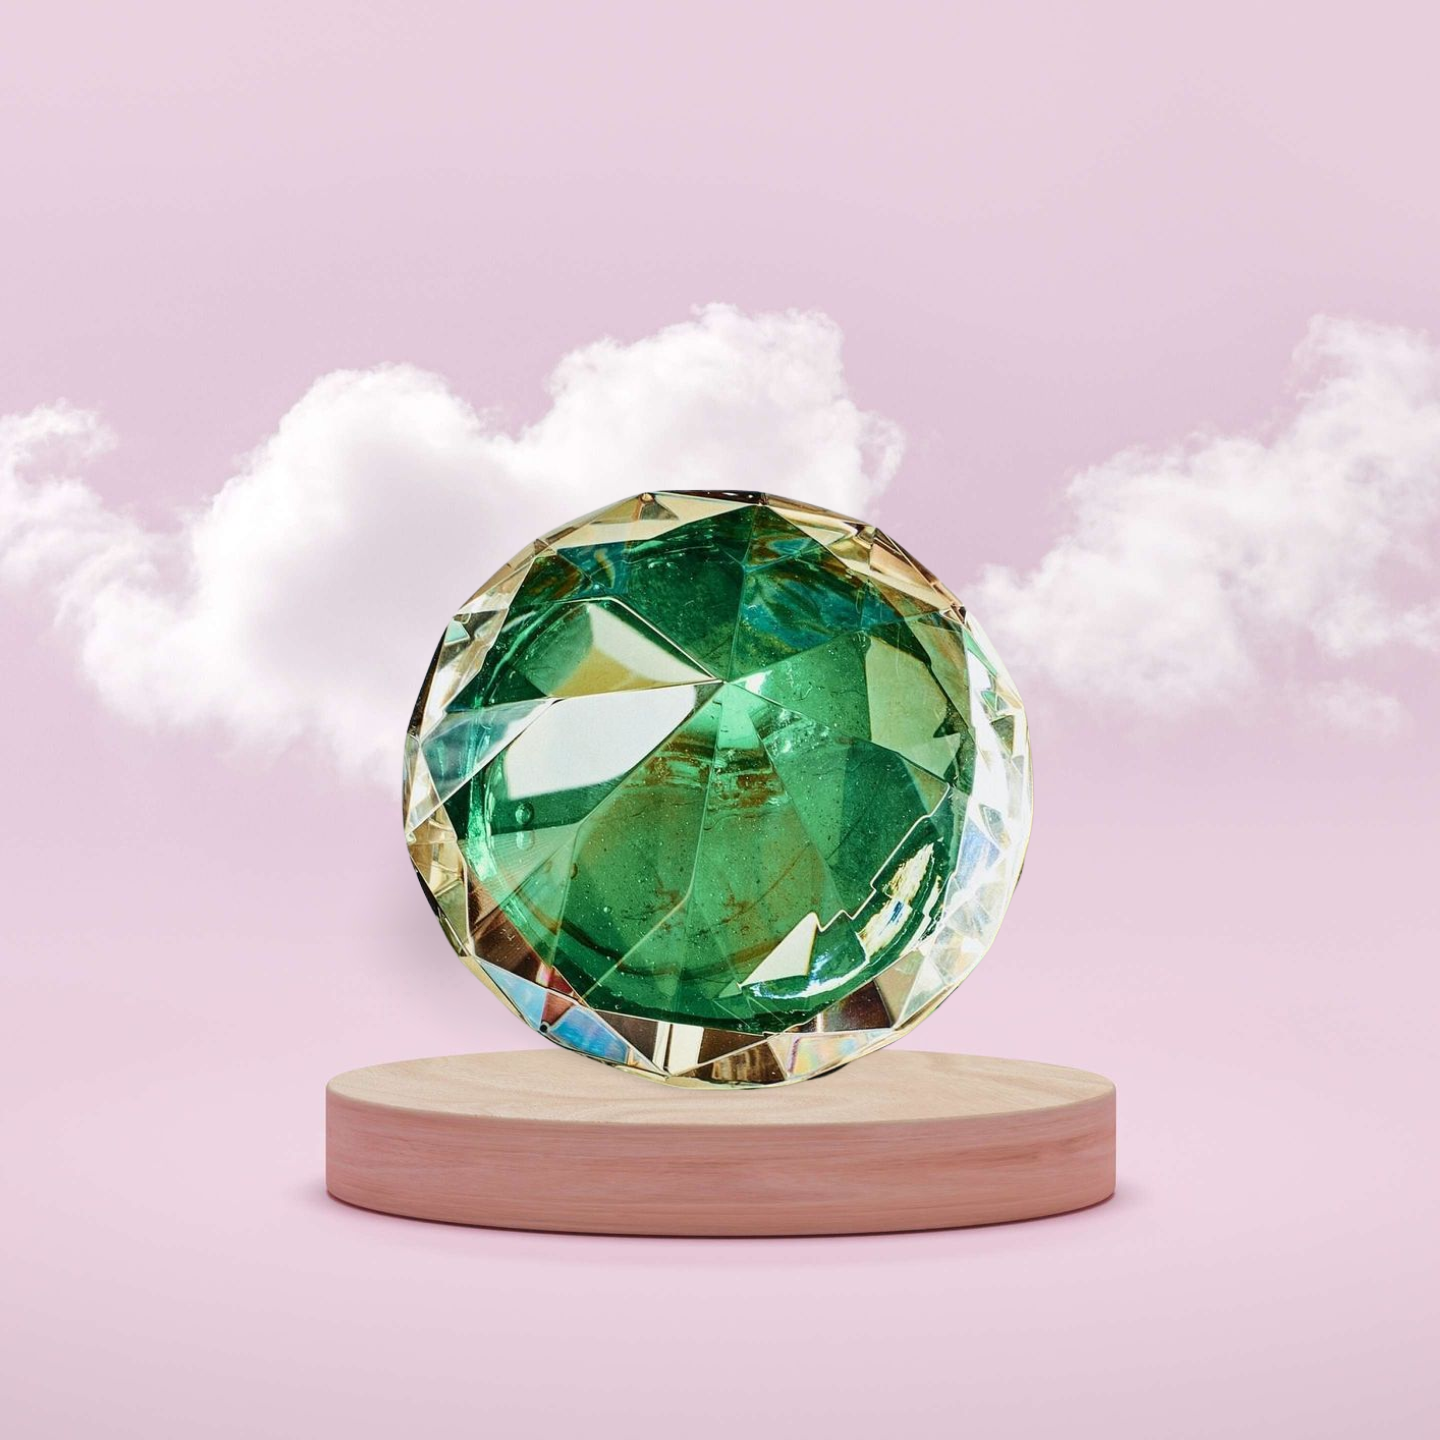
Or you could choose the elegant Designify showcase setting, which sets the stage for more understated pieces.
Designify’s customizable editing features also allow you to modify the different elements of the backgrounds so that it suits your products best. Play around, get creative, and find the background that works best for your jewelry photos.
Designify’s advanced editing features for jewelry backdrops
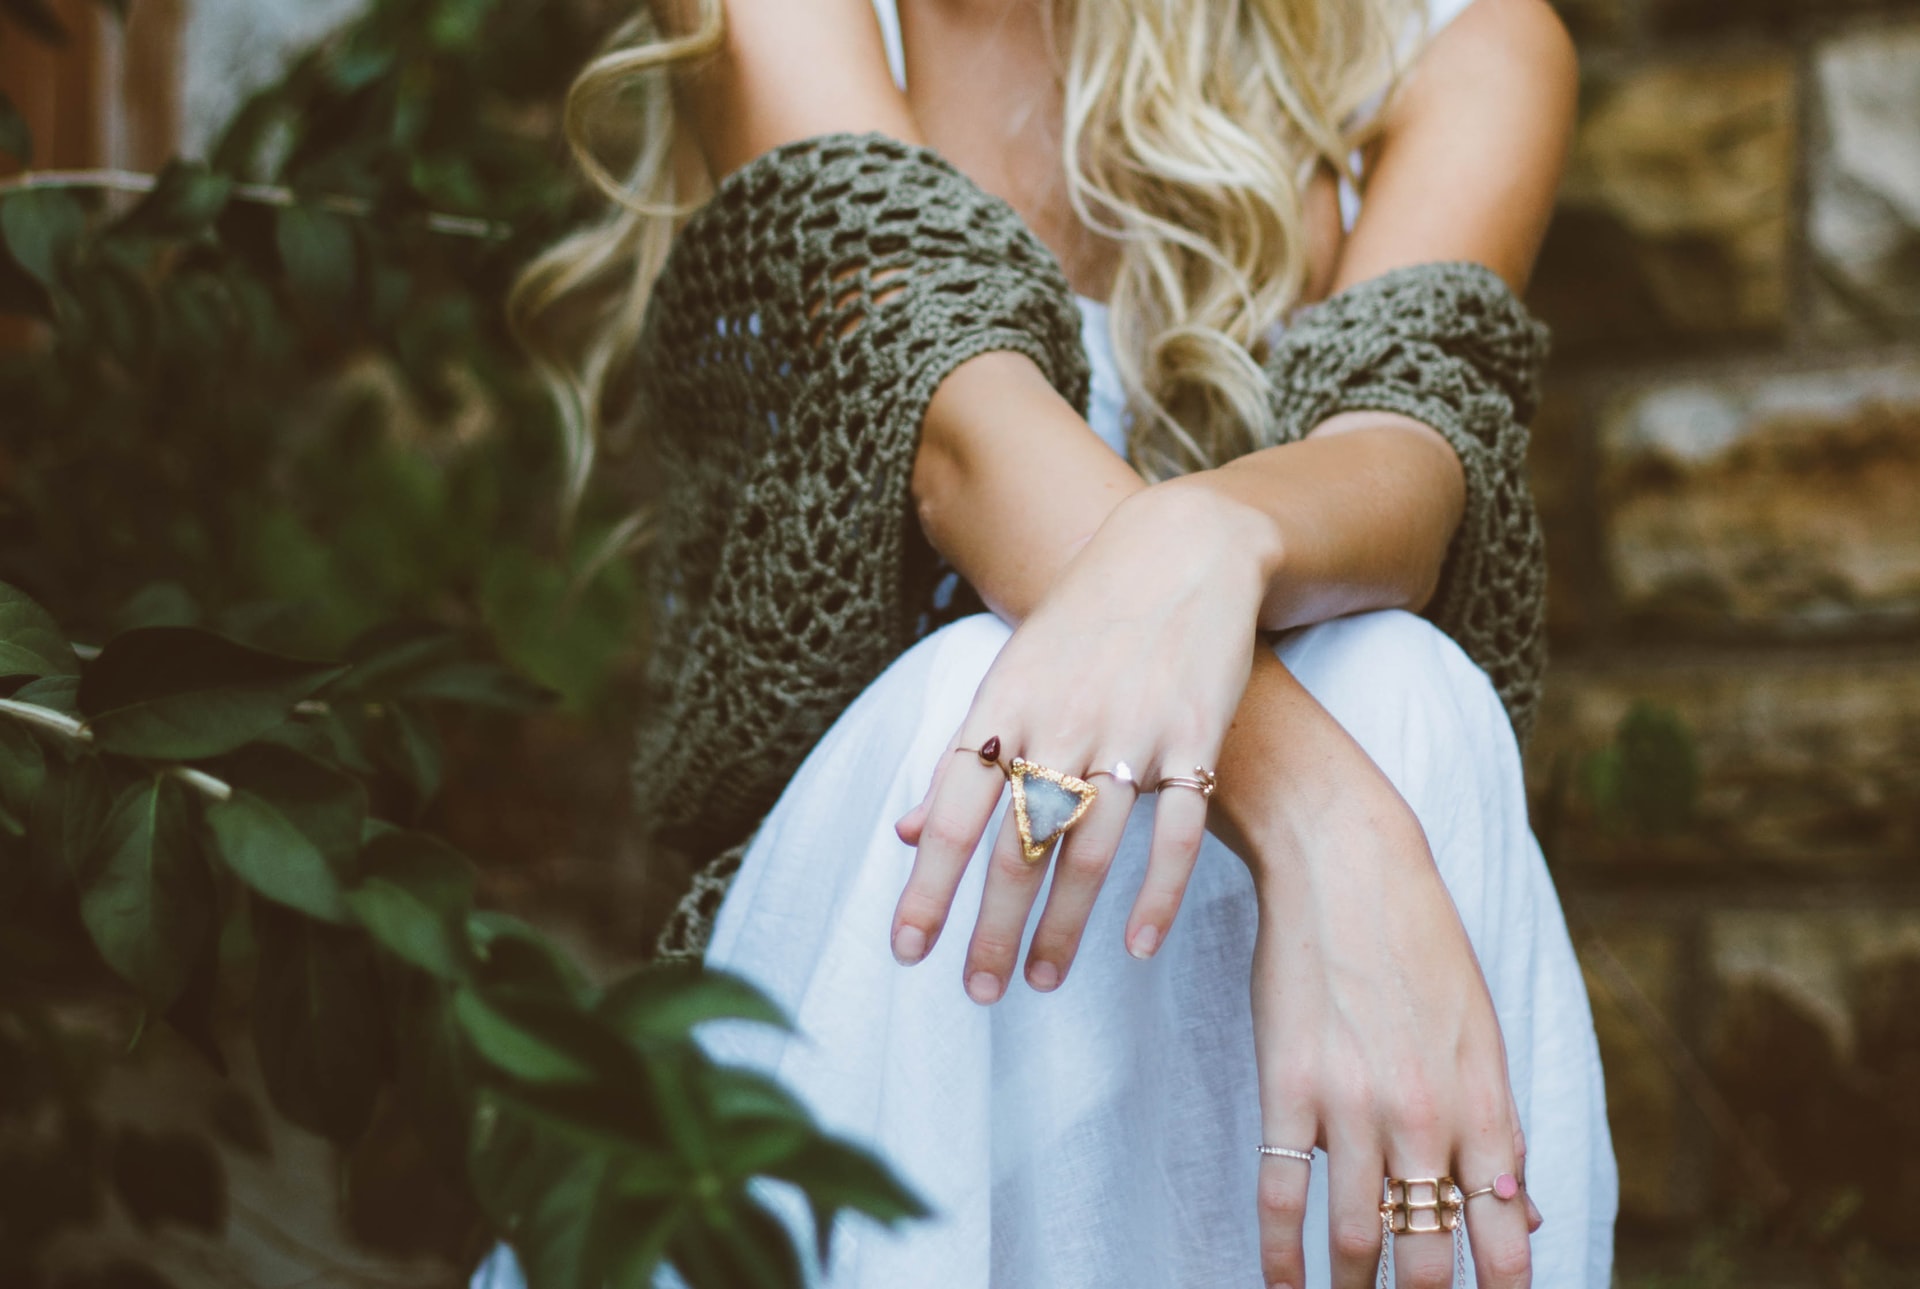
We’ve all had at least one terrible experience when ordering products online. It’s the worst feeling when your product turns up not looking as advertised, especially when it was an expensive investment.
Luxury products are one such expensive investment, so your customers are justified in only wanting to buy products they trust — from people they trust. What better way to demonstrate your credibility than with product photos that display your professionalism, trustworthiness, and eye for detail?
Designify has everything you need for a seamless photo editing experience and adding this coveted professional touch to your images. Its Pro version specifically provides high-resolution images for maximum quality. Here are some of Designify’s advanced features you could use to edit your photos:
Smart editor
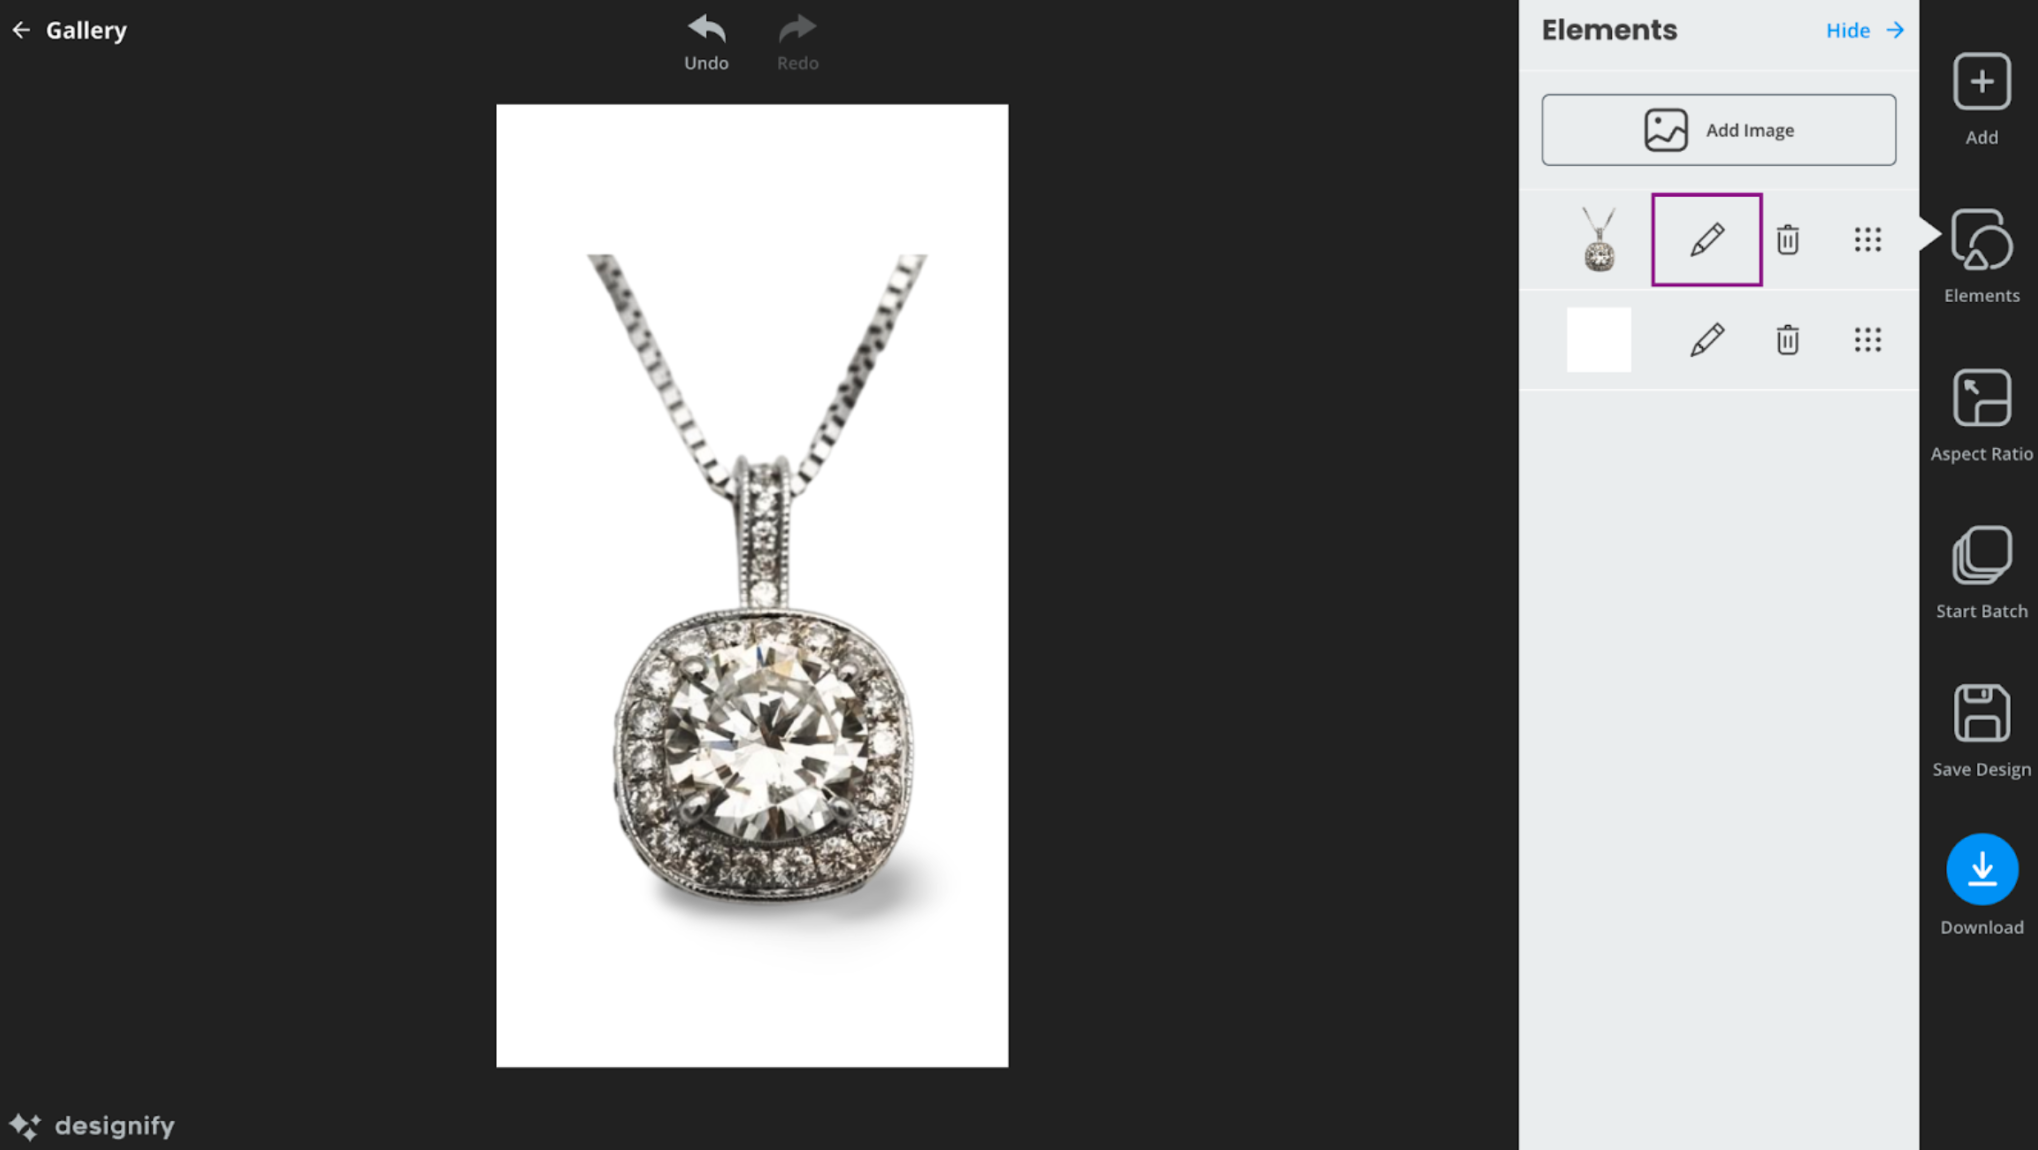
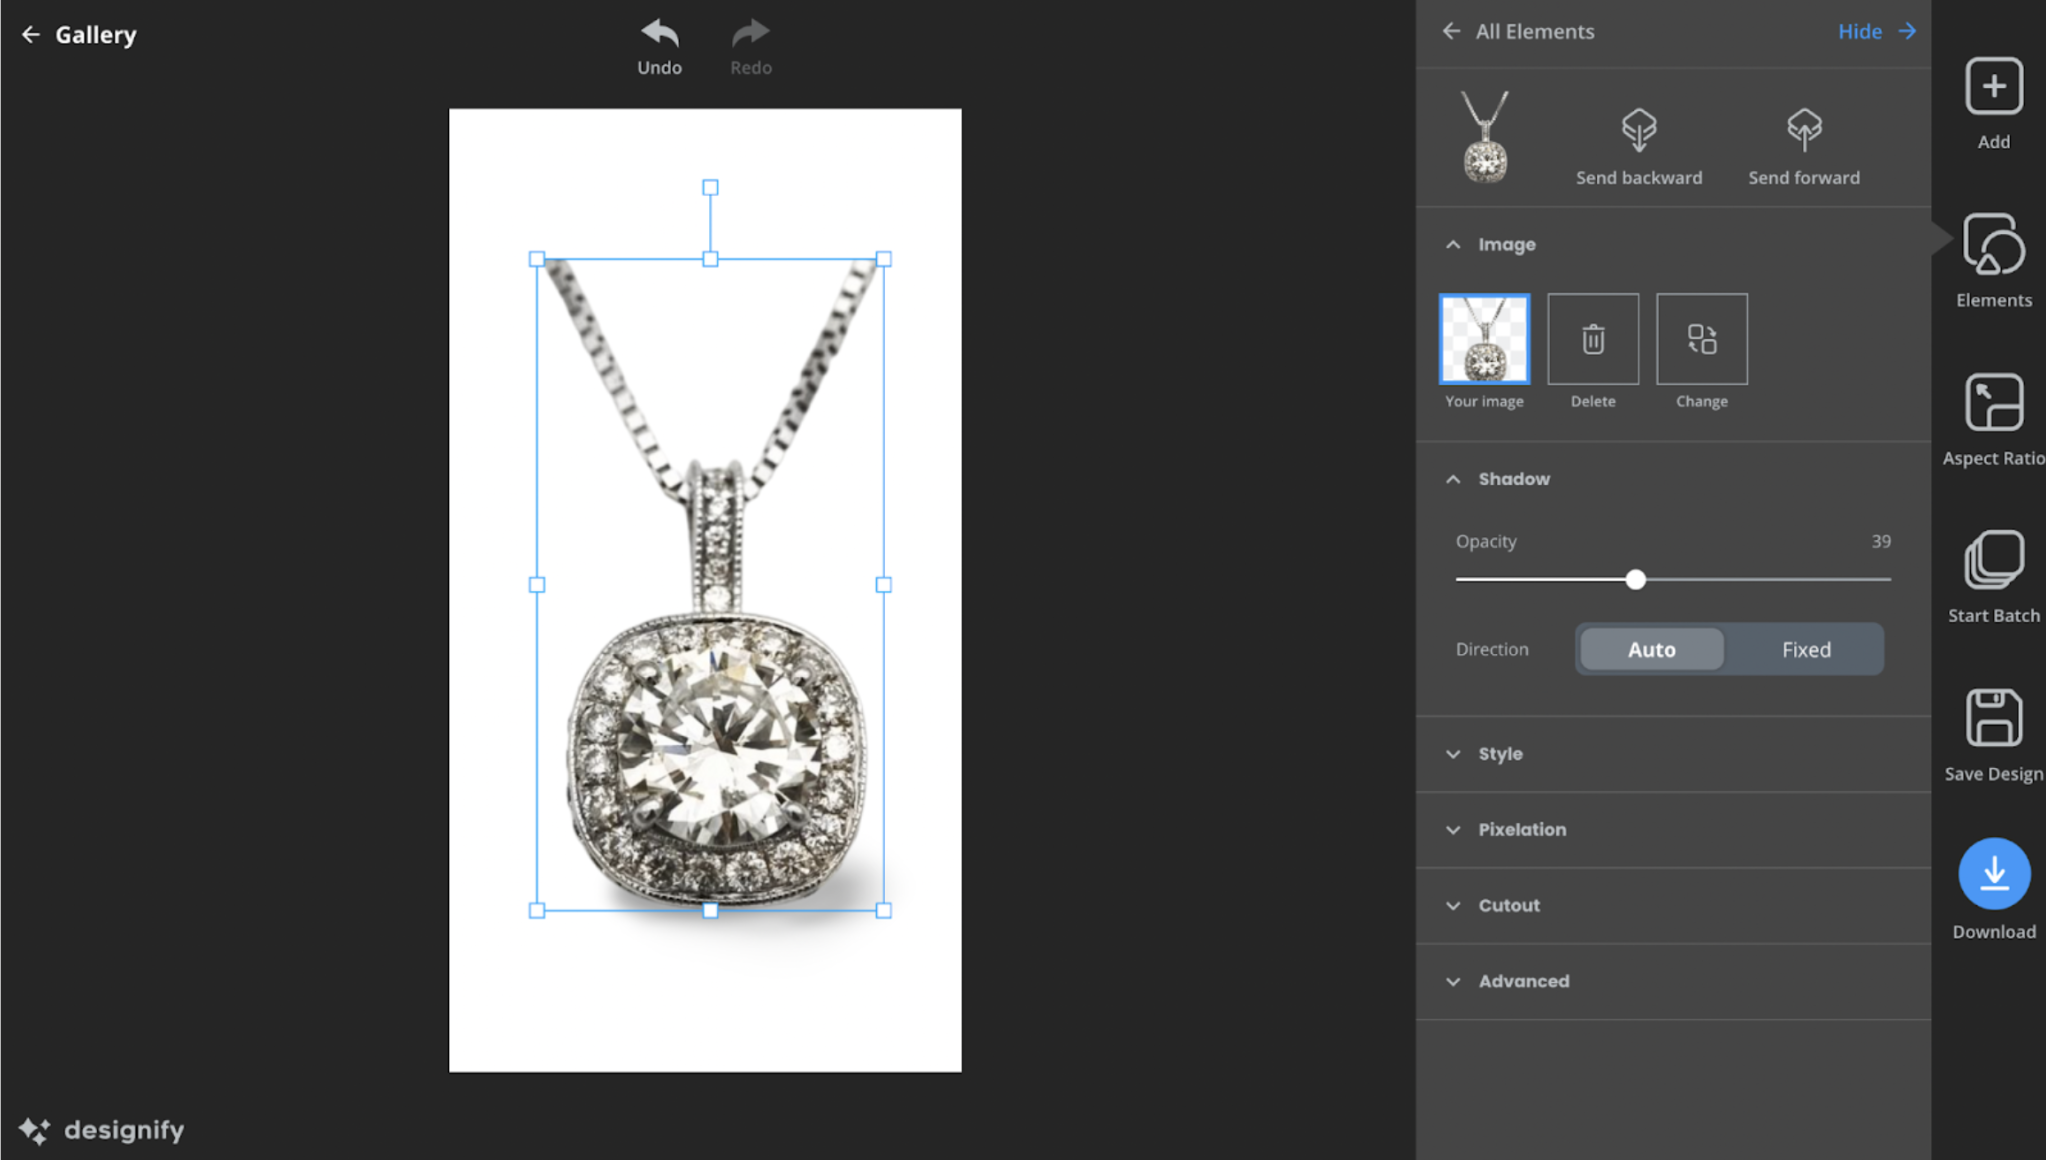
Add logos and enhance your product photos with Designify’s Smart Editor. With just a few clicks, you can easily remove backgrounds, highlight colors, and enhance shadows to create professional shots of your luxury products. You can find these features under the Elements button, after selecting the pencil icon by your image.
Batch processing
Who’s got the time to edit multiple photos at once? Designify’s batch processing feature allows you to upload several images to be edited for the same background. This is great for establishing a certain “look” as part of your luxury brand. You want to be easily recognizable among your competition.
Fix pixelation
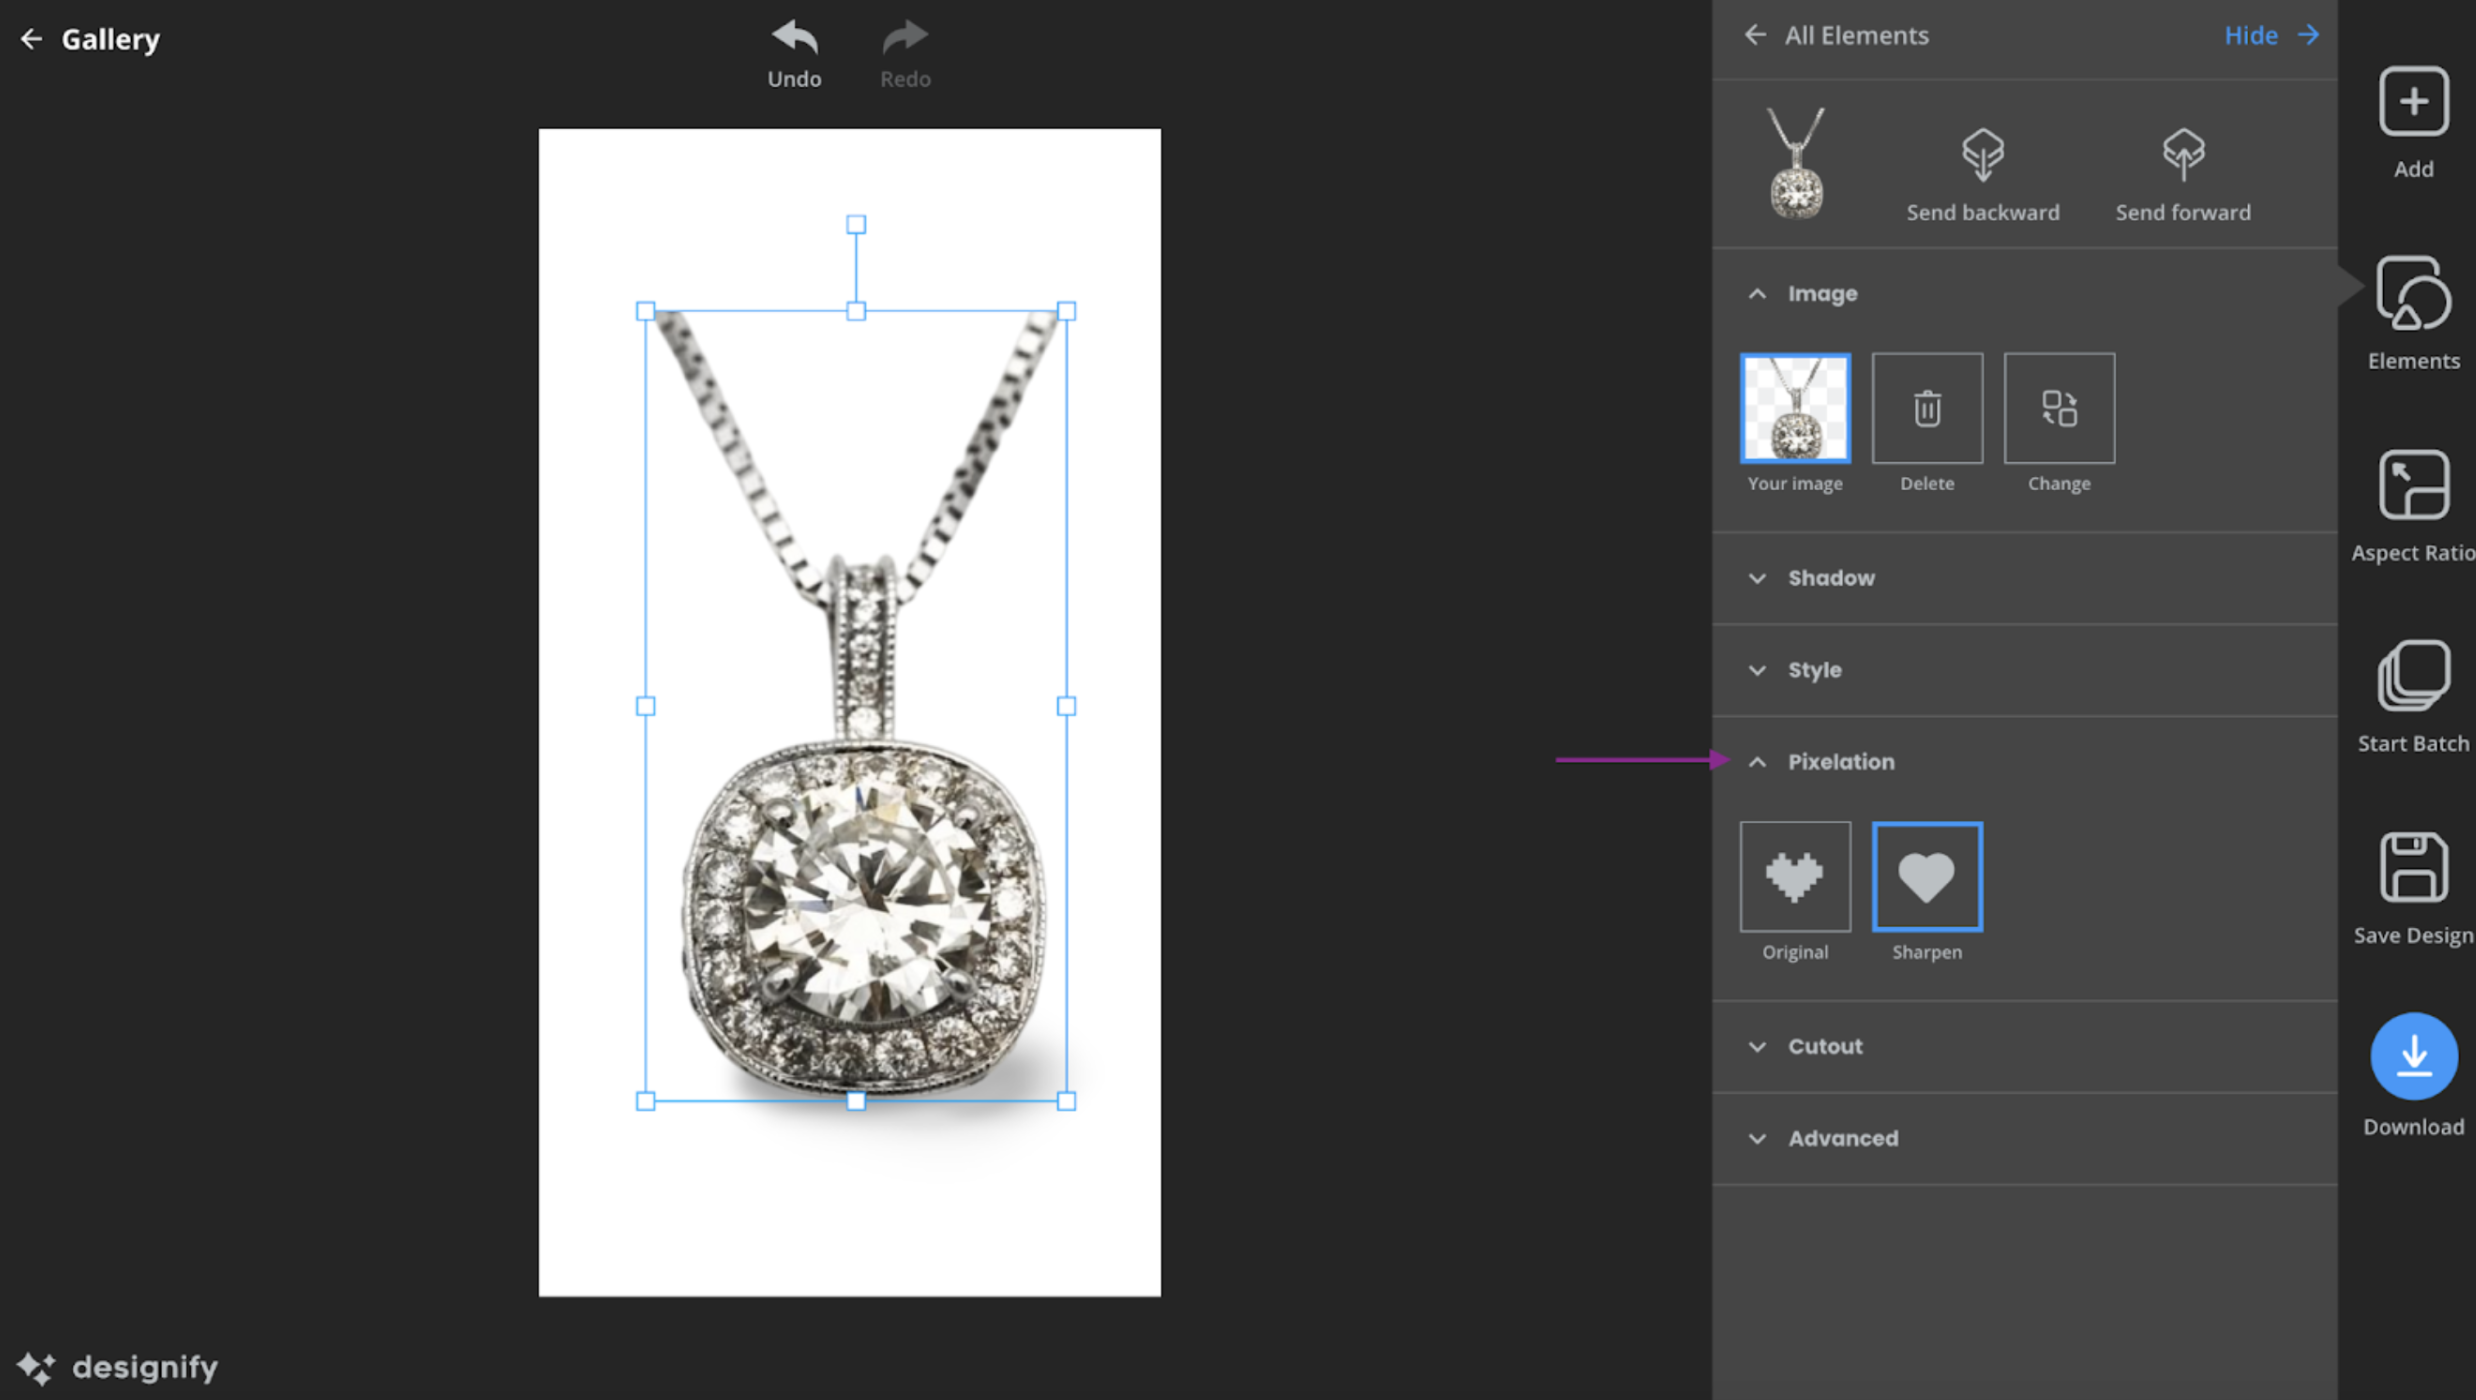
Designify’s pixelation fixing feature prevents you from wasting time manually picking pixels in images, in case an image turns out less than perfect. Just a click of a button, and your image is rendered sharper and less pixelated. This option is also available under the Elements button.
Another option you could use is remove.bg, which seamlessly removes backgrounds without a pixel out of place.
Turn your jewelry photos into awesome
Ready to get started with driving sales and earning your customers’ trust? Rather than investing in expensive tools, you could just let designify do the editing and refining for you instead. Just upload, edit, save, and your gorgeous new jewelry shots are ready to be shared! Designify's Pro version offers even better batch editing features, API access, and high-quality images guaranteed to make a sale.
Want to create the perfect background for your jewelry photography? Head on over to Designify and give it a try.
コメント
コメントはまだありません。