Tis the season to get cozy with a hot cup of chocolate and editing photos on the couch, but before you do – let’s make sure you nail your Christmas & fairy light photos. Here are our top tips.

目次
Outdoor Christmas & fairy light photography
First, let’s kick off things outdoors. Many cities and neighborhoods have gorgeous Christmas lighting up – so why not use it as your backdrop and grab some fresh air at the same time? Sounds like a perfect plan. Shooting outside with the snow and the fresh air usually makes images more raw, crisp, and colder-toned.
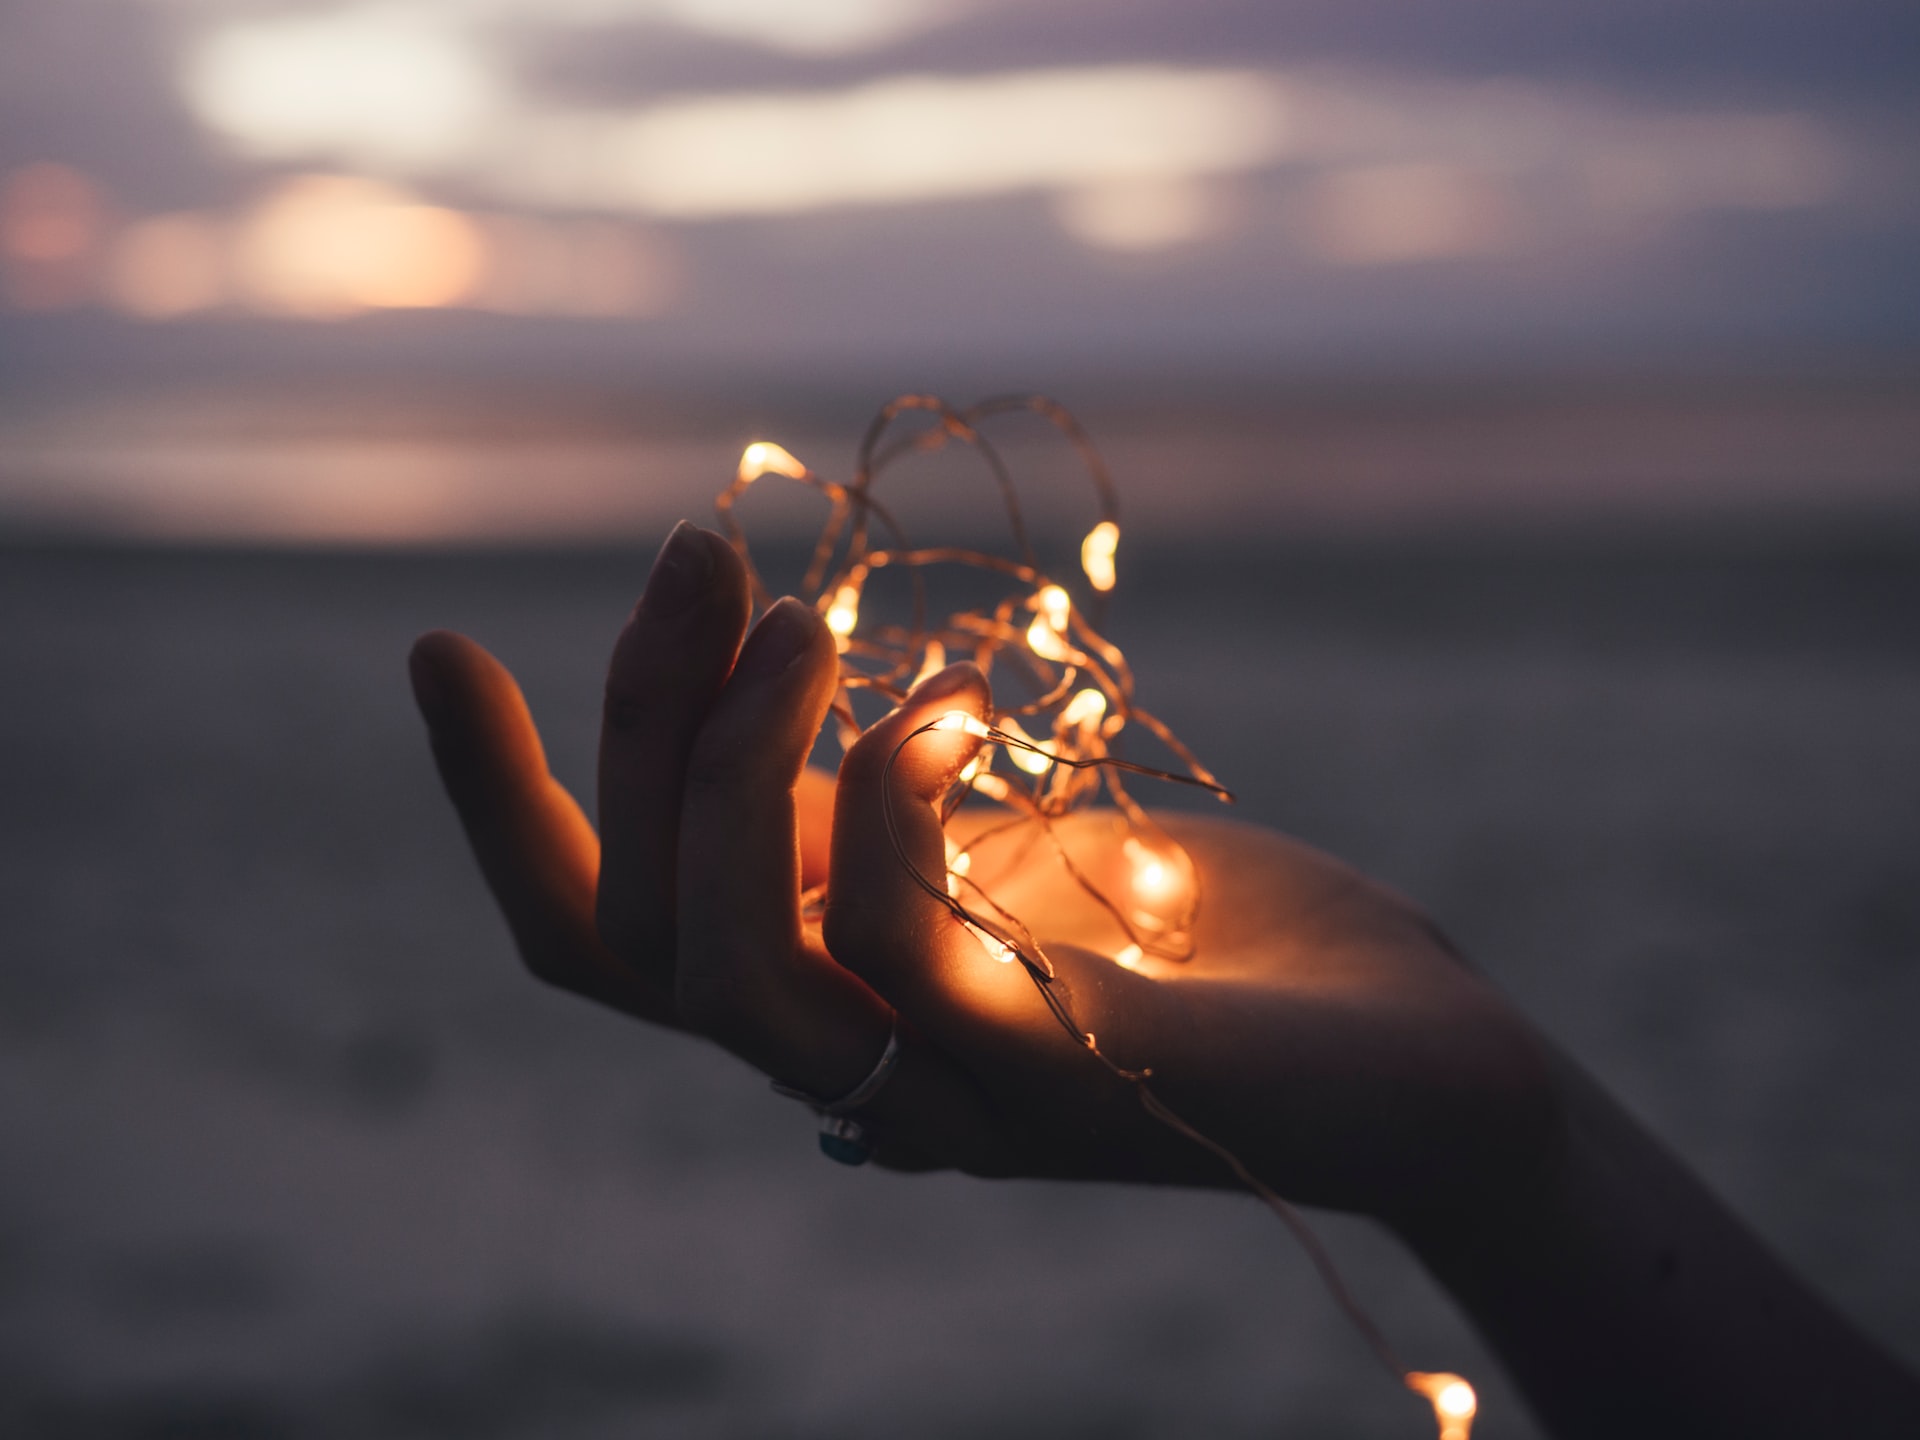
1. If you haven’t already – grab a set of fairy lights
You can go ahead and do that here, or anywhere you like, really, but they shouldn’t cost you an arm or a leg – fairy lights are a great cheap way of creating fascinating lighting and photos.
2. Choose the right time of day
Your first intuition might be to shoot once it gets dark – but let us nip that in the bud right away; it’s actually not the best time to shoot Christmas lights at night. Because when it’s pitch black, you will either just see the lights, or if you use more exposure – you’ll get washes out lighting.
Nor is it great when the sun is out because you won’t see the lights at all. So you’ll want to head out at twilight or dusk. Which requires planning by the way so be sure to do so in time 😉.
3. Lose the flash
Using a flash will interfere with the colors of the lights, so best let that be.
Inside Christmas & fairy light photography
Alright, once you’re done freezing your bum off, you can move inside, which is a lot cozier if you ask us and gets you just as good pics – if not better. Shooting inside allows you to play around with materials such as blankets, throws, and fairy lights, to create a warm and cozy feel.
1. Play around with Christmas lights background and foreground
Depending on what you want to photograph, a good place to start is by placing the lights in the background and focusing on the subject like so:

Beyond adorable isn't he? The bokeh (blurry lights) in the background give the image depth while also making the photo seem more cozy and romantic. You can add cozy blankets and soft materials that add to the whole look and feel in the foreground.
2. Introduce extra lighting
This may be counterintuitive again, but if your photo contrast seems too high and things aren’t really working out – try introducing another source of light (other than your fairy or Christmas lights). Having indirect lighting from the side can warm up the scene and make your photos crisper.
3. Go for shallow depth of field & keep aperture low
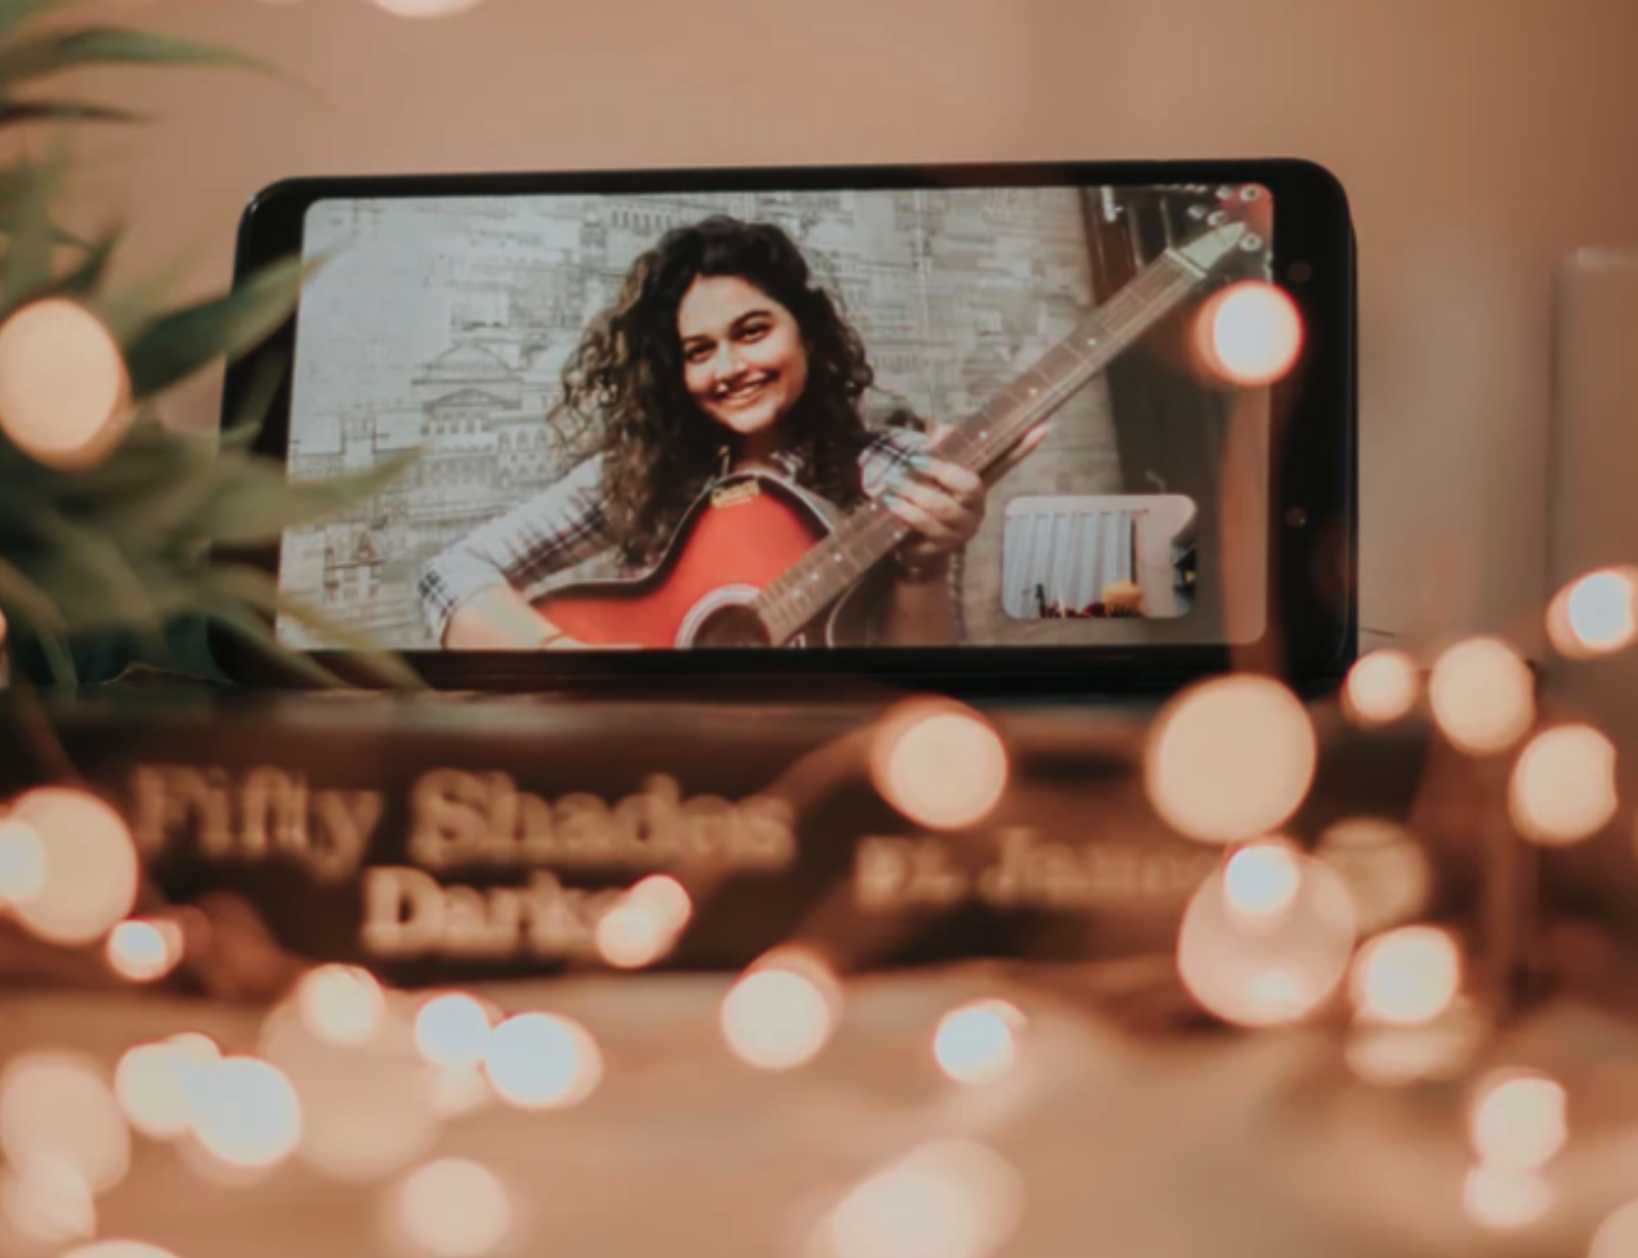
These are standard camera lens settings – if you’re not entirely sure what we’re talking about, go ahead and read our ultimate beginner camera lens guide. Which will take you through the most important setting and features. This technique will give you that blurry light feel, otherwise known as bokeh.

Fairy light photo settings
There are so many things you can do with fairy lights to create unique and creative photos, here are just some ideas:
1. Self-portrait
Place the fairy lights around you, in the background – or even play with wrapping them around your arm and racing towards the camera lens to create a dramatic self-portrait.
2. Bokeh backdrop
Did you know that you could also buy a curtain of fairy lights? Yup, you can, and they make a mean background for photos.
3. Stunning foreground
You can also use the warm lighting and bokeh effect in the foreground to add mysticism and warmth to your photos.
4. Long exposure for a time warp effect
If you use long exposure and rapidly move the fairy lights, you can create shapes and patterns unique to your photography.
In the end, it’s a lot about playing around and seeing what works for you but try it out. Christmas and fairy light photography is unique and lots of fun during the holiday season! Enjoy!
コメント
コメントはまだありません。