Are you planning on shooting in a photo studio and want to remove or change the background after? We’ve got an unbeatable way for you to scale your photography.
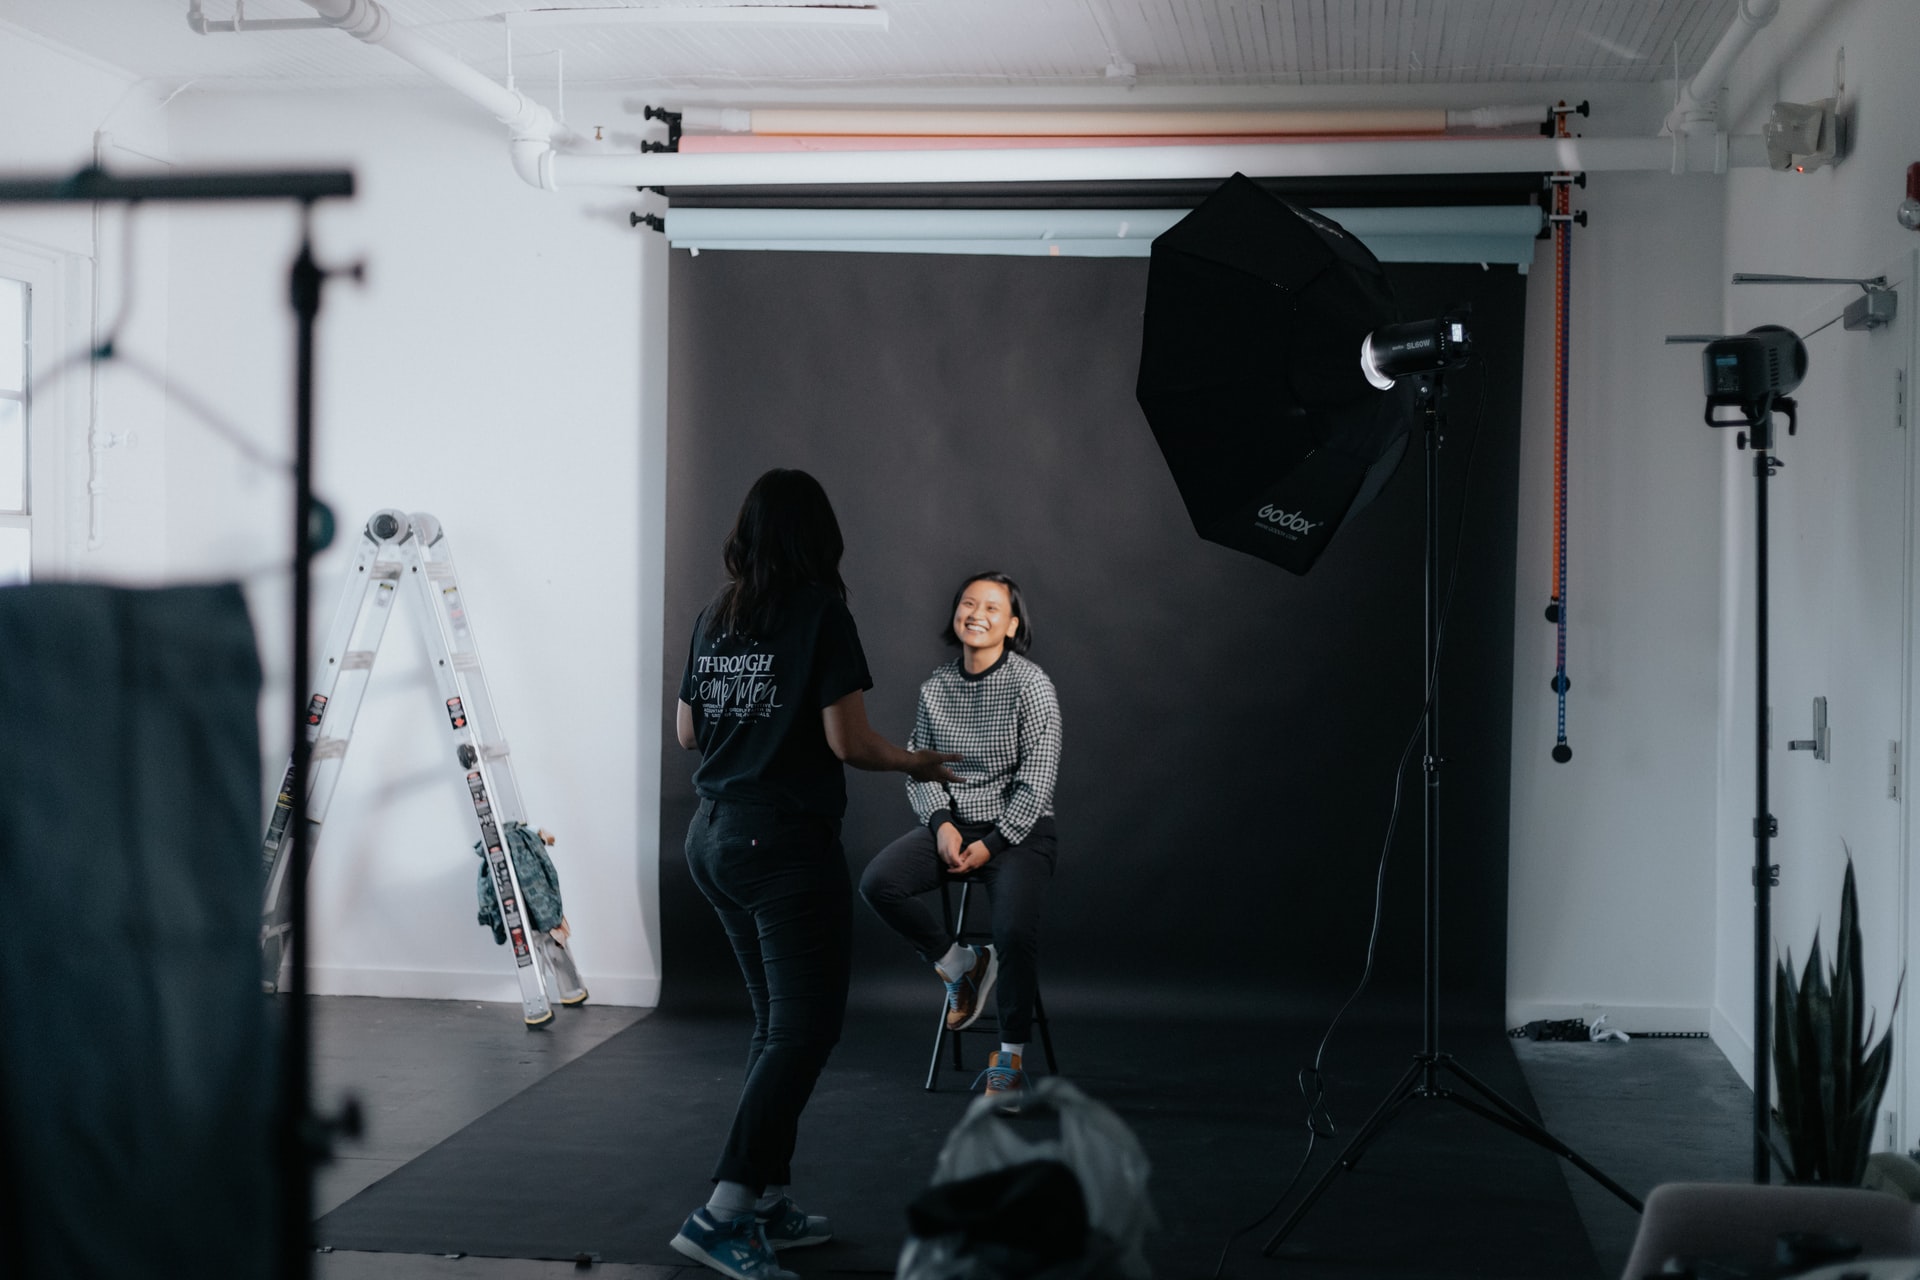
If you shoot your photos so you can easily remove the background after, you can use them for advertising campaigns, photo collages, product catalogs, editorials, templates, and much more.
remove.bg’s AI technology lets you remove the background of a photo in seconds. Which also means you can add a new one in the blink of an eye or you edit it further in a tool like Canva or Photoshop.
This workflow is genius — it saves you a ton of time and budget. But there are some things you should keep in mind when shooting in a photo studio that will make your life a lot easier once you start editing. Here are our tips and tricks on how to shoot in a photo studio, so removing the background afterward is seamless.
Isi kandungan
Keep your edges sharp
One of our best studio photoshoot tips to get the best result for removing your background is that you’re going to need sharp edges around the subject or object. There are a couple of things that can influence that.
Make sure your object or subject is not moving around
Movement creates blur, so do your best to keep the person or thing you're photographing still while you’re shooting.
Set a high shutter speed
To help counteract any movement, you can use a high shutter speed.
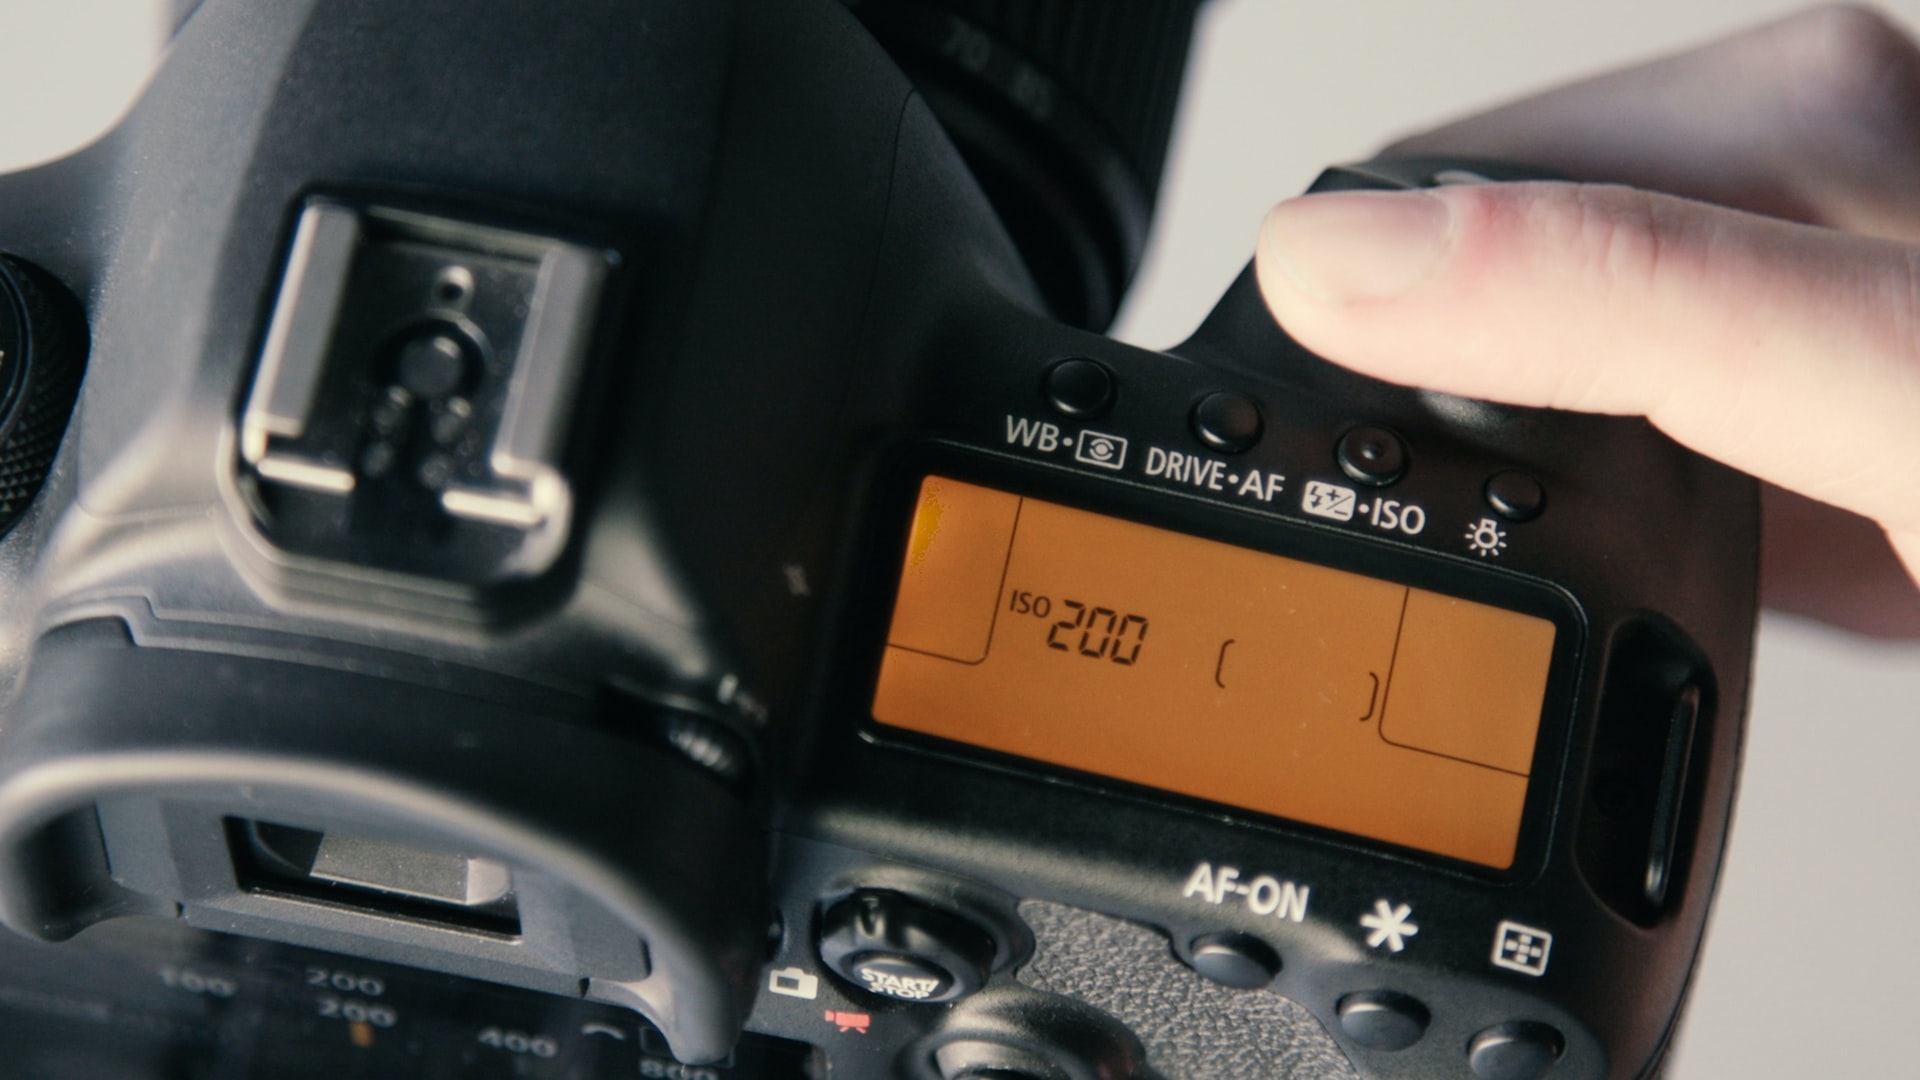
Set your ISO relatively low
Reducing your ISO will ensure there’s not too much ‘noise’ in your photo and keep things sharp and clear.
Use a tripod to avoid shaking
This will avoid any handshaking that might cause your edges and lines to blur.
Use a deep depth of field
To get the best result, we highly recommend avoiding a shallow depth of field. Using a deep depth of field will ensure that as much of your scene is in focus as possible. To create this effect use a small aperture (high number, e.g., f/11, f/16). This creates the best end result because it’s not only easier for the AI to detect your main subject but the edges of the product or person you’re ‘cutting out’ will be sharp.
Photo studio lighting tips
When it comes to shooting in photo studios, lighting should make up half the work. Honestly, we can’t stress enough just how important it is because it’s what’s going to make or break your photos. Lighting will also influence how easy or difficult they are to edit afterward.
When you’re setting up your lighting and plan on using a tool like remove.bg, you’re going to want to avoid over or underexposure and harsh shadows. But to be honest, those are things pretty much any good photographer is going to want to avoid.
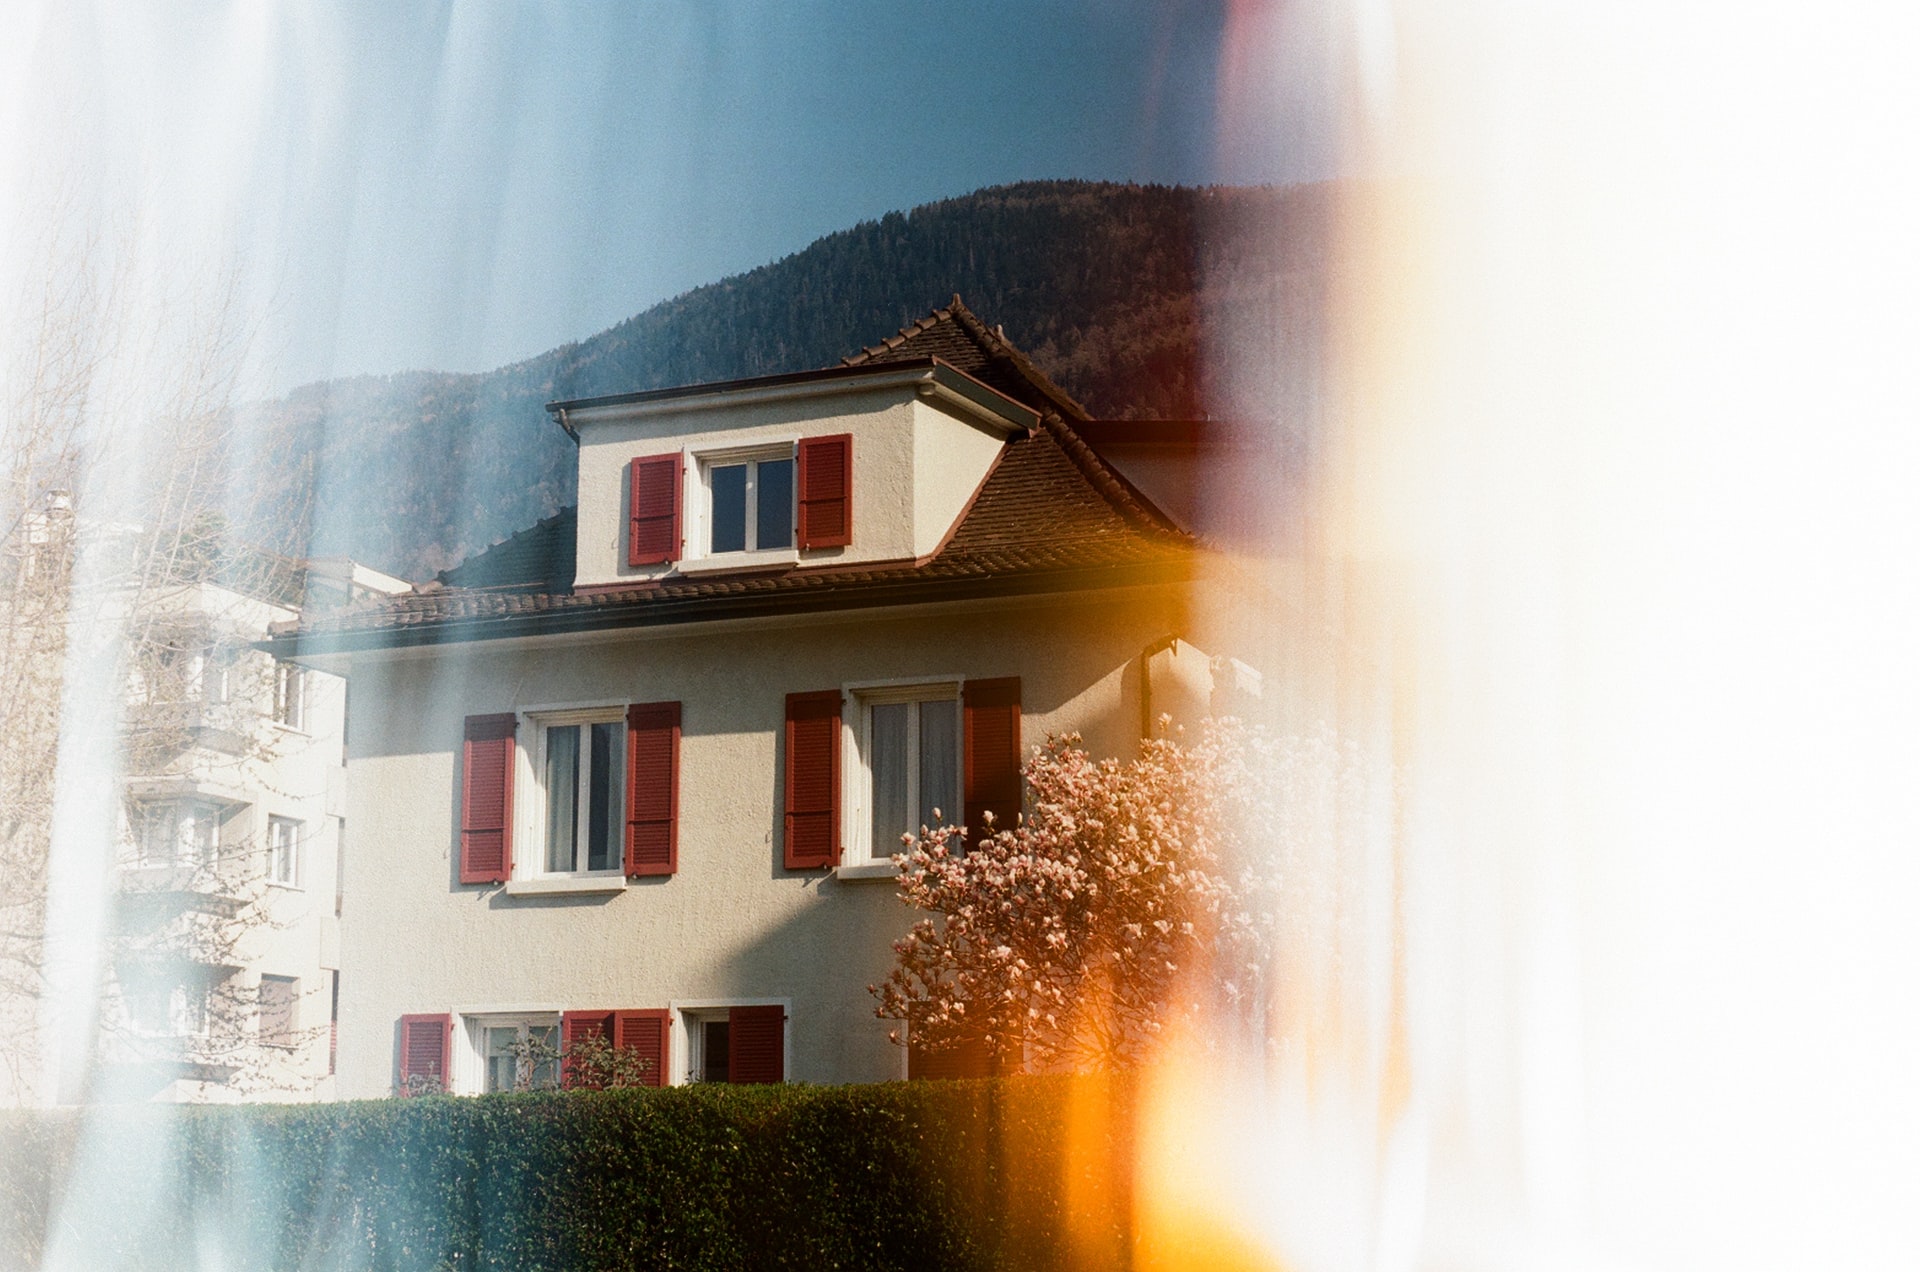
An overexposed photo has too much light in it, so the objects or subjects of the image start getting flooded with light, and the outlines get blurry.
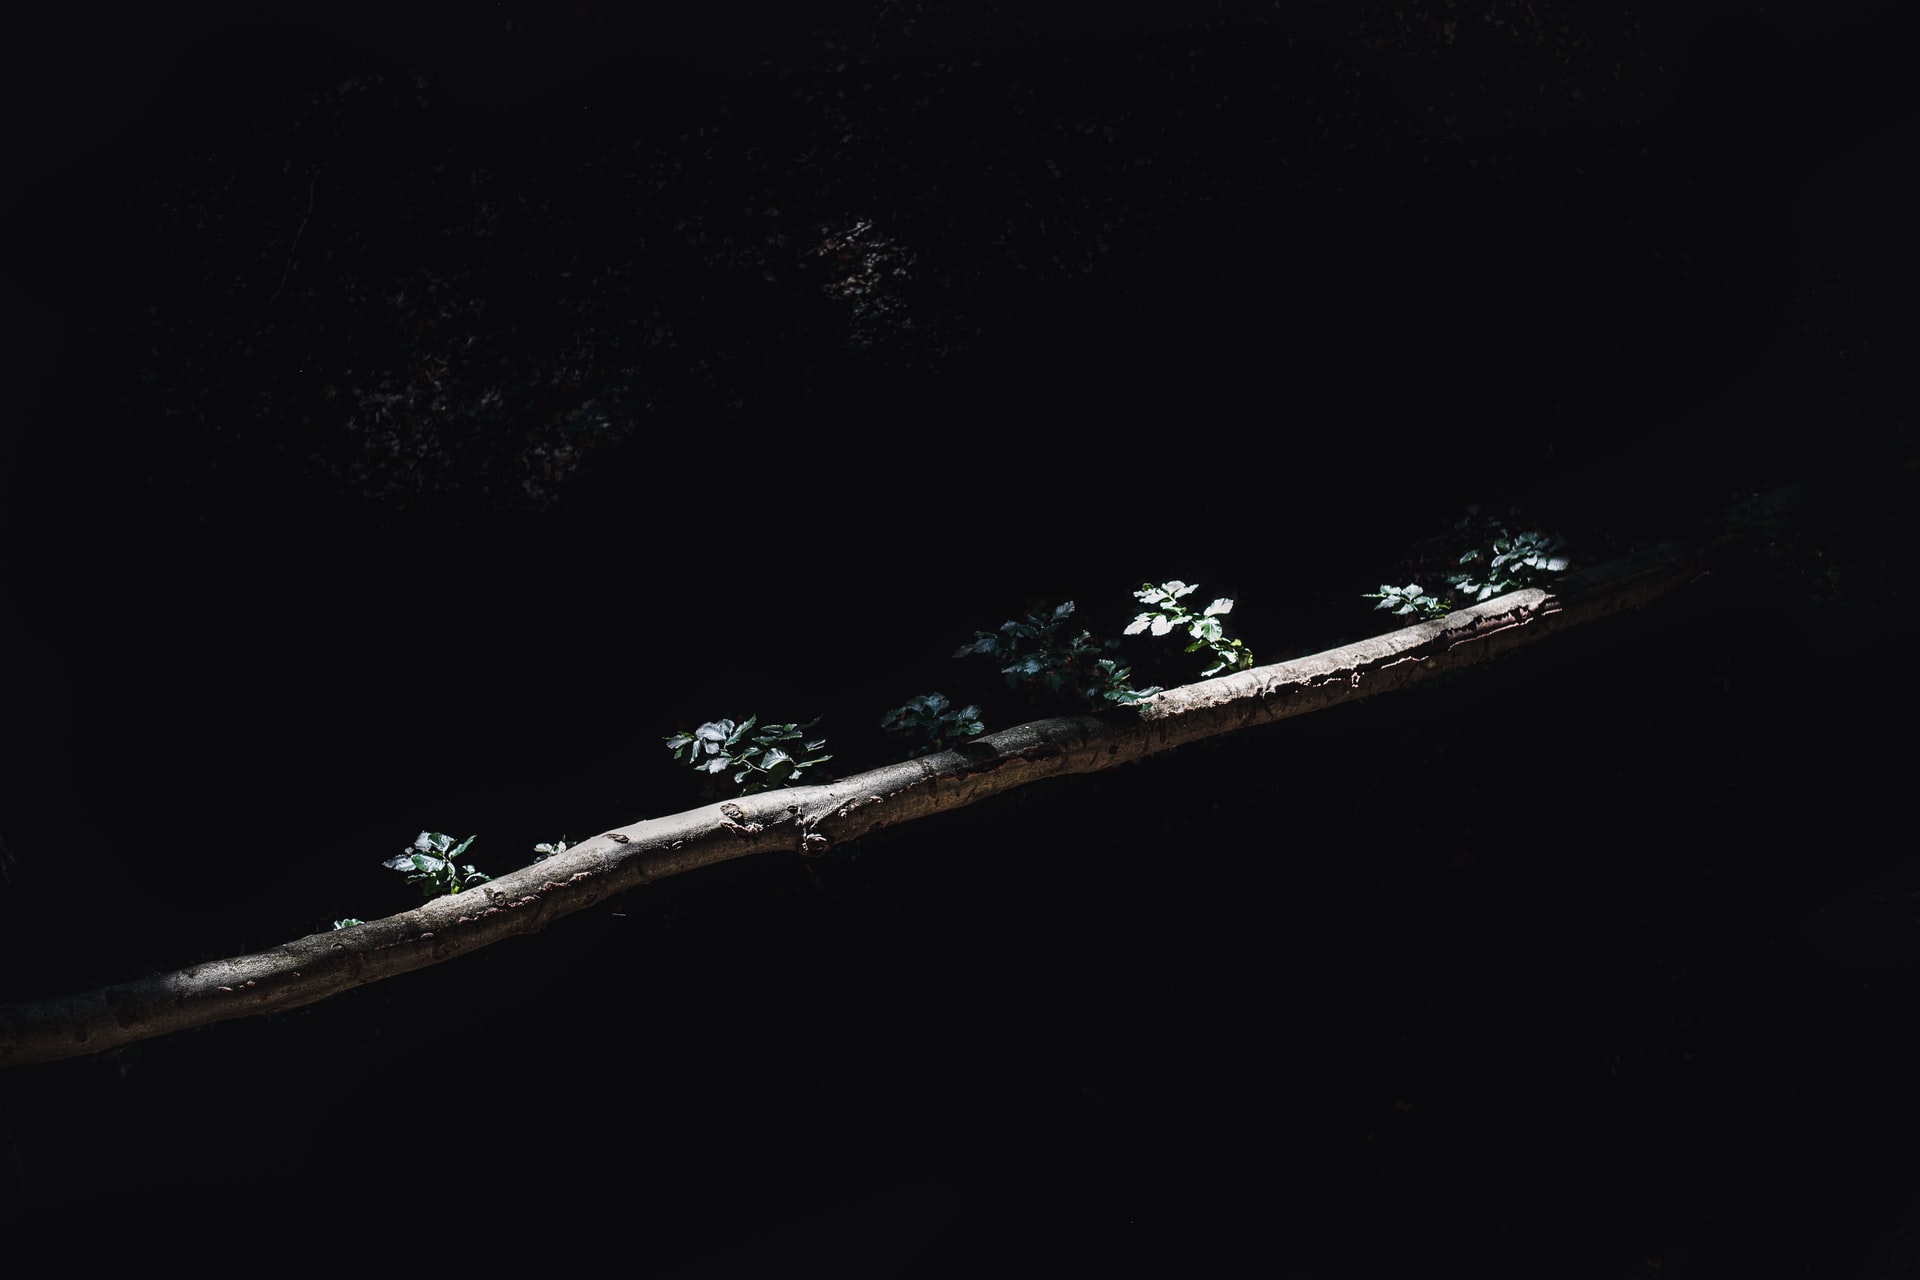
Underexposed photos are too dark, and you can’t seem to be able to see the outline.
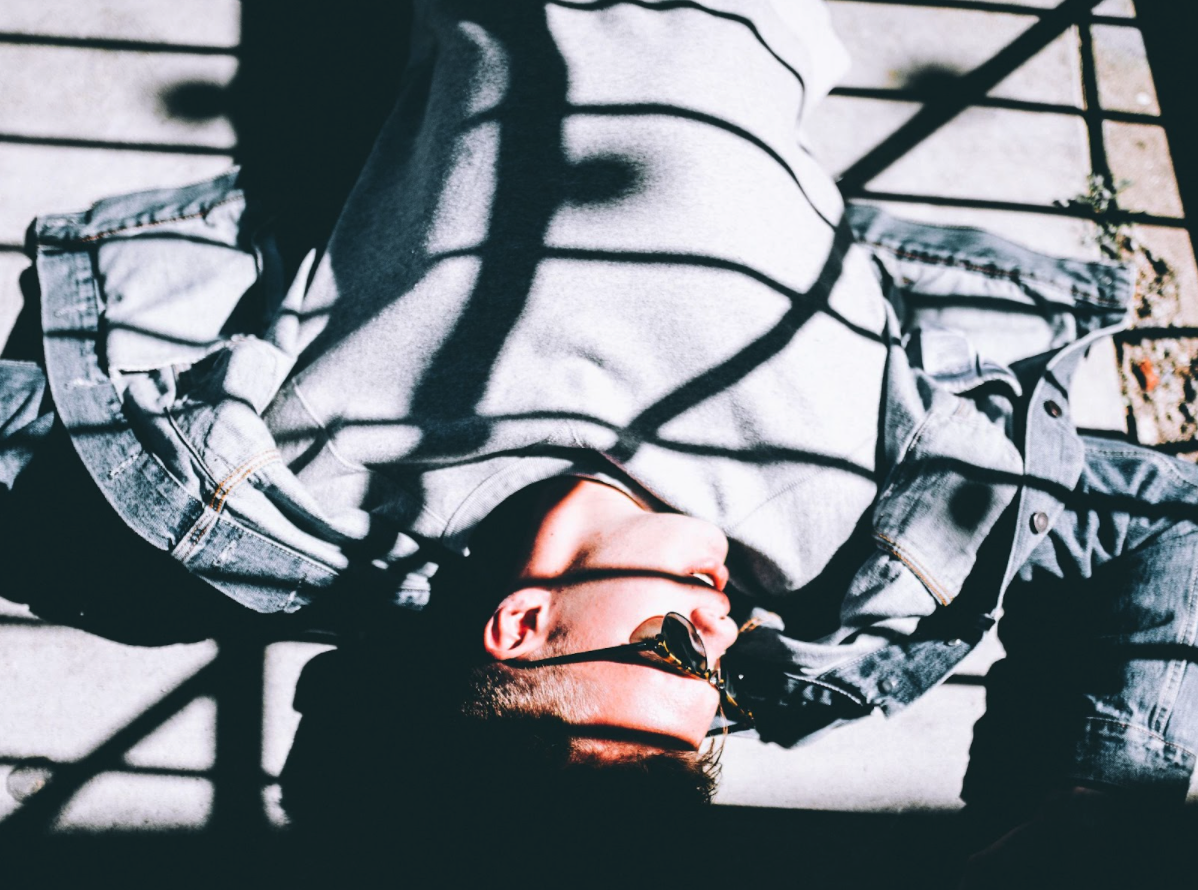
Harsh shadows become a part of the object like in the photo below; it almost looks as if the sweater is striped — AI is smart, but not that smart yet. This is especially true with dark shadows that have a very sharp edge.
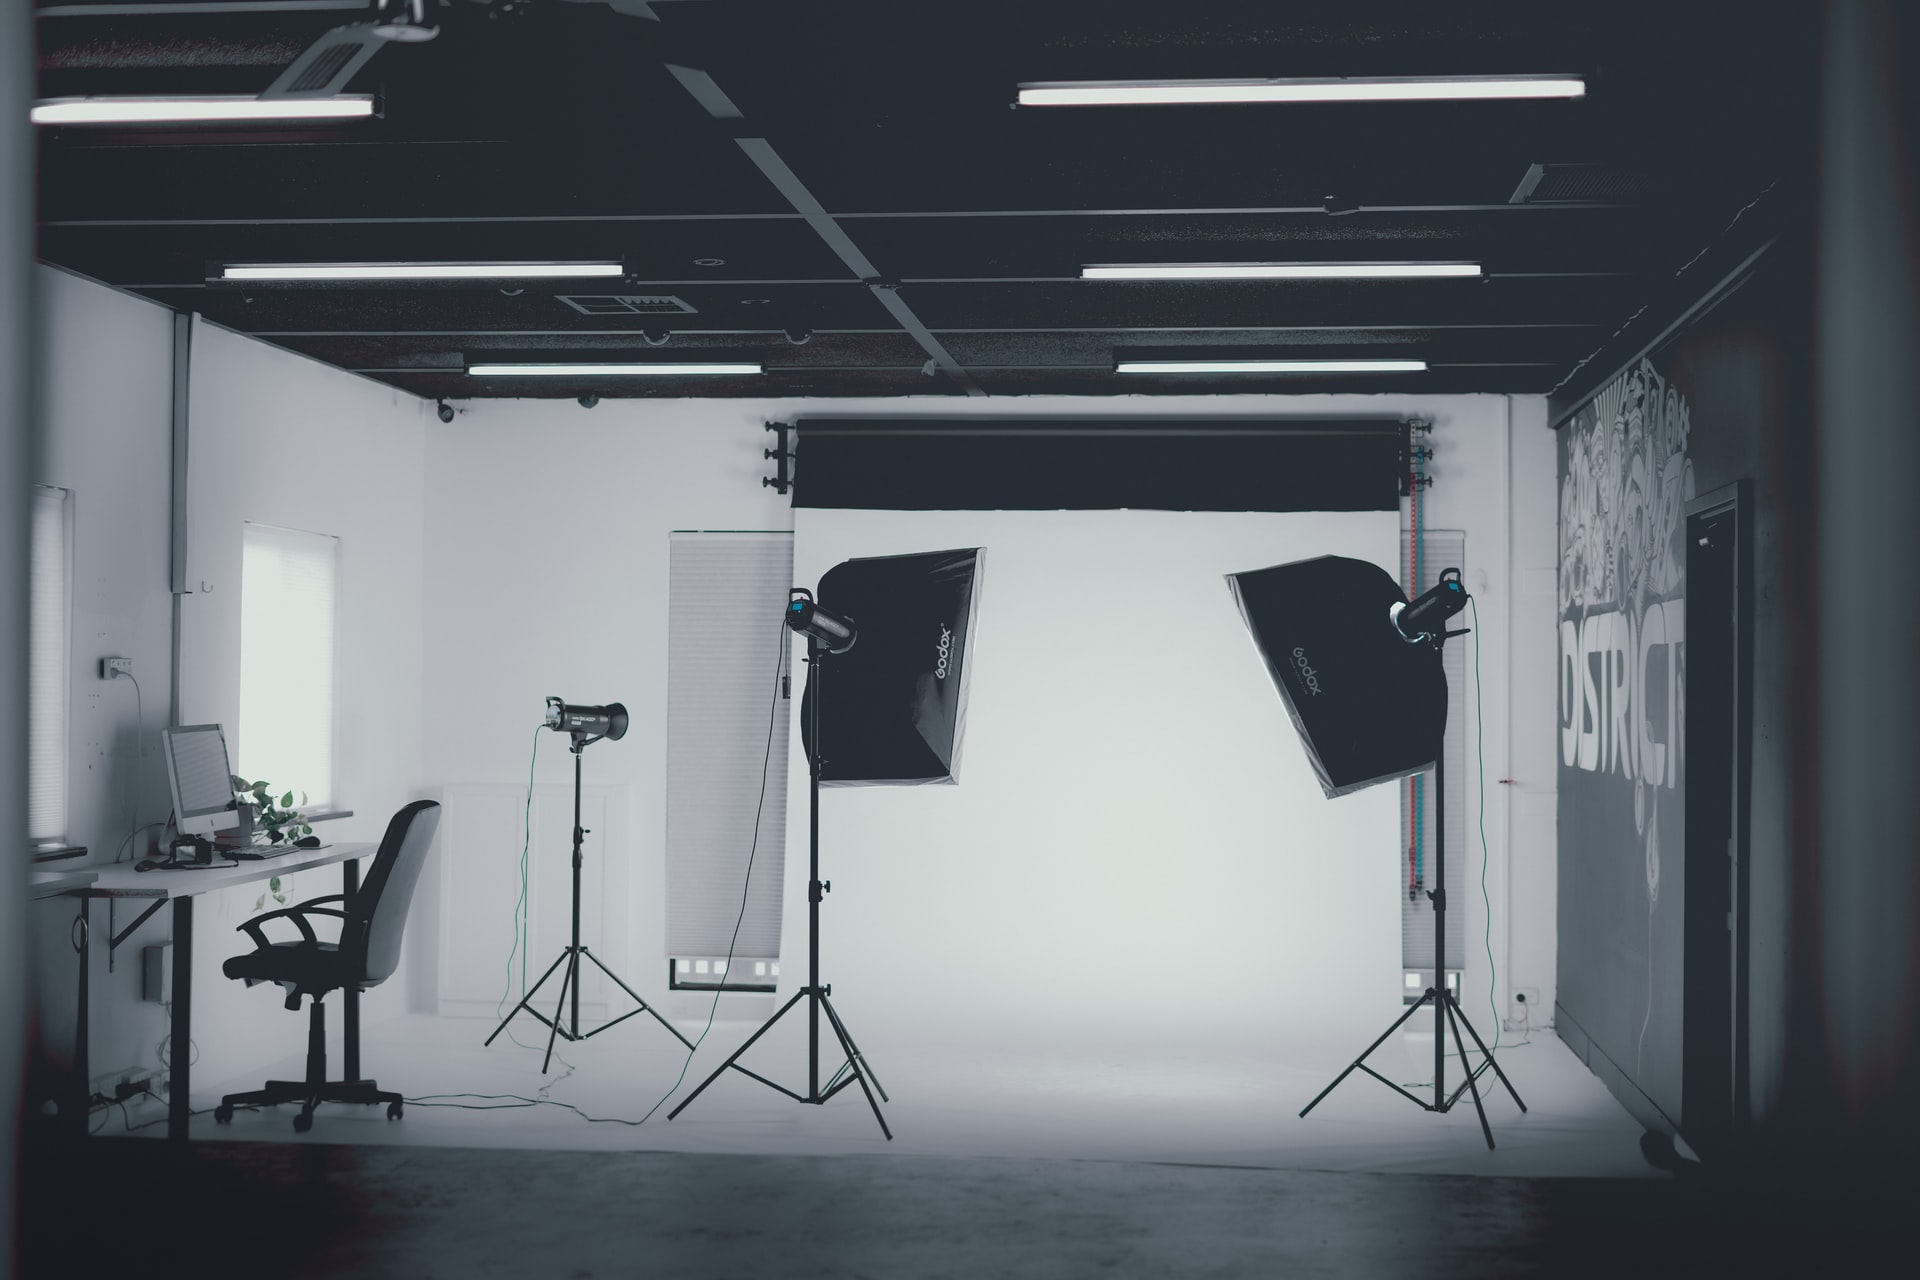
Make sure the light in your studio photo is well-balanced, not too bright, not too dark, and use reflectors to bounce light back onto your product or subject to soften any shadows it might be throwing — here’s a great example of a well-lit photo studio setup.
This rule of thumb is especially true for complex objects like jewelry with many tiny gaps. They really have to be amazingly lit for the AI to work.
How to style your photography studio background: keep it simple
If you plan to edit your studio photos after, these are the most important factors you need to watch out for:
Remove any distracting objects in the background
Try to keep only your subjects in focus and avoid having any unwanted movable objects in the frame; e.g., balloons in the background of a photo, other people sitting on the edge, or props laying next to the subject you want to photograph.
Frame your subject correctly
Make sure your subject - aka the product or person you are shooting - is within the frame and things like light-boxes aren't. Take some test shots and readjust either your camera or your subjects accordingly.
We also recommend avoiding cropping elements of the main subject such as a person’s elbow, hair, etc. in your composition. This is so you can have maximum flexibility when you edit. If you do this, you can place your cutout object anywhere in your composition without having any cropped edges.
Use a neutral background
Use a background with a neutral color (to avoid color spill/color contamination). In most cases, gray works really well. At the same time, avoid placing dark objects on a dark background and bright things on a colorful background.
Make sure your colors don't match the background
Another thing that makes things a lot more difficult for the AI to detect the background of your photo and remove it, is when it's just too similar. The color and texture of your product, or the clothes, hair, and accessories that the person you're photographing is wearing need to be in contrast with your background.
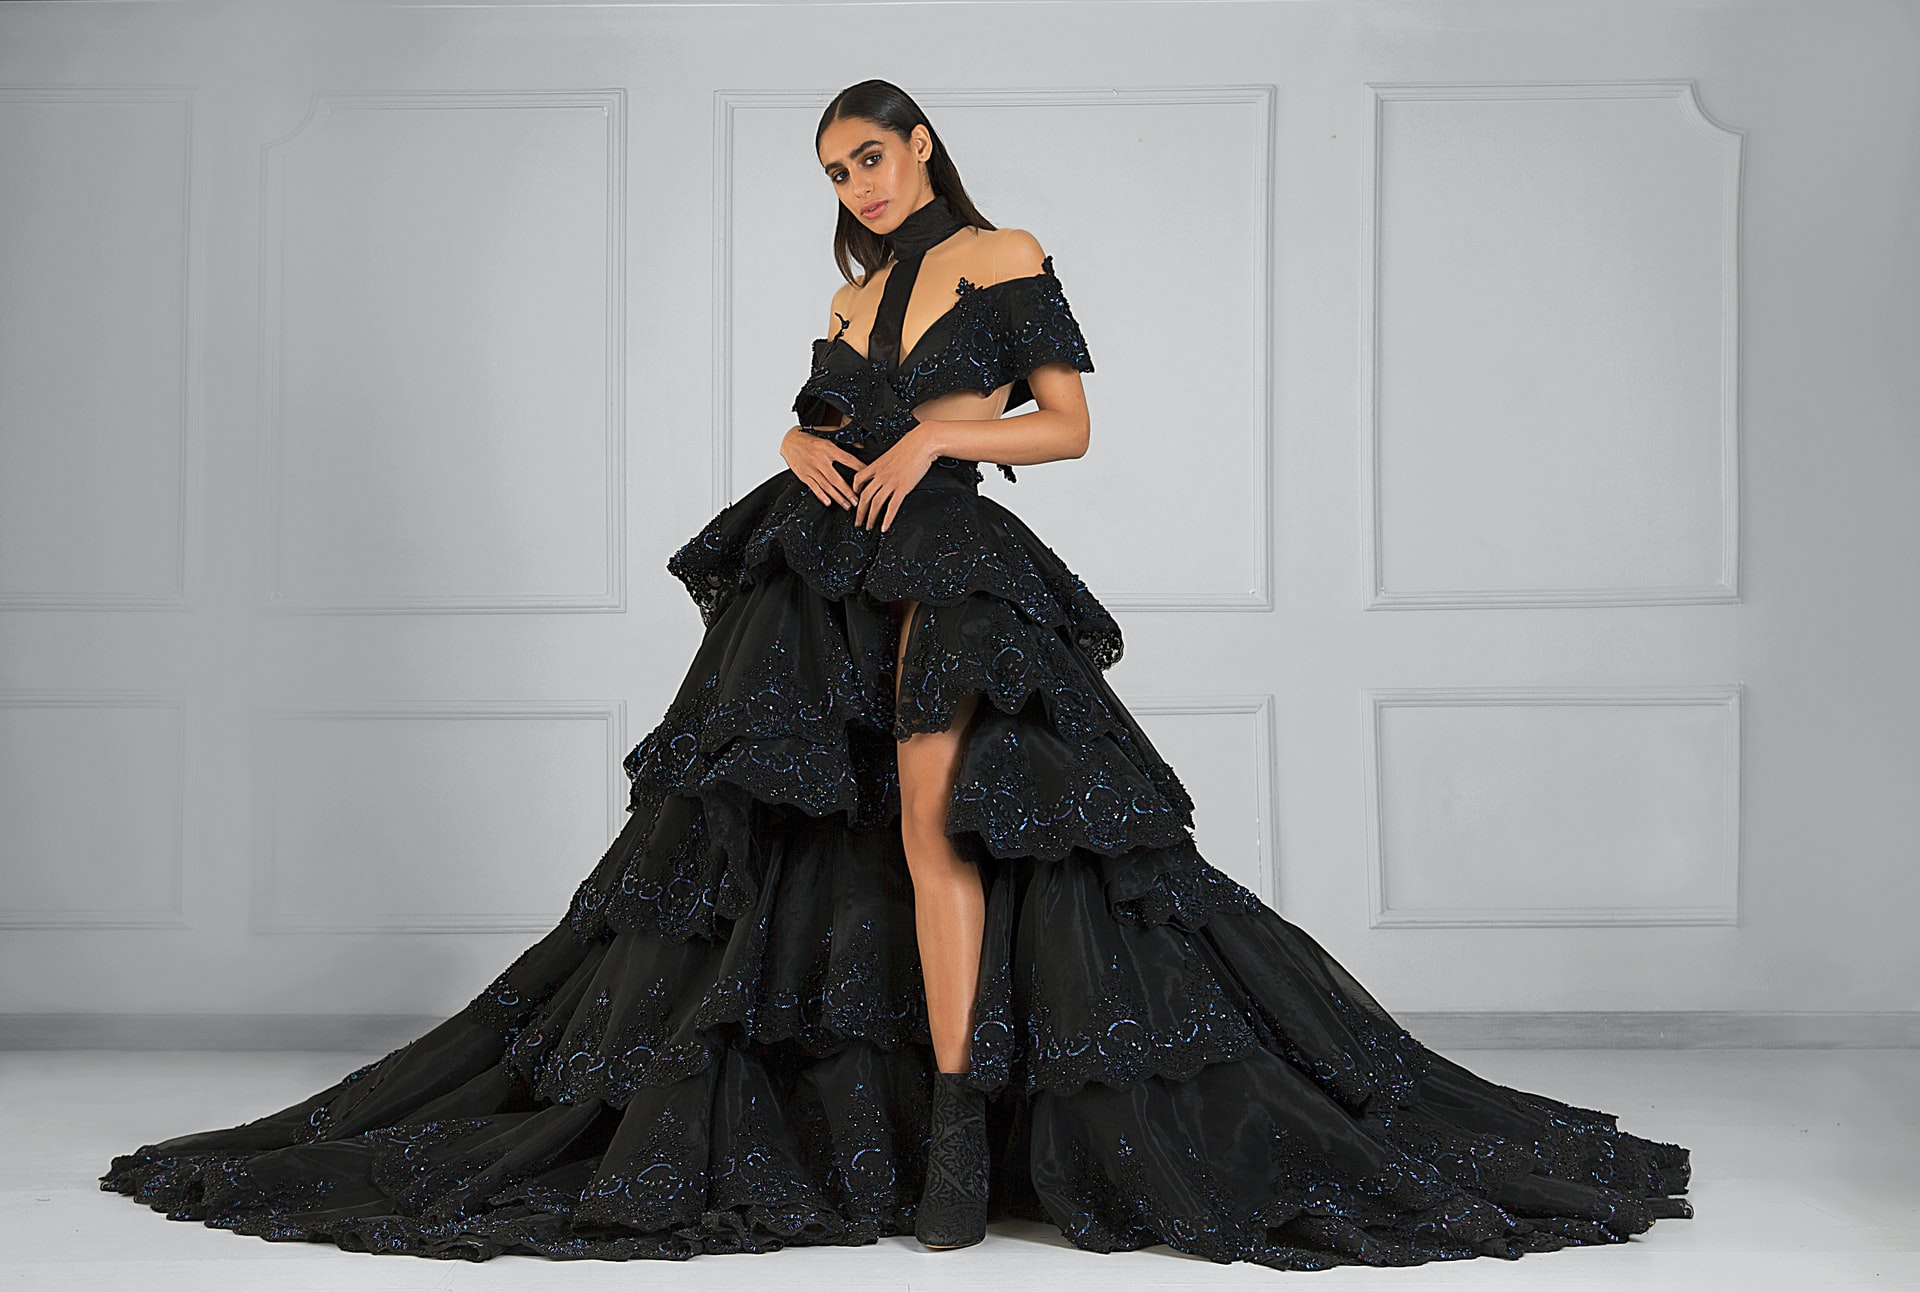
Best examples of studio shoots & background removal
Plenty of remove.bg customers are already shooting their photos in a studio and removing the background after. It gives them freedom, flexibility and speed to scale their photography in a budget-friendly way.
Below we are going to show you some great examples of perfect use cases.
Online fashion retailer or e-commerce store
E-commerce is the number one use case for shooting photos in a studio so you can remove or change the background after. Because if you do it in the right way you can create a ton of campaigns with your product photos that will last for a very long time.
There are, however, a couple of things we recommend keeping in mind. Generally speaking, you should ensure your e-commerce photo backgrounds include:
Consistency: keeping your backgrounds in a consistent color or design ensures that your e-commerce store visitors see visual consistency so they can associate it with your brand and know what to expect. Using the same background also ensures that the online store has a clean and tidy look and feel that makes it more professional.
Emphasis on the product: the photo should also focus on the product and set it apart from the background, that way the shop visitor doesn’t get confused as to what we’re actually selling plus the item pops.
White as the favored background color: most stores opt for a white product background because it’s clean, it gives them endless options to design the rest of the online store whatever way they like and it clearly sets itself apart. It’s also more scalable, since creating a white background can be done in seconds using remove.bg and you can use those images pretty much anywhere without worrying about them being off-brand, etc.
Having great product images can establish customer trust and in turn convert them a lot quicker — truly, they are one of the things that make or break an online store.
Big online fashion retailers like Vestiaire Collective and TheNextCloset are shooting their images and using remove.bg to remove the background of handbag and accessory photos. These companies use remove.bg on 80-90% of their photos and cut their editing time down big time. Saving them tons of hours of editing time and plenty of production budget too.
To create a product photo, simply:
1. Go to remove.bg, drag and drop your product photo onto the platform. We chose this one as an example:
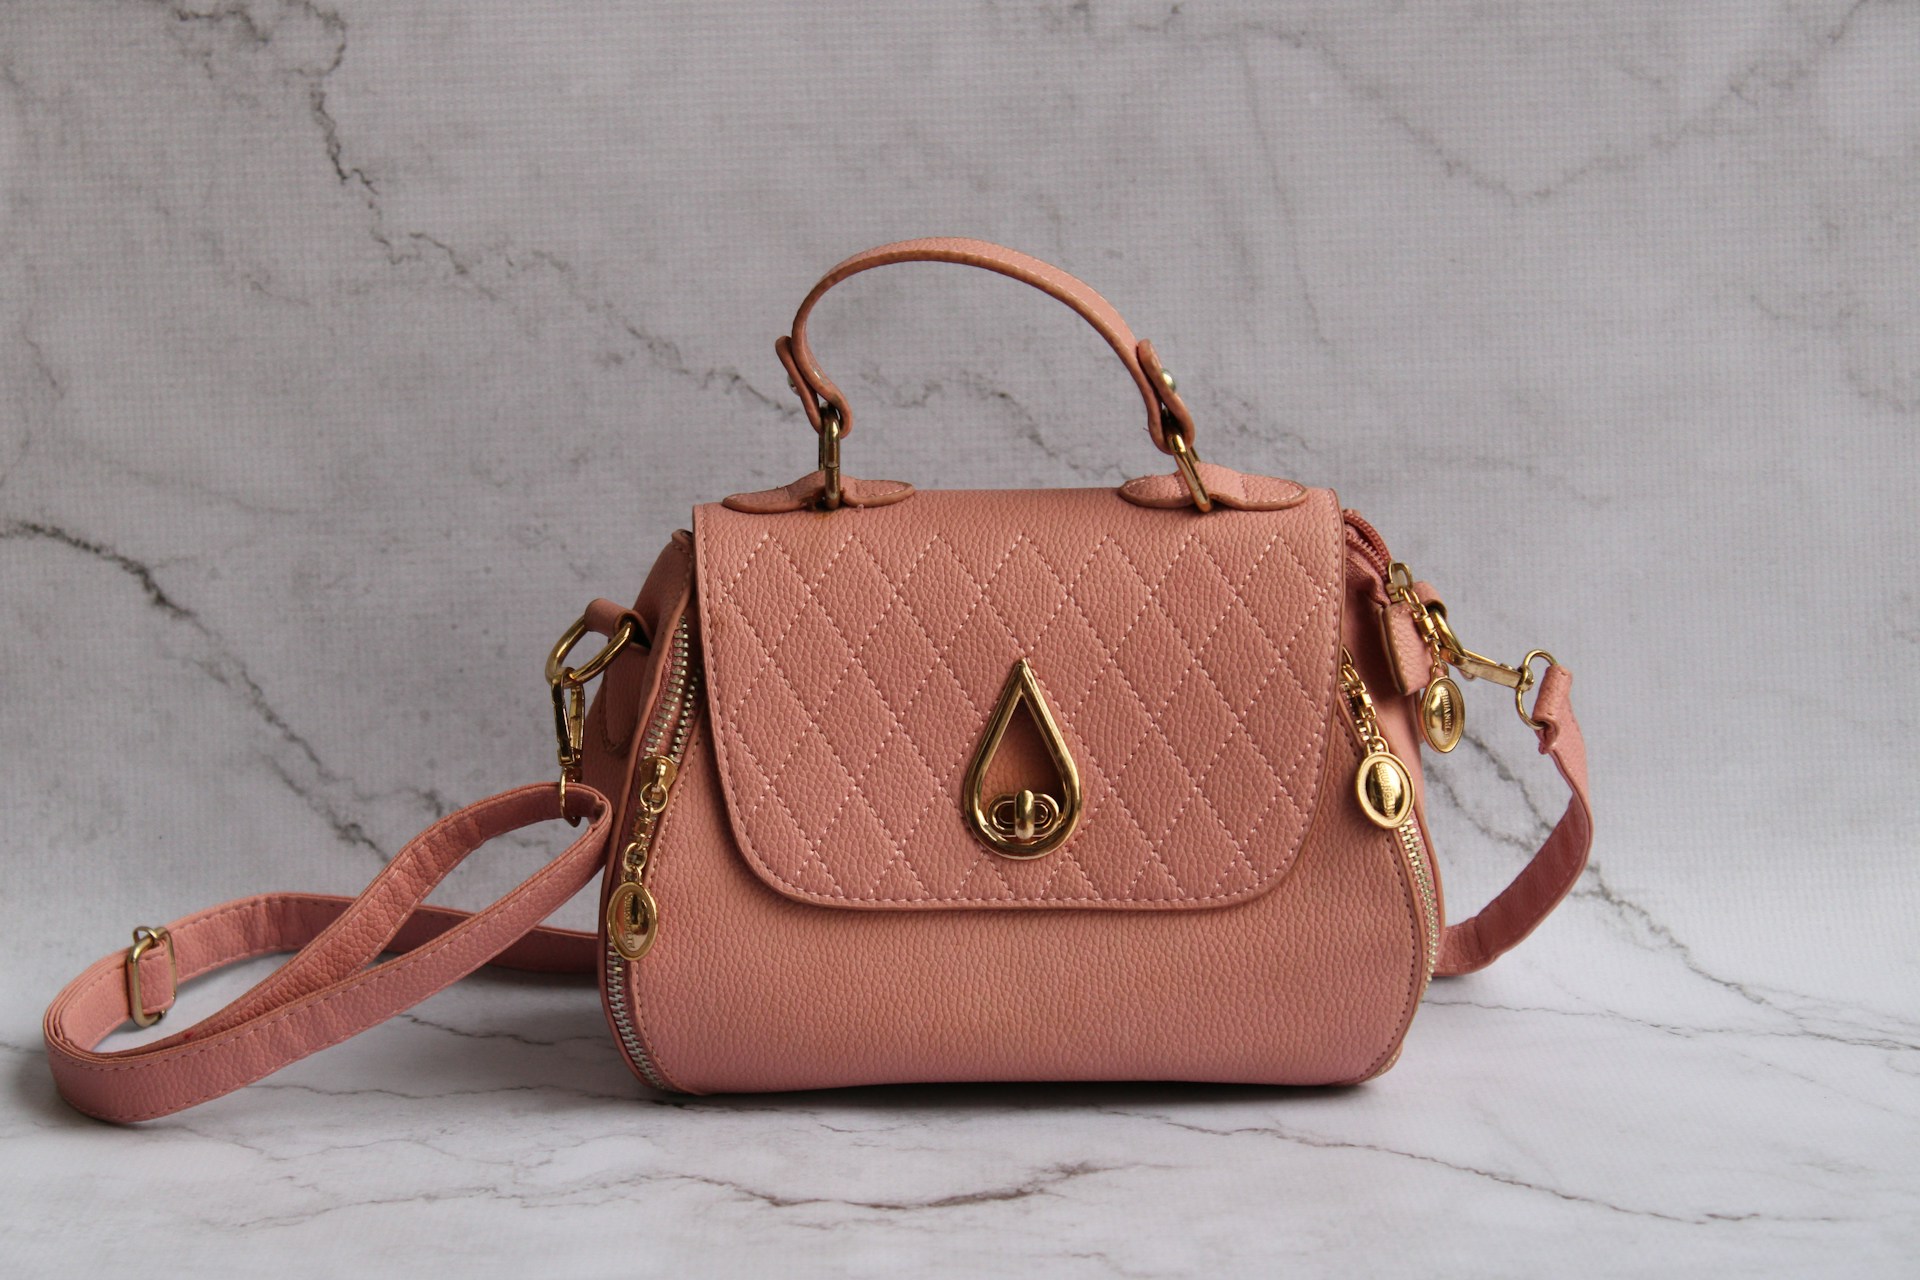
2. Wait a few seconds for the AI to do its magic.
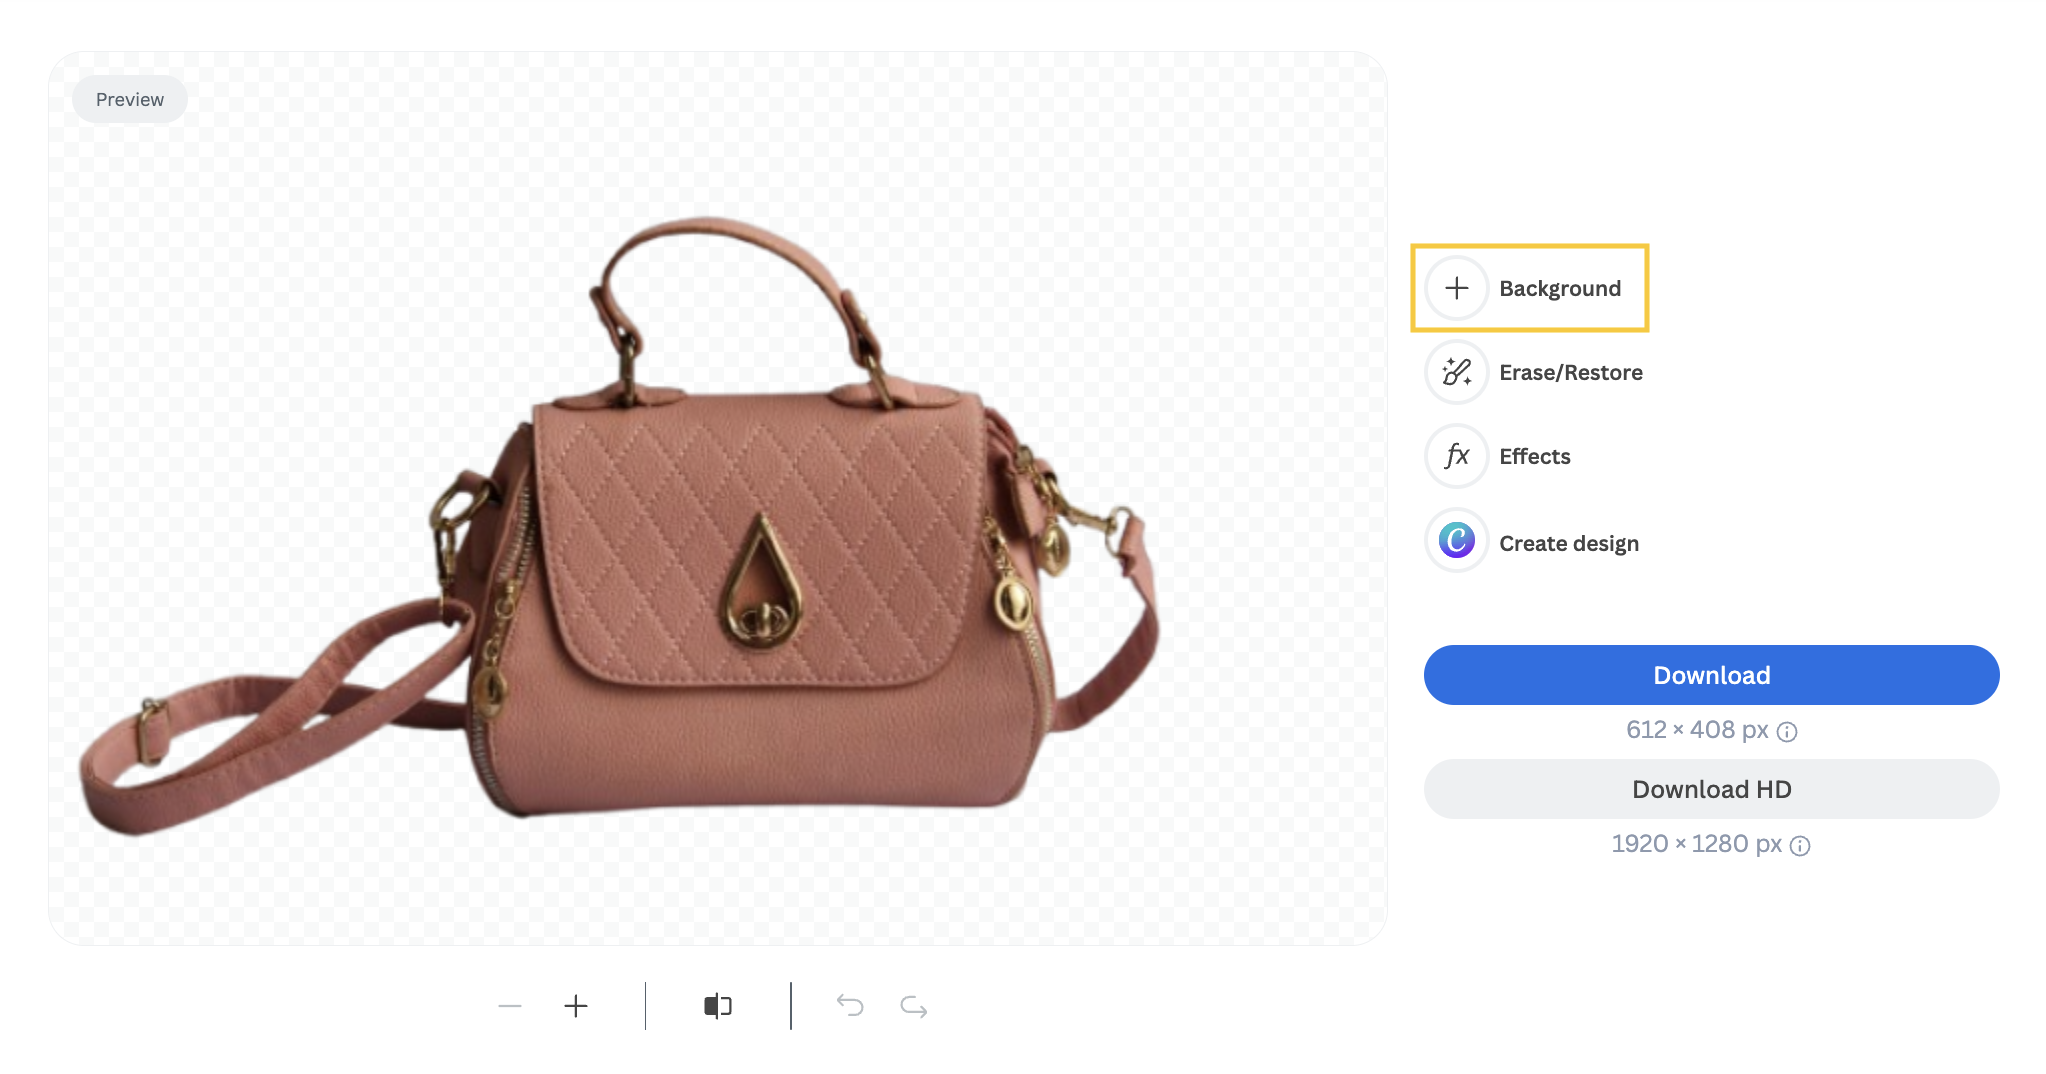
3. Once it’s done go ahead and click on > Background.
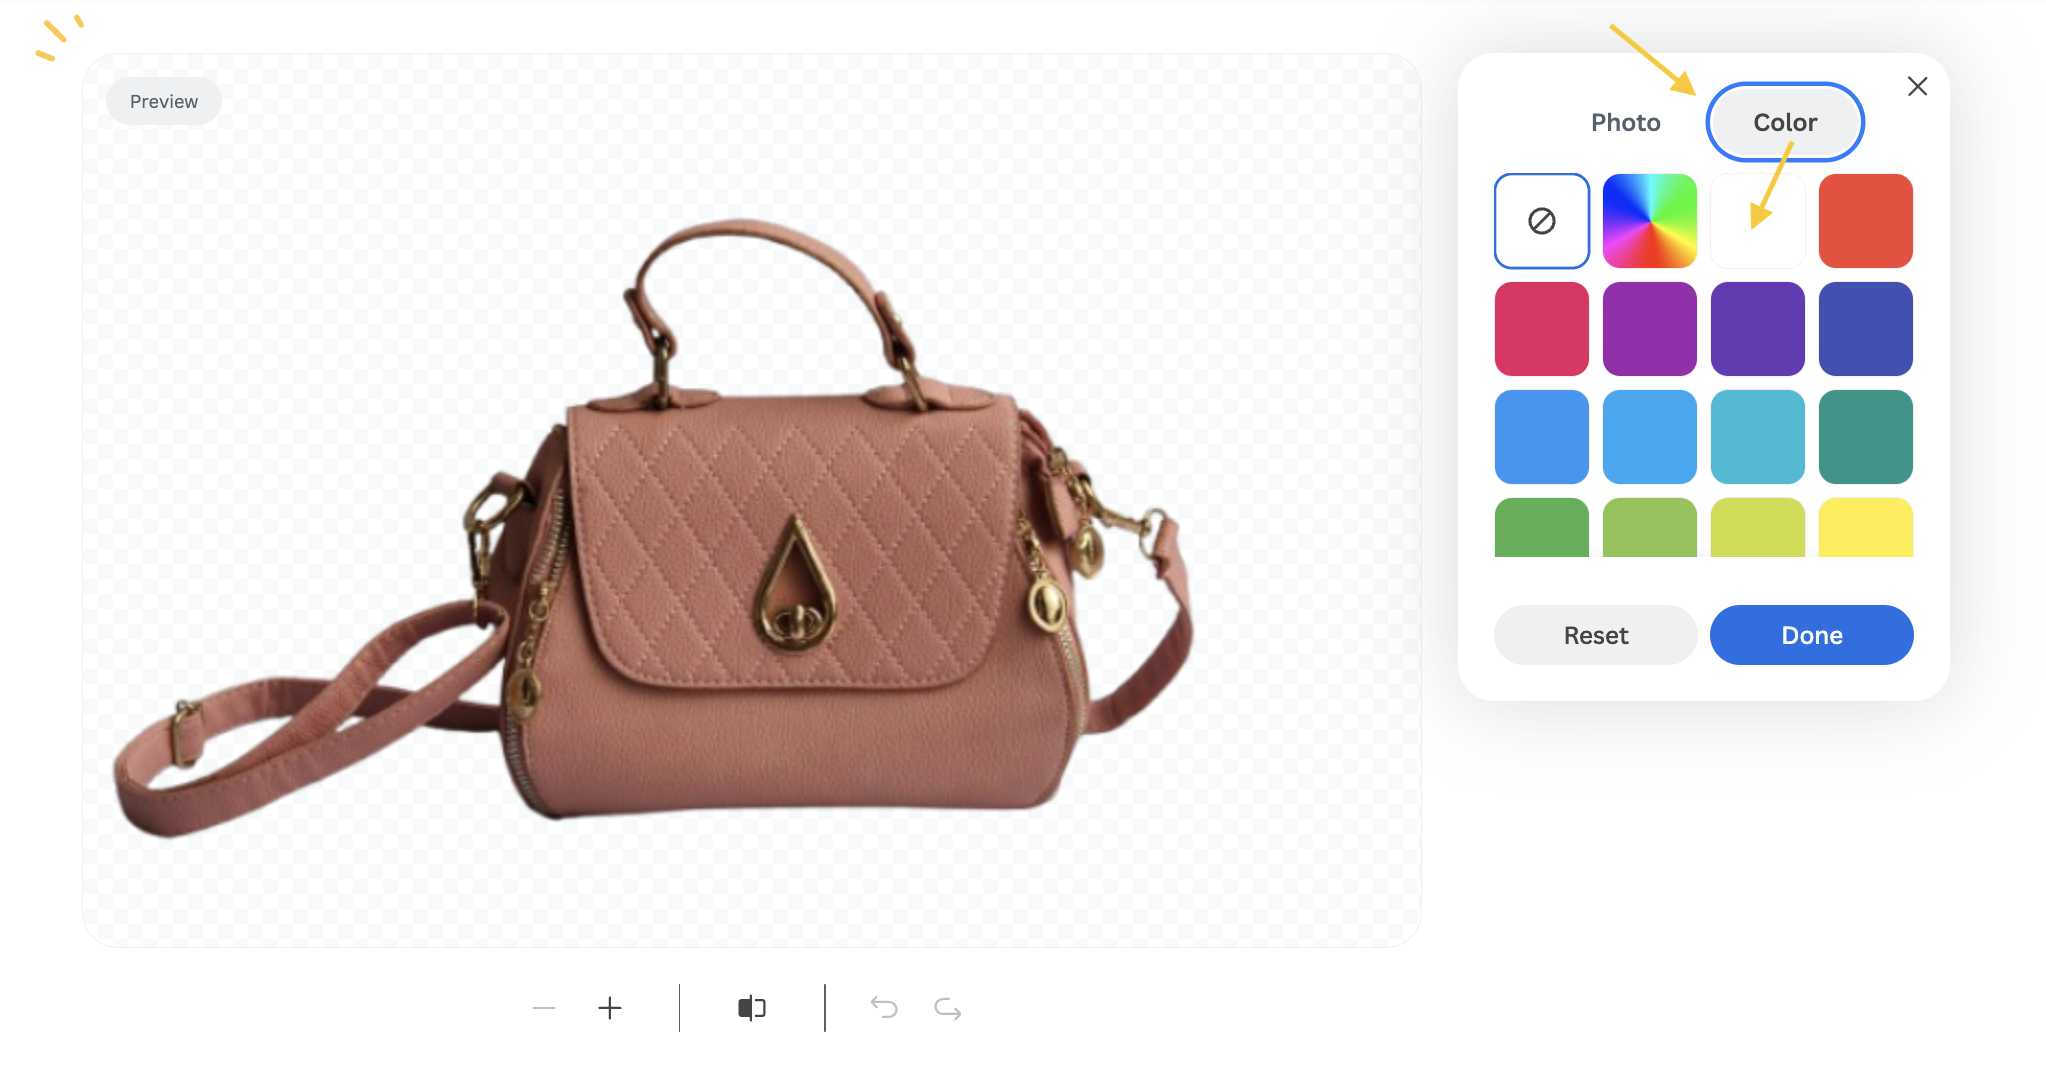
4. Then select > Color > White.
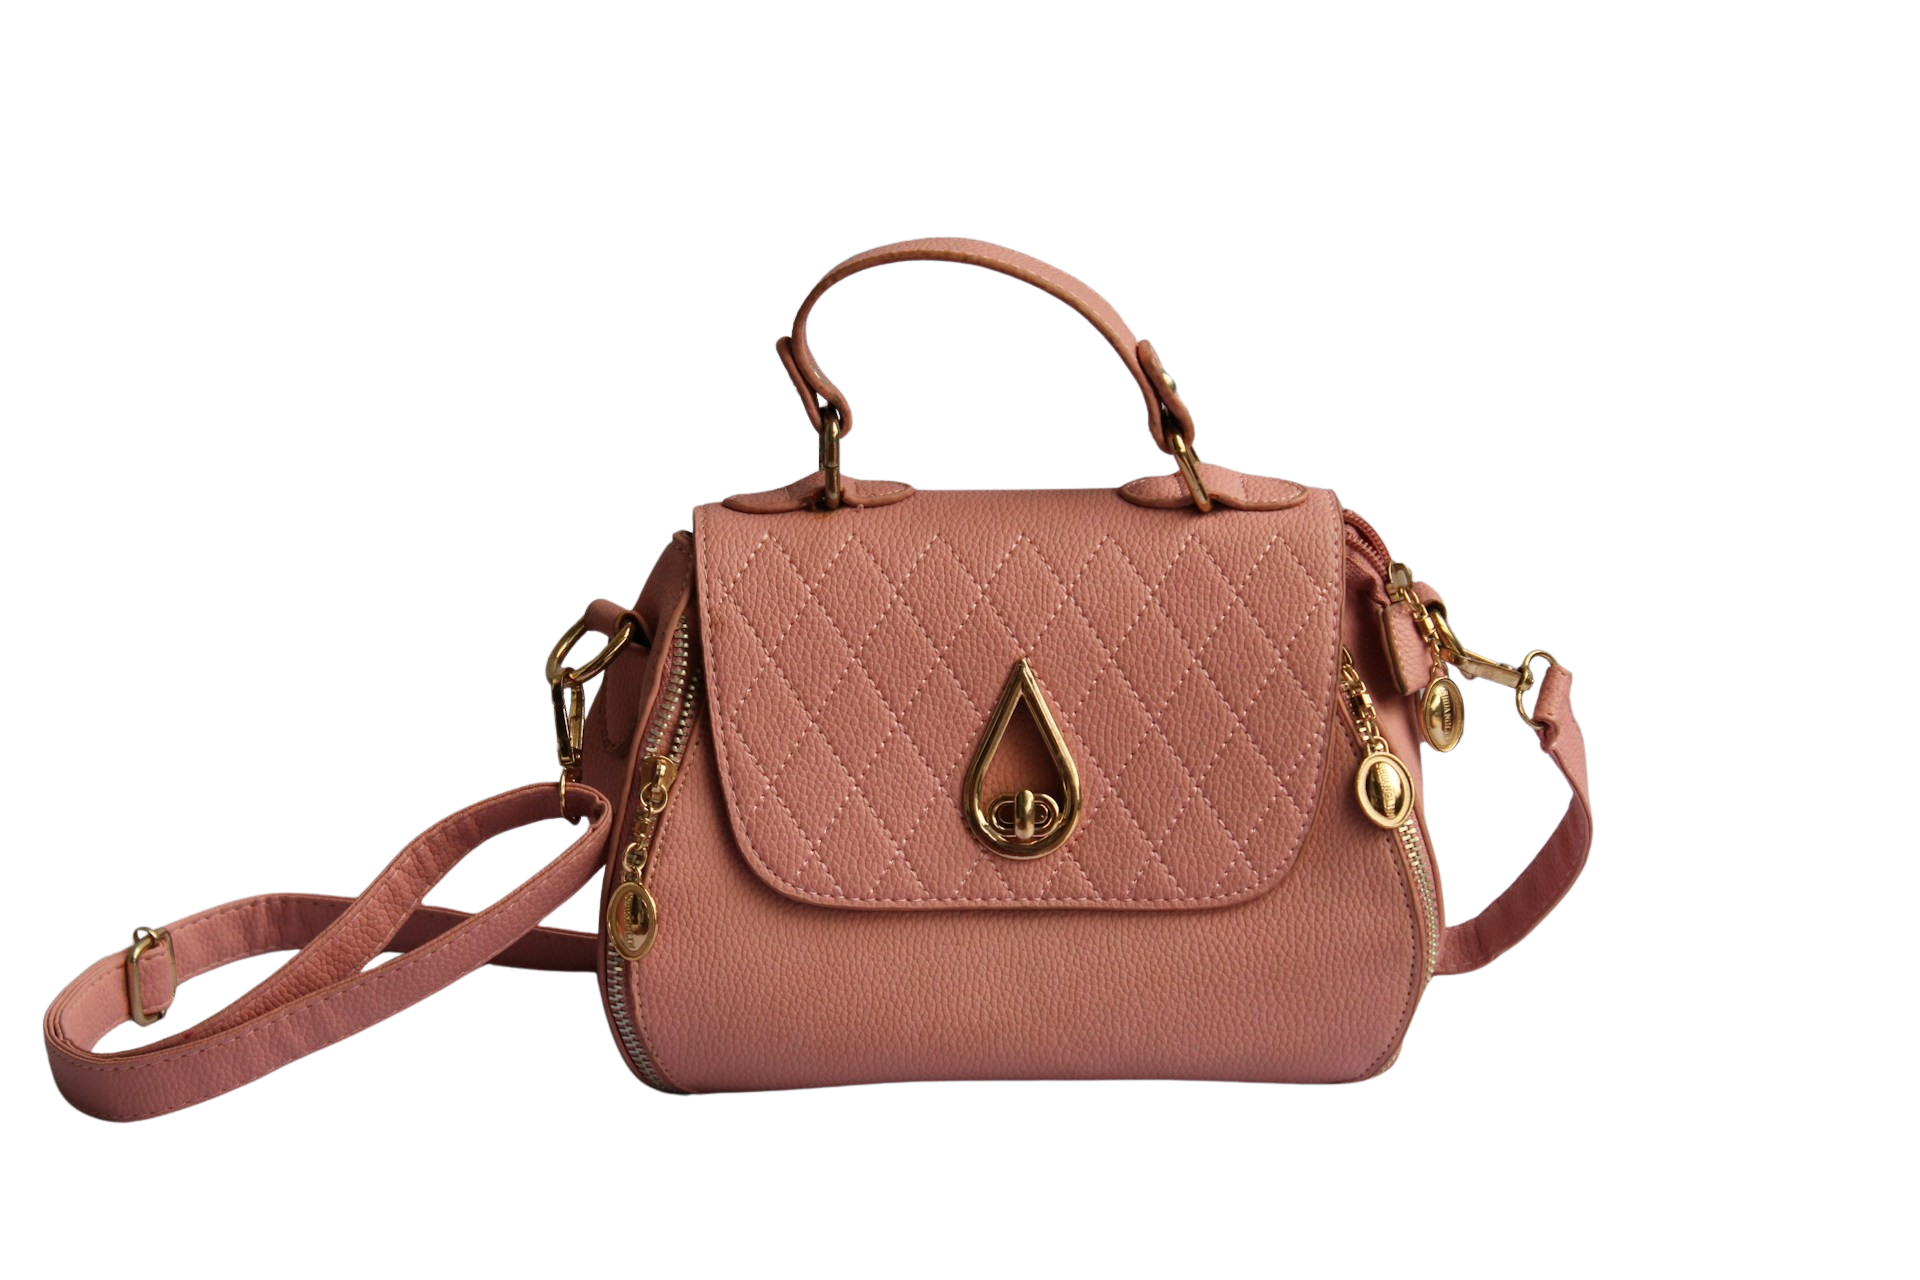
5. That’s it! Now you have a perfect e-commerce background in white.
Yearbook headshots
We’ve also seen photo studios like Fox-Mar save 75% of the time when shooting and editing photos. Fox-Mar is South Florida’s leading digital school yearbook photographic studio and uses remove.bg to switch up the background of headshots of the students they photograph.
Customers had been looking to switch out the background of photographs and make them more exciting and with remove.bg the studio can do that extremely efficiently.
Online foster kids clothing retailer
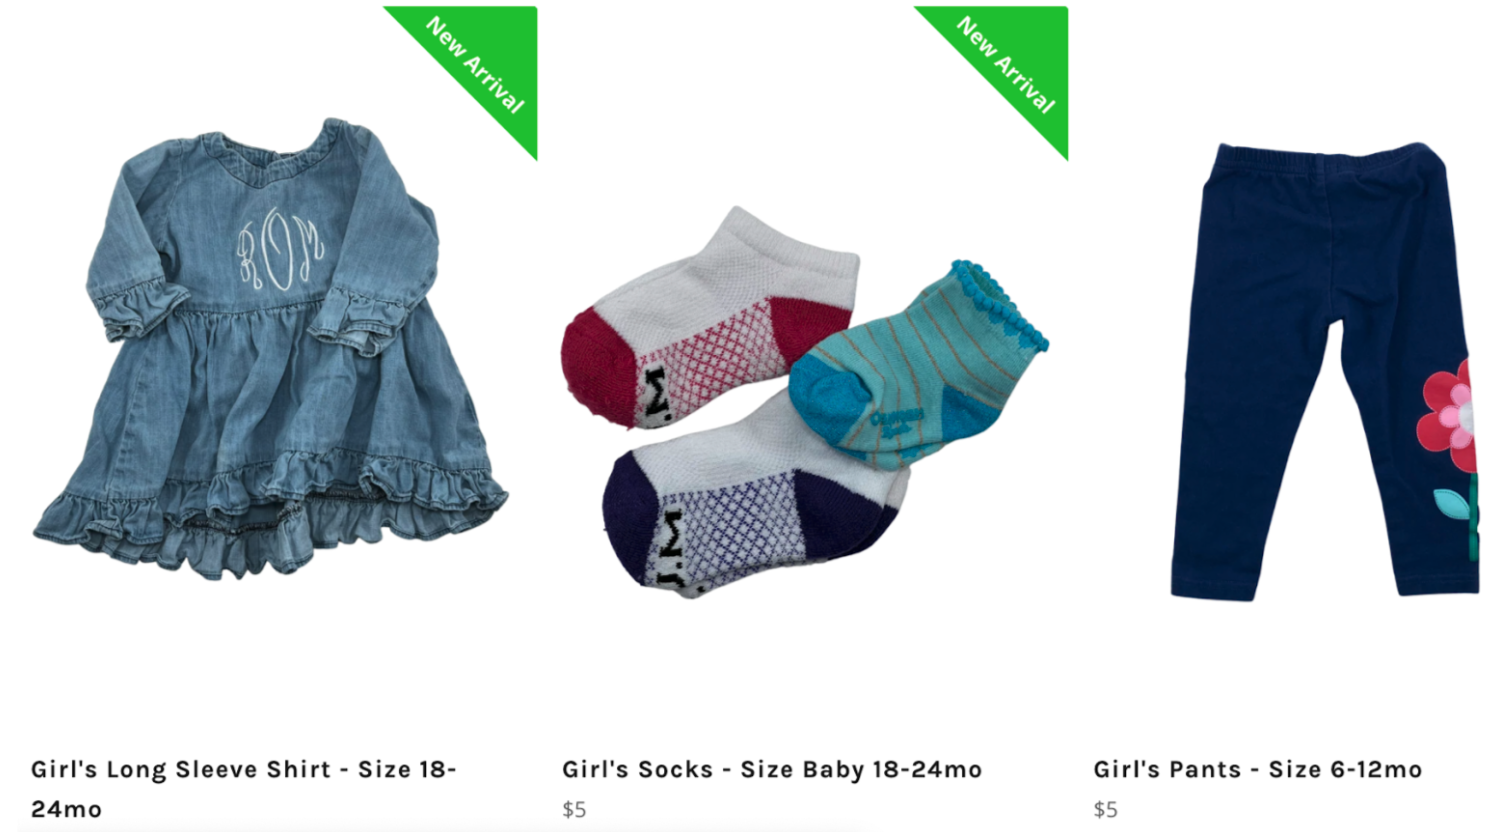
Another fantastic example of how photos are shot in a studio and then edited using remove.bg is The Village Threads — an online foster kids fashion retailer. The company takes pictures in a simple studio and then uses remove.bg to remove the background.
This way all of the pictures are consistent and the product shines — it’s particularly effective for used clothing items like these because it gives the entire photo gallery a more aesthetic and professional look and feel.
Alrighty, that wraps up our best tips and tricks on how to shoot in a photo studio, so removing the background afterward is easier. Want to give removing the background of your photos a shot? Try remove.bg now.
If you need to bulk-edit a large number of images each month, get in touch with us to see what other flexible solutions we have for you.
Further reading
If you're unsure whether you should integrate AI tools into your photography business and how to do this, download the free e-book The Future of Photography: Embracing AI for Professional Success. In this e-book you will learn:
How AI can scale your business and cut costs
The AI trends shaping the industry
The best AI tools for photo editing
And much more!
Get ready to take your photography business to the next level!

Komen