Are you trying to find a high-quality background remover tool that is also quick and intuitive to use and which doesn’t require technical knowledge? remove.bg’s desktop app is the answer.
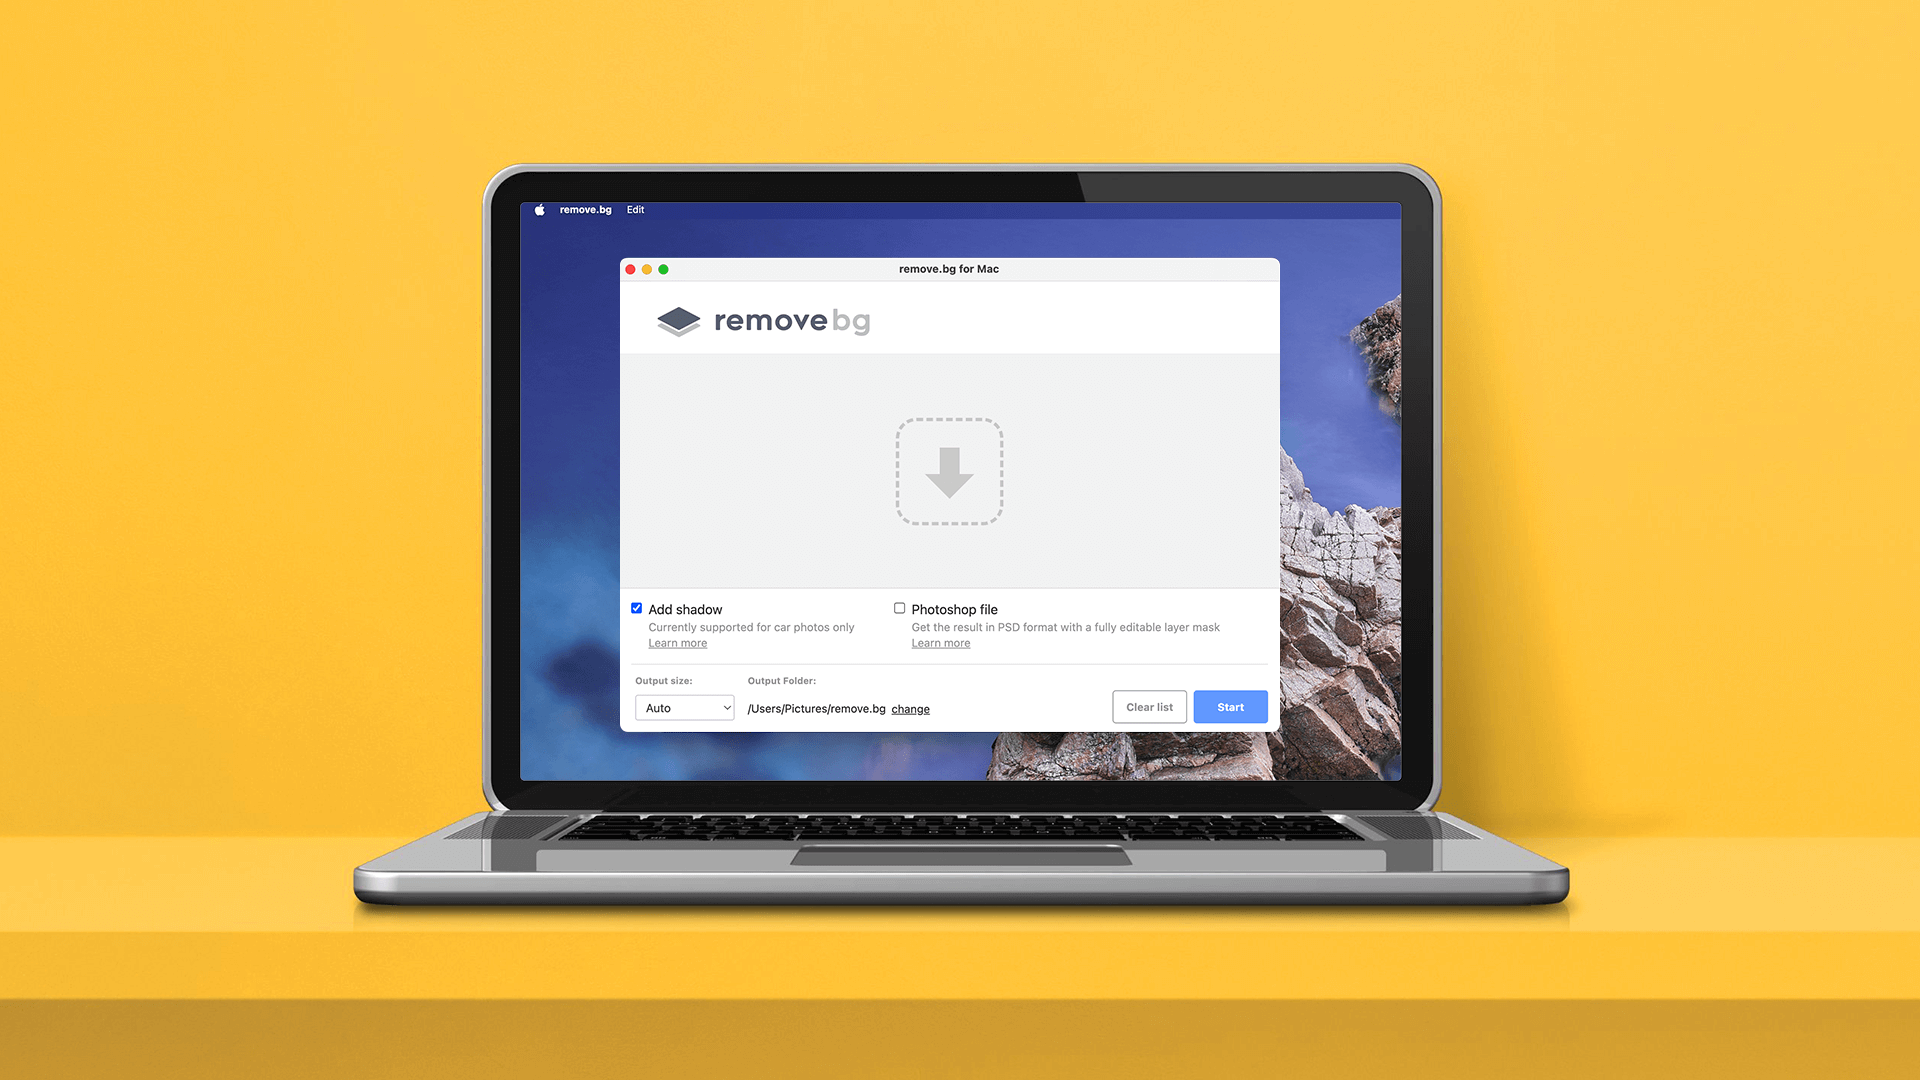
With an easy-to-use interface, this app allows you to process thousands of images in bulk with a few clicks or by dragging and dropping them.
Used by photographers, e-commerce managers, and car dealerships worldwide, this app provides everything you need to process a large number of images and speed up your workflow.
This step-by-step guide will show you how to download the app, set up your account, and all the different features available in the app. Here is a video with the walkthrough of the app:
However, if you would rather see the steps in writing, keep on reading this guide.
Cuprins
Benefits of using the remove.bg desktop app
Why should you use the remove.bg desktop app? To begin with, it is a handy application with a lot of different features that can help you speed up your editing work.
If you are still not convinced, here are some reasons why you should try it out:
1. Process images in high quality through AI: remove.bg is an AI-powered background removal tool, which edits images giving you a high-resolution output (processes images up to 50MP);
2. Remove and replace backgrounds 100% automatically in bulk: if you work in a business where you are required to edit multiple images at once on a monthly basis, then the unlimited bulk removal feature is a must for you;
3. Process images with custom backgrounds in bulk: upload your own custom background and apply it to thousands of images, speeding up your workflow and saving you time and costs;
4. Add automatic shadows in bulk (feature currently only available for car images): if you are editing car images, you can choose whether to add a realistic shadow to your photos automatically;
5. Get your results in PSD format: do you need to remove an image’s background and then keep on editing it in Photoshop? With remove.bg desktop app, you can download pictures in PSD format, making your workflow more efficient.
Now that we have established why you should be using the remove.bg desktop app, let’s dive into it and uncover all its awesome features.
Let’s get started.
Downloading the desktop app
First things first: check the system requirements:
Windows: Windows 10/11 (64-bit)
Mac: macOS 10.10 or newer (64-bit)
Linux: Ubuntu/Debian (64-bit)
Then proceed to download the desktop app by following these steps:
-
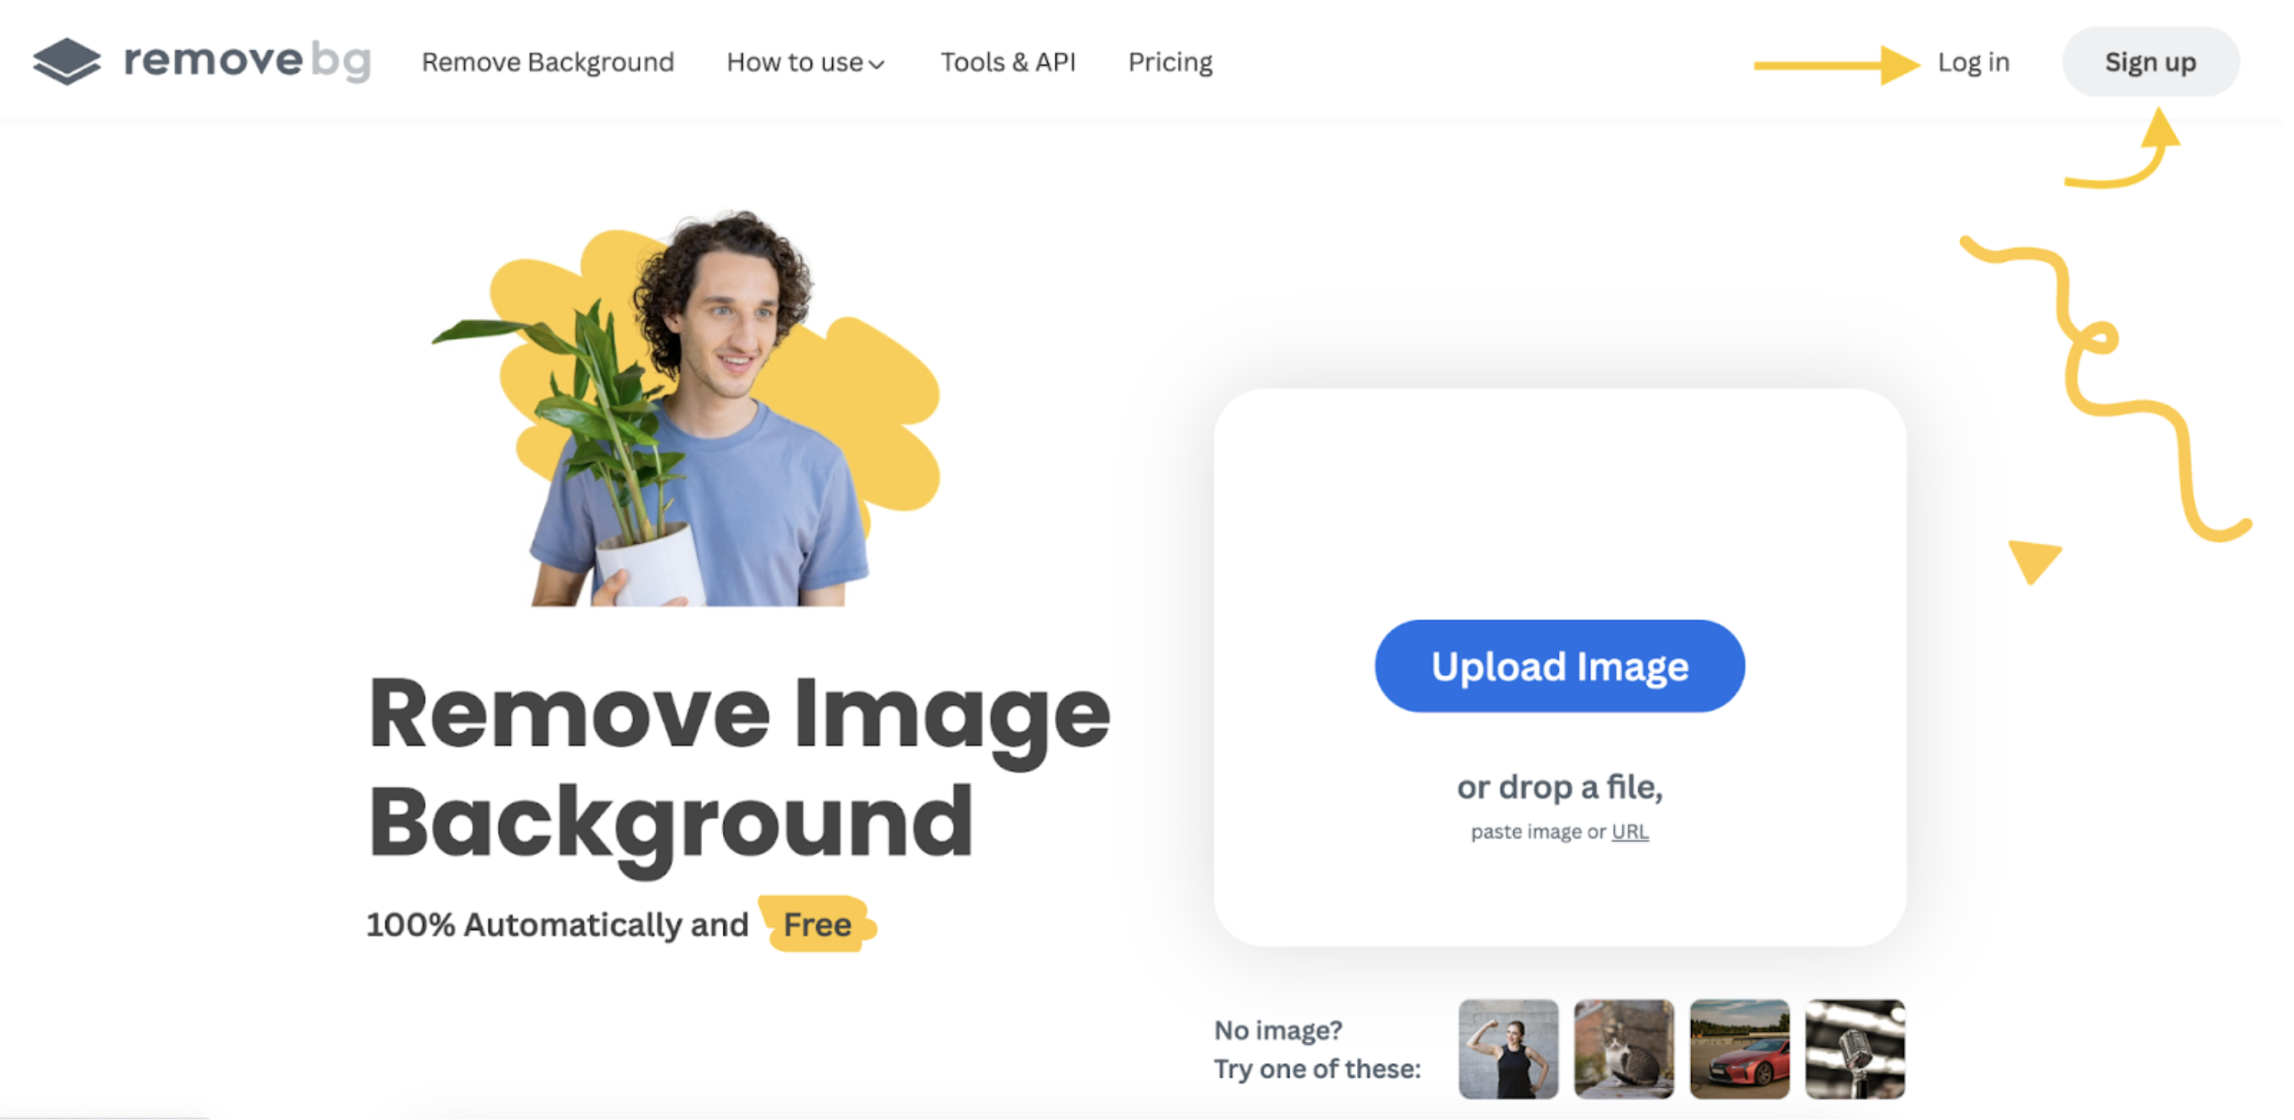
First, you are gonna need a remove.bg account. If you don’t have one yet, go to the remove.bg website and sign up. If you already have one, just log in.
-
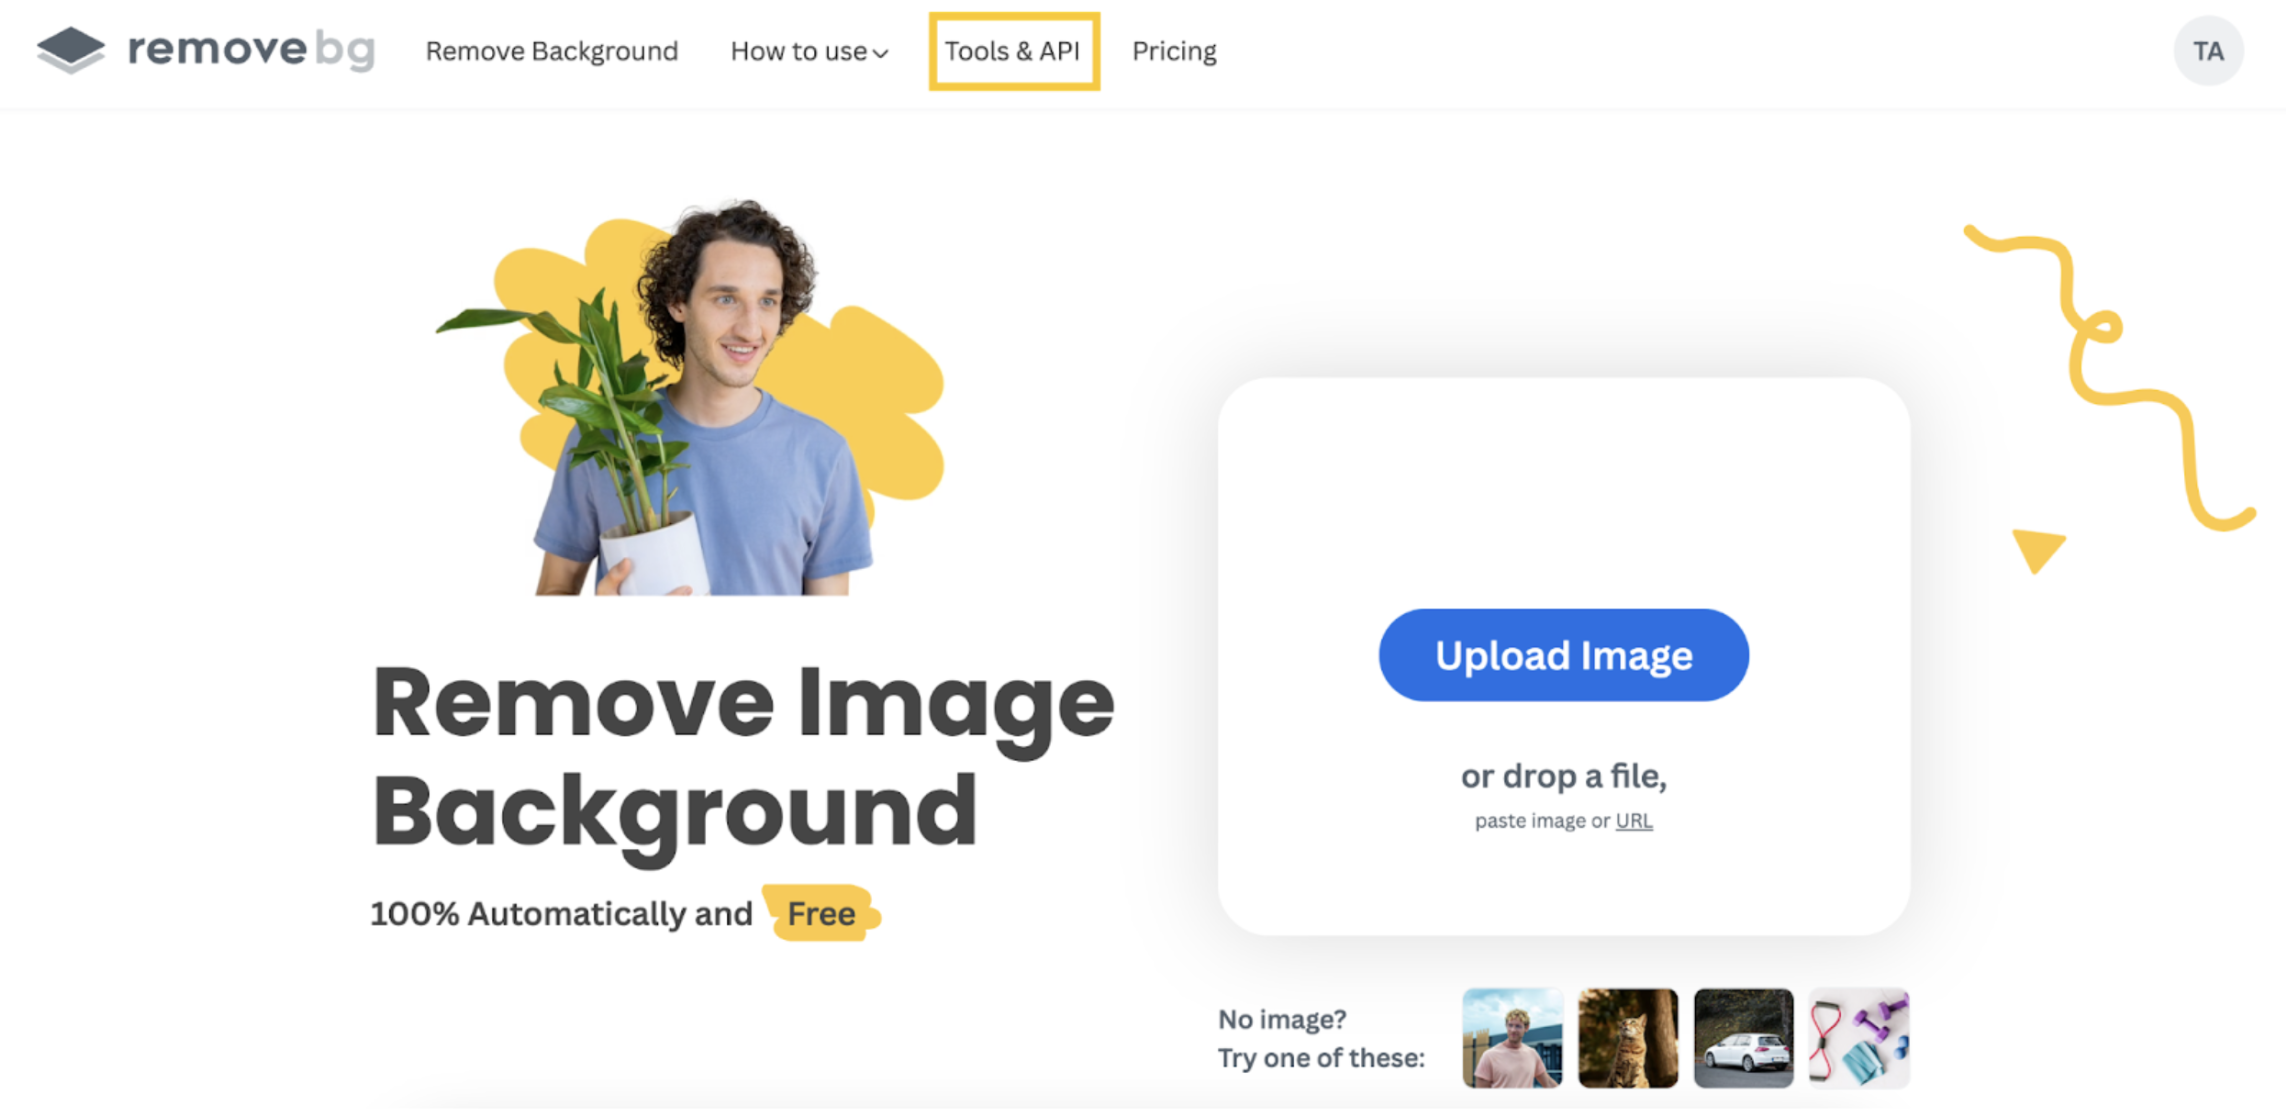
Once you have logged in, click on > Tools & API on the top bar.
-
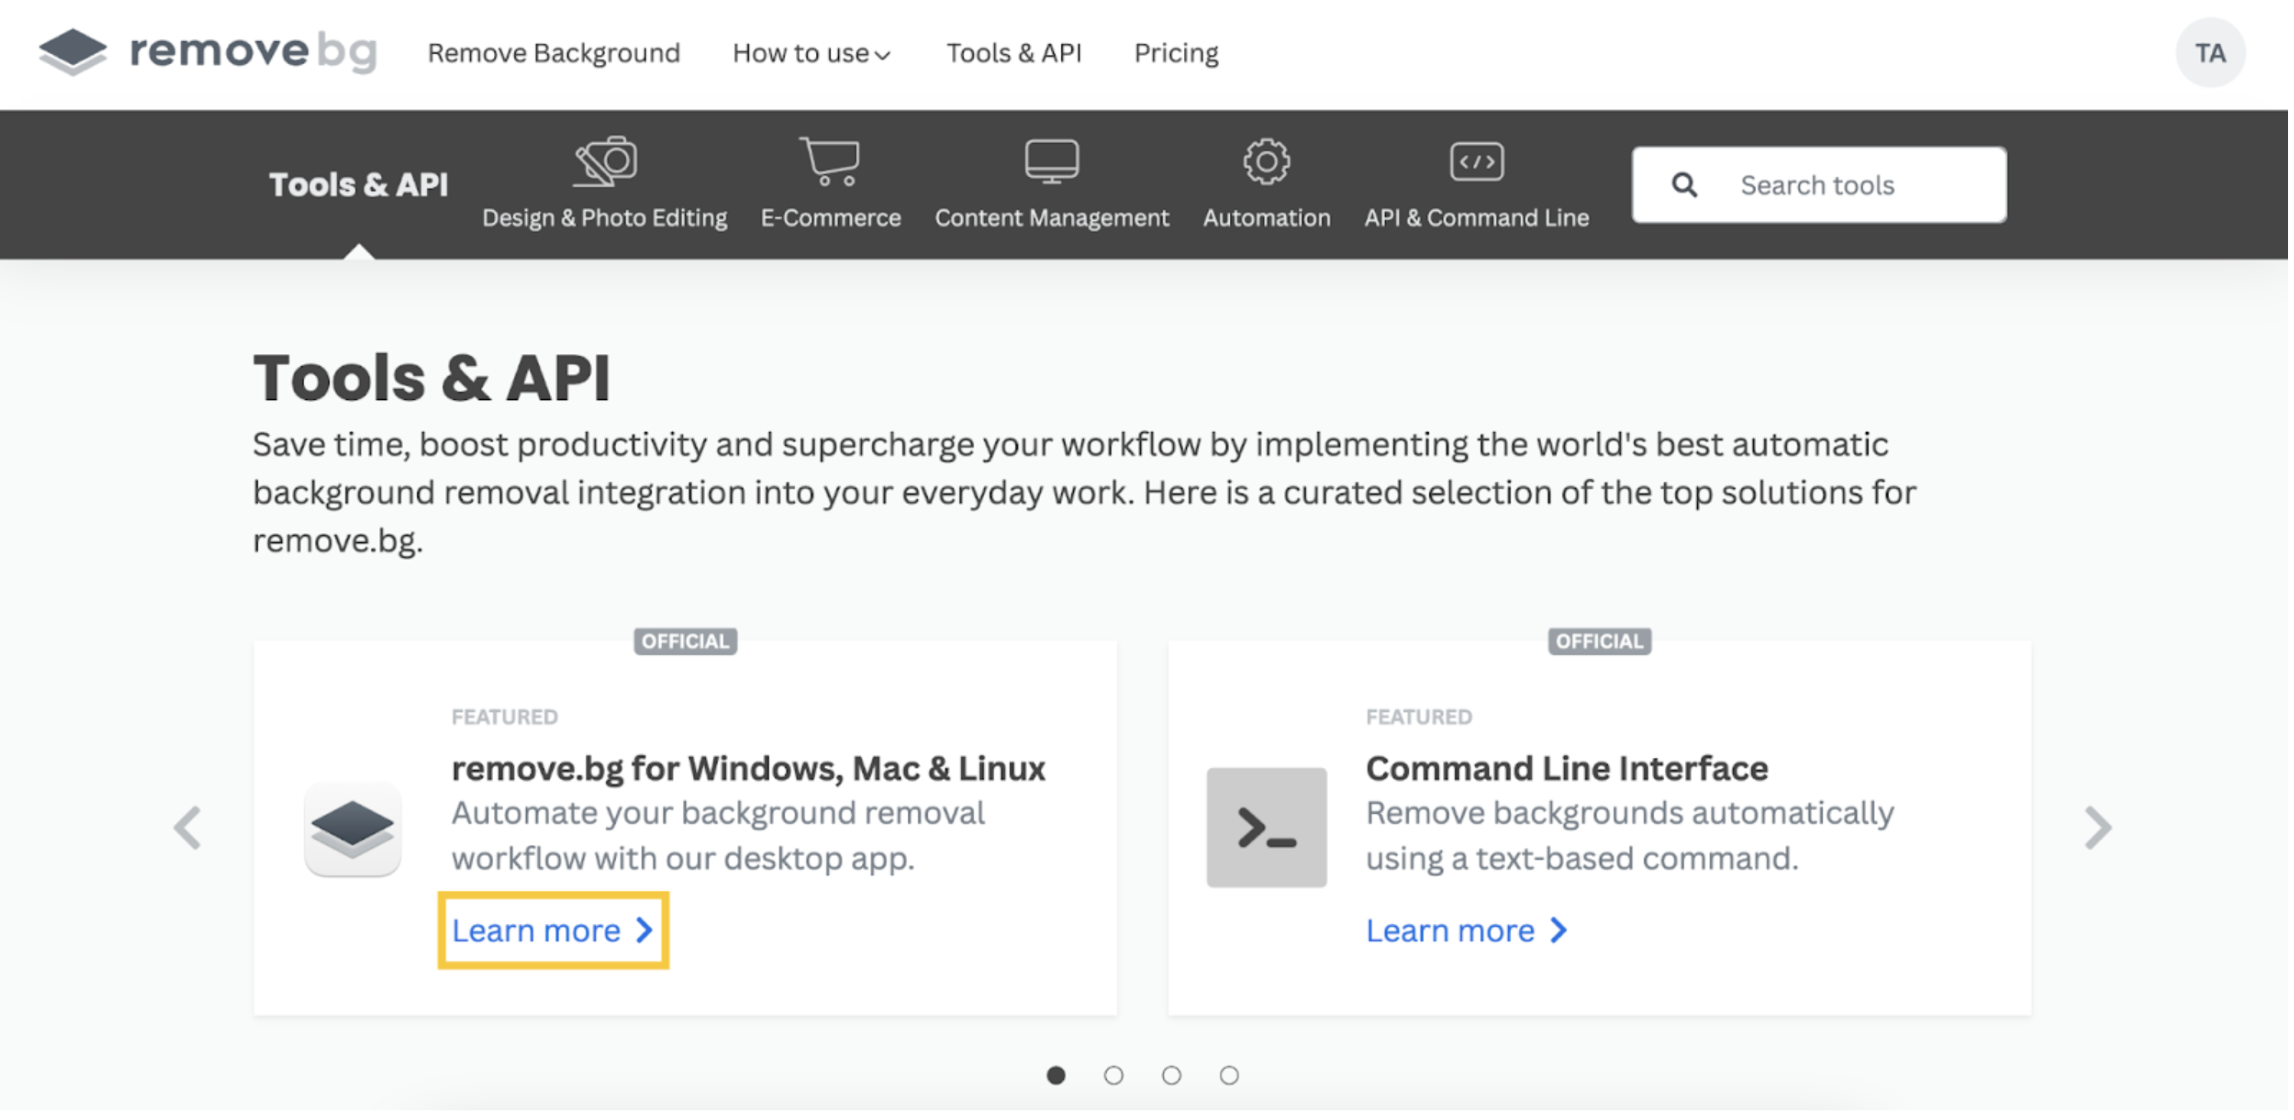
Now you will see the remove.bg for Windows, Mac & Linux entry. Click on > Learn more.
-
Once you are on the right page, click on > Download App.
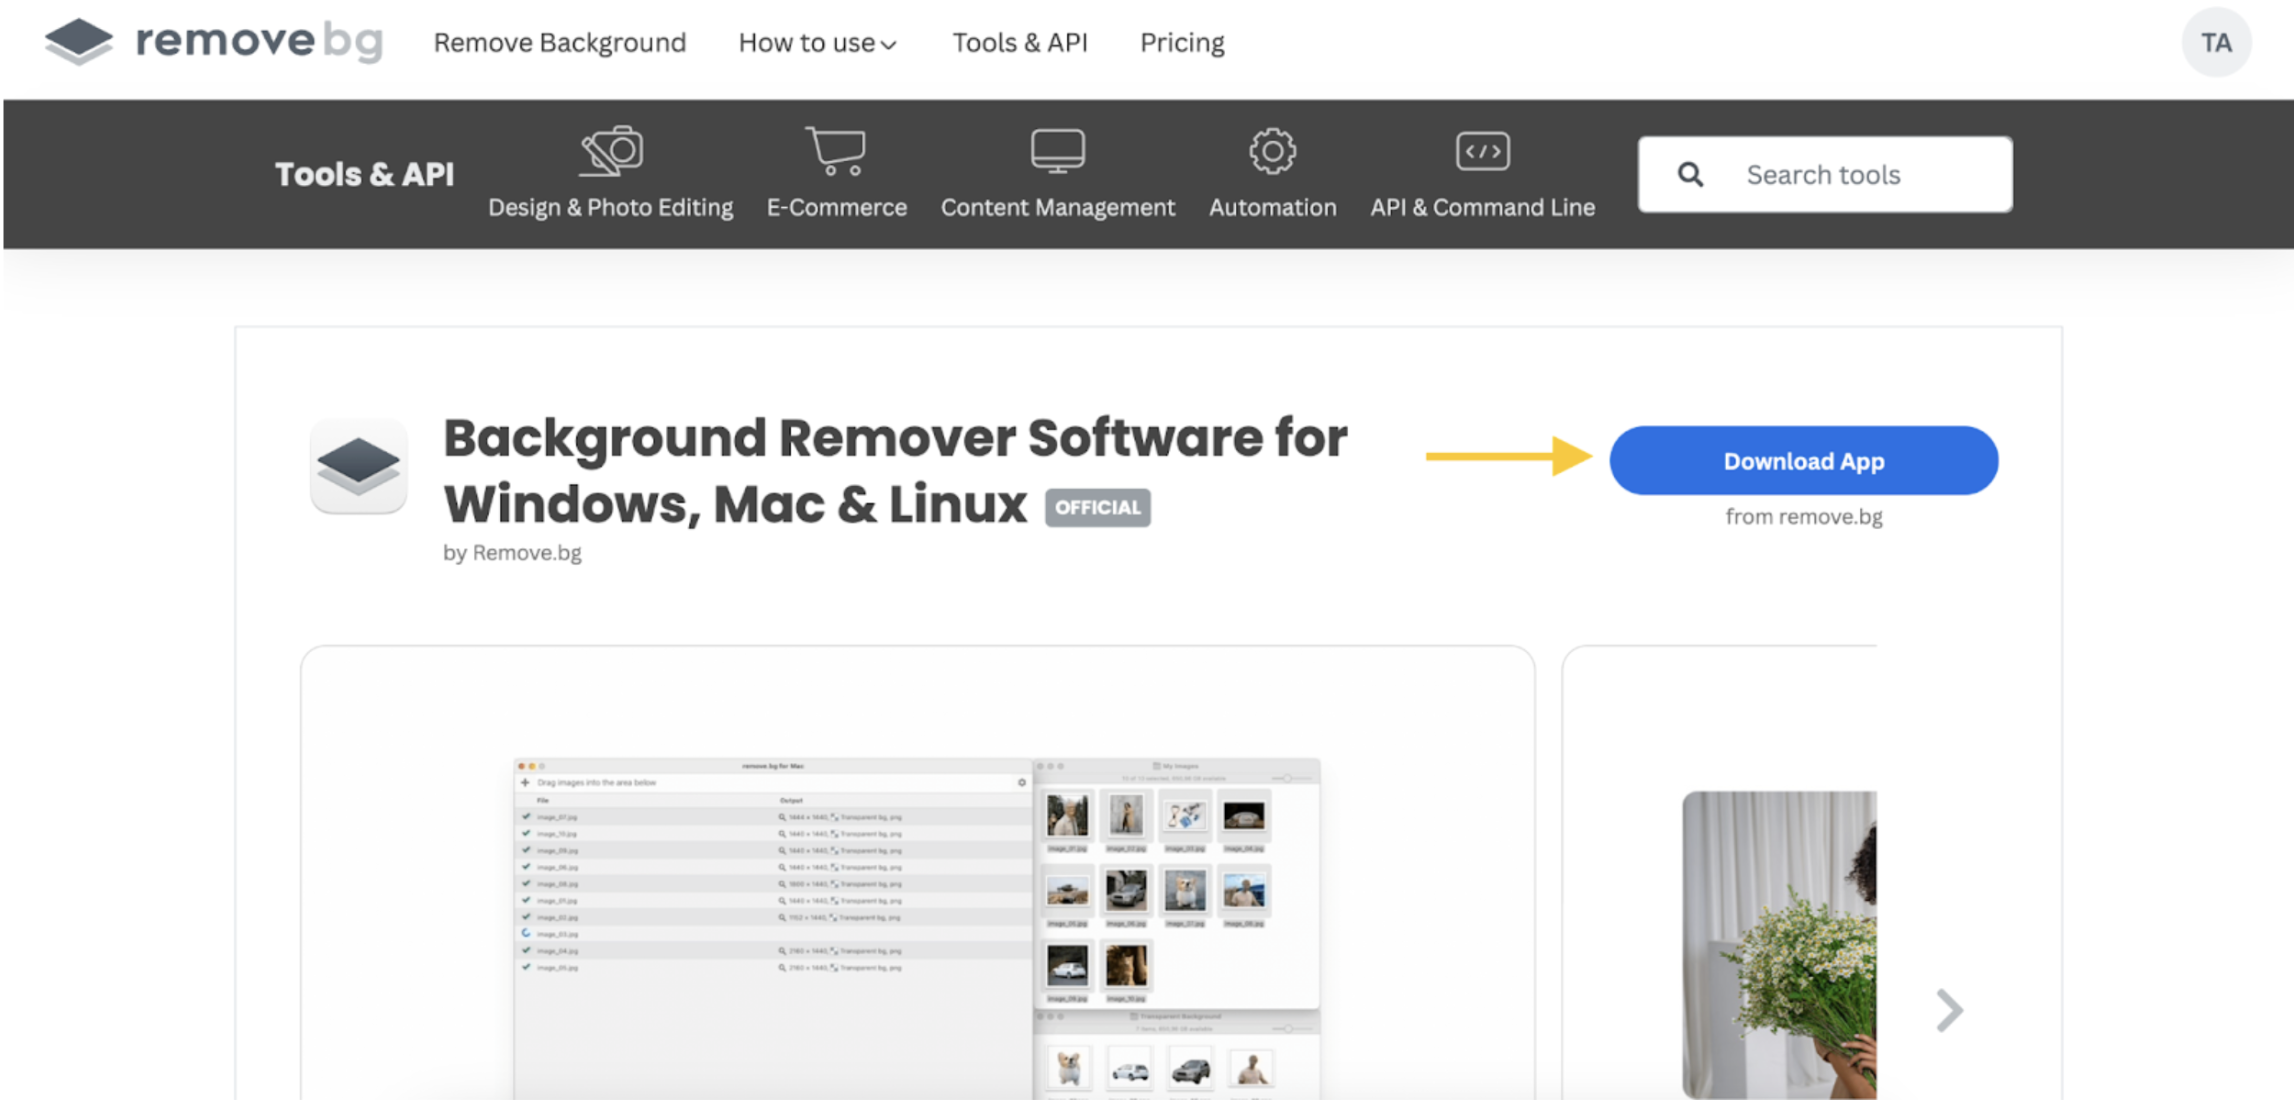
Follow the download instructions depending on your operating system and install the app on your desktop.
Remember, once you create a new account, you will have 50 previews per month and 1 HD download. If you need to test the app with more images, you can purchase more credits.
Removing image backgrounds with the remove.bg desktop app
Now that you have downloaded the app, the fun begins. If you only need to remove images’ backgrounds, follow the steps below. Otherwise, skip to the next section.
-
Open the desktop app. Drag and drop the images you want to edit, or click on the + sign. Make sure that transparent background is selected.
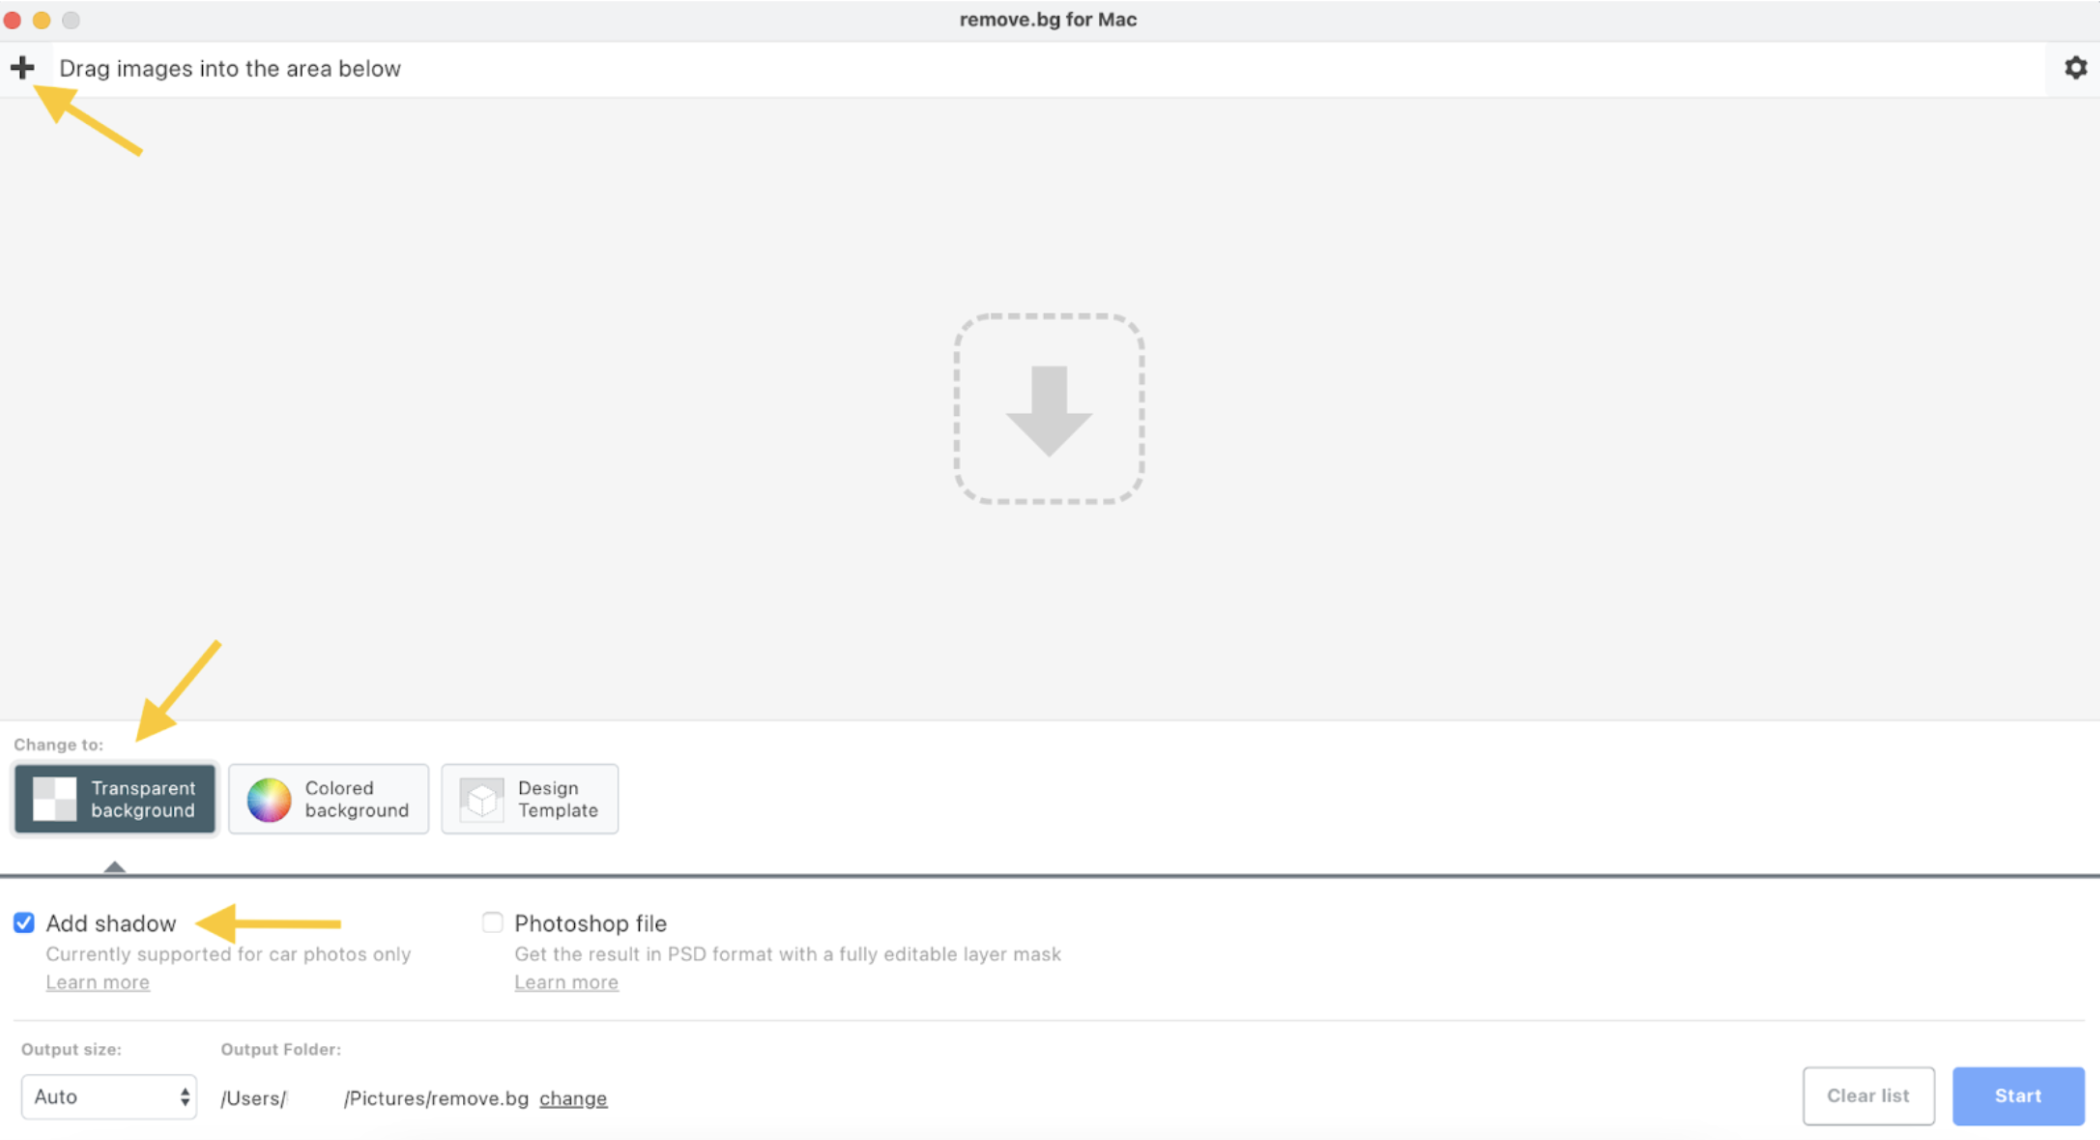
-
Once you have uploaded the images, click on > Start.
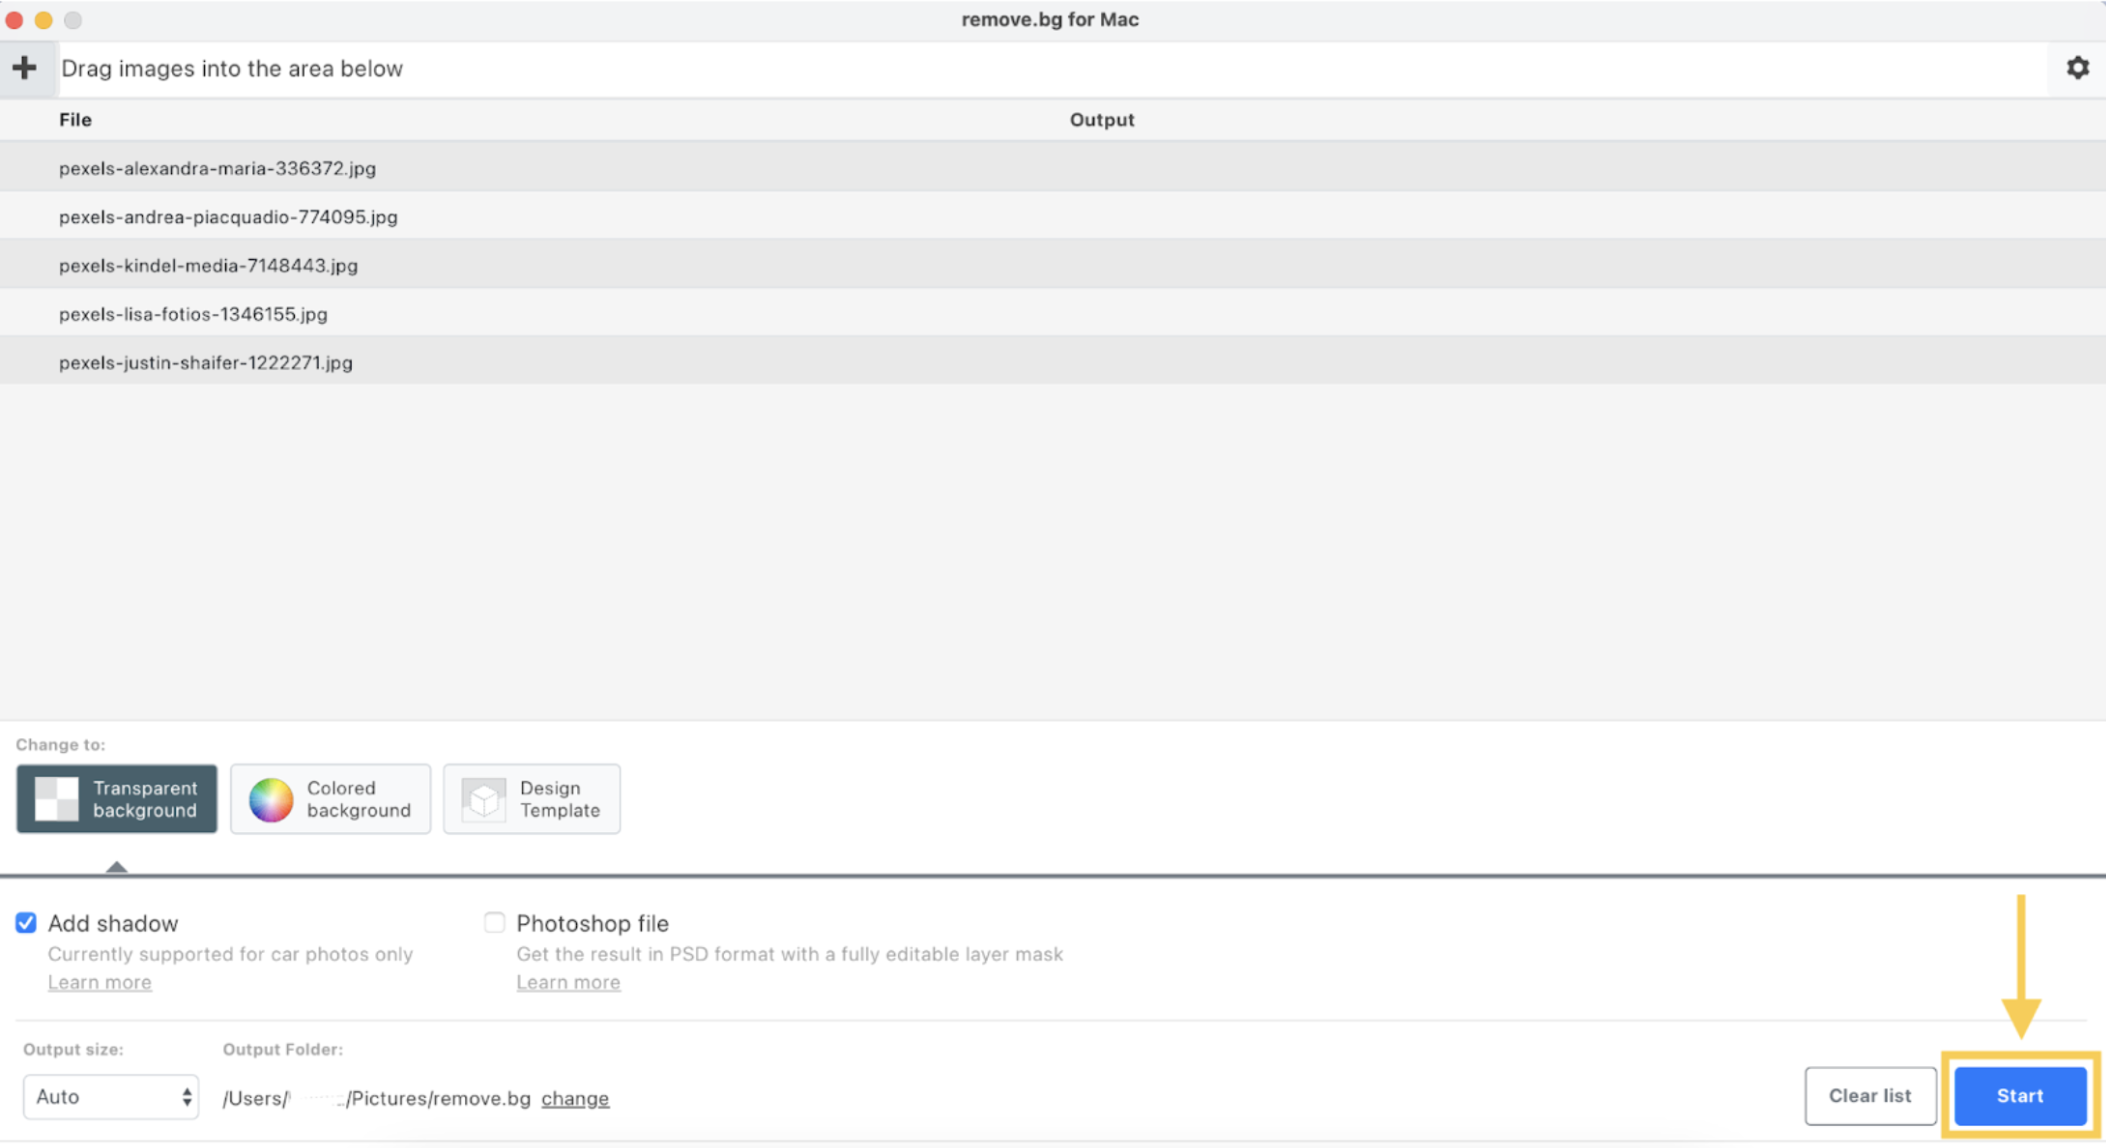
-
You will see green check marks when the app has finished removing your backgrounds. Hover over the results, and you will see small arrows. Click on them to open the output folder.
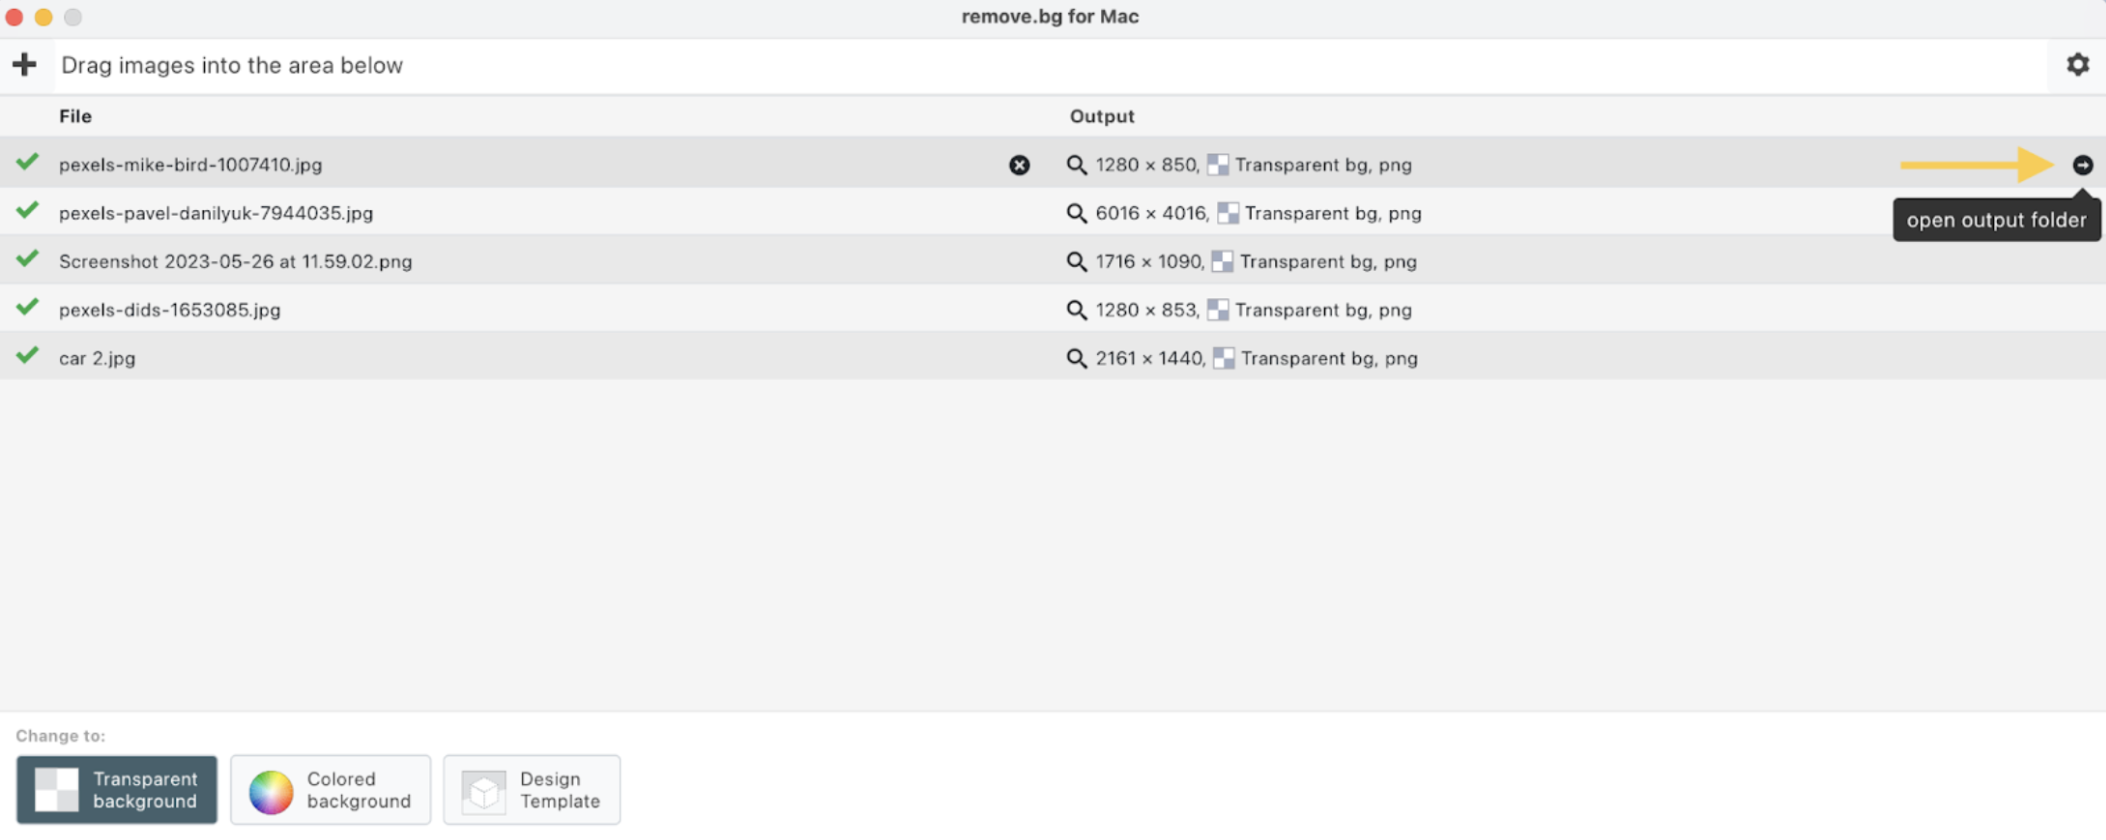
That’s it! You now have all your images with transparent backgrounds.
Changing the output folder
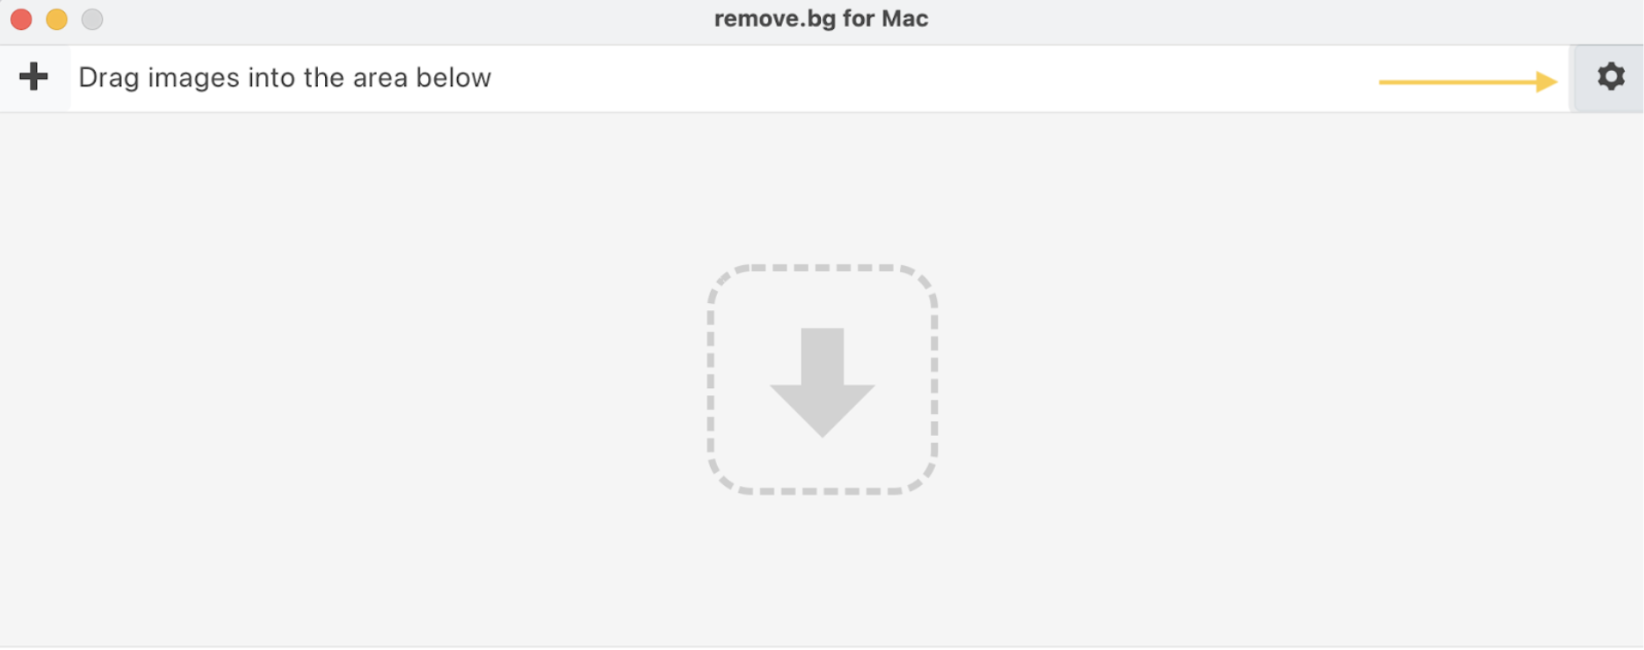
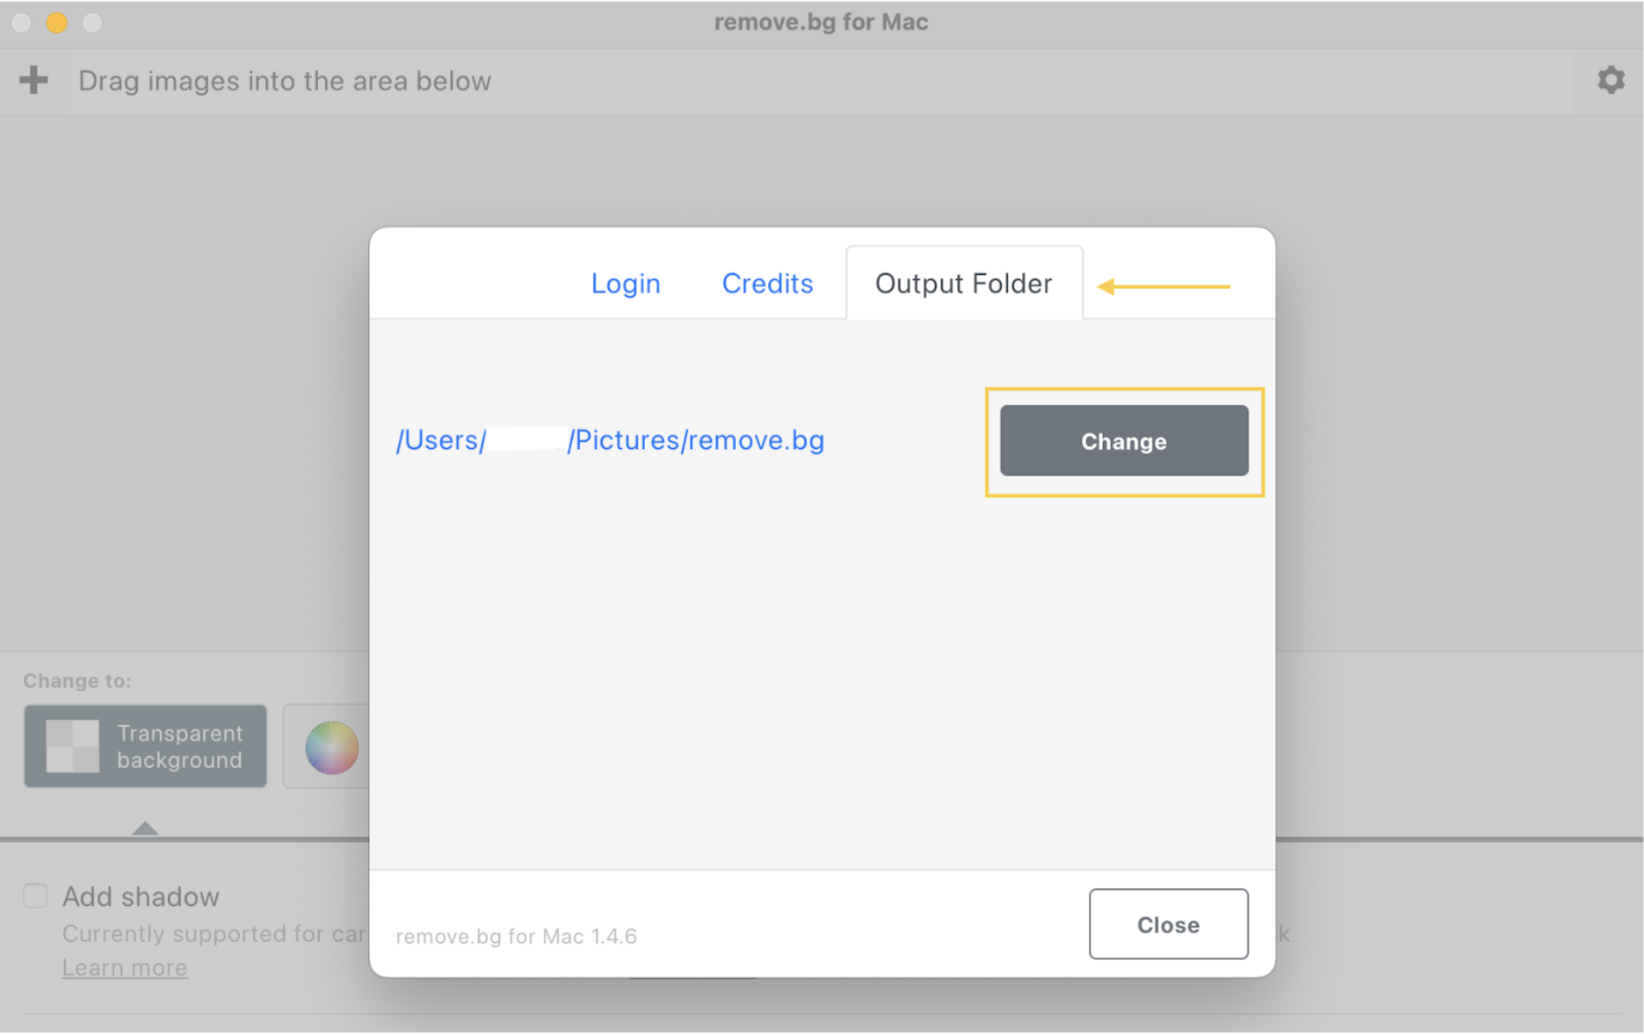
If you want to change your output folder, head to Settings > Output folder and click > Change.
Replace backgrounds with a solid color
What if you want to replace your images’ backgrounds with another color? Maybe you want to add a plain white background for your e-commerce product photos. Or you want to make your school portraits yearbook-ready by adding the school’s colors.
No worries; the desktop app allows you to do so in just a few clicks.
-
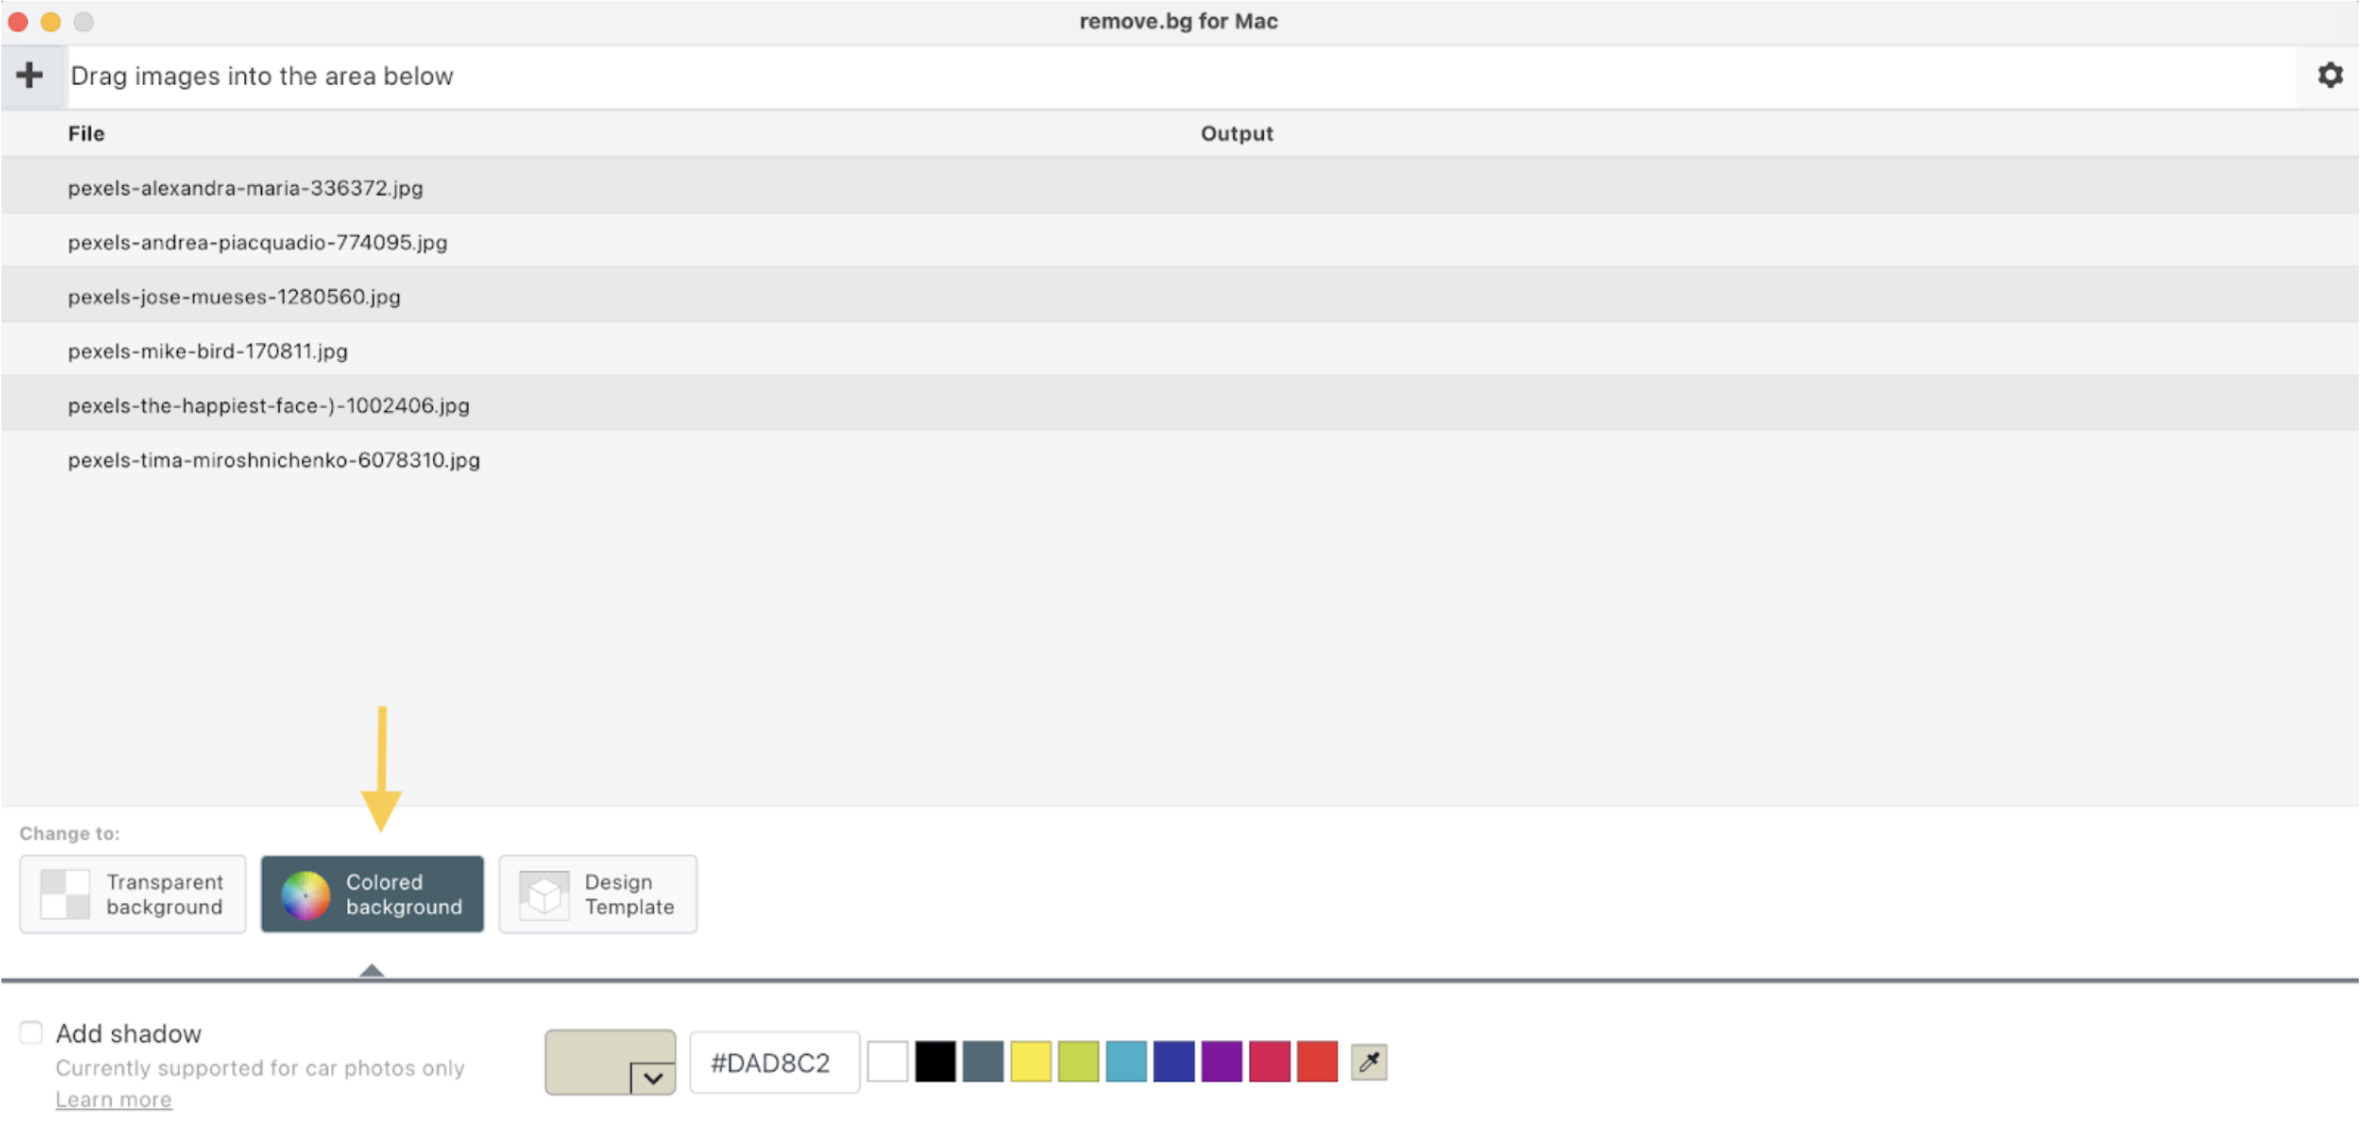
Go back to the desktop app, upload your photos, and this time click on > Colored Backgrounds.
-
You can now either select one of the available options, add the HEX code to the box, or use the color picker to select the perfect shade.
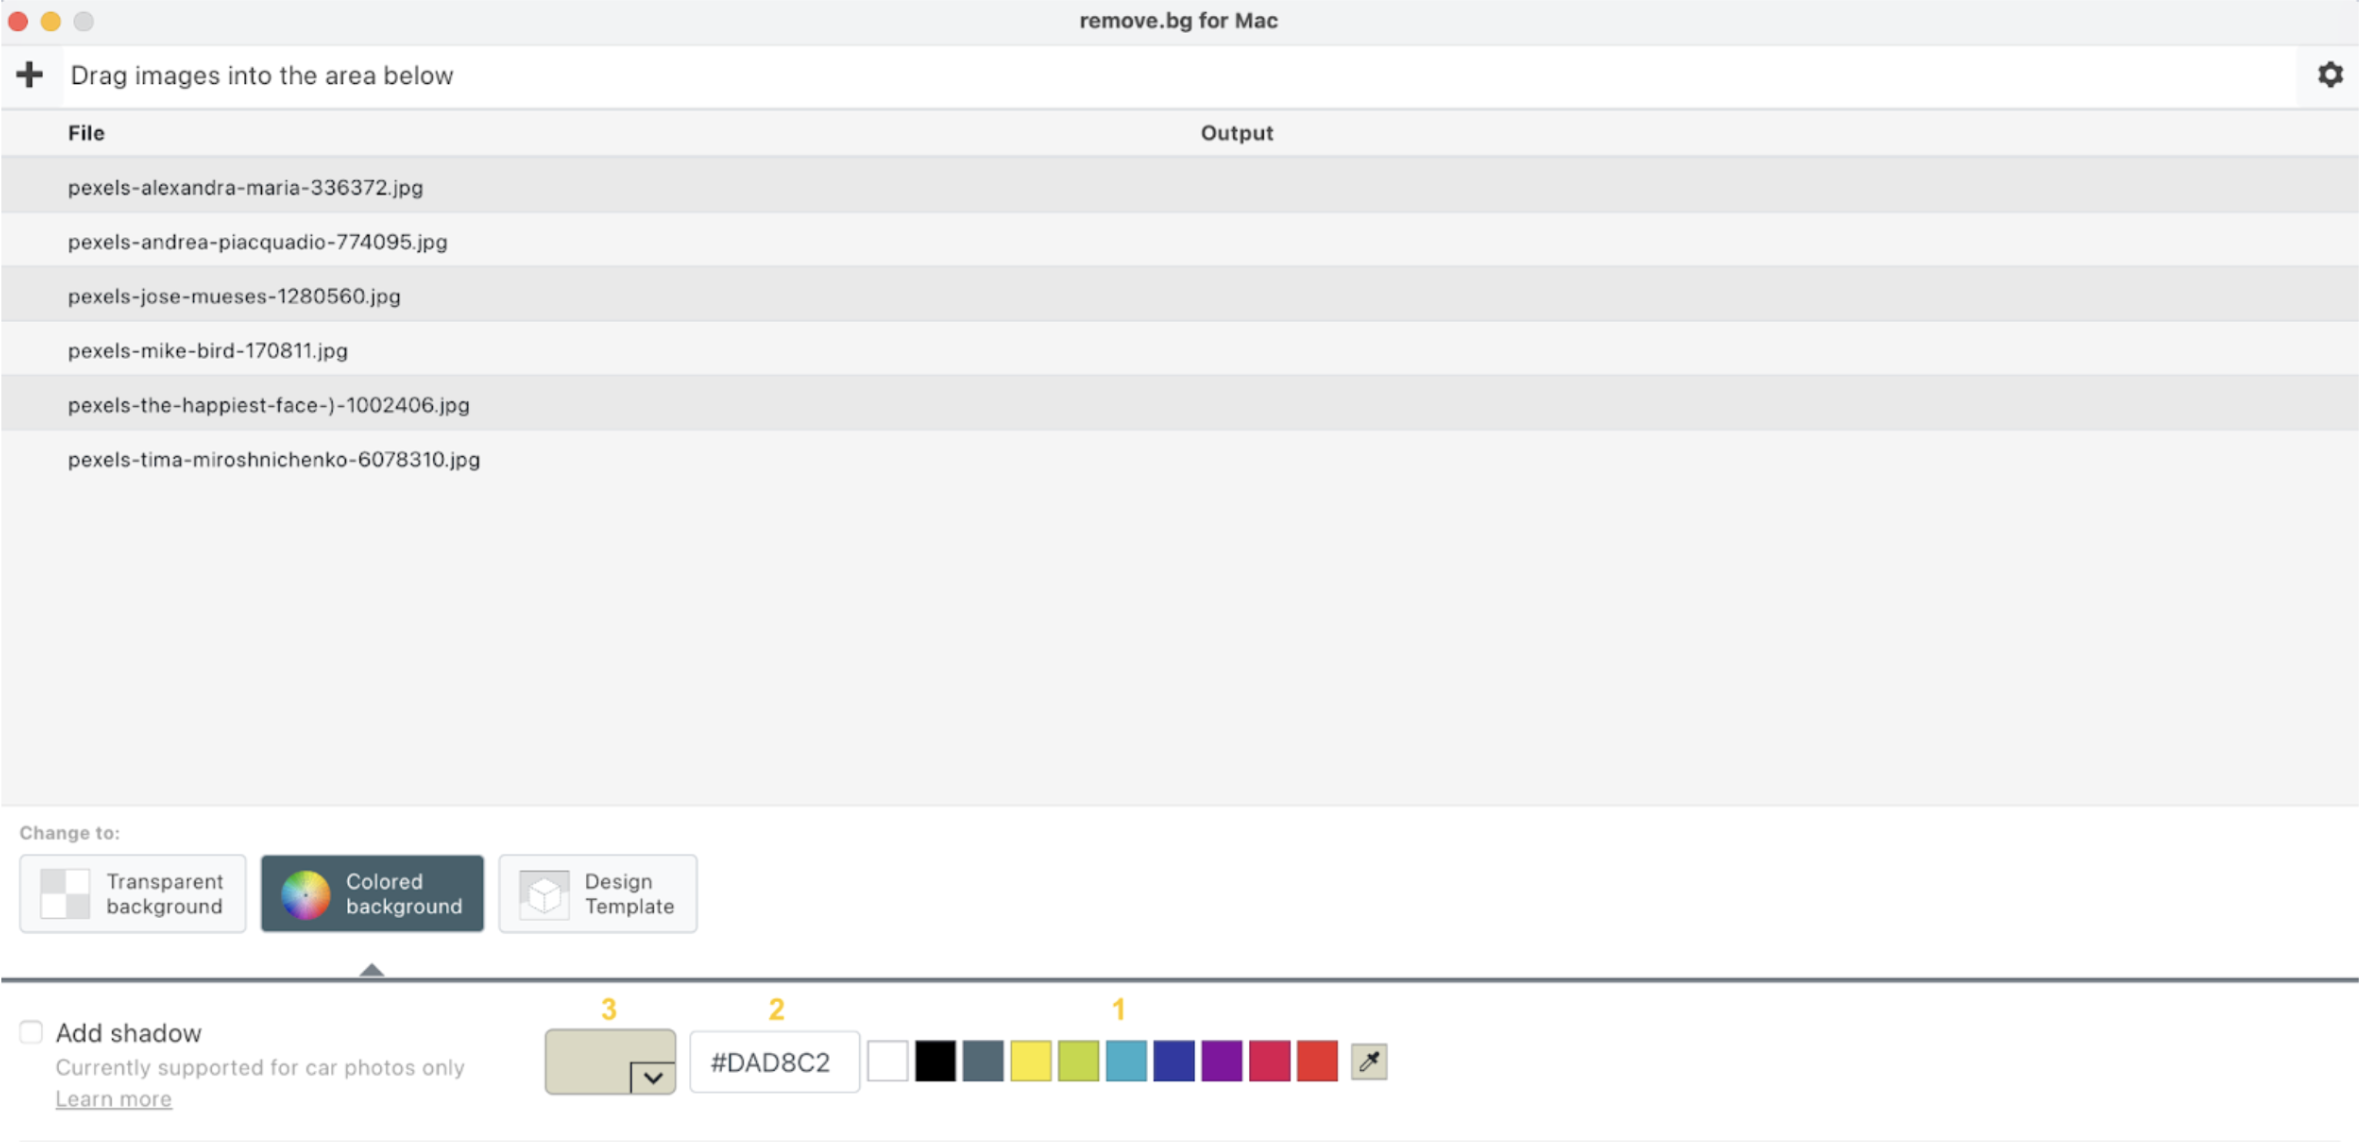
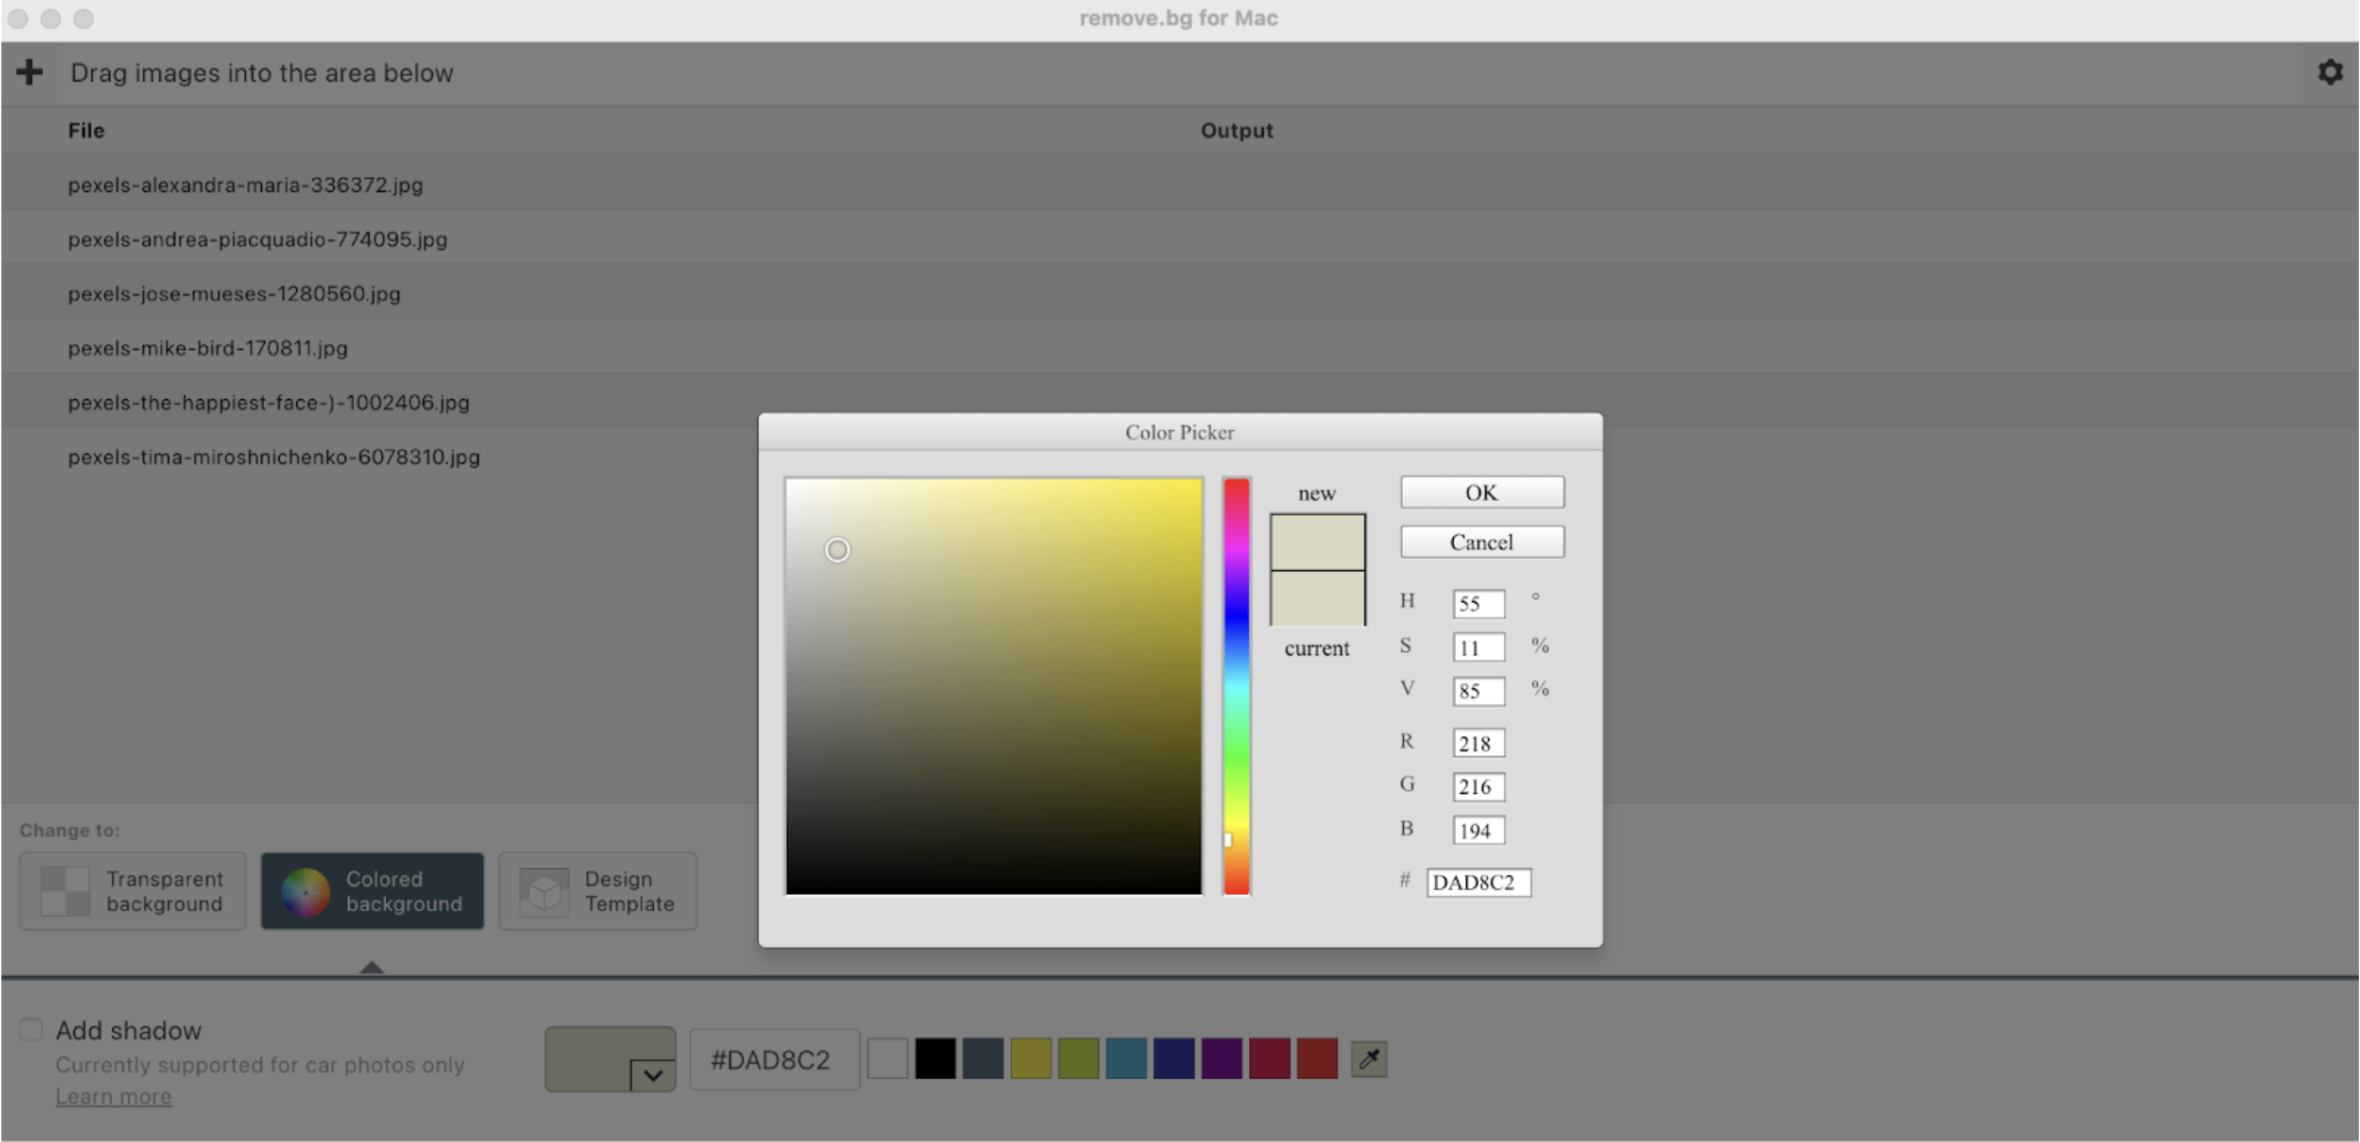
3. Now just click on > Start, and remove.bg will process your images with the settings you selected.

Apply pre-designed templates
If you thought that was all remove.bg’s desktop app had to offer, you’re mistaken. The app has some more fantastic features to discover, and that is design templates!
Whether you want to create a birthday card or need an e-commerce template for your product photos, you can do this on the app.
All you have to do is:
-
Click on > Design Templates.
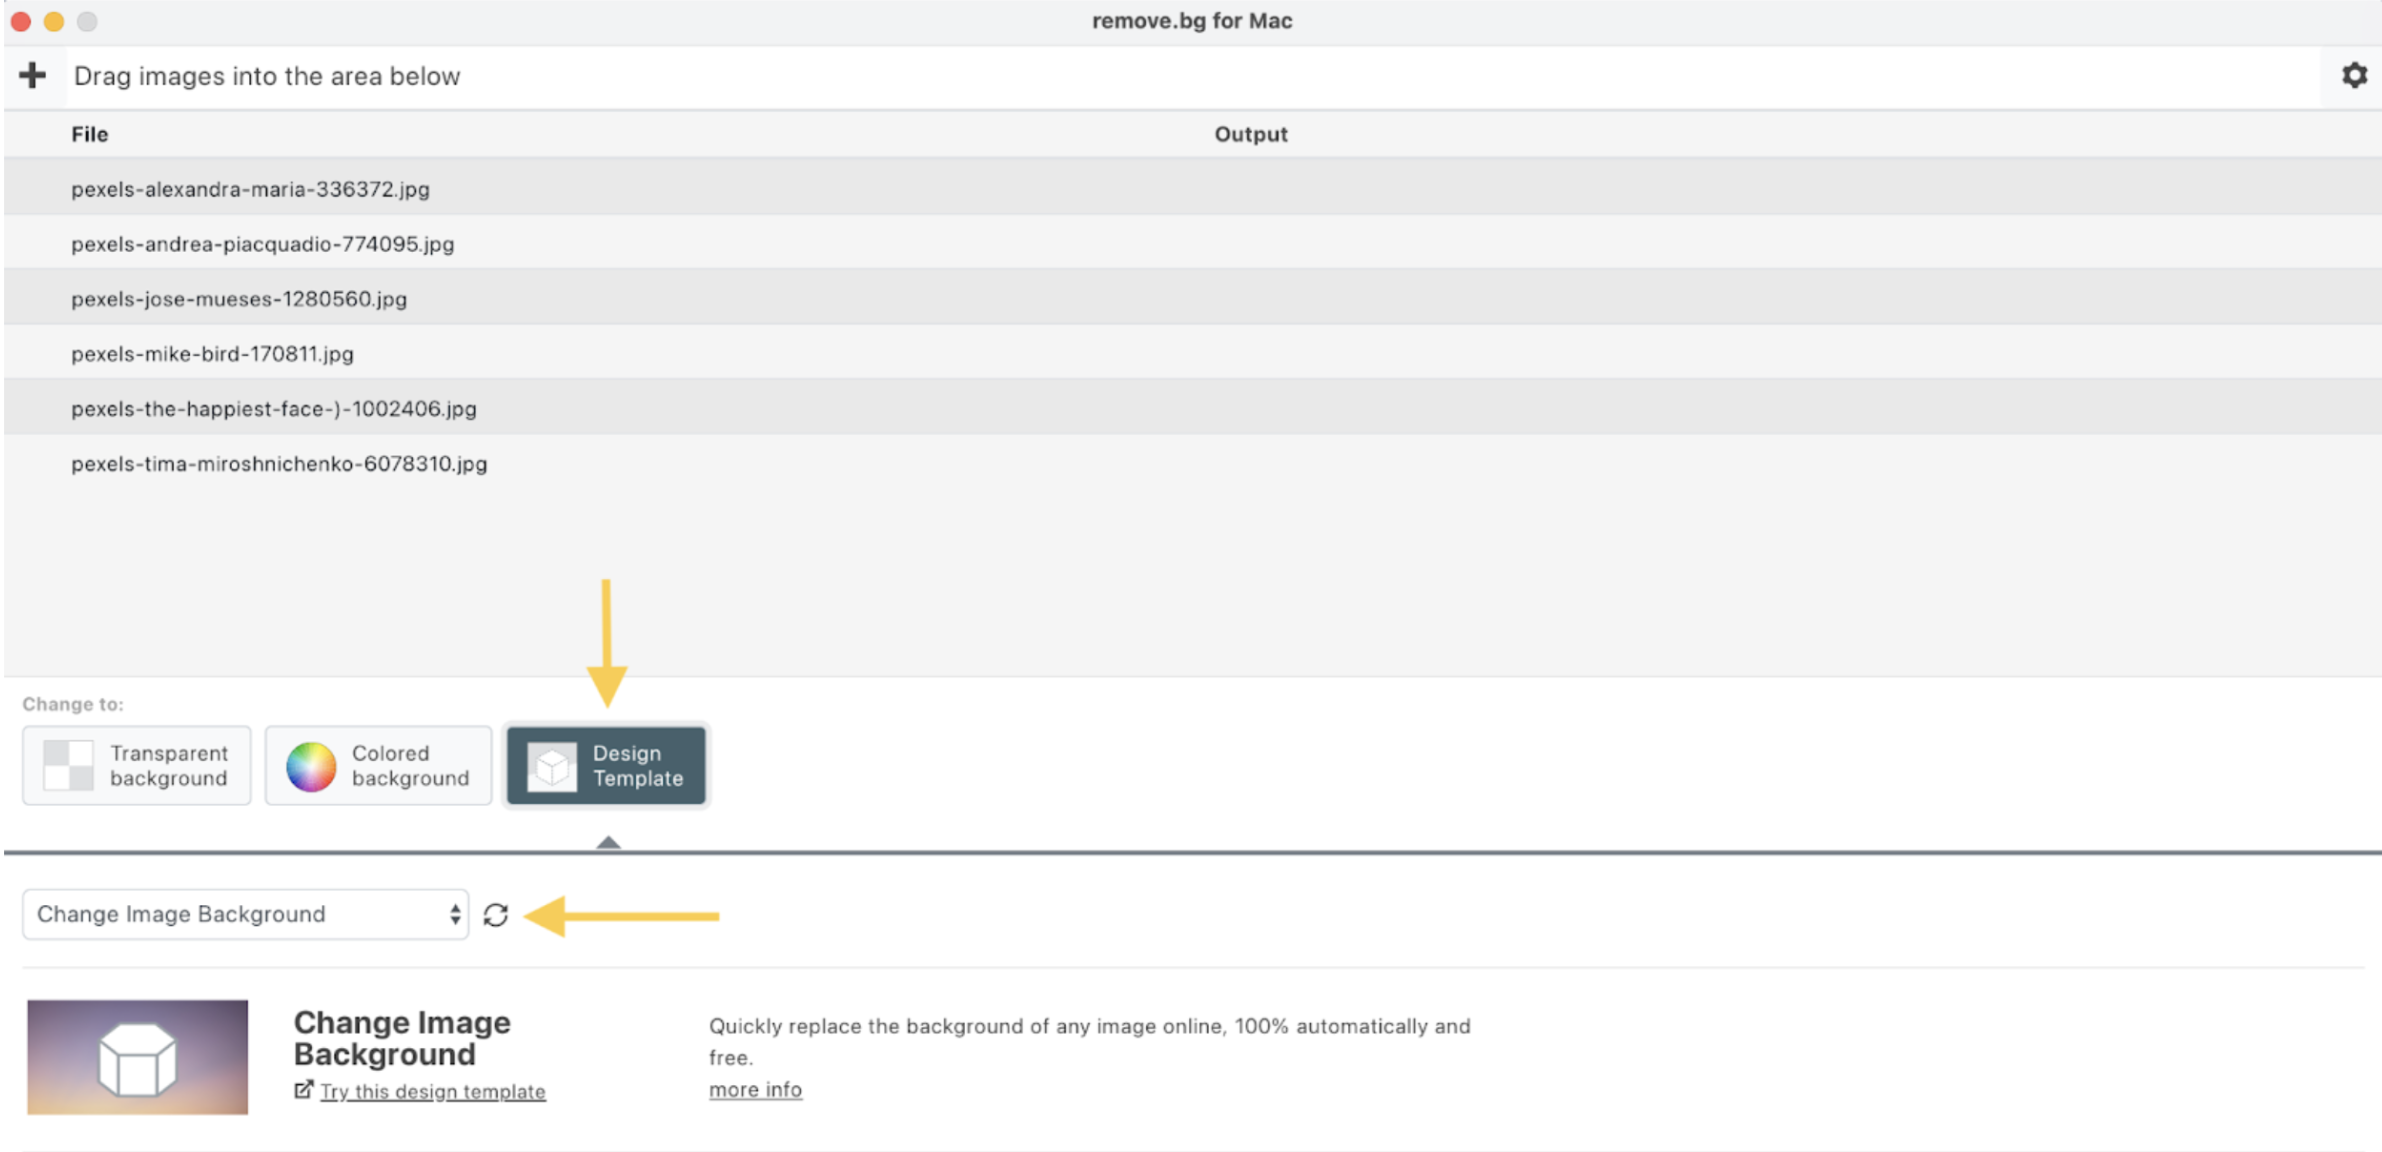
-
Then click the dropdown menu and select the template you want to test.
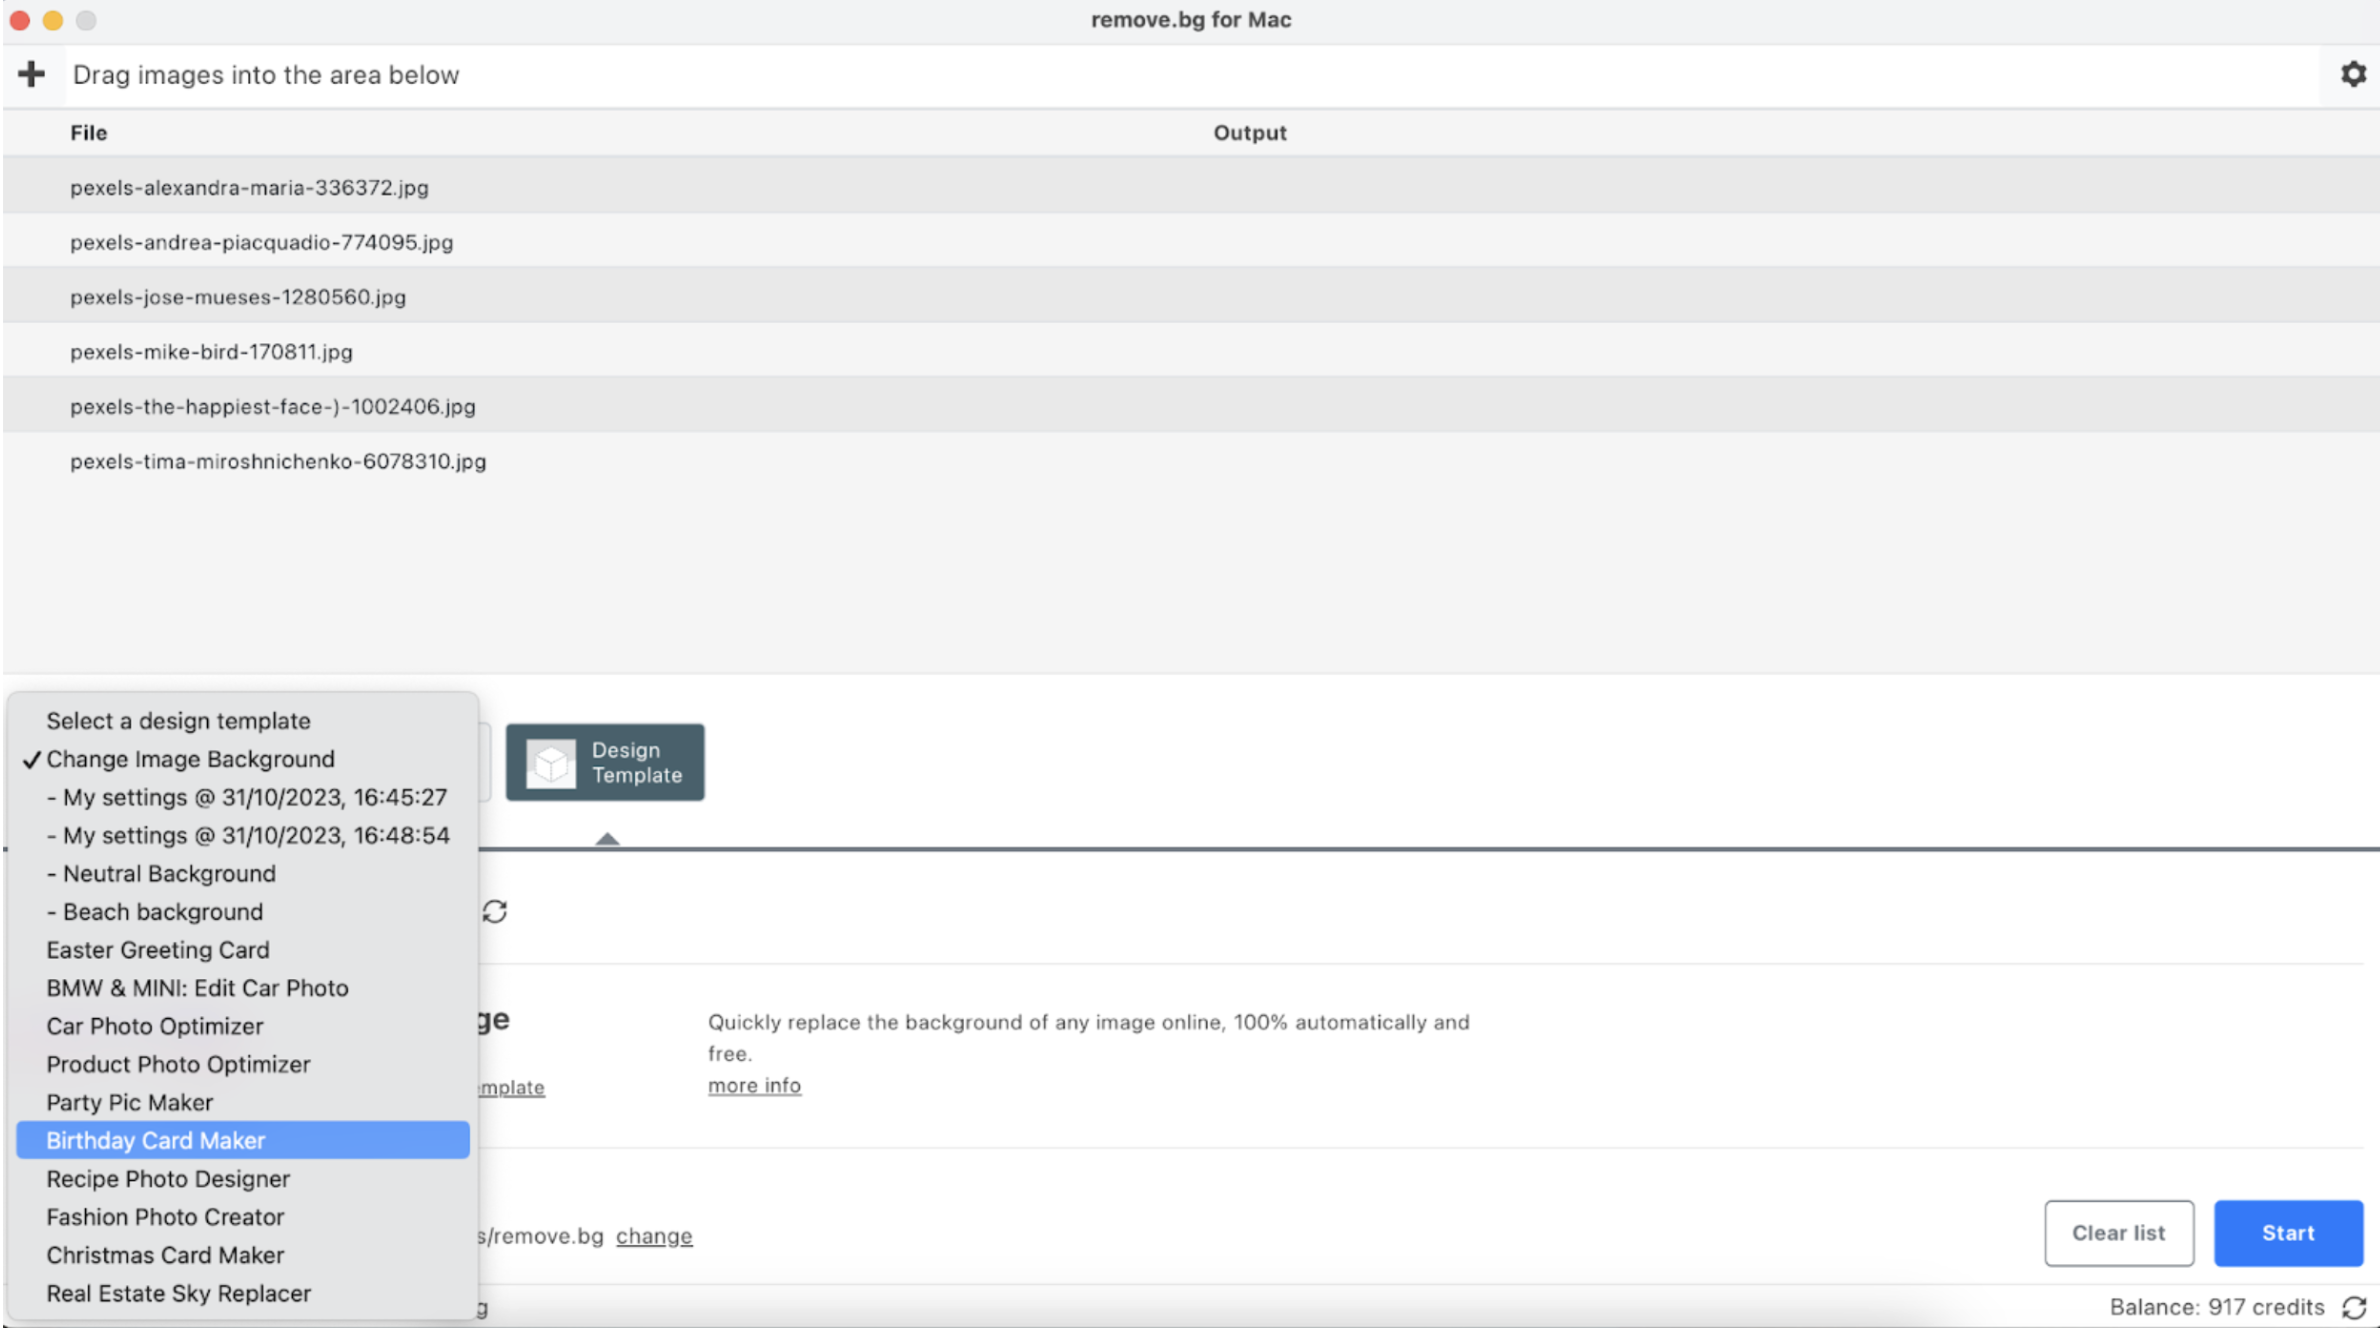
-
Once you have picked the template, click on > try this design template.

-
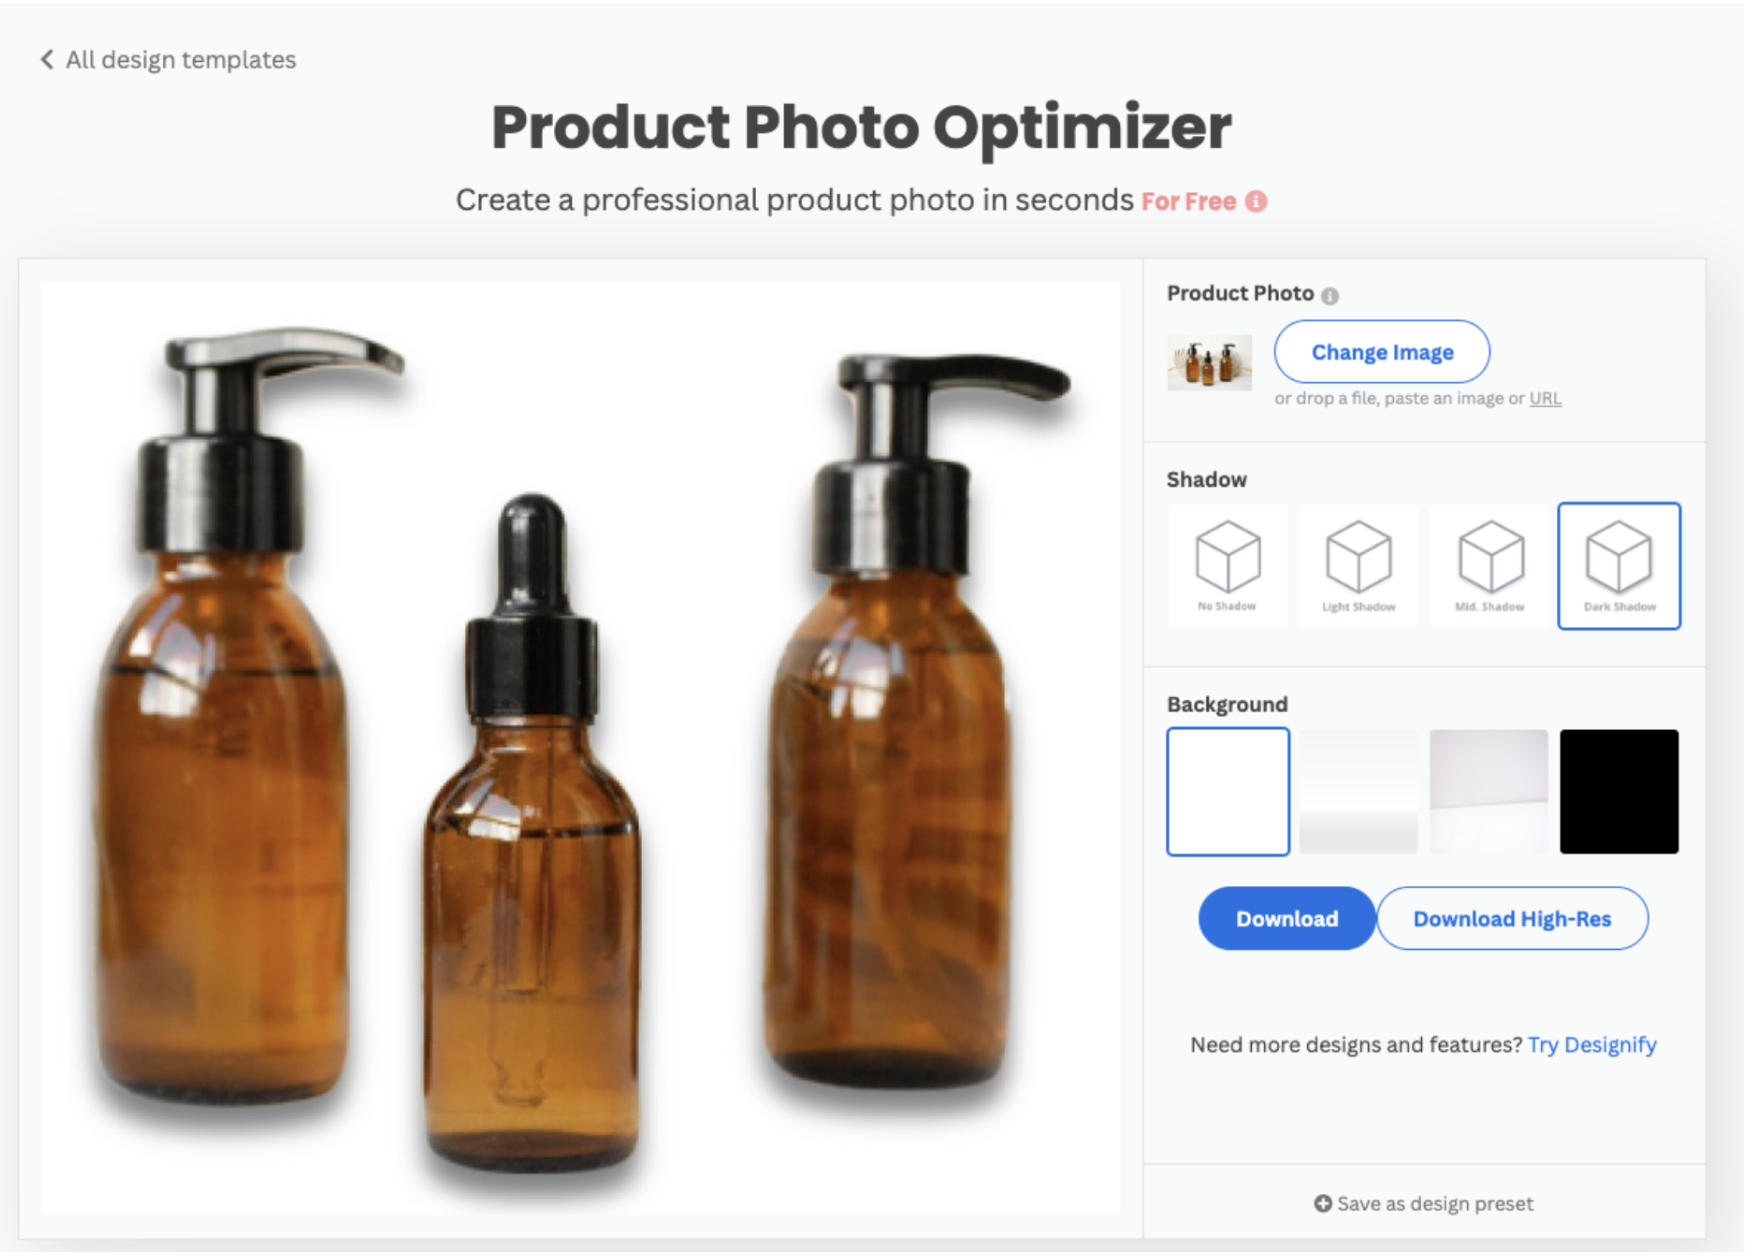
You will be redirected to the remove.bg website, where you can play around with the shadow and the background options. If it helps you visualize your product better, you can upload an image to see how it would look with your chosen settings.
-
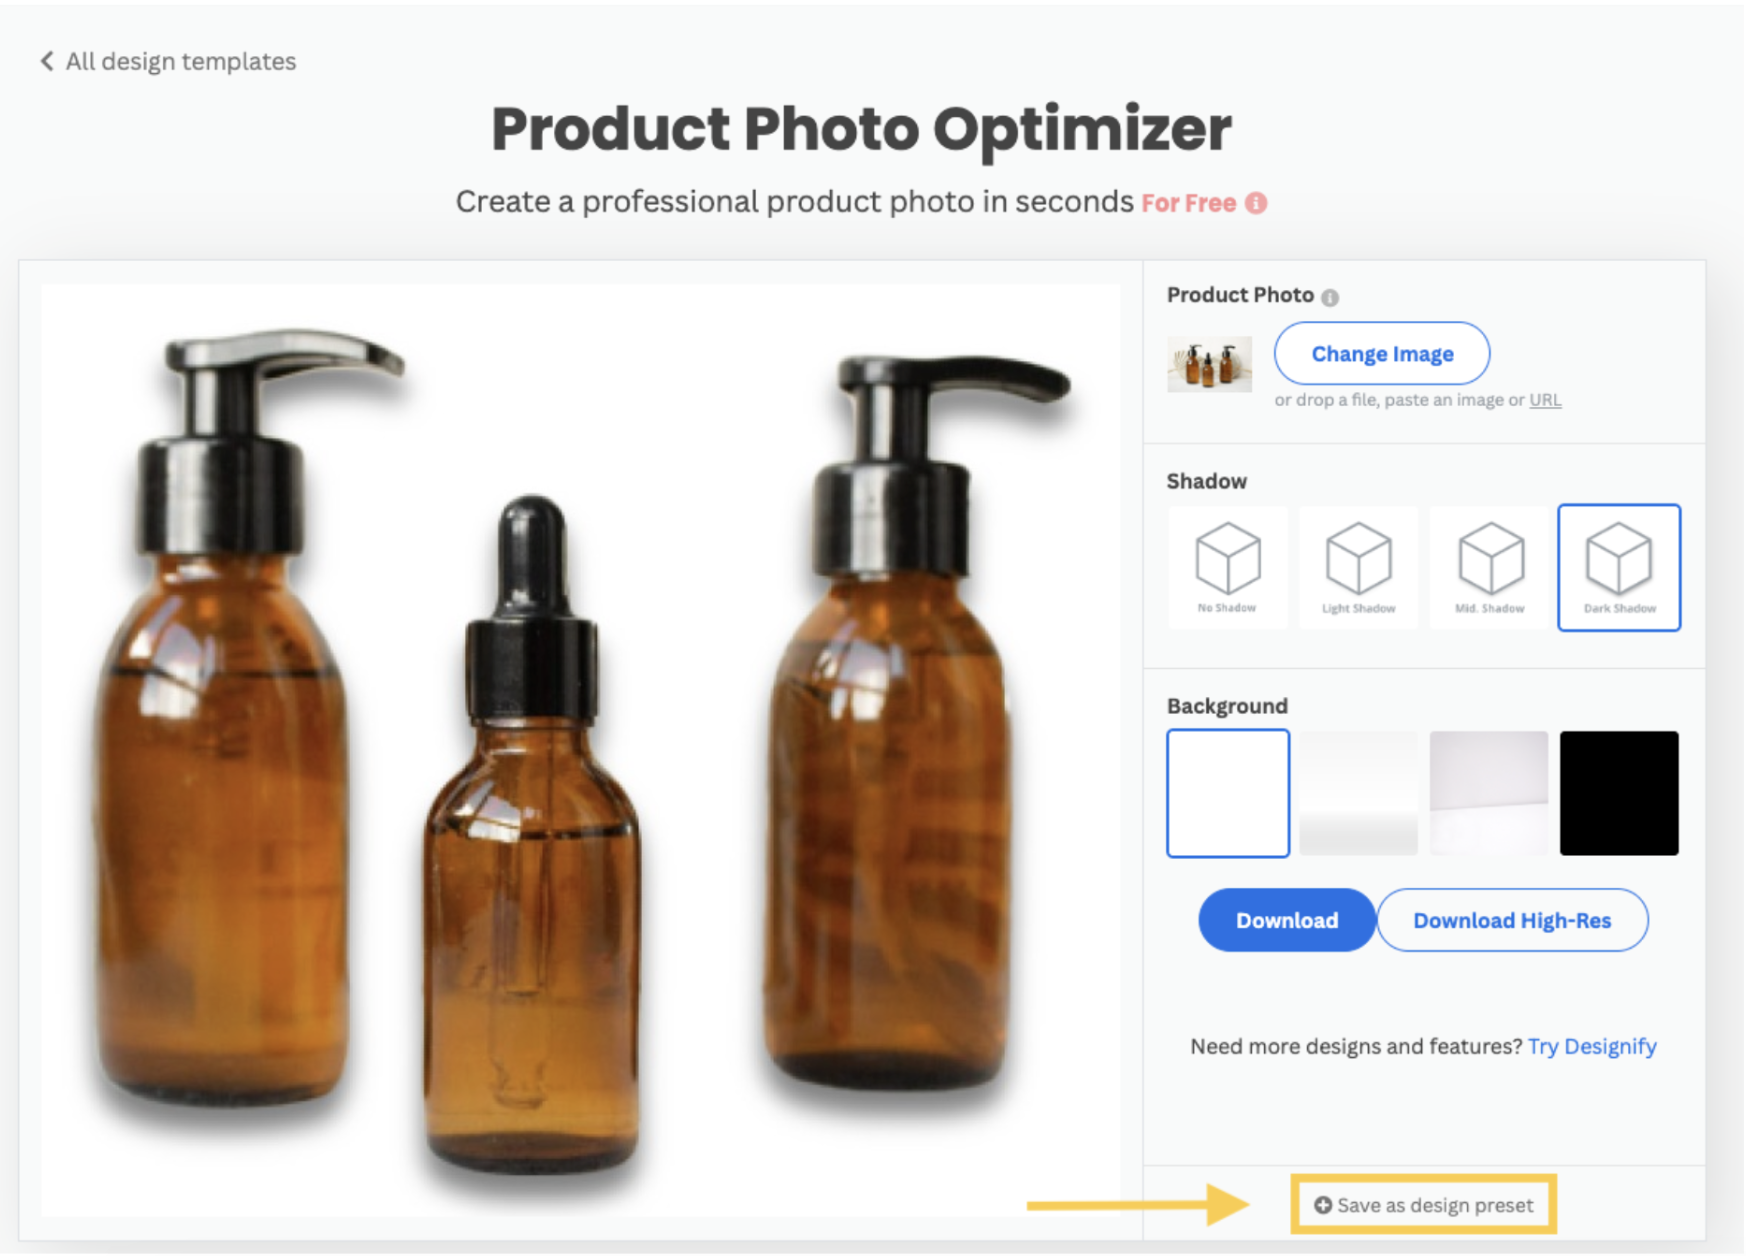
Once you are okay with your chosen settings, click on > Save as design preset.
-
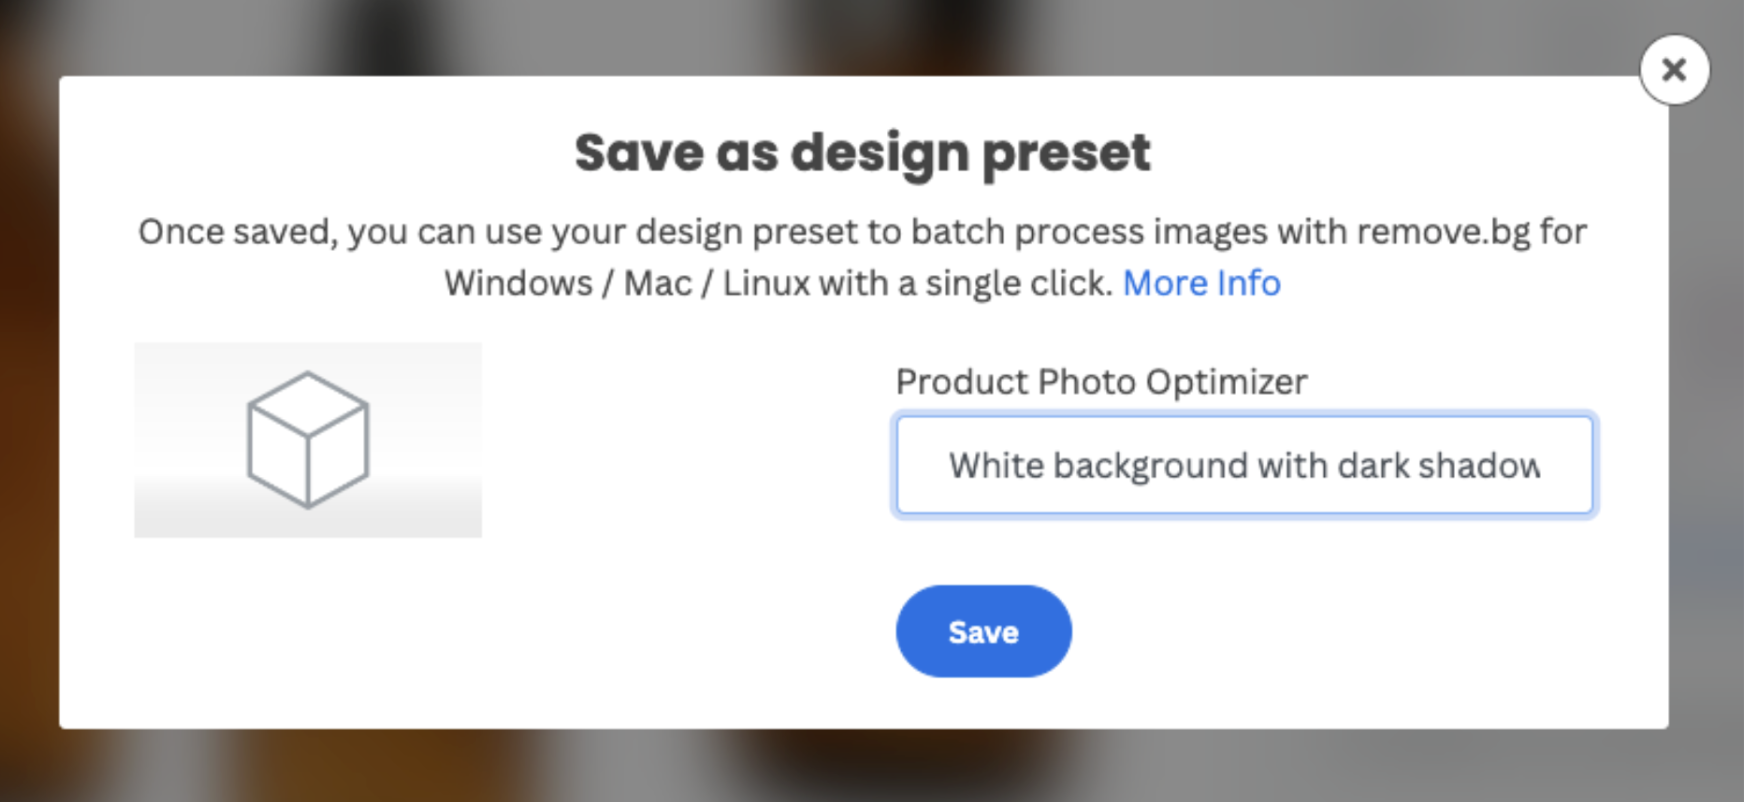
Now, a window will open where you will be required to name your preset. Give it a descriptive and unique name so that you will be able to find it again in the future.
-
You are almost done! All you have left to do is go back to the desktop app and search for your new preset in the dropdown menu.
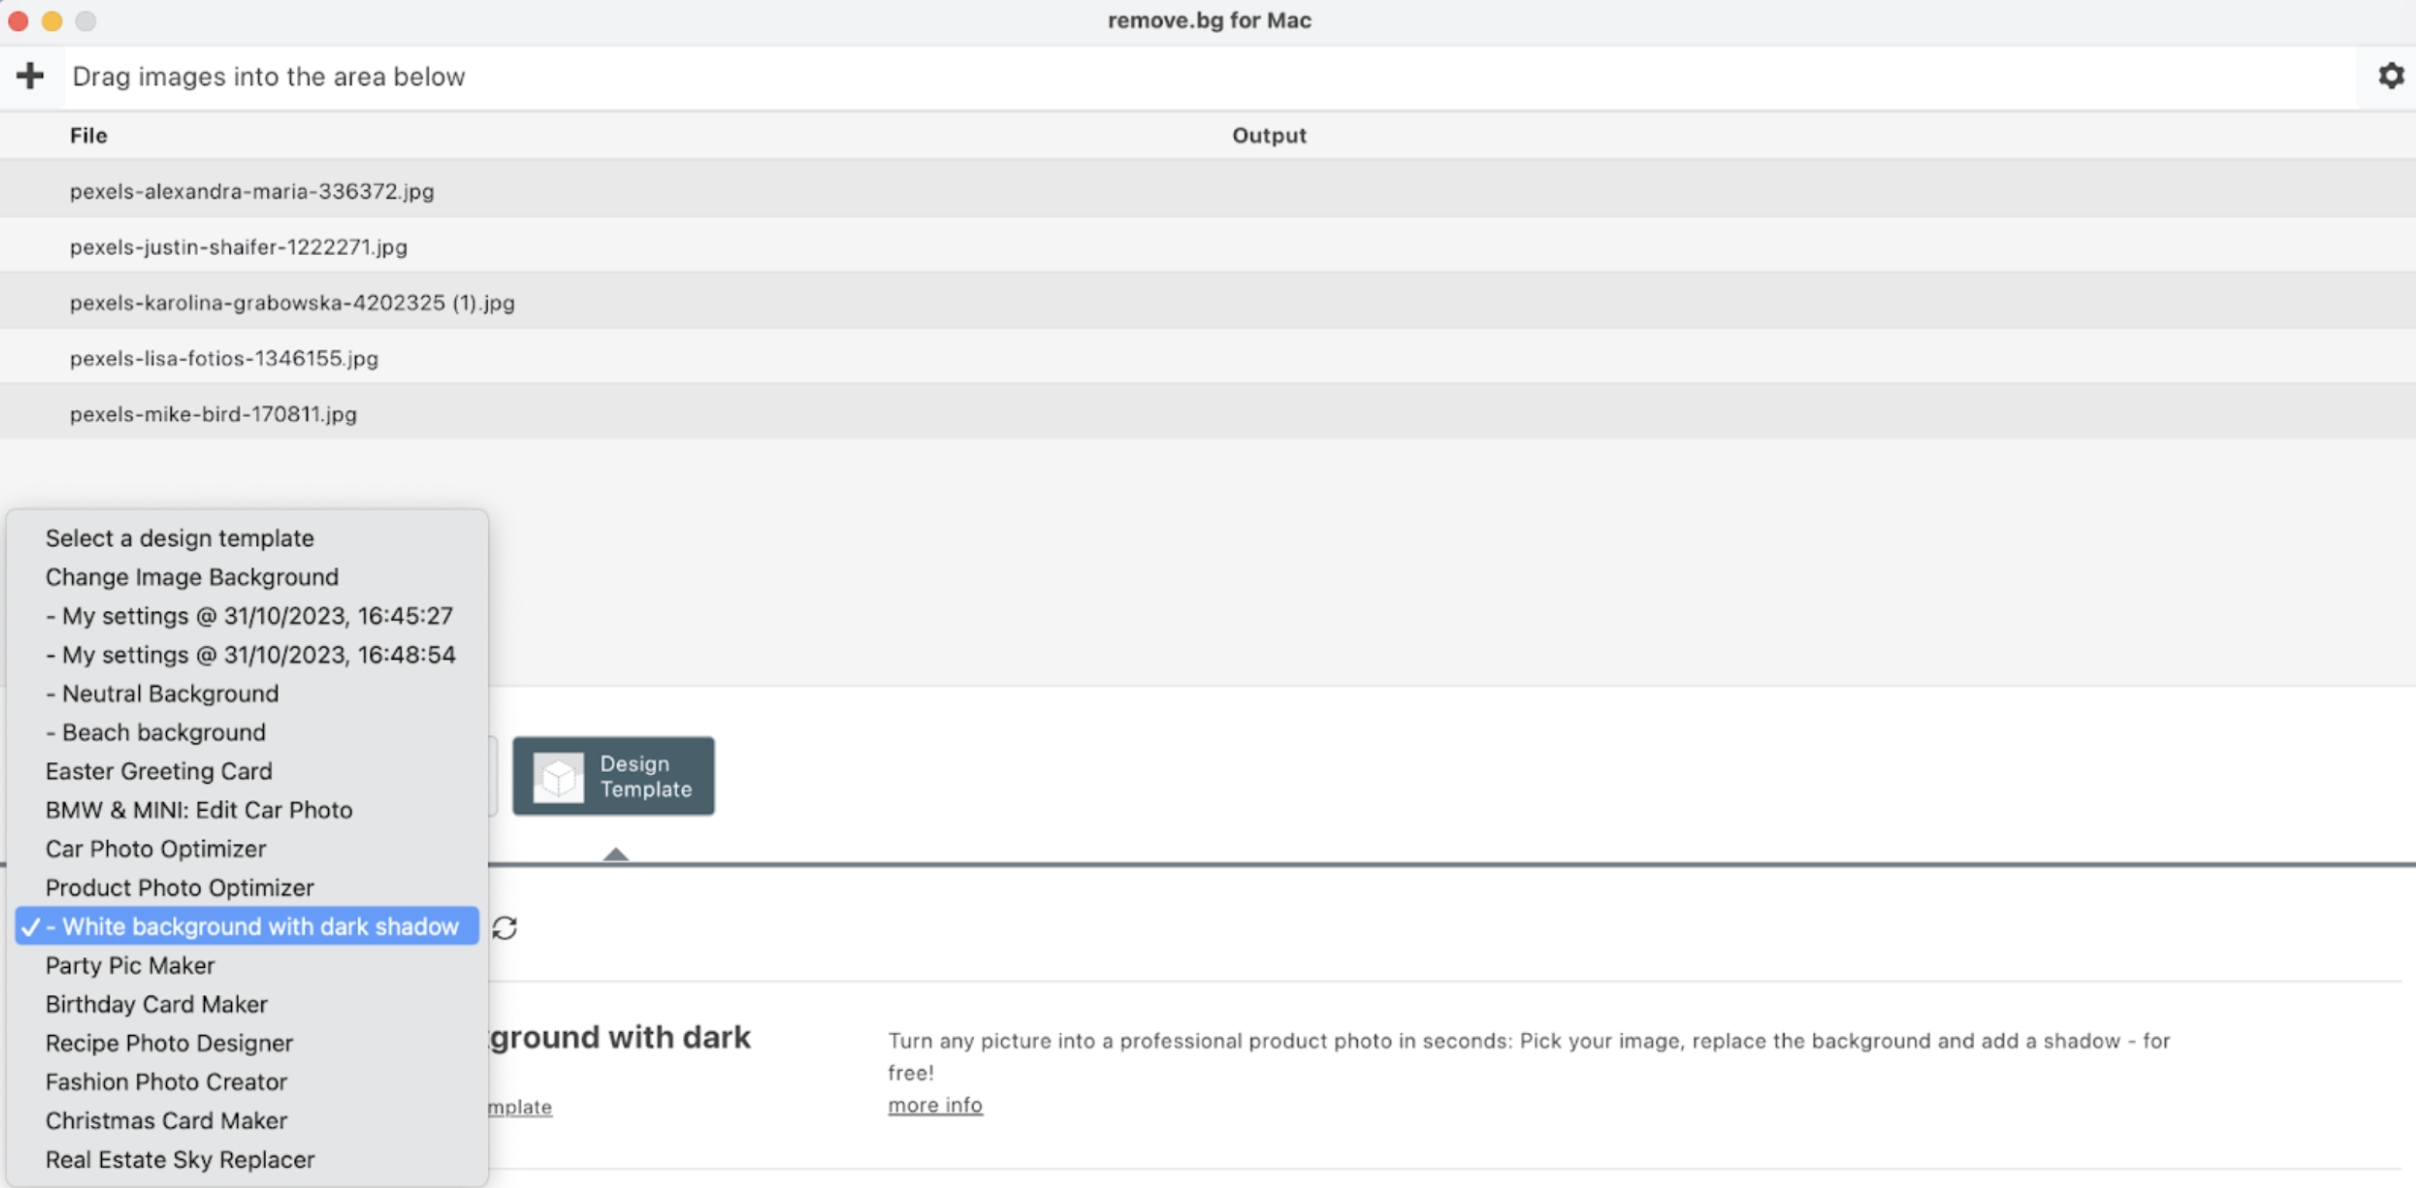
If you don’t see it among your options, try closing and reopening the app.
8. Now press > Start and the images will be edited with your chosen template.

Upload your custom background
Last but not least, we are going to show you how you can add your own custom background in case you don’t like any of the ones remove.bg has available for you.
-
From the desktop app, select in the dropdown menu > Change Image Background. And then click on > try this template.

-
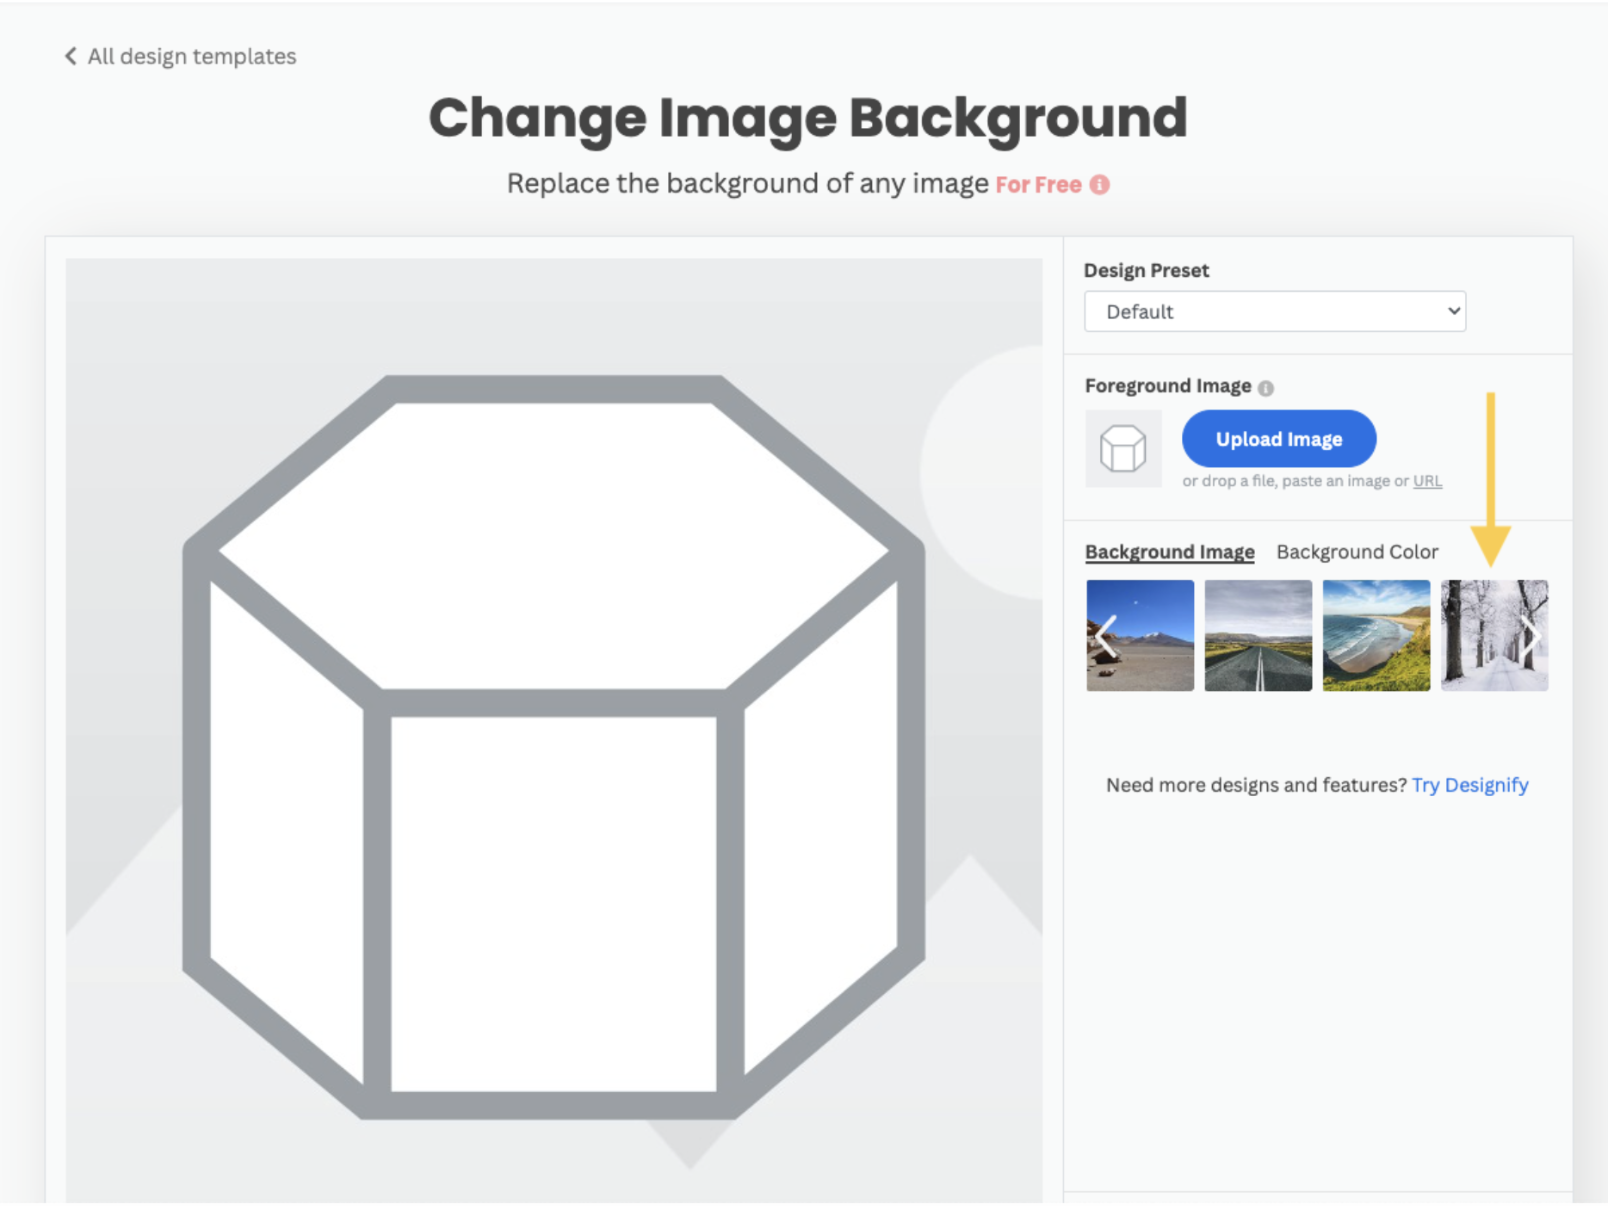
Once you have been redirected to remove.bg’s website, you will see that you can choose your new background from a variety of different images or colors.
-
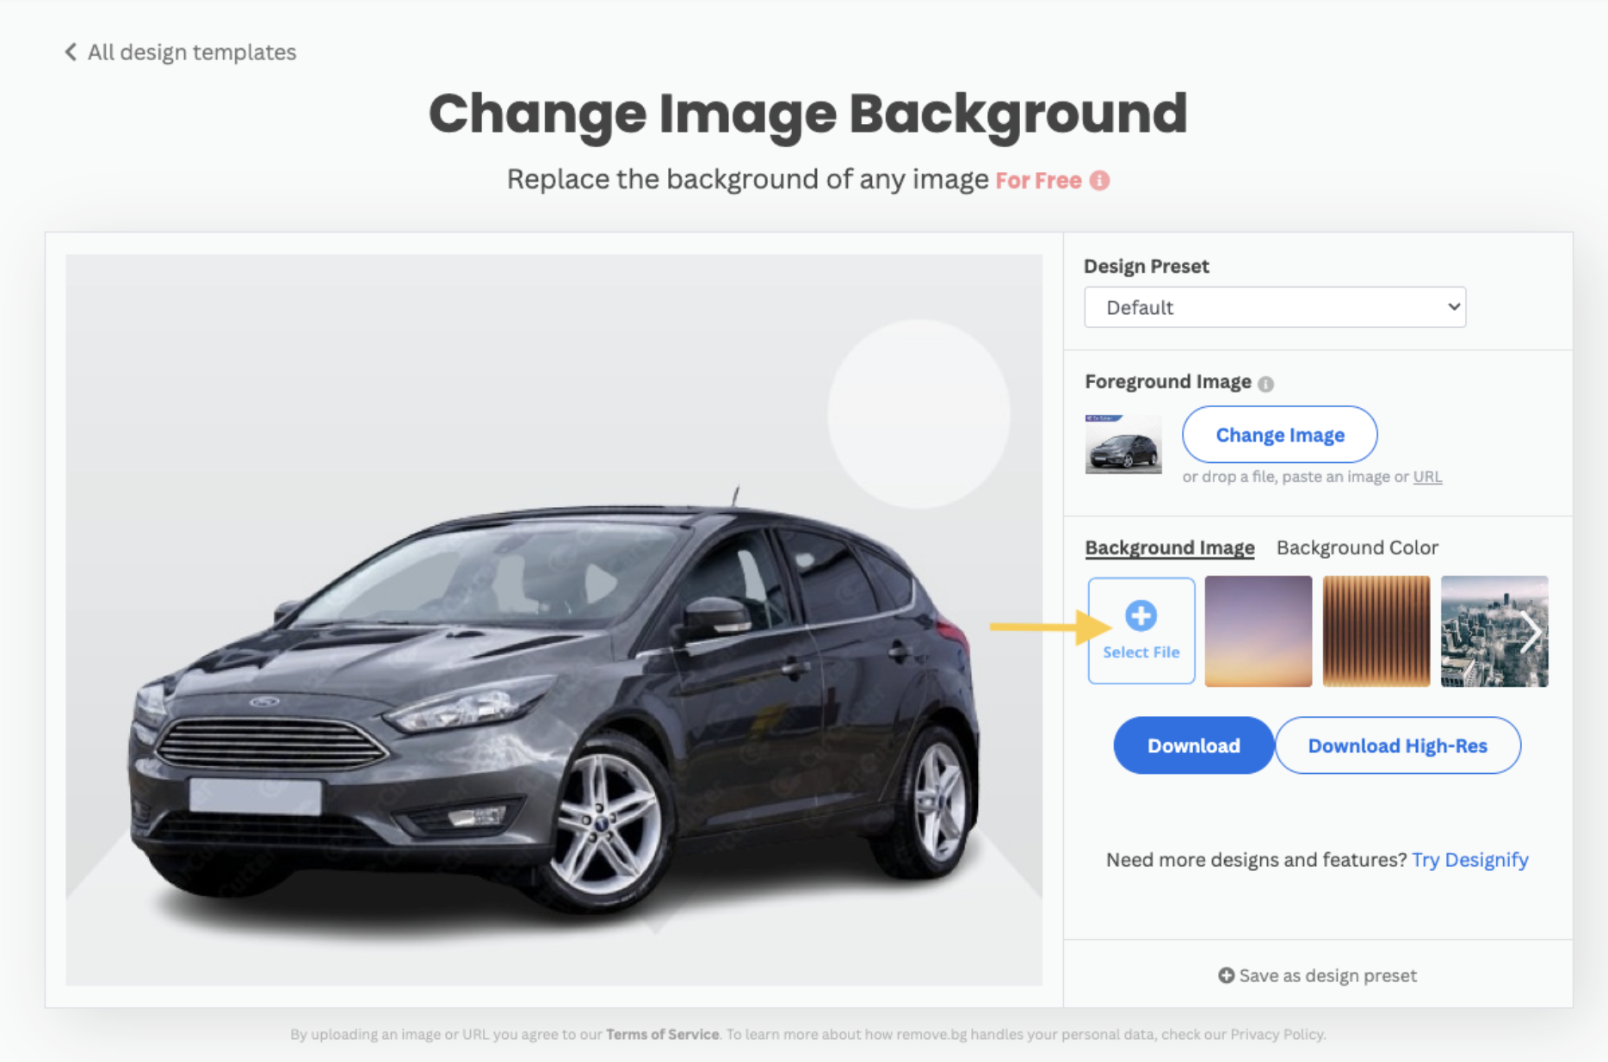
If you don’t like any of the available options, you can upload your own image to use as background. To do this, click on > Select File.
-
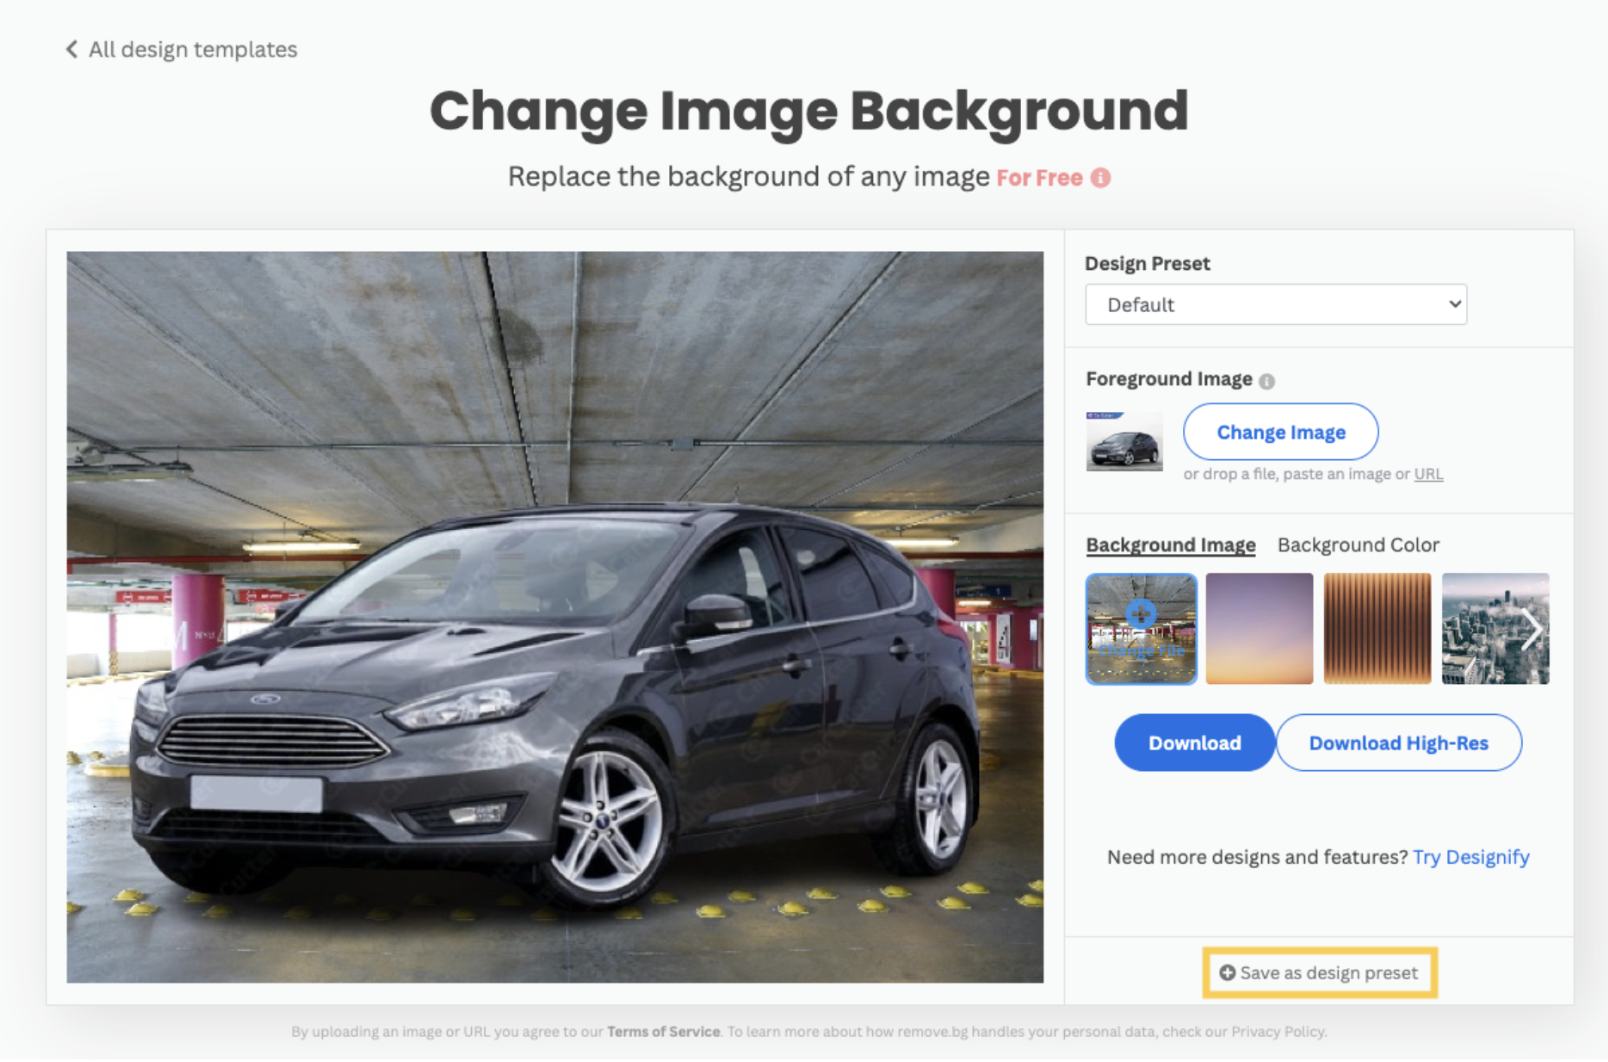
Once you have uploaded your image, if you are happy with it, don’t forget to save it as preset.
-
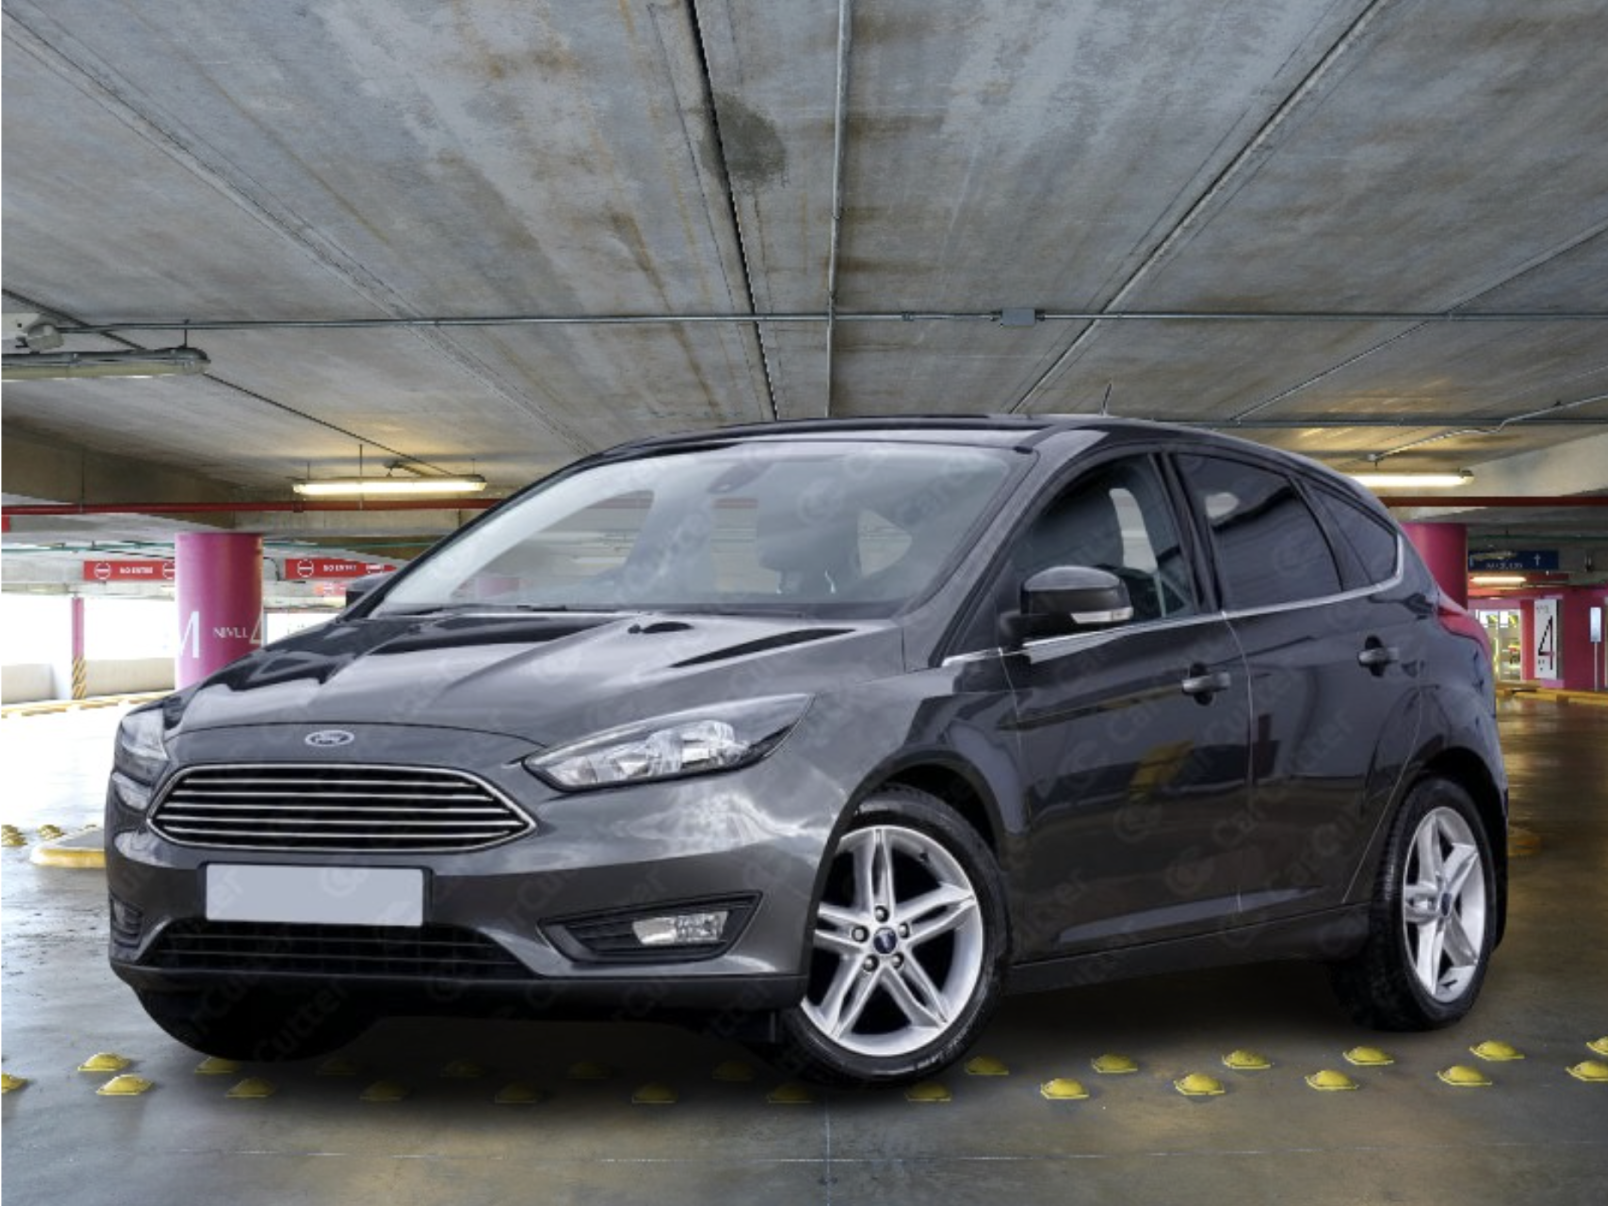
And there you have it! Now just go back to the desktop app, select your custom preset from the dropdown menu, and all your images will be processed with it. This will save you a bunch of editing time!
Choosing the right output size
One last note about the resolution. In the app, you can decide between three options: automatic, preview size and full size.
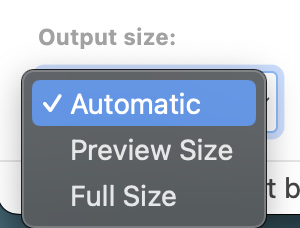
Full size means your images will be processed in high resolution (up to 50MP.) Make sure to have enough credits available for this.
Preview size only means you will be downloading your images in SD format.
Automatic decides on the output format depending on the input image size.
There is also one more download option when it comes to the transparent background feature.

If you check the “Photoshop file” box, you will be able to get your results in PSD format with a fully editable layer mask.
The other option you see portrayed above is the “Add shadow” feature. Keep in mind that this only works for car images at the moment.
Want to test it out?
Comentarii
Niciun comentariu până acum.