Want to make some extra cash online by selling your clothes second-hand? Or perhaps you're starting your own fashion label and want to sell clothes online? Pictures are going to be your no. 1 selling point. Here’s a step-by-step guide on how to take photos of clothes that are bound to sell in no time.
Mục lục
1. Make sure your items look good
Whether you’re selling second-hand or brand-new items, you’ll want to make sure they’re looking their very best. Here are our top tips on how to take good pictures of clothes to sell:
Get rid of wrinkles
Wrinkly clothes look messy and unprofessional — make sure to get out the wrinkles before setting them up for your photo shoot. Turns out you don’t necessarily have to turn to an iron to do that. You can also pop the clothes in the dryer or use a hand steamer to save you a ton of time.
Remove any stains
Stains are not something anyone wants to find on clothes, whether they’re buying second-hand or not. Be sure to remove any stains with a stain remover pen, or just use some gentle dish detergent and warm water to scrub out the stain. We hope this goes without saying, but if you’re selling second hand, make sure you wash the garment before you hand it over.
Remove any lint
Any pet hairs or fluff stuck to that sweater? Grab one of those handy lint rollers and give your clothes a quick swipe to remove everything.
Remove any threads
Any loose threads hanging? Grab a pair of scissors and carefully cut them; this again will give your clothes a more neat and clean look. Just be careful that the thread is not unraveling the entire piece because that’s something you will need to get the sewing kit out for or head over to your nearest seamstress.
2. Pick your camera
Alrighty, now it’s time to get down to choosing a camera for taking pictures of the clothes you want to sell. Selecting a camera could be a whole post of its own, to be honest, but all in all — what camera you choose depends on:
Whether you’re doing this on the side to earn some extra cash
How many photos you’re going to be taking
What your budget is
All things considered, the cameras on phones are incredible now — so whether you’re doing this professionally or not, you can get amazing results with just a phone. Opt for a DSLR camera if you want to take things to the next level. You can check out our Ultimate Camera Lens Guide for Beginners for more details.
3. Choose a shooting style
When it comes to taking pictures of clothes to sell online, there are actually quite a few variants you can choose from. Which one you opt for entirely depends on your personal preference, just how professional you want the pictures to be, your budget, how much time you have on your hands, and what resources are available. Think about whether you will have help taking the pictures or have to make do on your own.
Flatlay
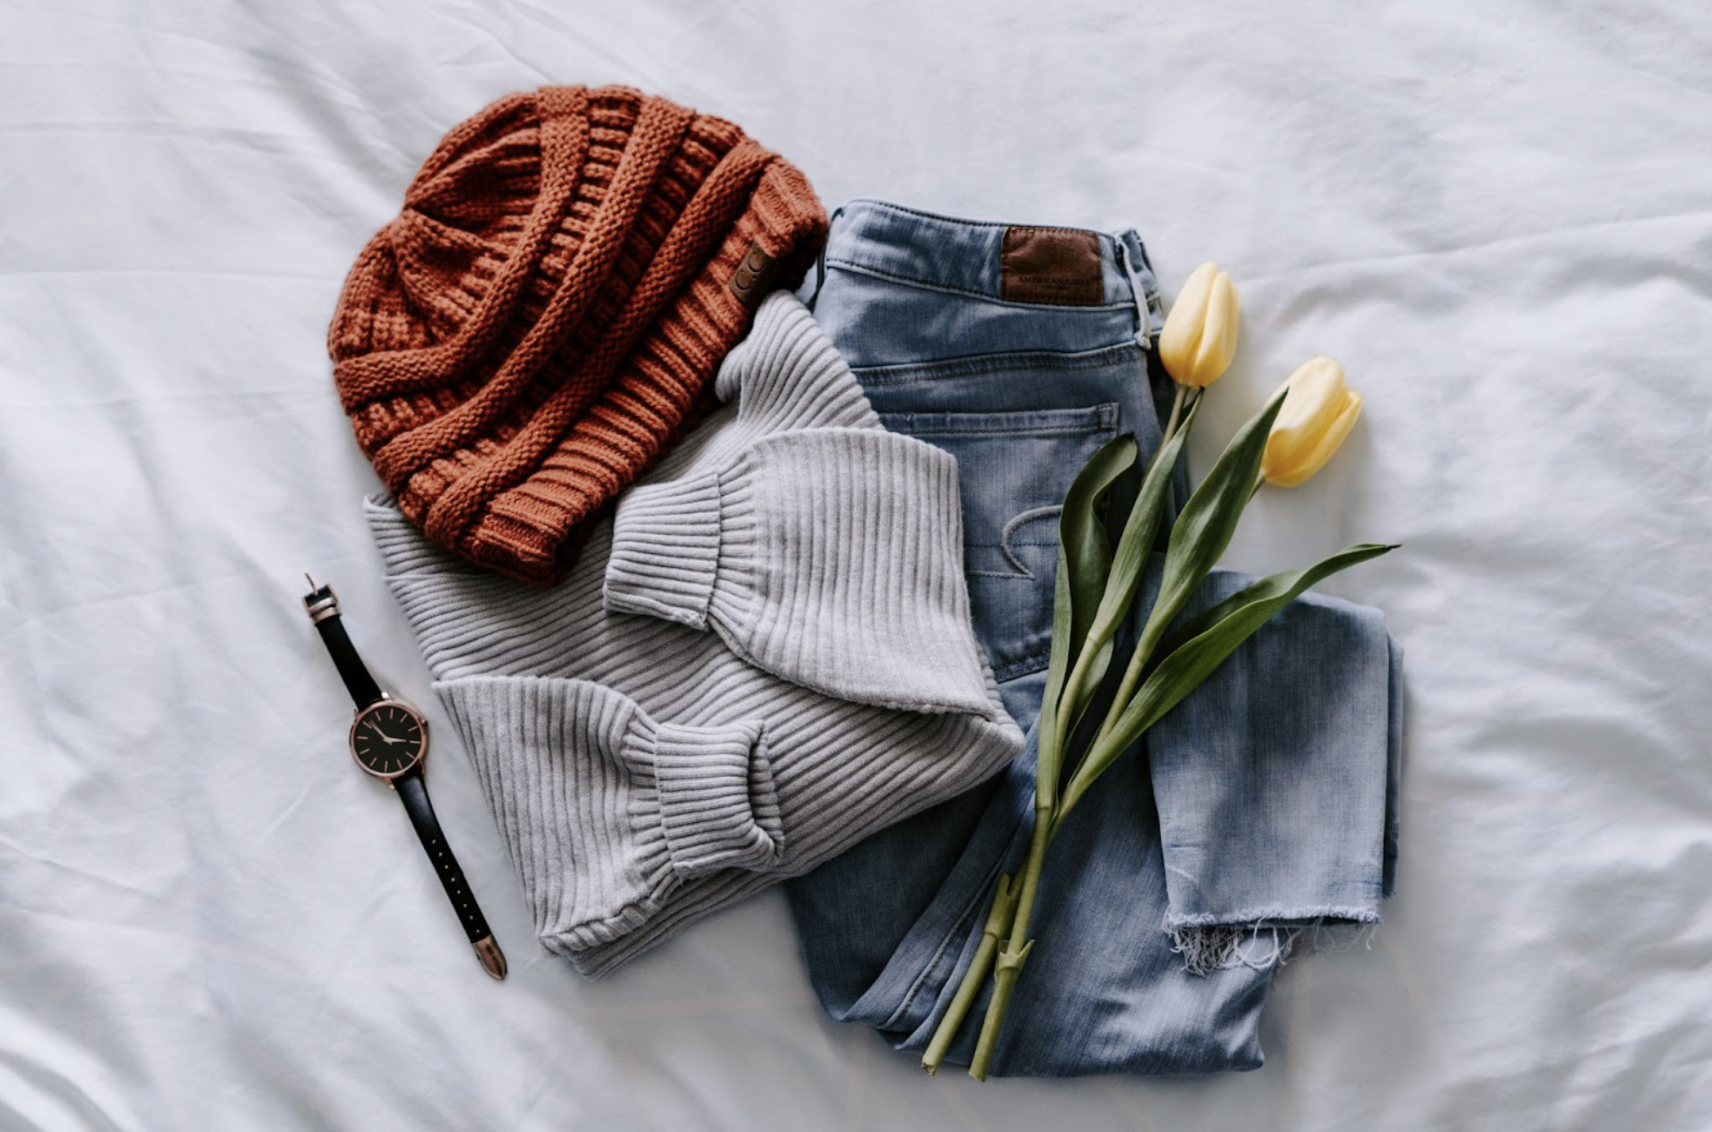
Flat laying is probably the simplest way of taking pictures of clothes and is something anyone can do in the comfort of their own home. It’s basically laying your clothes on the floor and taking photos at a right angle from above. To make the image cleaner, you might lay down a white or plain colored sheet or blanket to place your clothes on.
If you're lucky, your bed might already have one on it, so there’s no need to get it set up. Then you can go ahead and lay your clothes on the sheet. Play around with how you want to place the item or items. Here is one great example of flat lay:
Model
We were going to add a point in here on taking photos with mannequins — sure, it’s easier than with real-life models, but just by flicking through photos and finding one like this, we can safely say that it seems rather impersonal and cold.
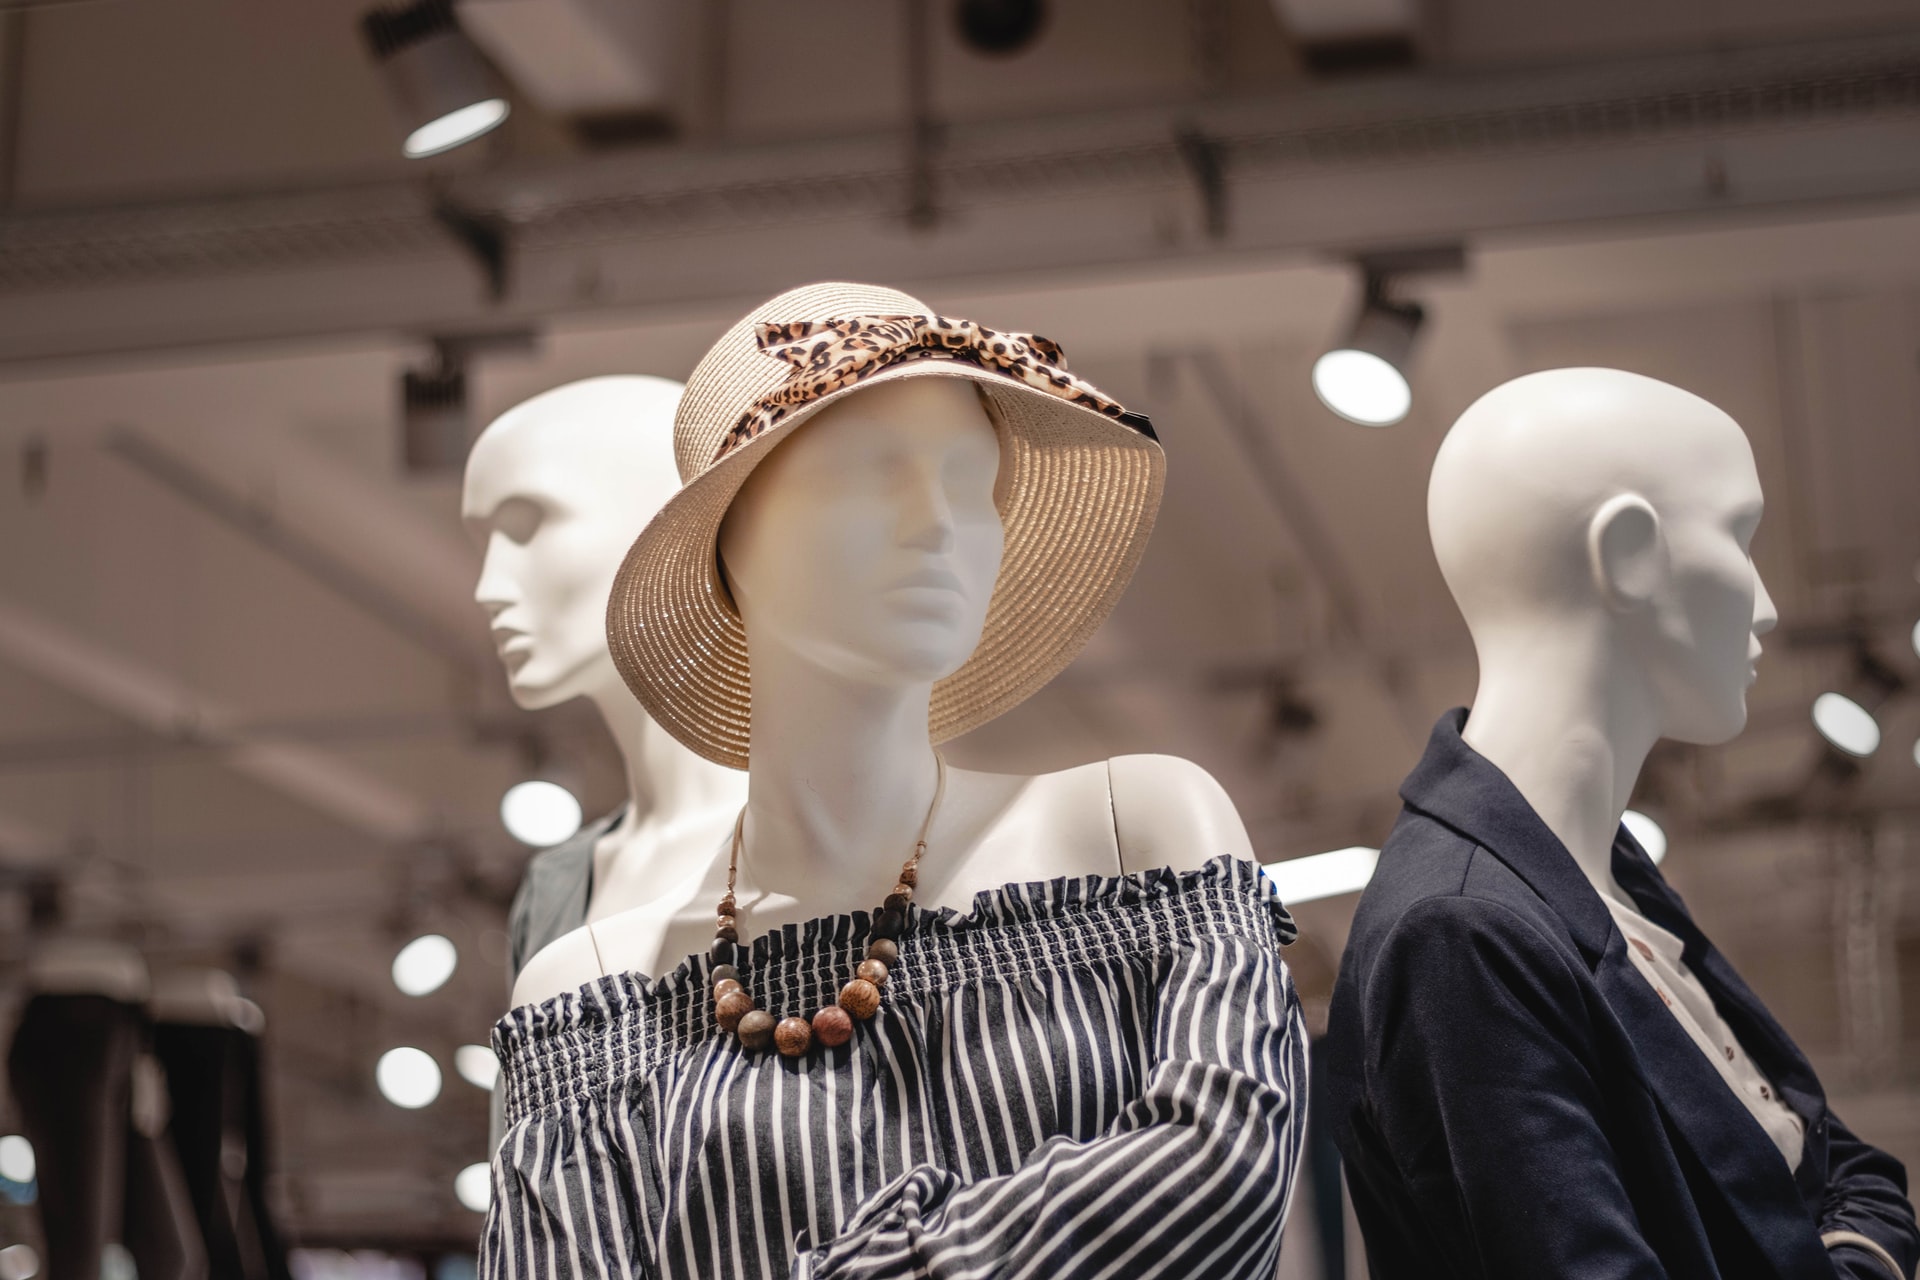
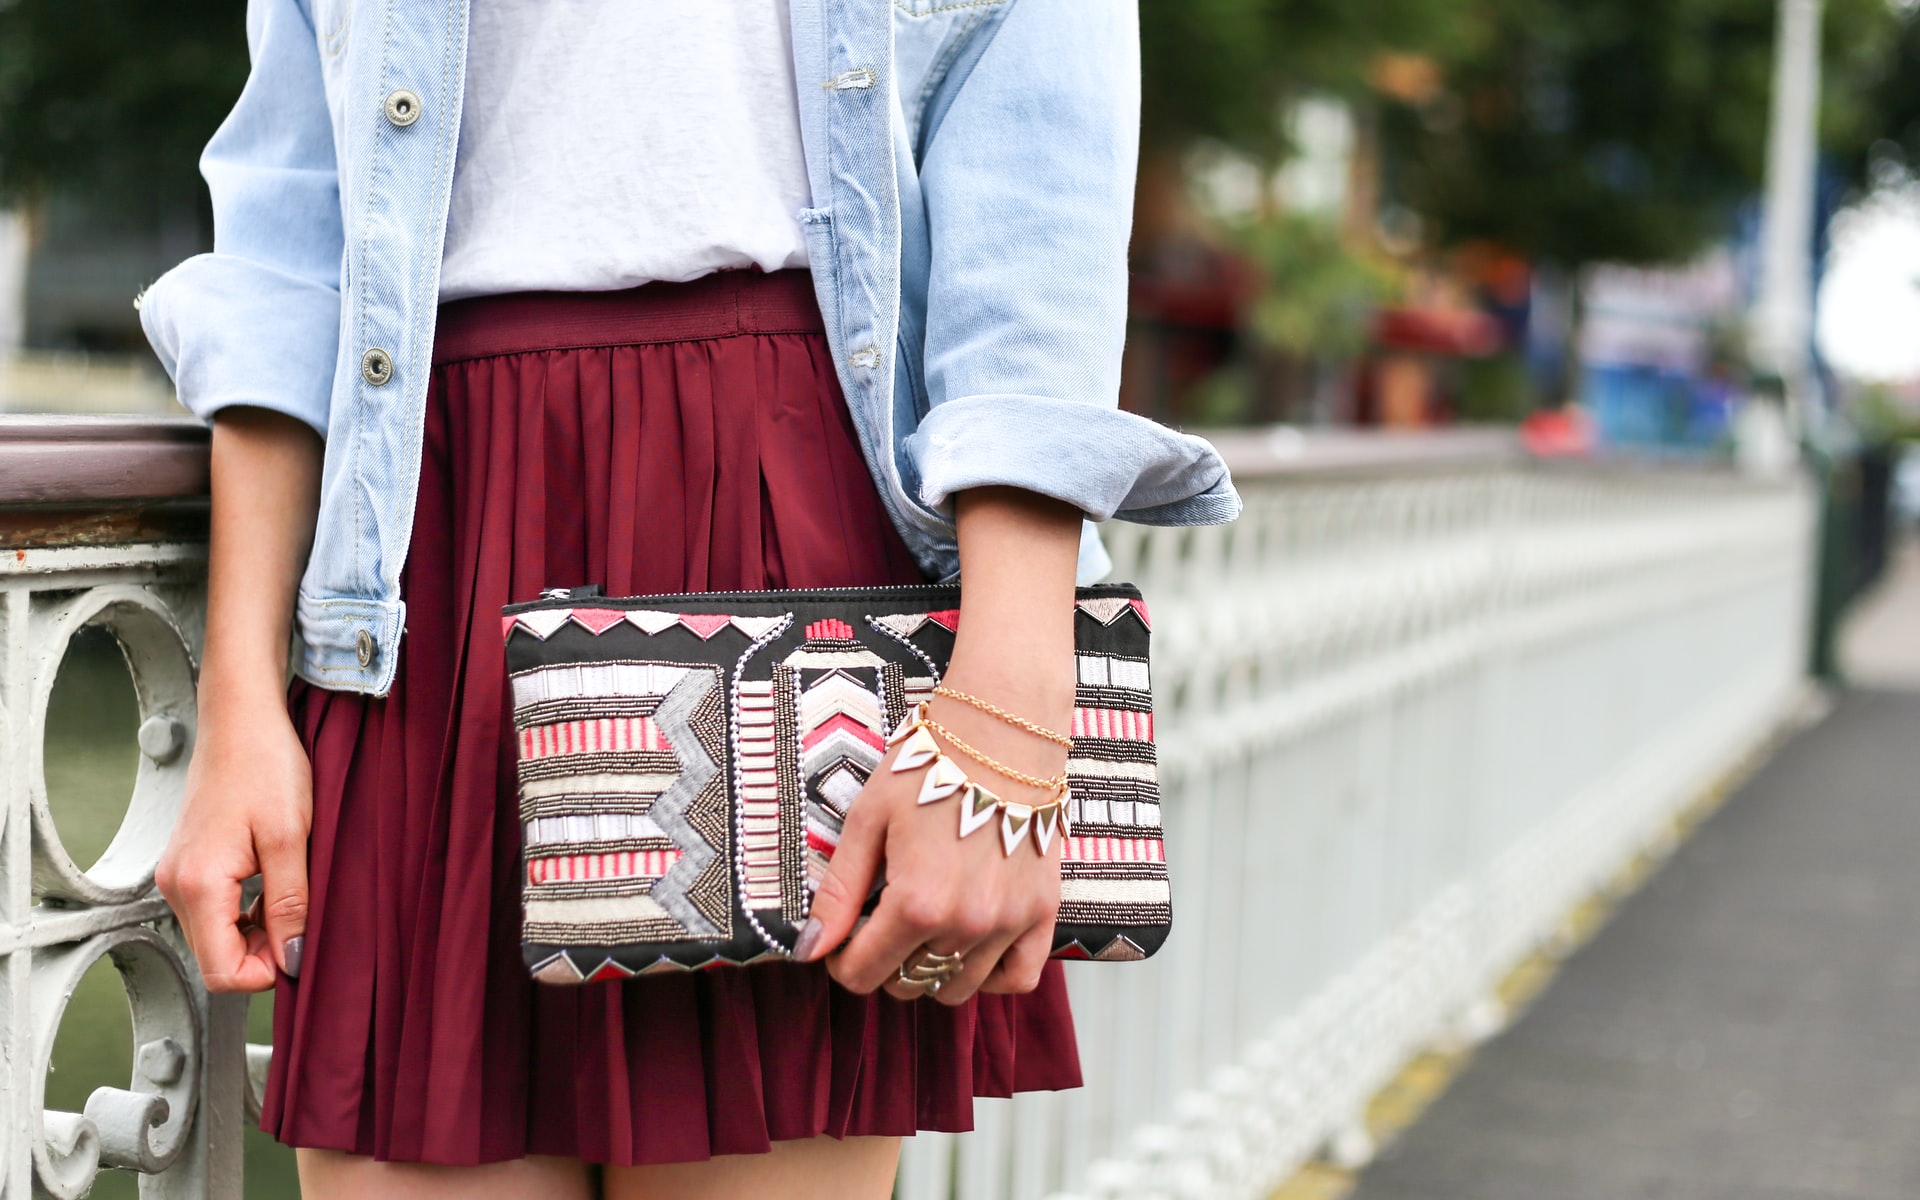
Taking pictures of clothes with mannequins is something we can’t really recommend if you want to get ahead of the competition online, but we do recommend doing it with real-life models. Whether you or your friends model the clothes, or you want to pay a professional model, it’s a great way of genuinely showing what your clothes can look like in action. Like this:
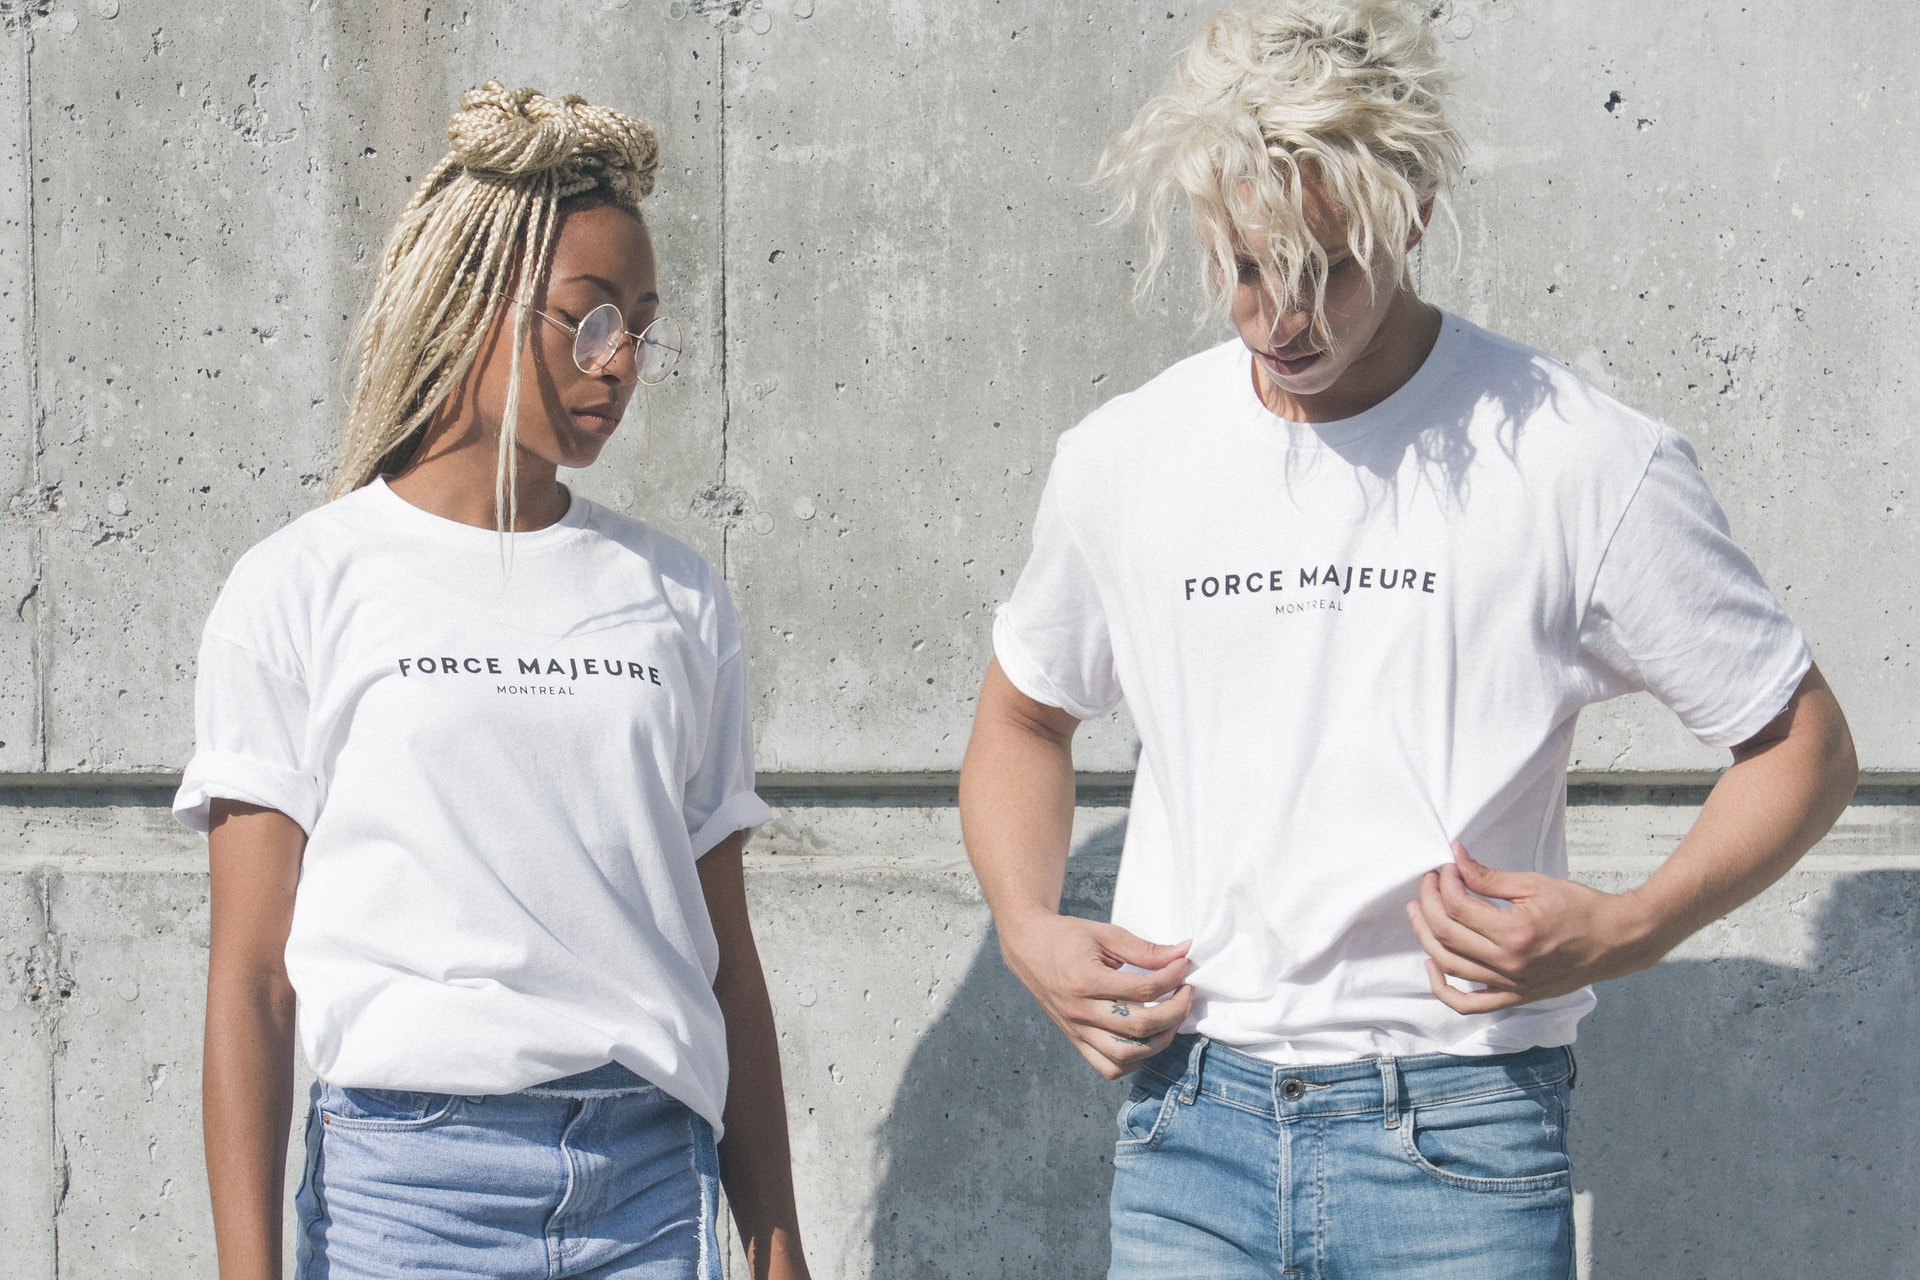
If you want to stay anonymous, you can also try poses like this:
Hanging
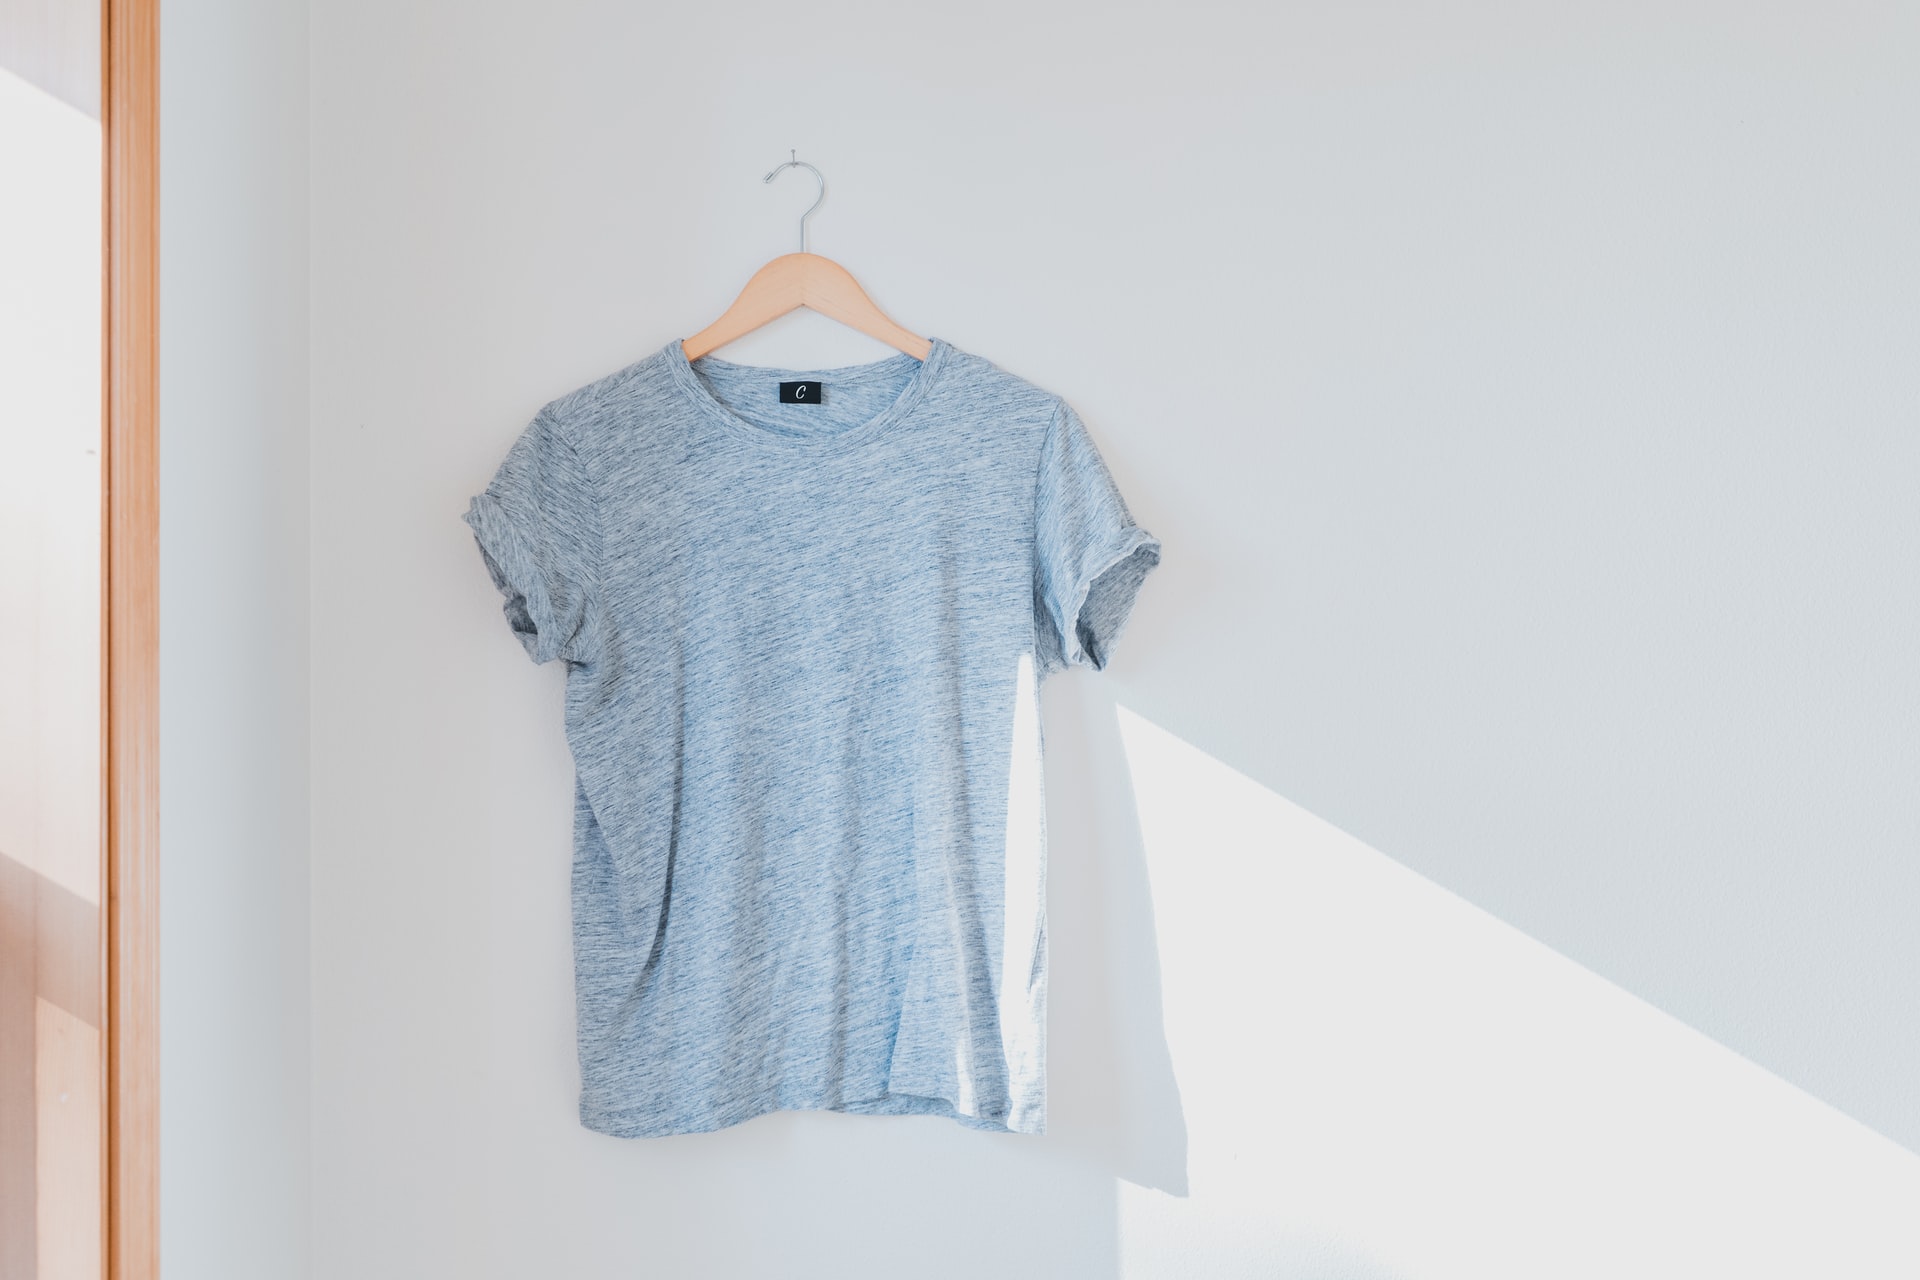
Another excellent option for taking photos of clothes is using a simple setup with a hanger and taking a picture of the clothes hanging up; it’s especially great for dresses because they seem more streamlined and elegant. This minimal setup below, with the play of lighting, is stunning and incredibly easy to recreate. All you have to sacrifice is a nail in the wall.
4. Choose the setting & background
Depending on what mood/style you're going for, you’ll want to decide what setting you want to use to take pictures of your clothes. Is it going to be out on the streets or at home?
The safest option to go for is a plain background; this way the focus will be on the clothes you are trying to sell. If you want to create consistency throughout all of your photos at lightning speed, we recommend using a tool such as Designify to remove and/or change the background. Let's take this photo as an example:
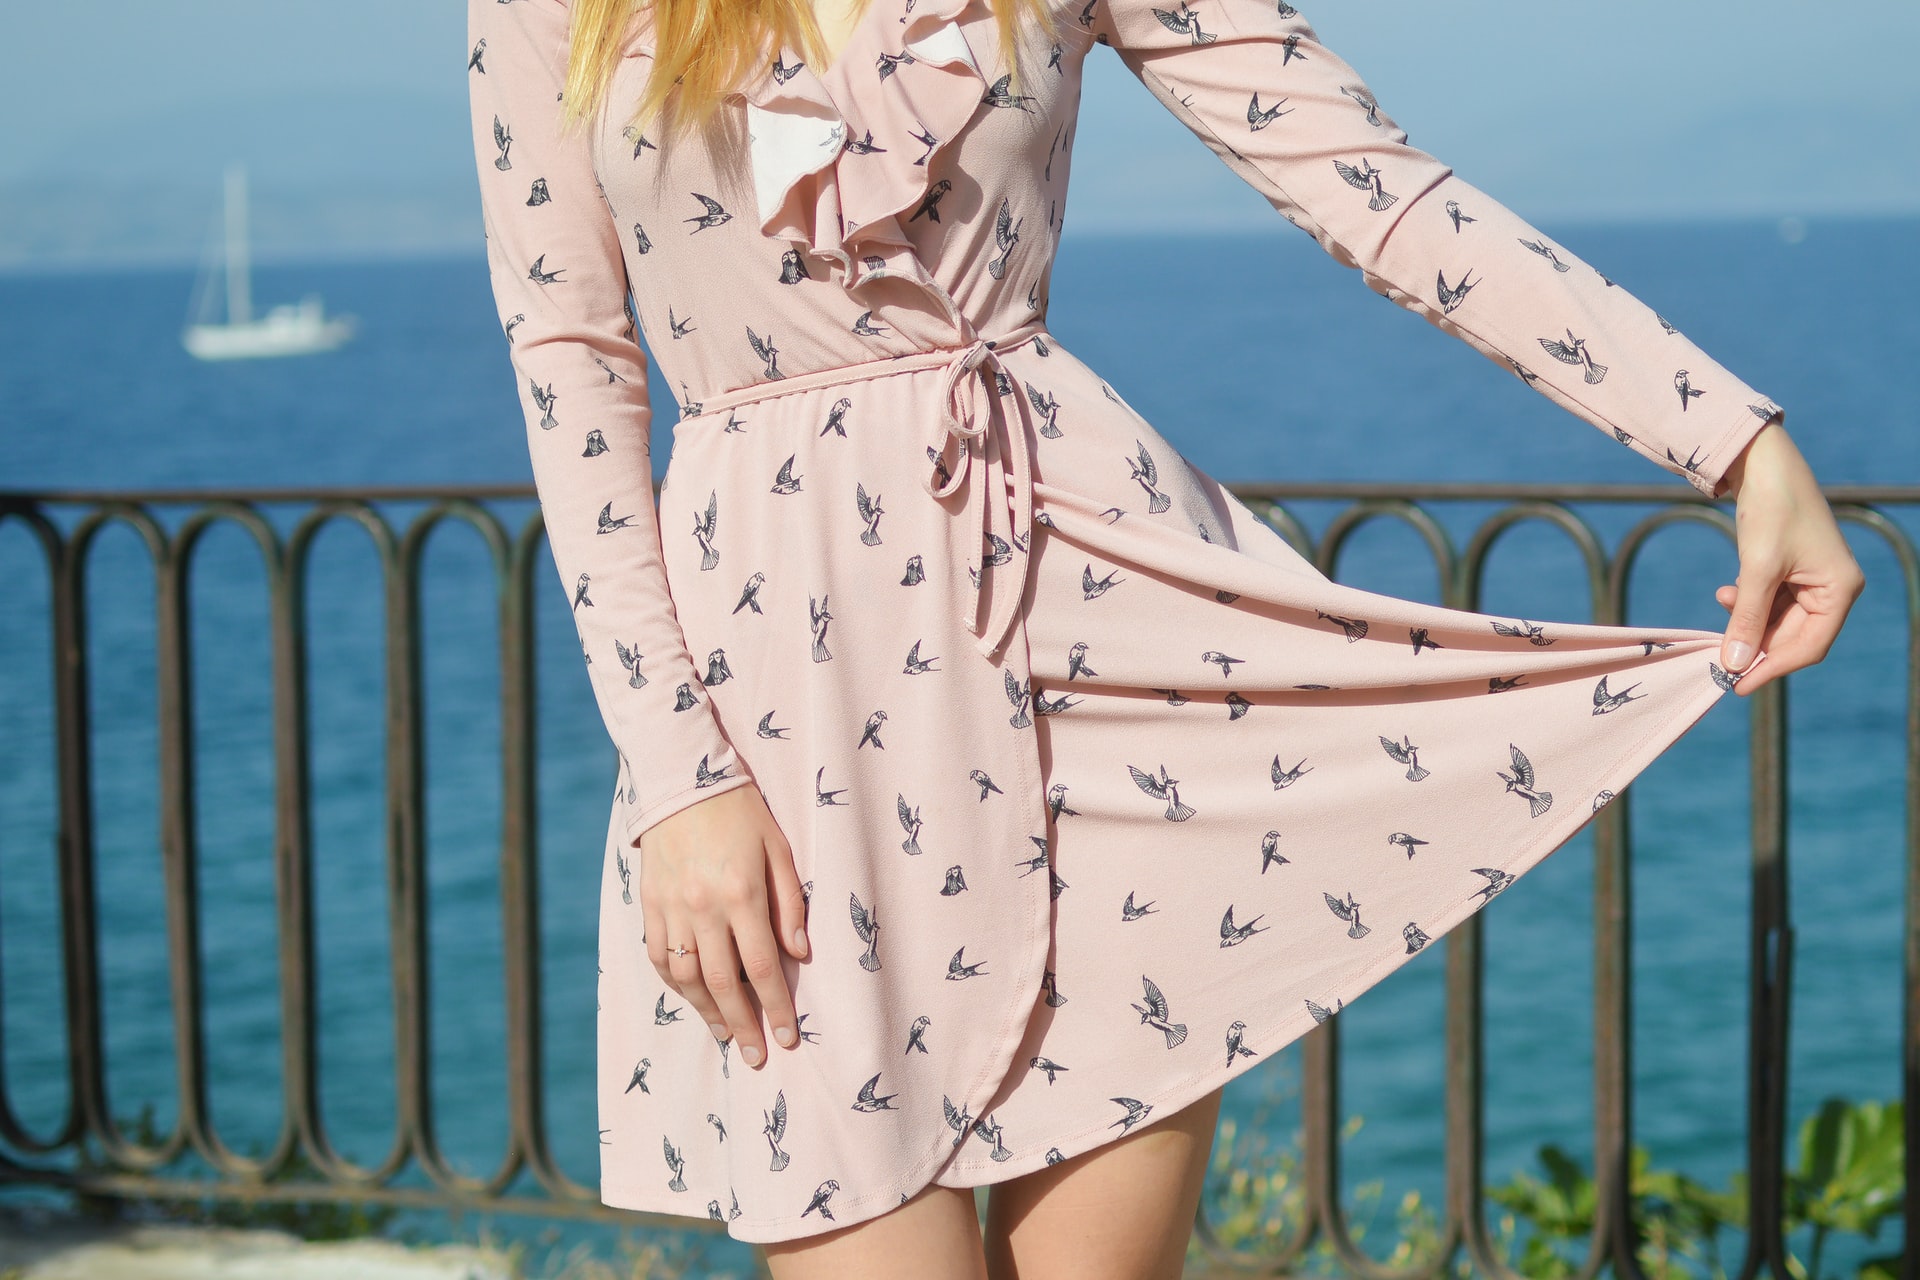
The dress is beautifully captured, but it runs the risk of being overshadowed by the stunning backdrop. To avoid this you can opt for a neutral background. All you have to do is:
Hop on over to Designify.
Drag and drop your photo(s) onto the tool.
You’ll now have various options to choose from: the tool has removed your background, and you can select an automated background design to go with the picture of your piece of clothing.
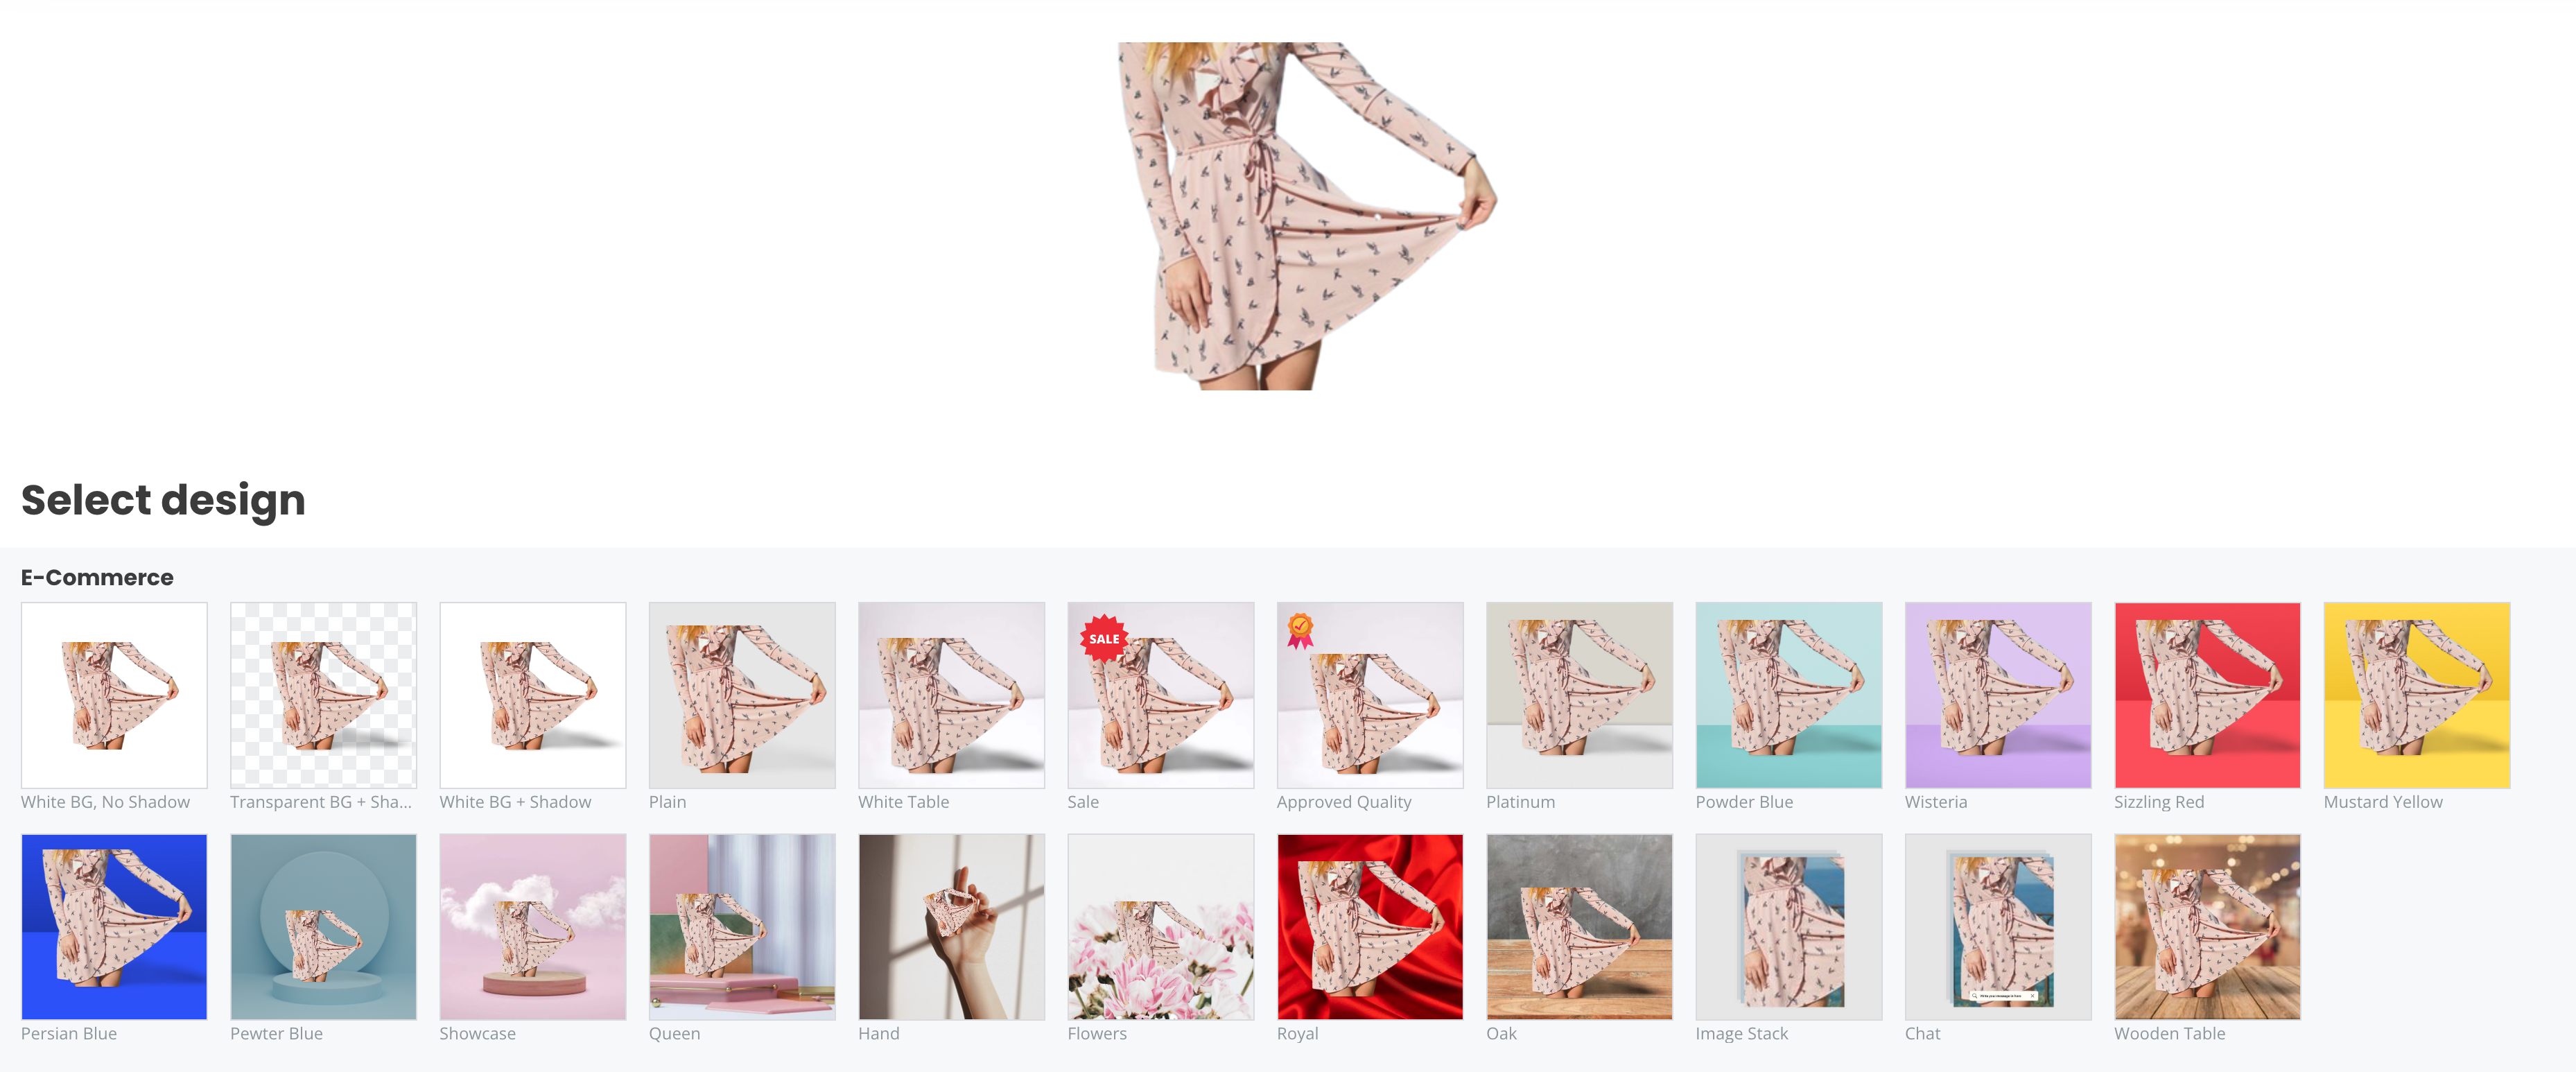
You can edit the background by clicking on your preferred design > Edit.
You can also add further elements - like logos or sale stickers - to your photo and position them wherever you prefer.
Then, once you are done, just save and download your design.
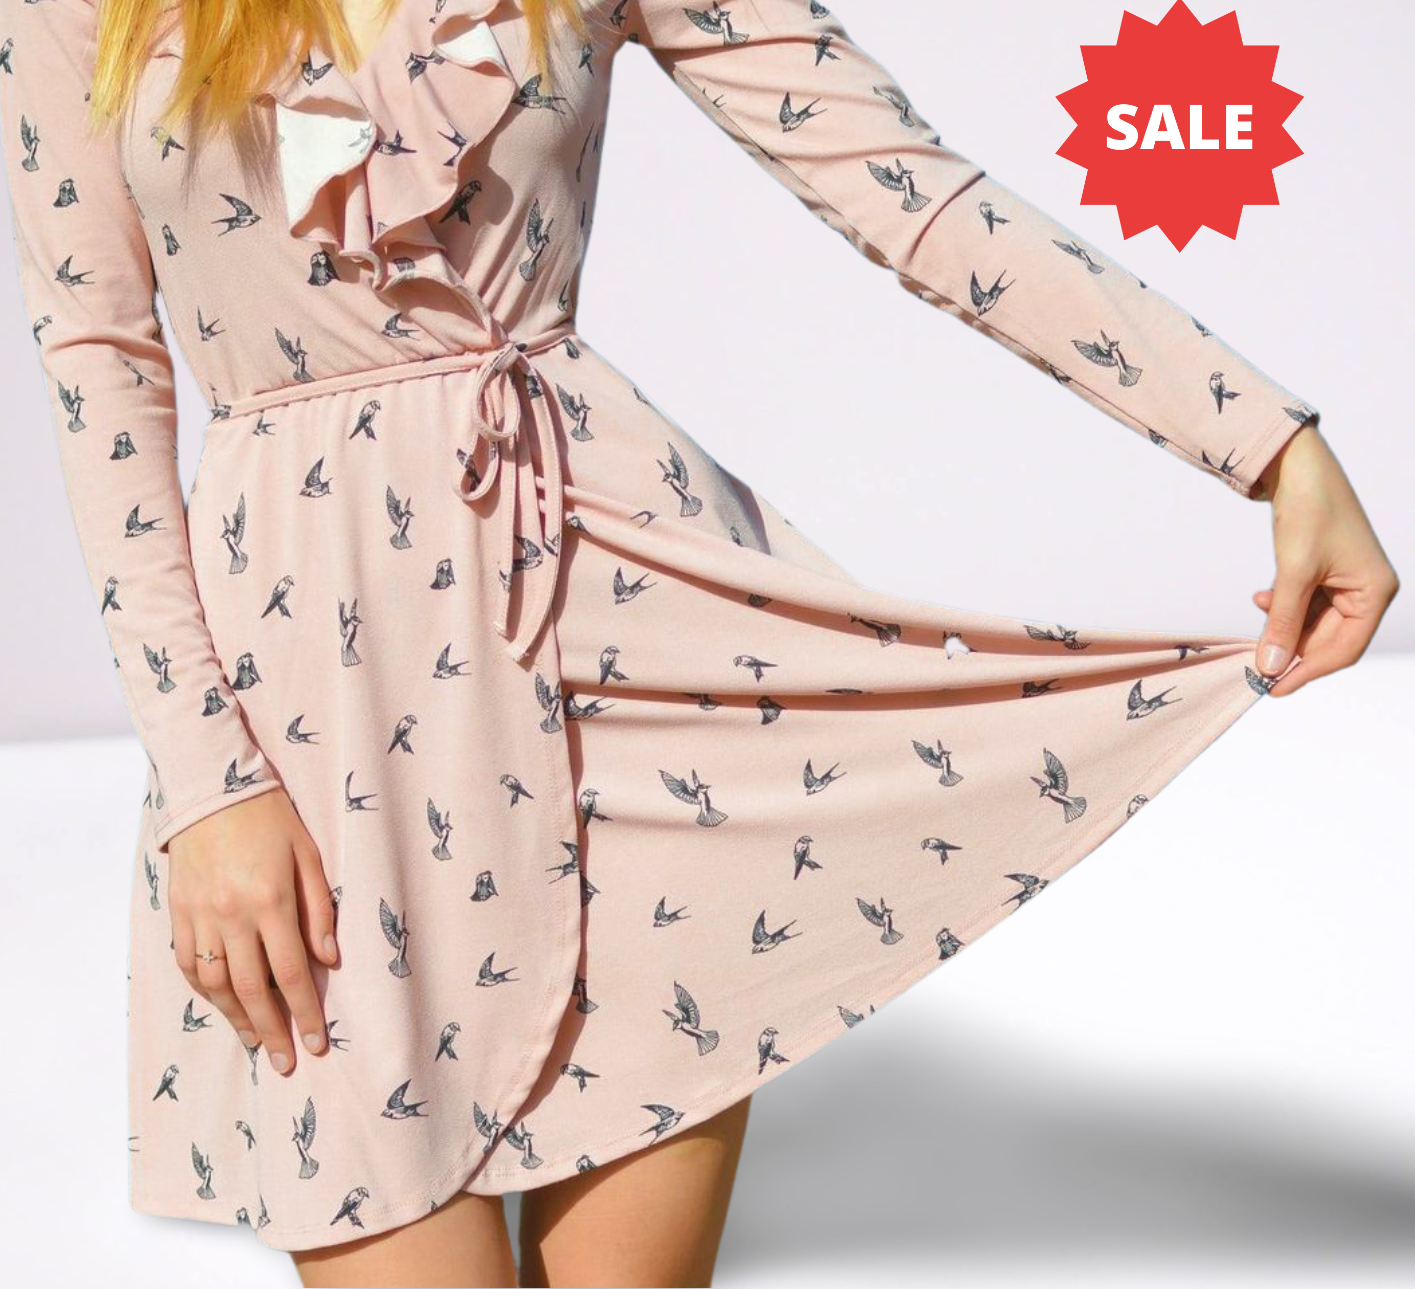
If you have several photos of clothes you want to edit in a batch, simply go ahead and click on > Batch Edit, and the tool will process all of your photos with the same background and elements. This will cut your editing down from hours or days to minutes.
Read more about automating product photo editing on Designify.
5. Fix the lighting
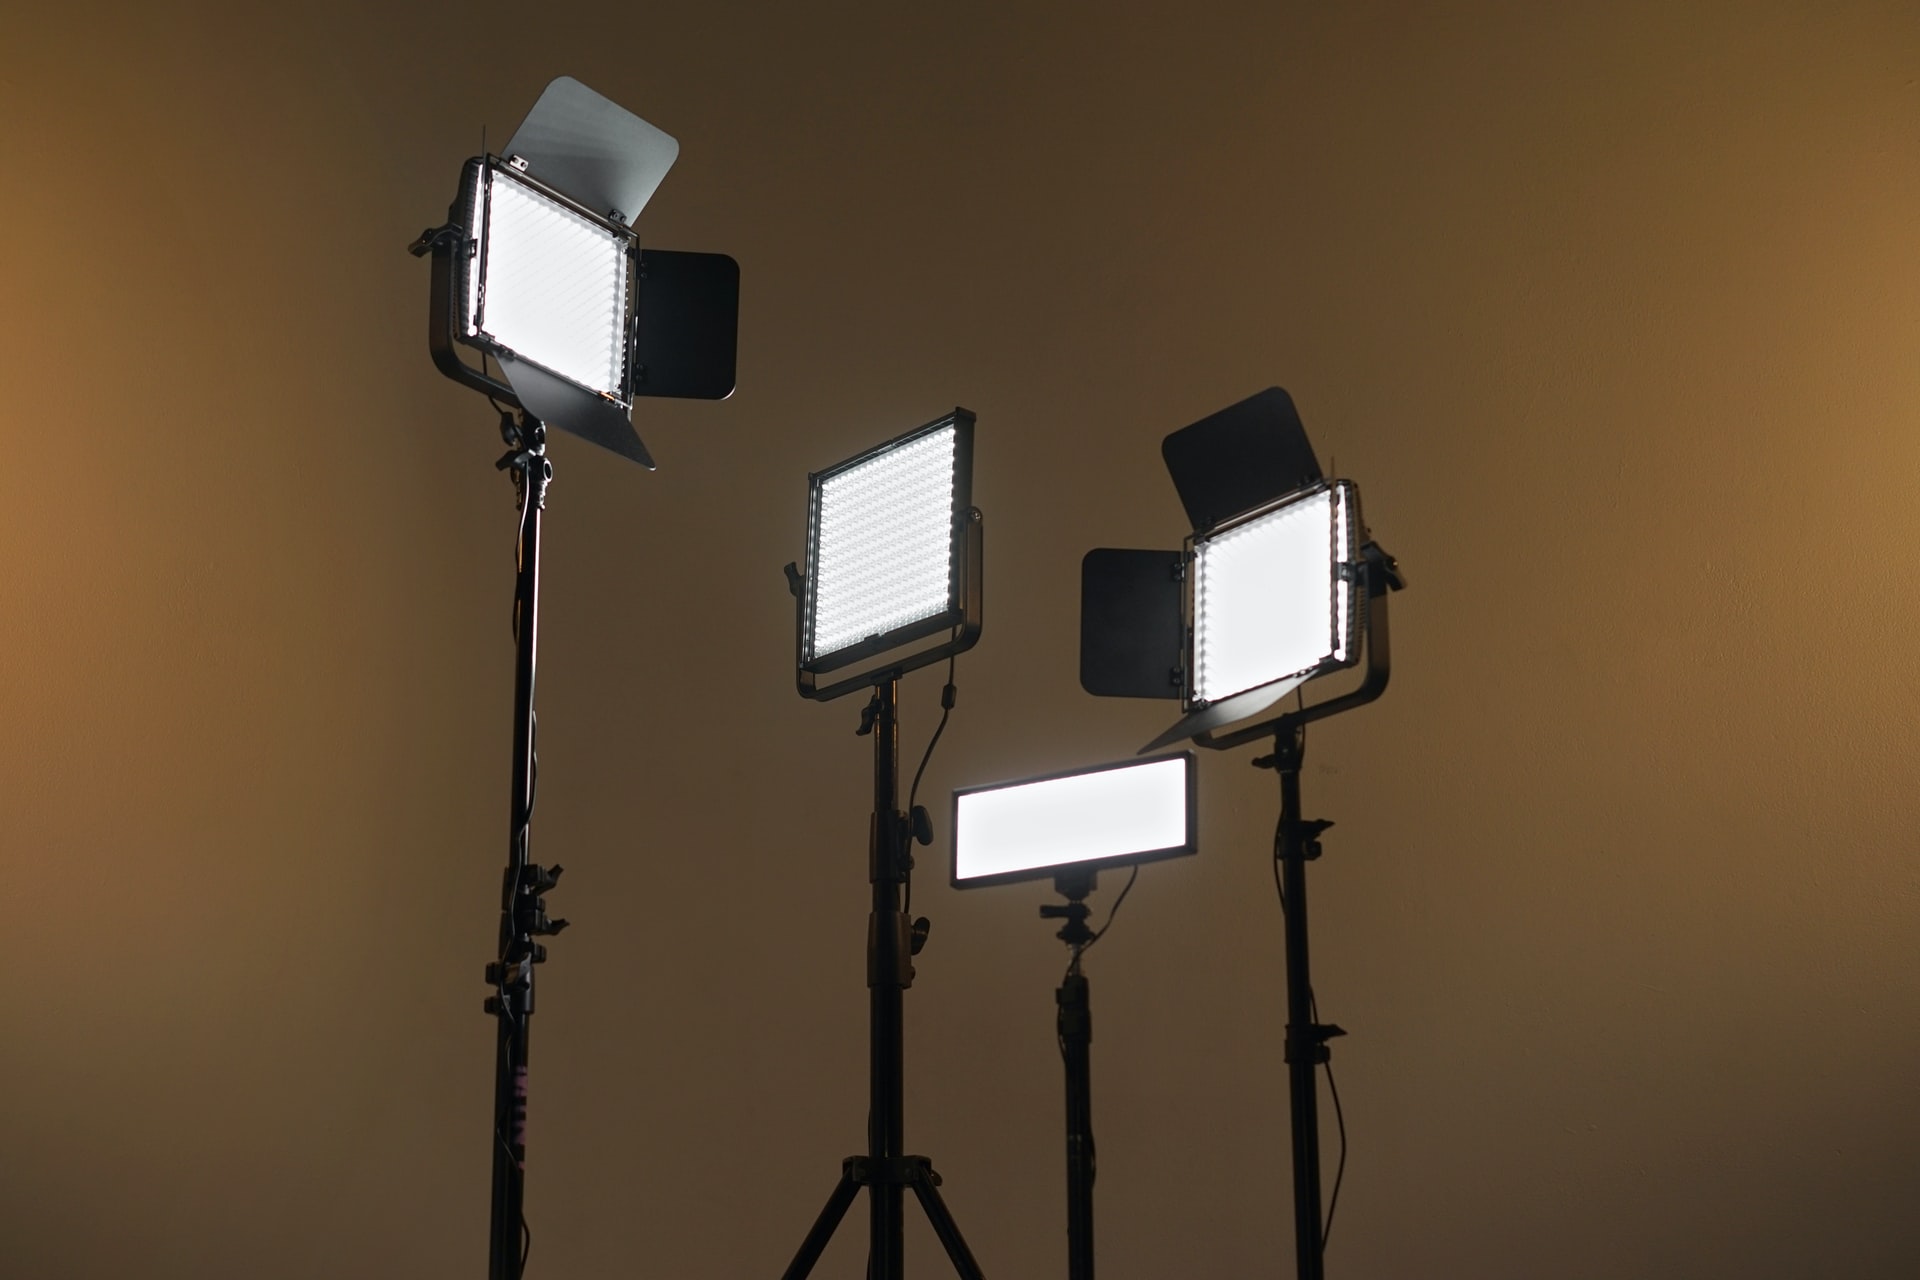
When it comes to photography, lighting truly is everything. The type of lighting you choose again depends on your budget and available space. In general, there are two types of lighting:
Natural lighting
Staged lighting
Natural lighting is just using daylight without interference. The great thing about natural light is, of course, that a) it’s free and b) it looks natural and authentic. The not-so-good thing about this lighting is that it changes throughout the day, and it is hard to replicate, so it can be a challenge to keep photos consistent as you scale.
Staged or so-called studio lighting will cost you a bit to get set up — but you will have it for a long time. Having lighting will allow you to control the lighting a lot more and set up a similar scenario over and over again.
We don’t really recommend mixing the two — artificial/staged lighting & natural lighting. However, you can use a reflector to bounce backlight onto the item or person when you’re using natural lighting to control it to a certain extent.
6. Take a picture of the label
Once you’ve taken pictures of all of your clothes and are ready to upload them to sell on eBay, Depop, Shpock, or your own eCommerce store, be sure to take a pic of the label. It will help you look up any details online, write the description, and speed up the process of uploading them. Also, having the item number at hand will make finding the original price and description a heck of a lot easier.
That’s it on how to take amazing photos of clothes to sell online. Whether you’re just looking to pop them on eBay or Depop or set up your own eCommerce store, these are bound to get you to the finish line. If your eCommerce store is not only dedicated to clothes, you can read our article on how to edit product photos for some extra tips.
Want to give shooting your pic at home and batch editing the background a try? Try out Designify — see you there.
Bình luận