Got a closet overflowing with clothes and not sure what to do with them? Or maybe an outfit or two still with a tag on that’s not your size or style? You could give online shopping platforms like Vinted and Depop a whirl and try selling them instead. Here’s a simple guide on how to take some great clothing shots and jumpstart your sales.
目录
- How great clothing shots drive great sales
- Tips and tricks for taking pictures of your clothes to sell online
- Getting your clothing photos ready for Vinted — with Designify
- Tips & best practices for how to get selling on Vinted
- Best practices for selling your clothing online — no matter the platform
- Declutter that closet and get selling online — with killer clothing shots
How great clothing shots drive great sales
Reselling your second-hand clothing online helps you declutter, is great for the environment, and it’s also a smart way to earn a ton of money — even up to six figures. You can begin by setting up an online store or a seller account on Vinted, Depop, or both in under a minute — but what’s going to guarantee you’ll make a sale? Simple: great shots of your clothes.
Your buyers are more likely to be convinced that you’re selling high-quality products if you’ve uploaded high-quality photos. So here’s what smart online sellers like you should do: take your clothing shots first and then set up an online seller account. This means that once you’ve created your account, you can upload your photos in minutes and get to selling in no time.
Tips and tricks for taking pictures of your clothes to sell online
We’ve covered how to take good pictures of clothes to sell in greater detail before, but here’s everything in a nutshell before you get snapping:
Make sure your clothing is clean and well-pressed before photographing. This means no wrinkles, stains, lint, or threads.
Don’t worry if you don’t have an expensive DSLR — a regular smartphone works just fine.
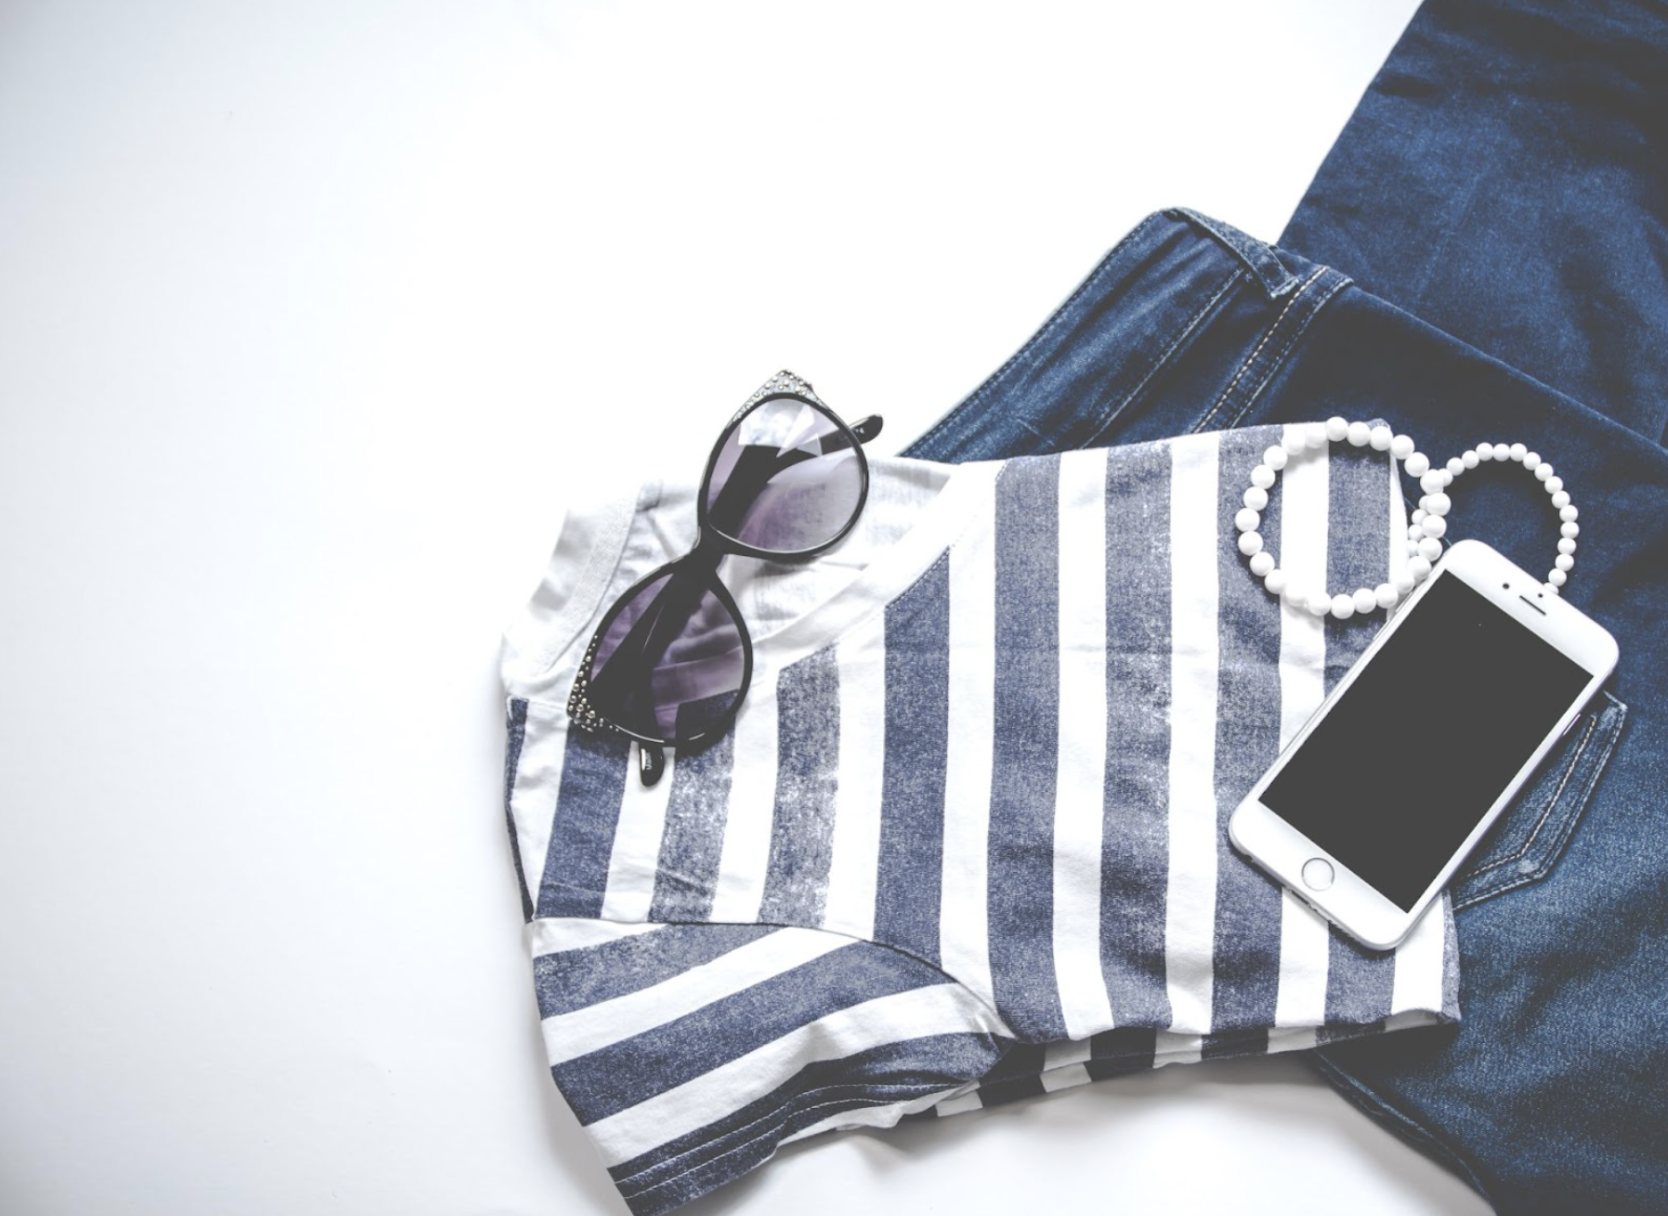
Pick a shooting style that works with your environment — whether that’s flat lay:
Or on a model (and preferably not a mannequin). Seeing how your clothes look on another person helps your buyers make a purchase quicker:

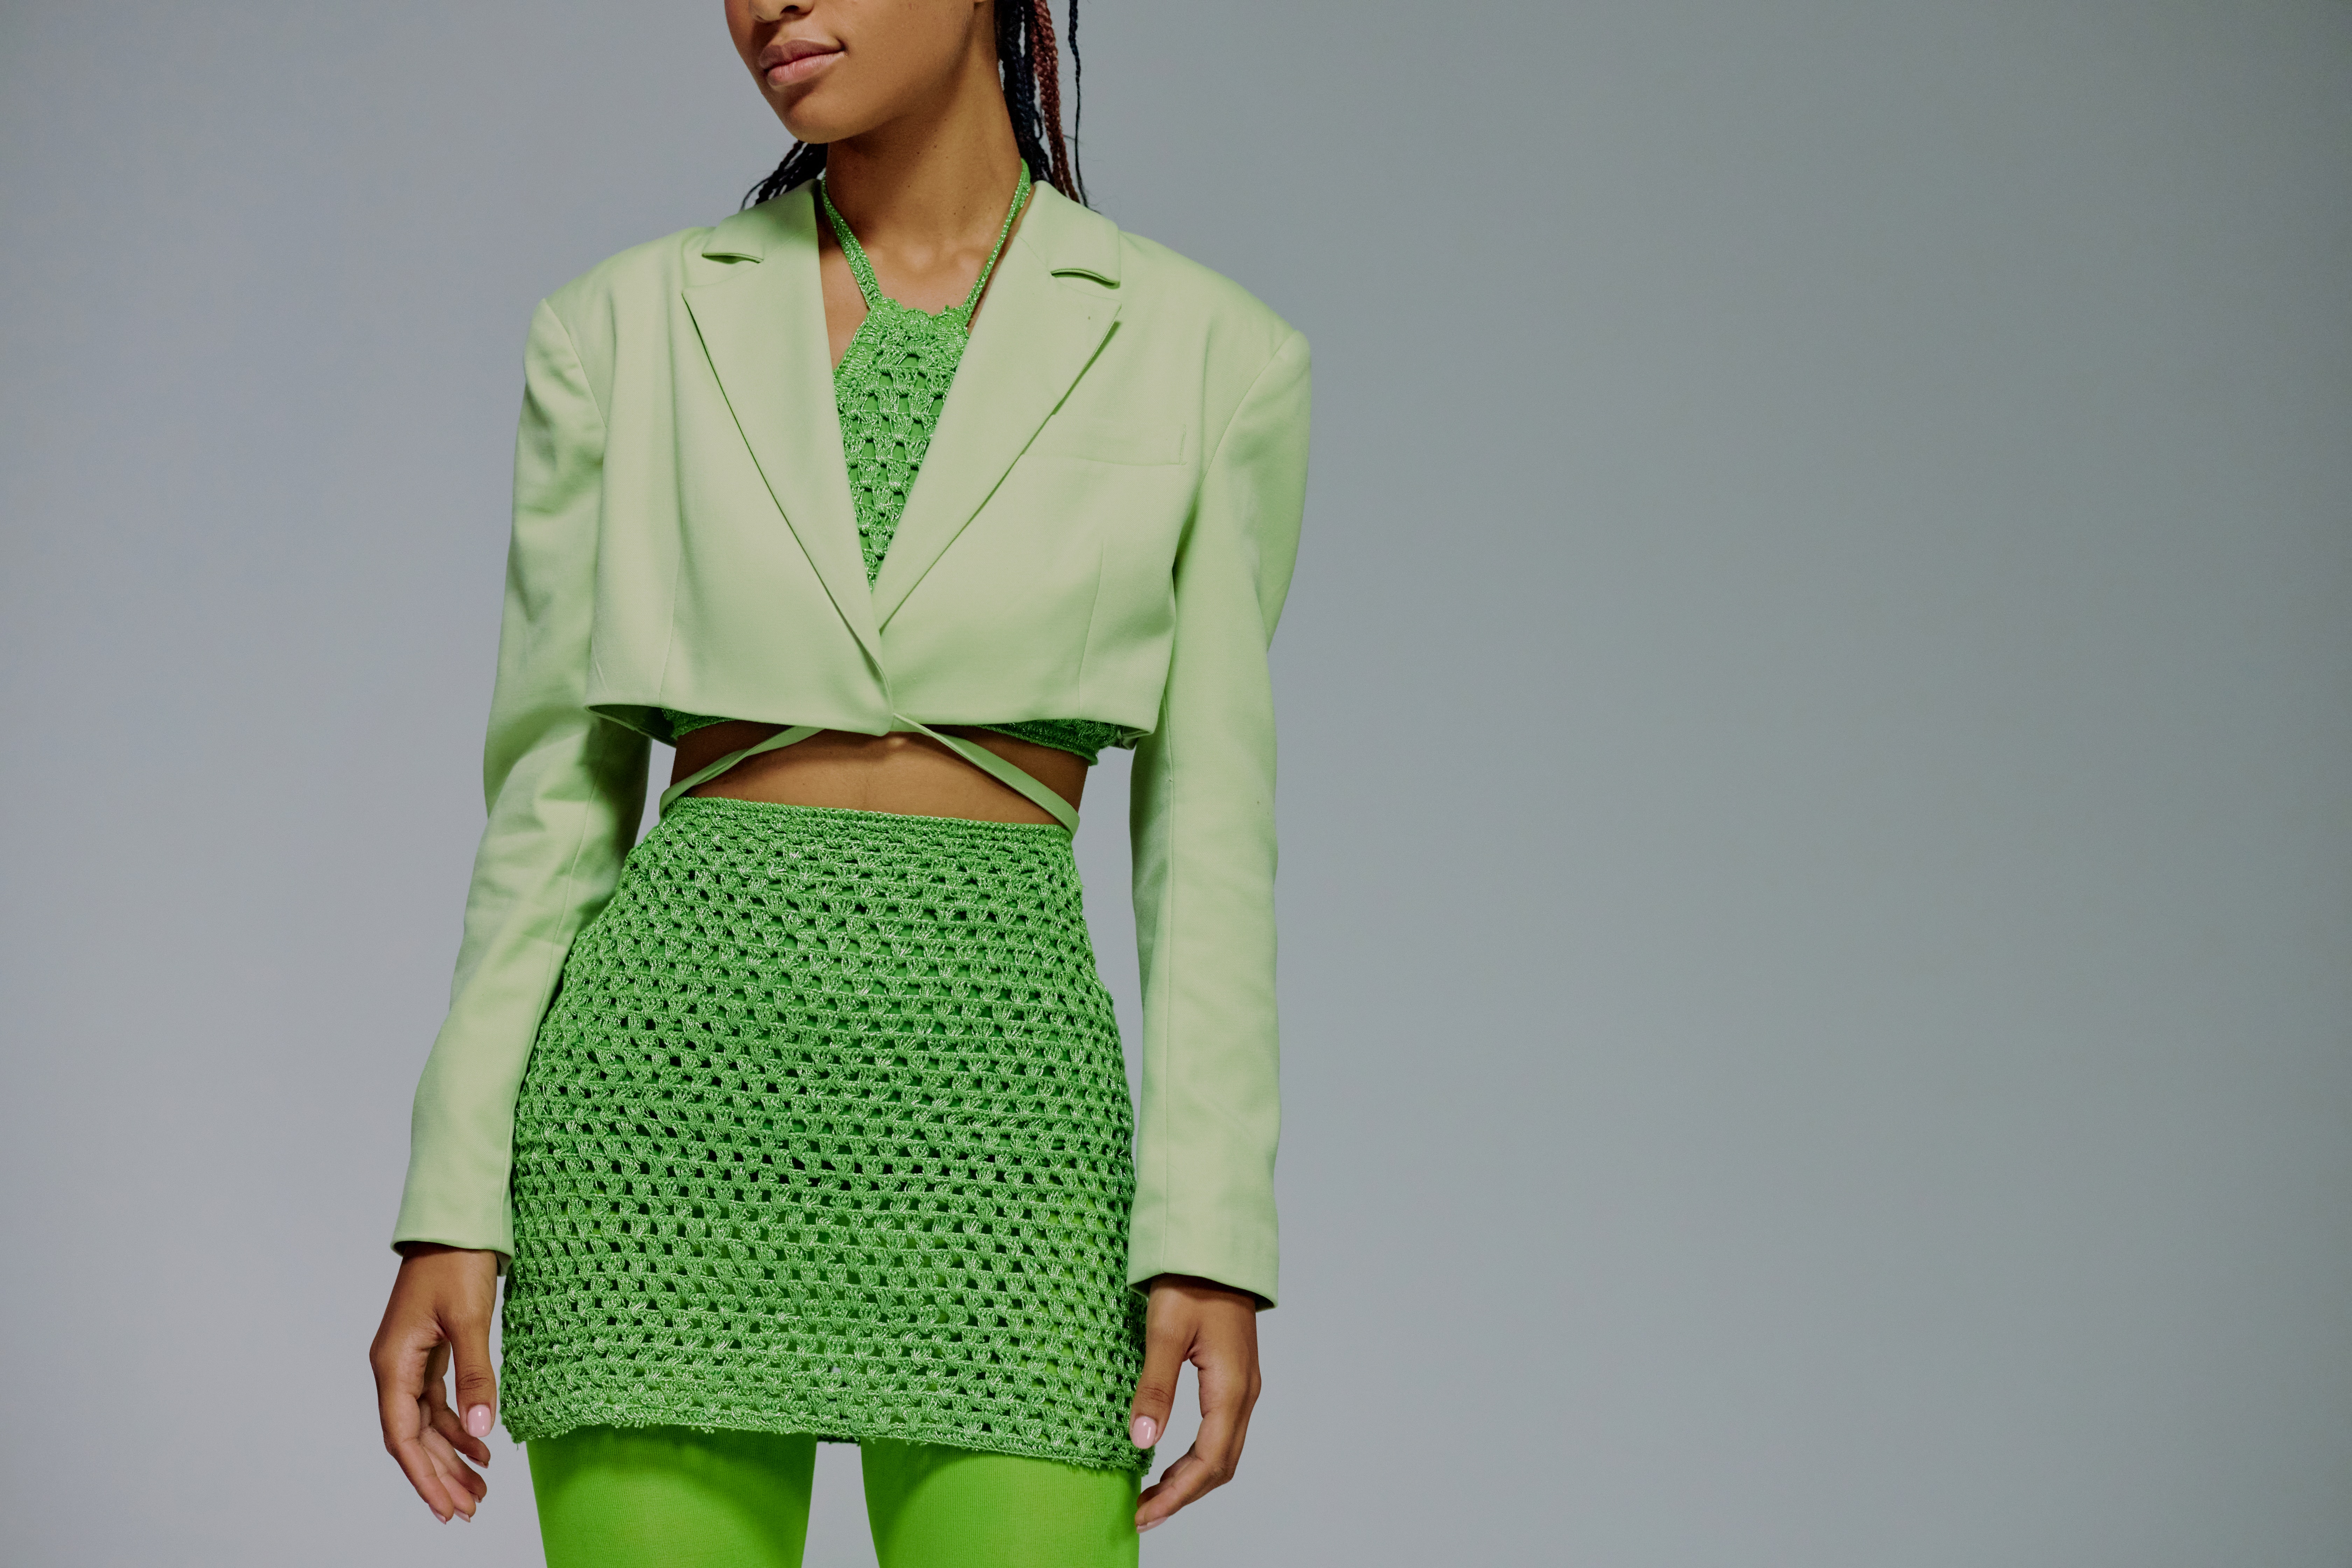
An anonymous shot like this works fine, too, if you want to maintain some privacy. Just make sure it’s clear what piece of clothing you’re trying to sell:
Or, if you’re pressed for time, even a simple hanging shot like this:
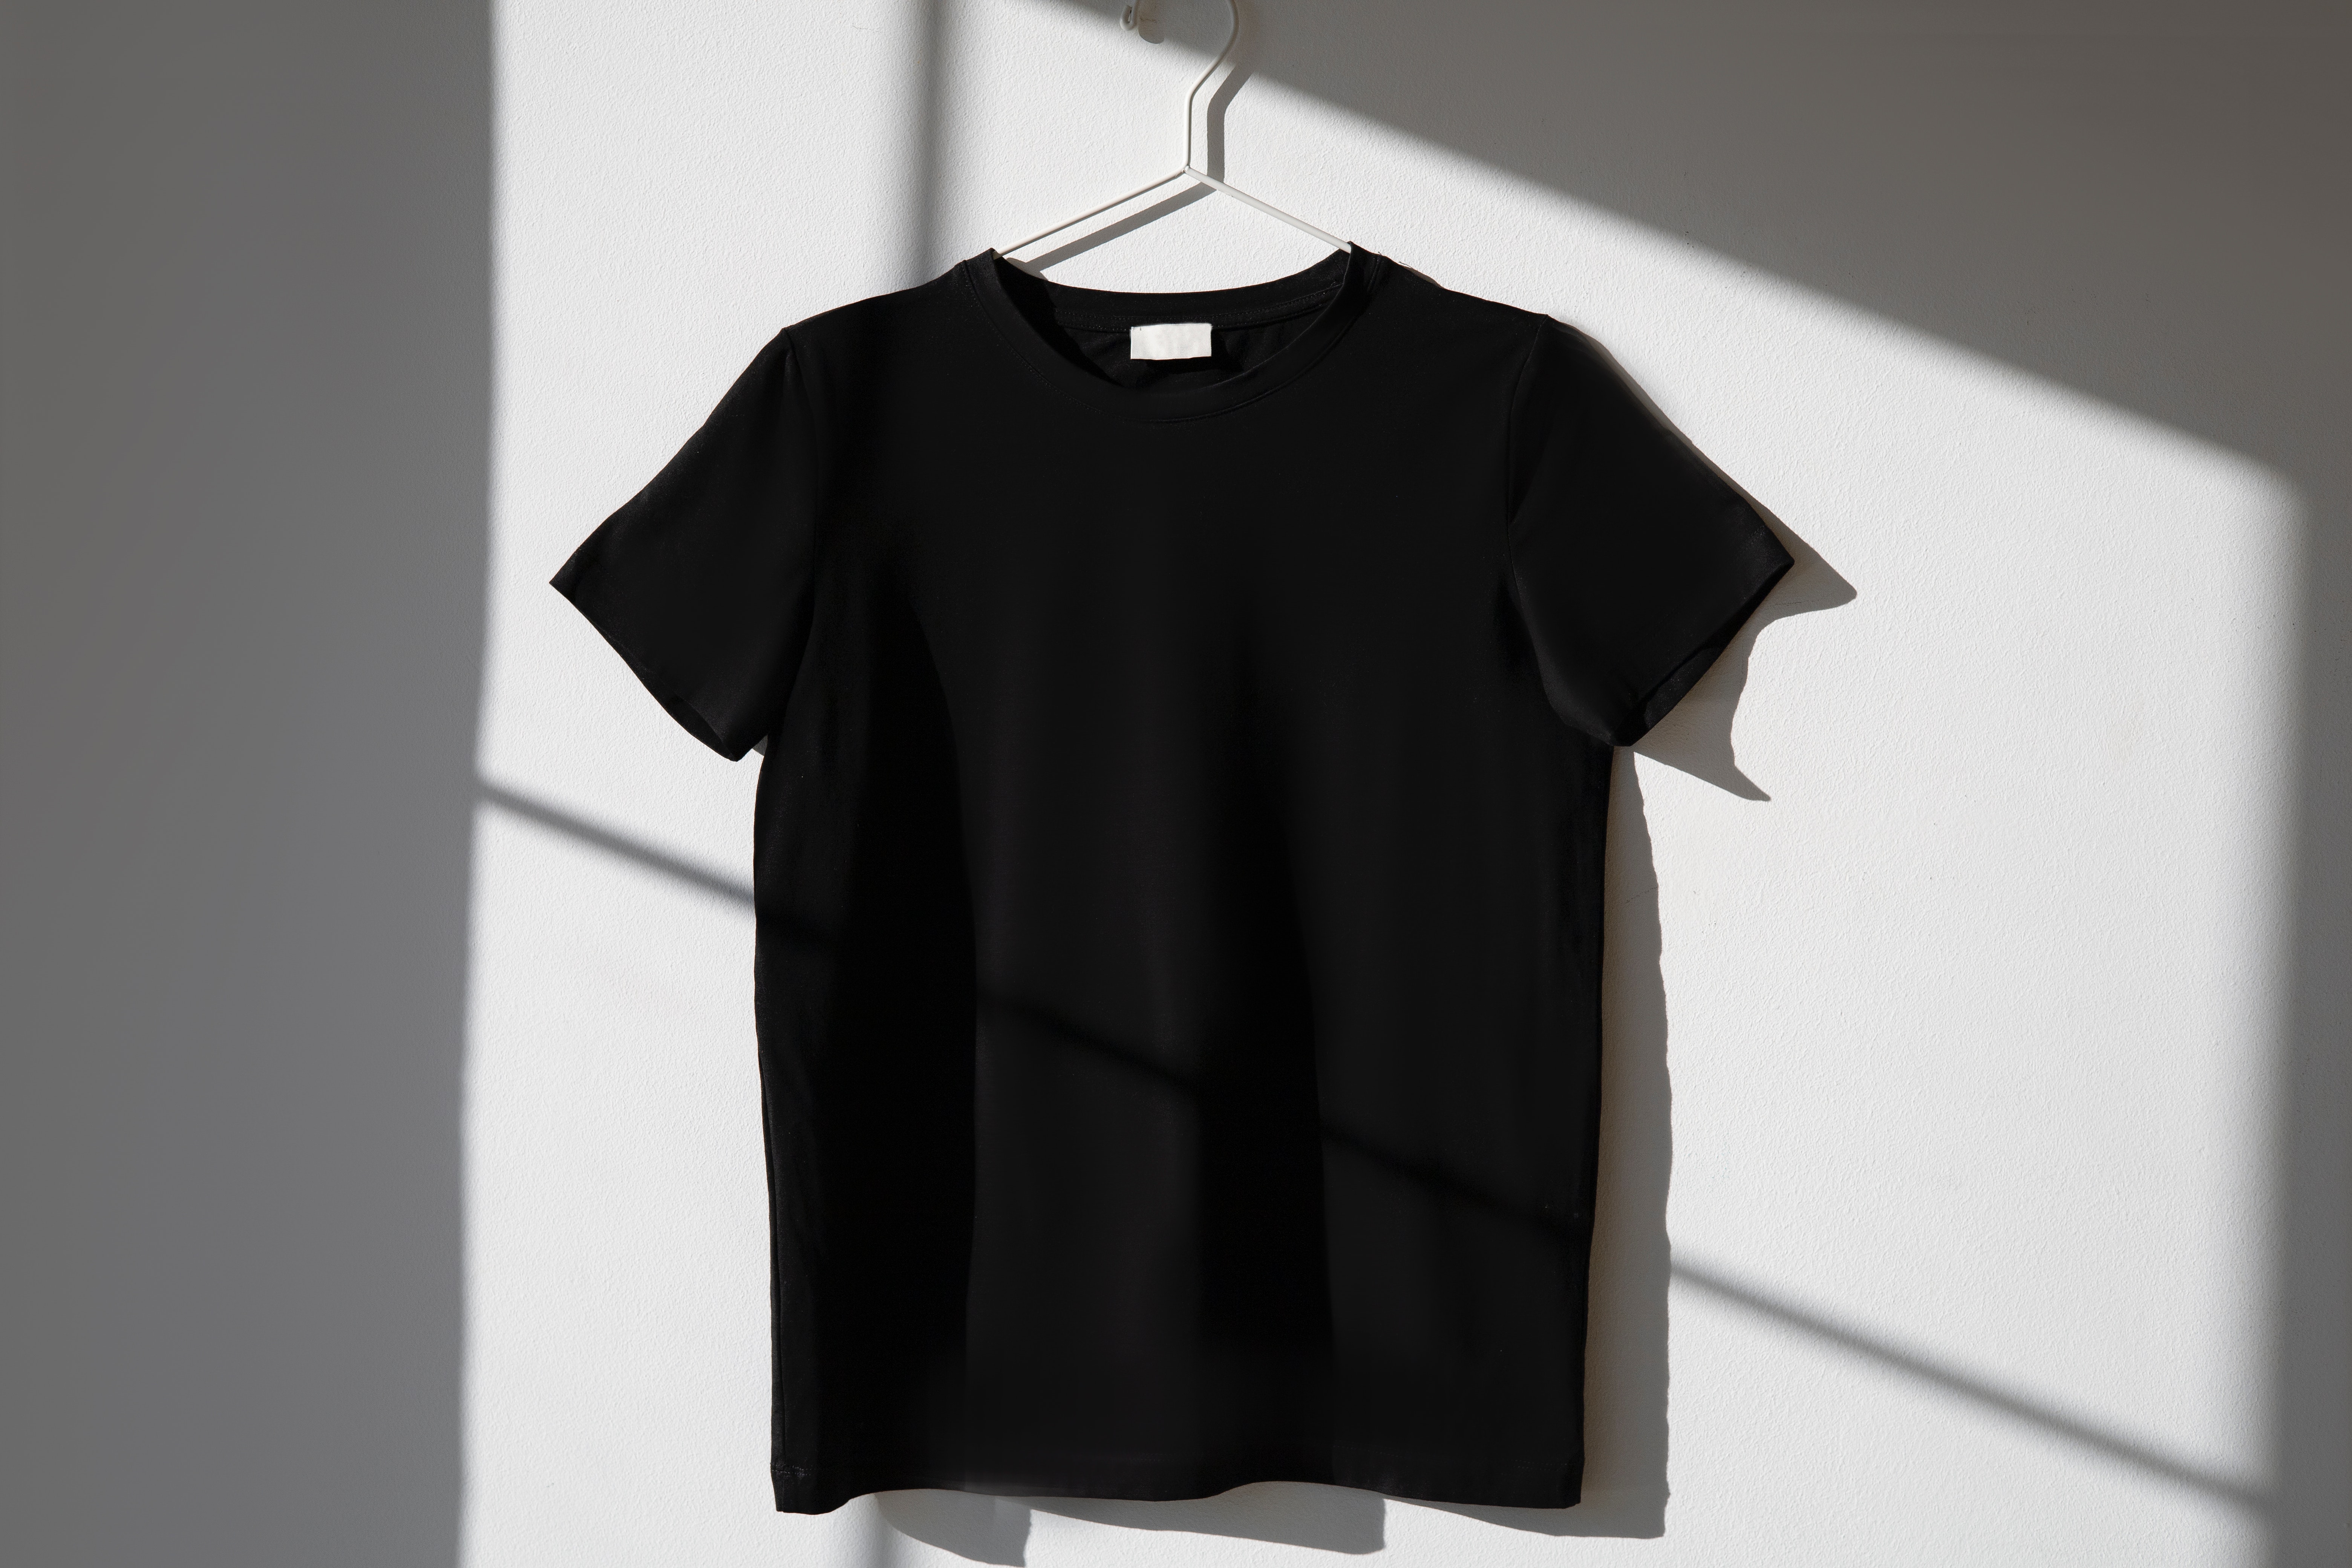
In case you’re selling clothing from a well-known brand, you’ll need to verify that it’s an authentic piece. Make sure you check out Vinted’s requirements for taking proper photos and getting your item details just right.
And now, for the most important step of all: make sure your clothing photos have a plain, neutral, or standard background. Here’s an example with a transparent background you’ll find most commonly on e-commerce and online shopping platforms:
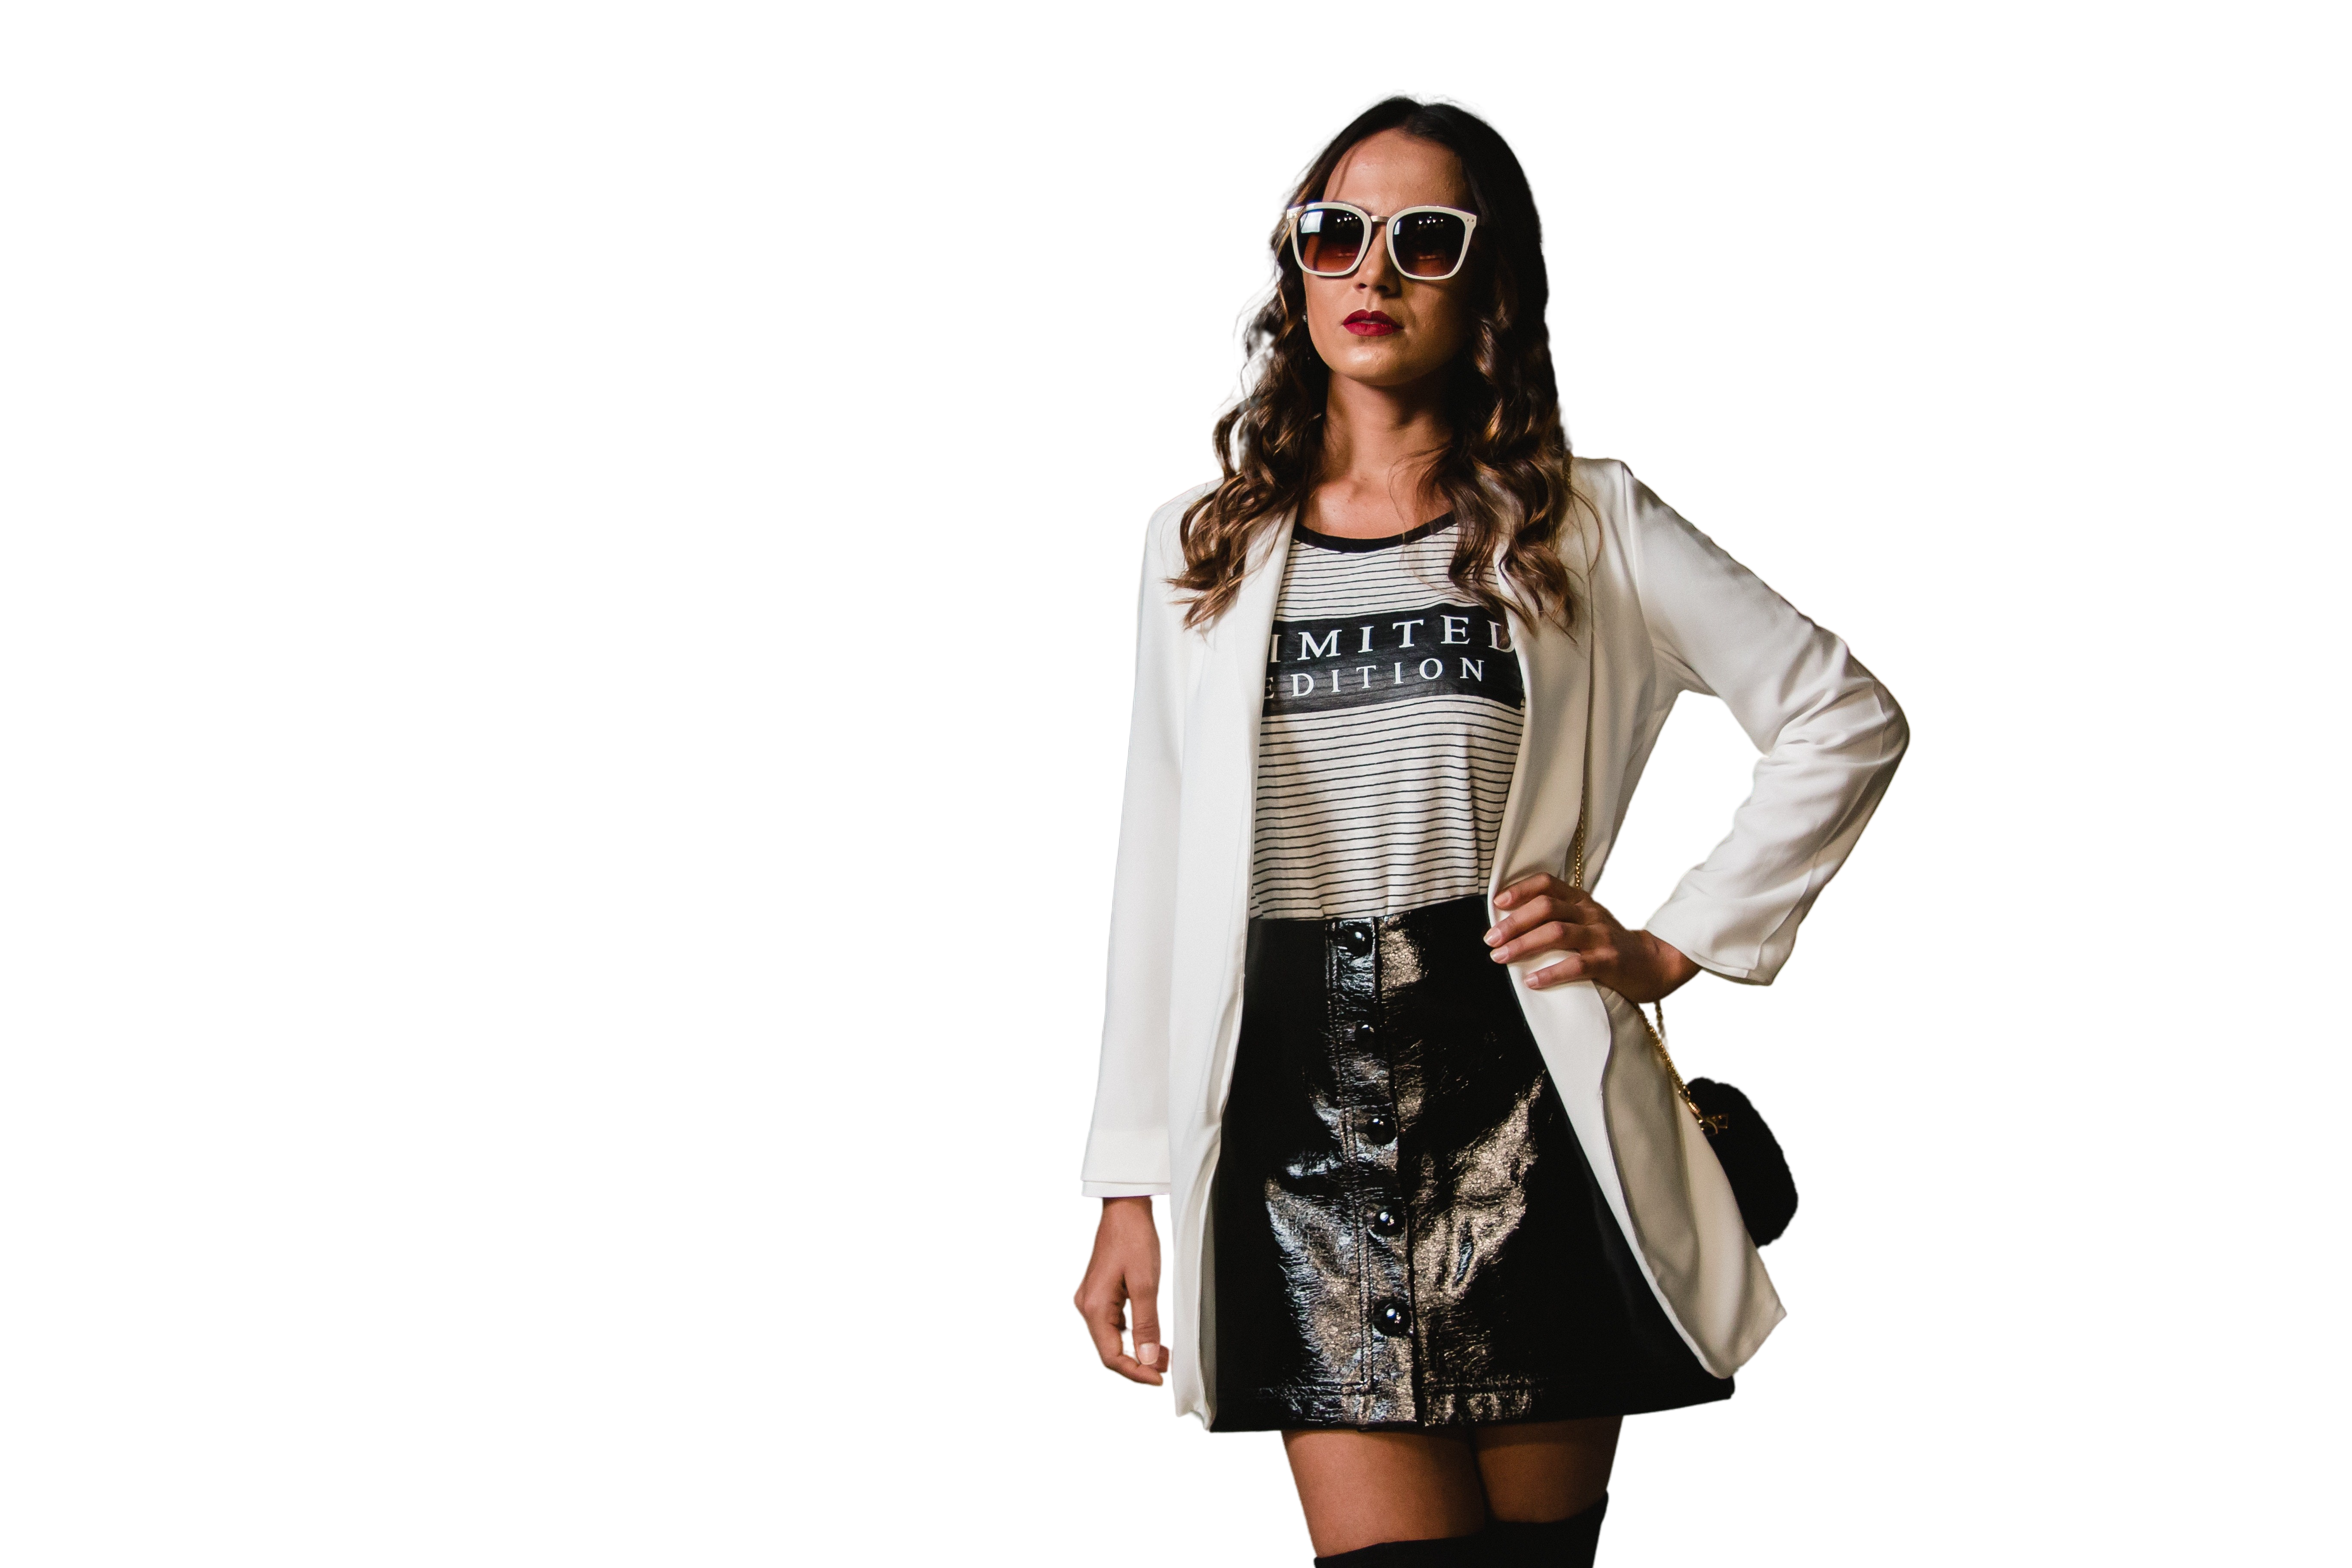
Compared to the original:
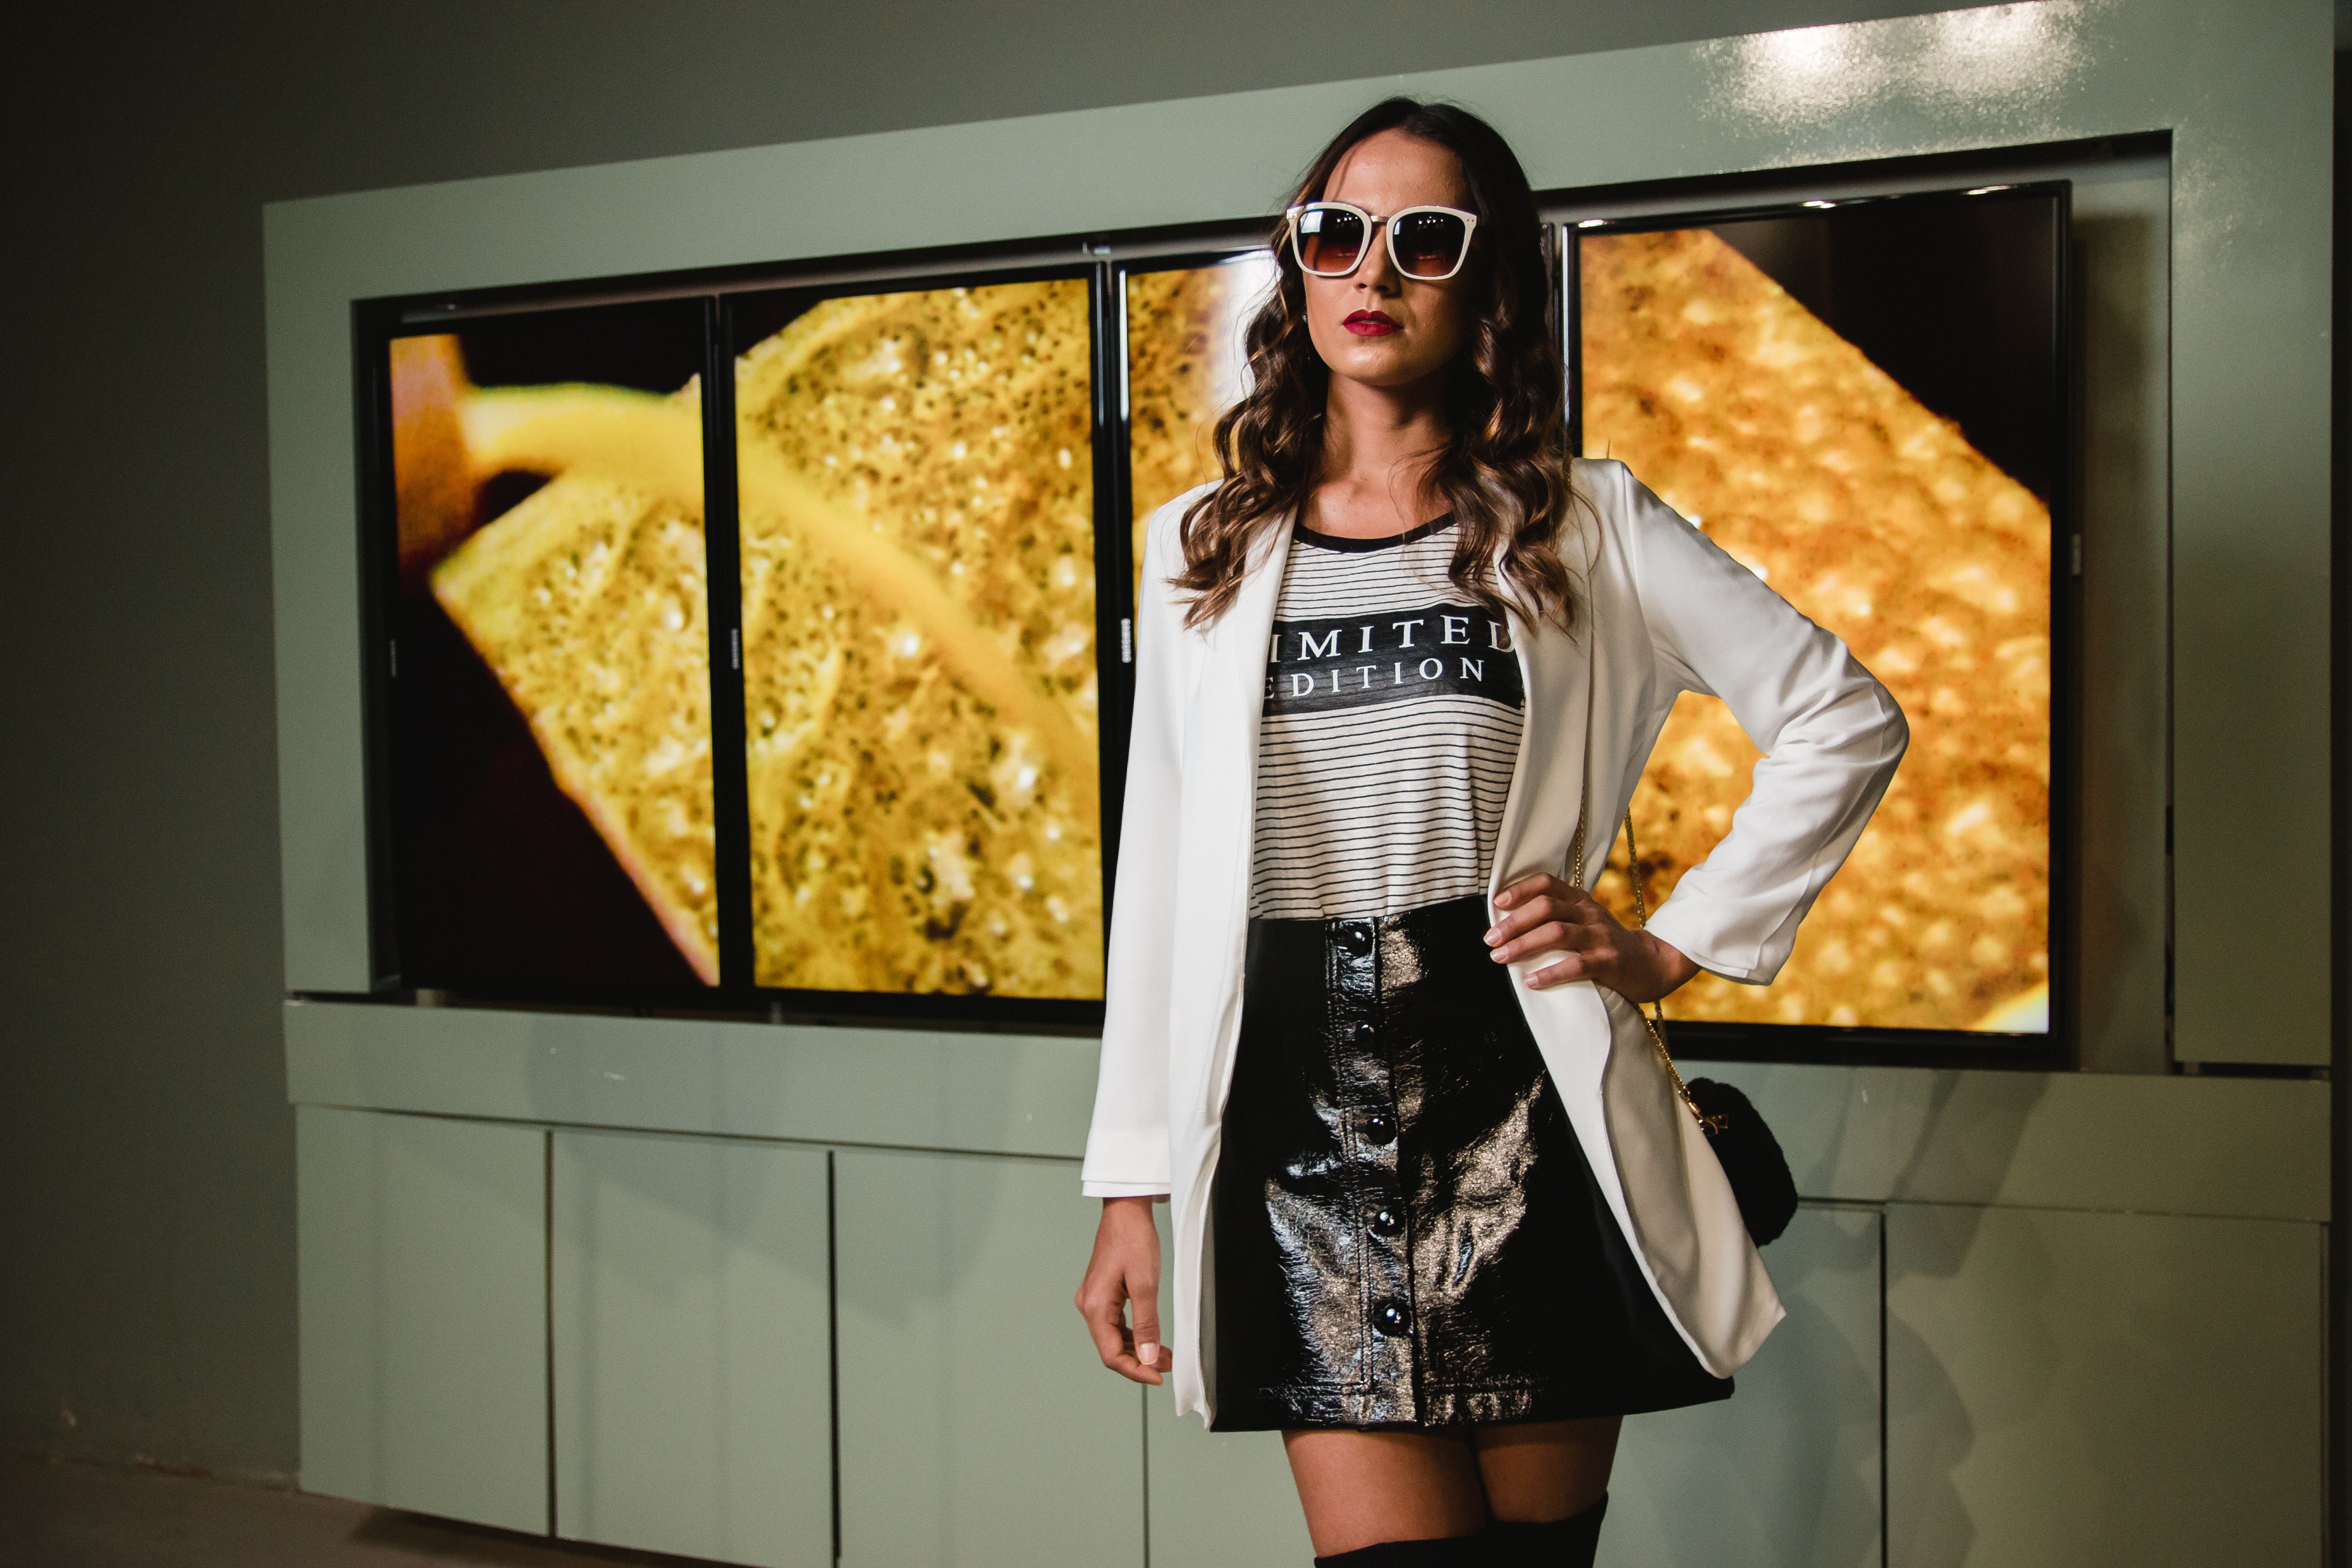
Cute outfit, right? But this is why it’s a good idea to pick a background that doesn’t distract from what clothing you’re trying to sell.
You could add a plain or neutral backdrop to your clothing photos at a professional photo studio or with Photoshop. But the better option that saves you time, money, and effort is a free and simple online tool like Designify.
Getting your clothing photos ready for Vinted — with Designify
Whether it’s just one piece of clothing or a whole bunch, Designify has got you covered. With just a few clicks, you can quickly add a plain or neutral background to your clothing photos, save them to your device, and get to selling in no time. Here’s how:
1. Head to Designify and drag and drop (or upload) your photo:

2. And there you go — Designify removes your image background with just a single click:
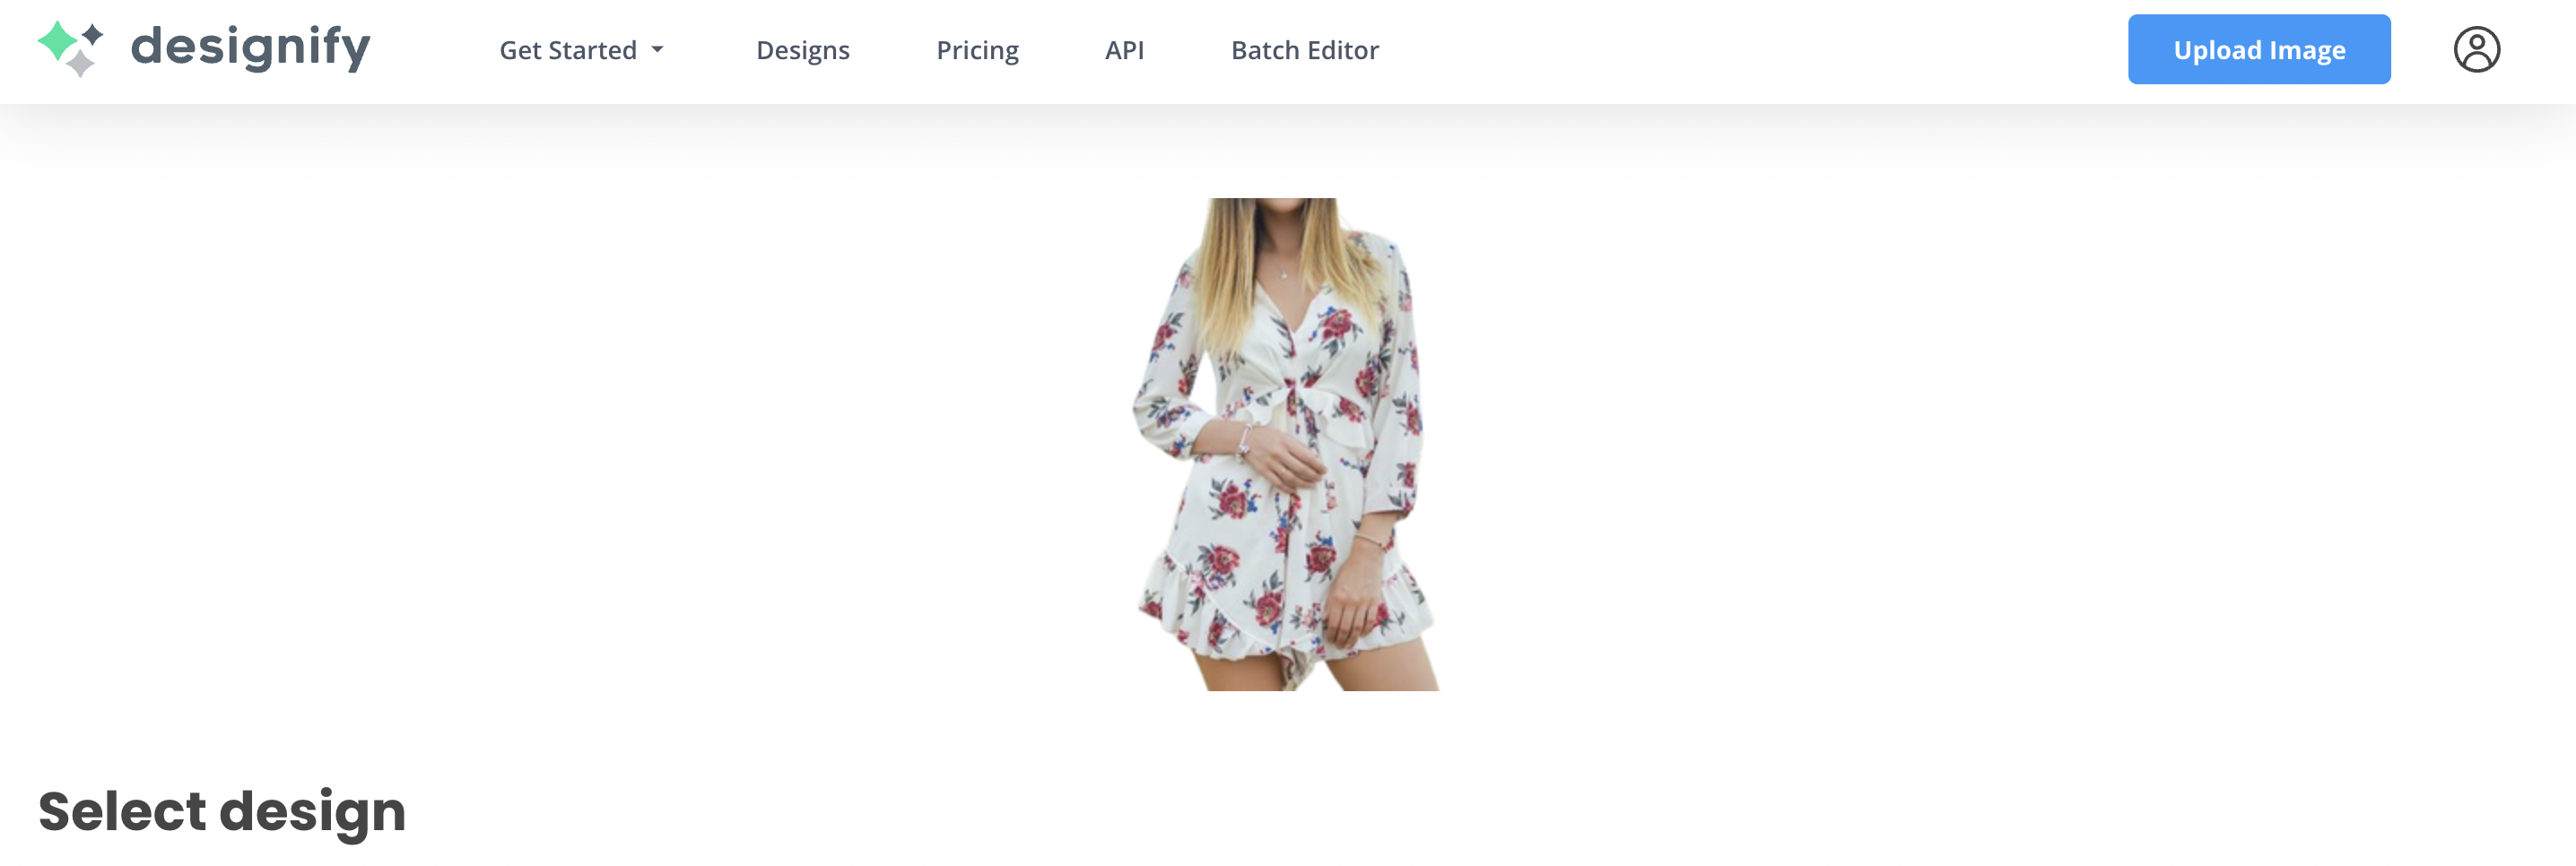
If you scroll down, you can explore Designify’s range of backgrounds — including those specifically for e-commerce stores. These include sales stickers and other elements.
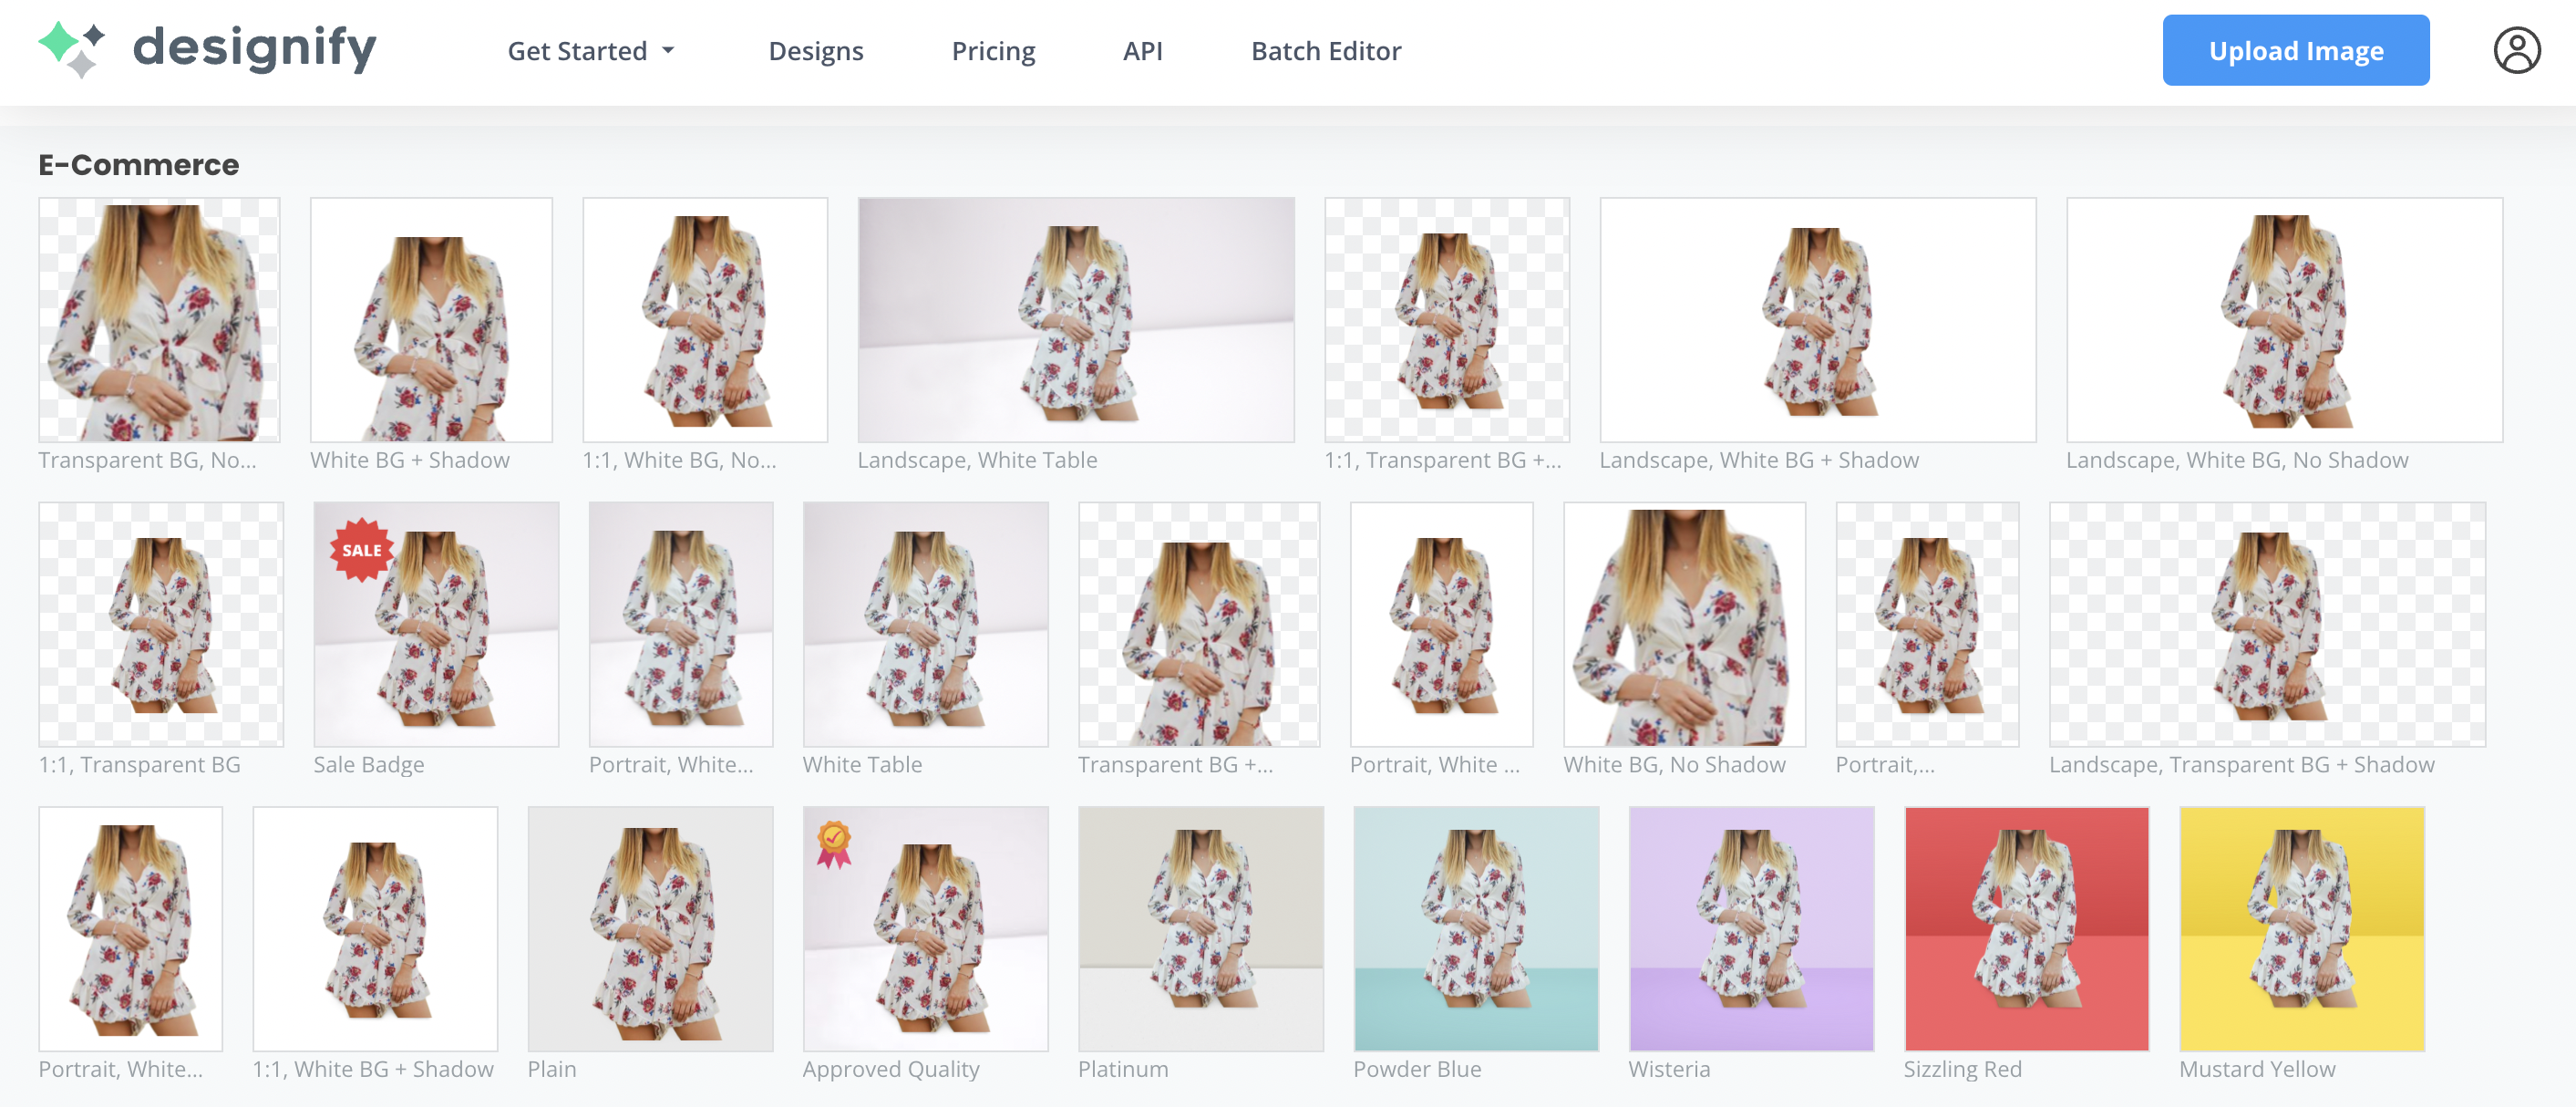
3. Once you’re happy with your new image, go ahead and click > Download. Here’s an example with Designify’s Sale Badge background:
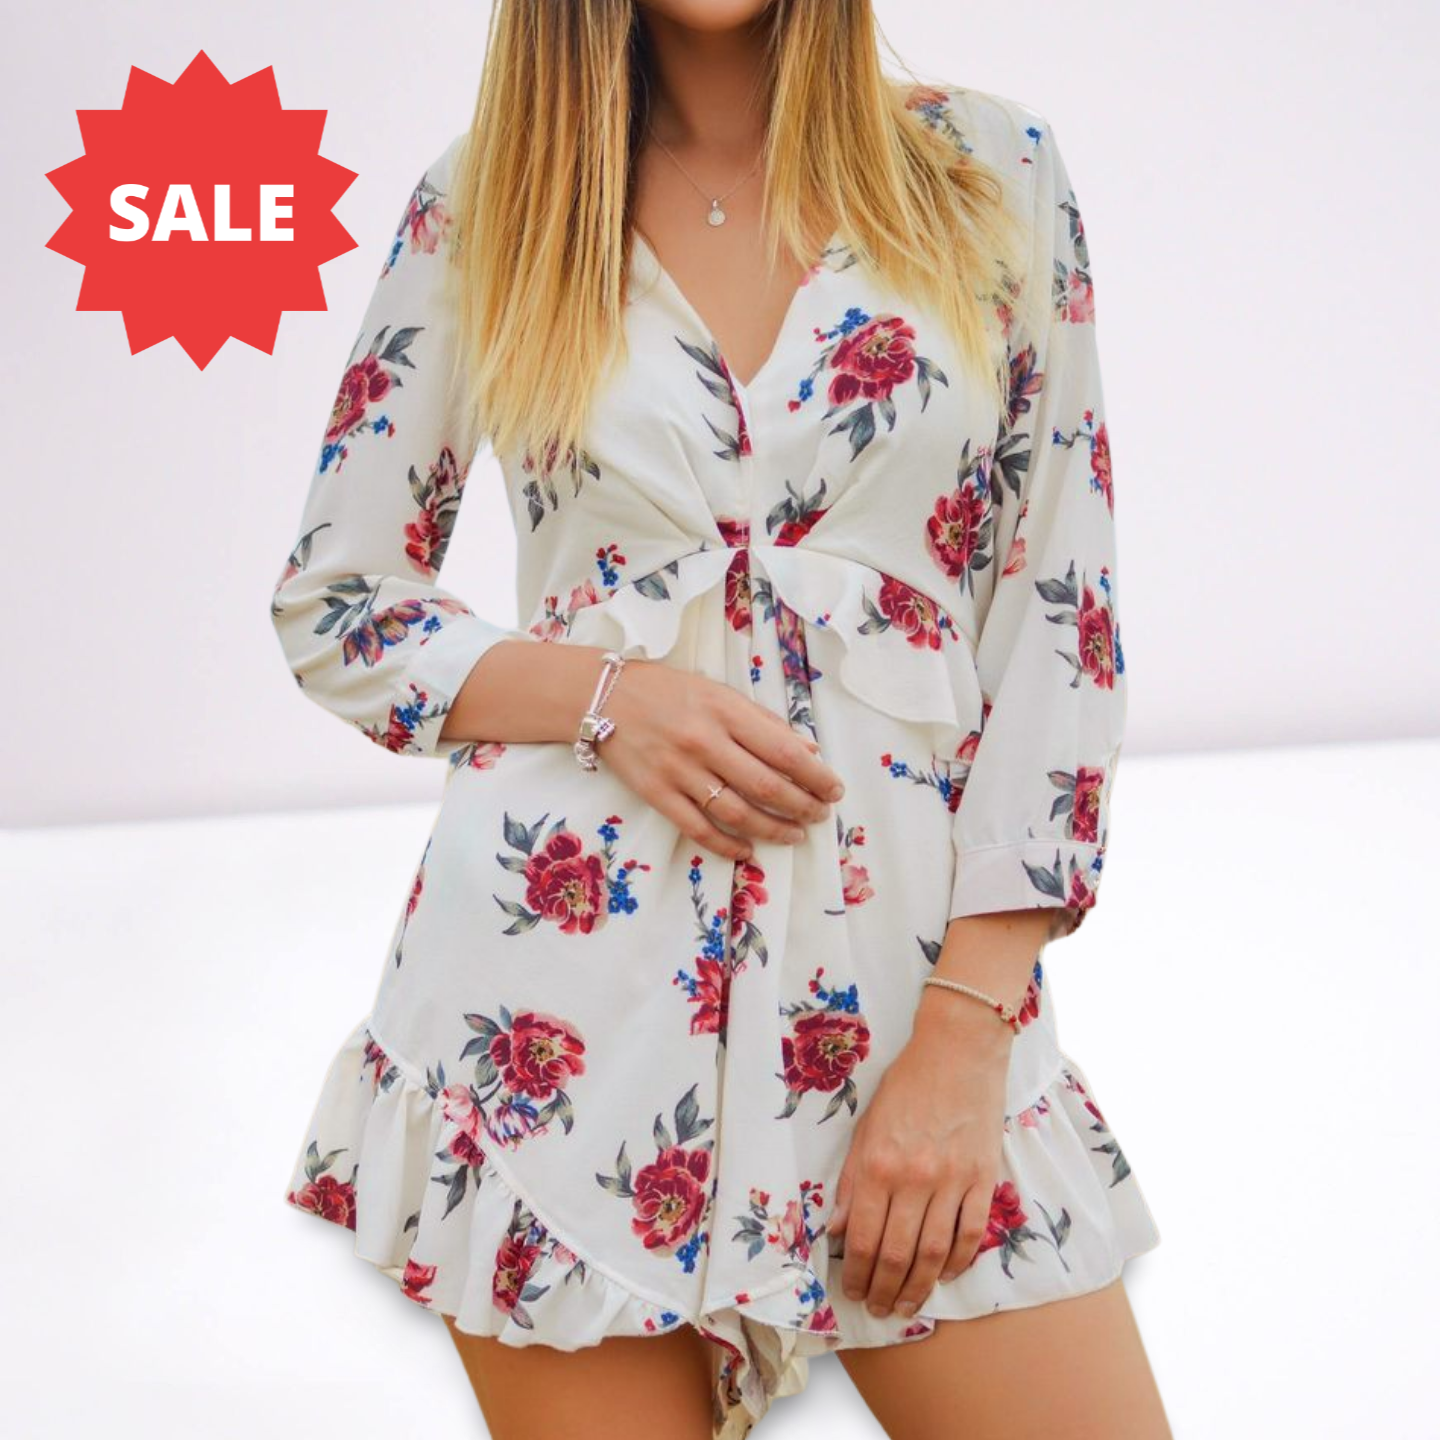
And there you have it — your new edited clothing photo ready for you in less than a minute and all set to upload. But if you’re going for a unique look and want to add elements like your brand logo or your social media handle, here’s another example using a model:
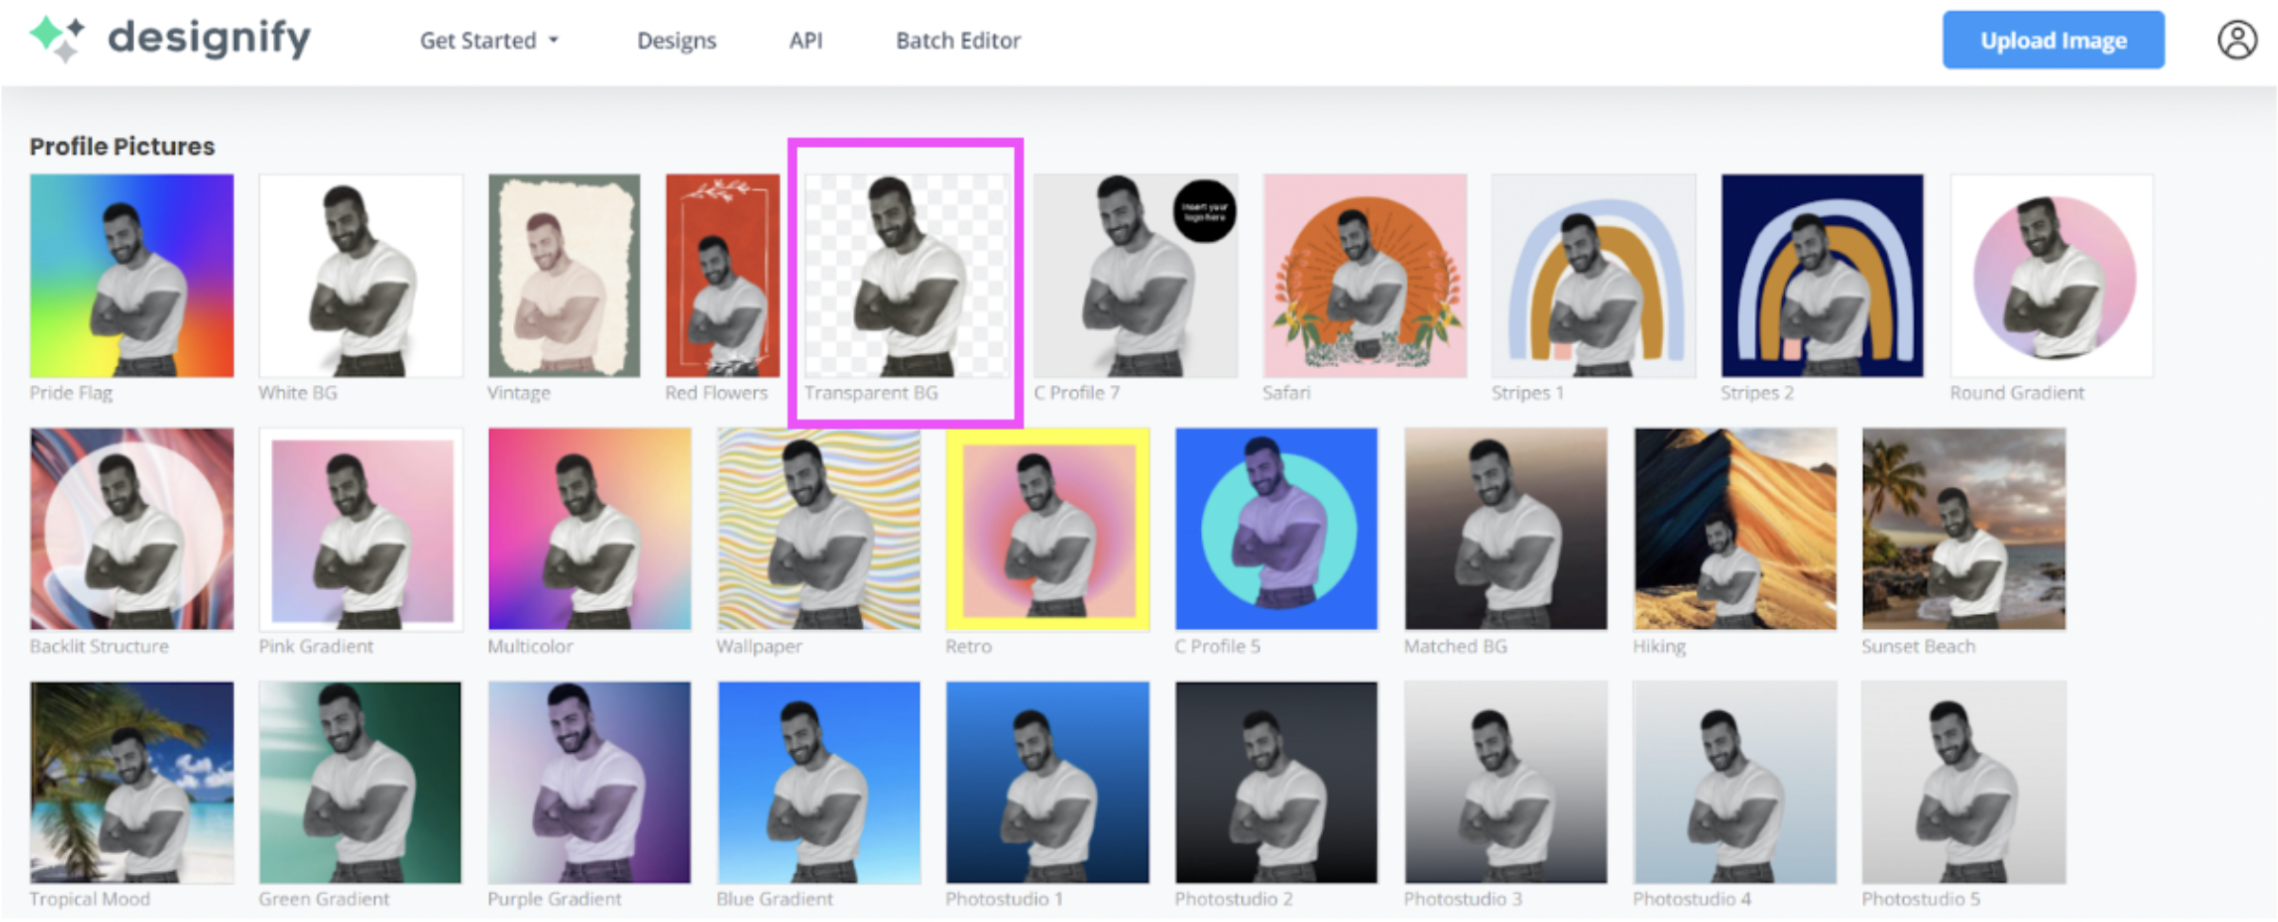
1. Drag and drop your image to Designify. This time, let’s pick > Transparent BG:
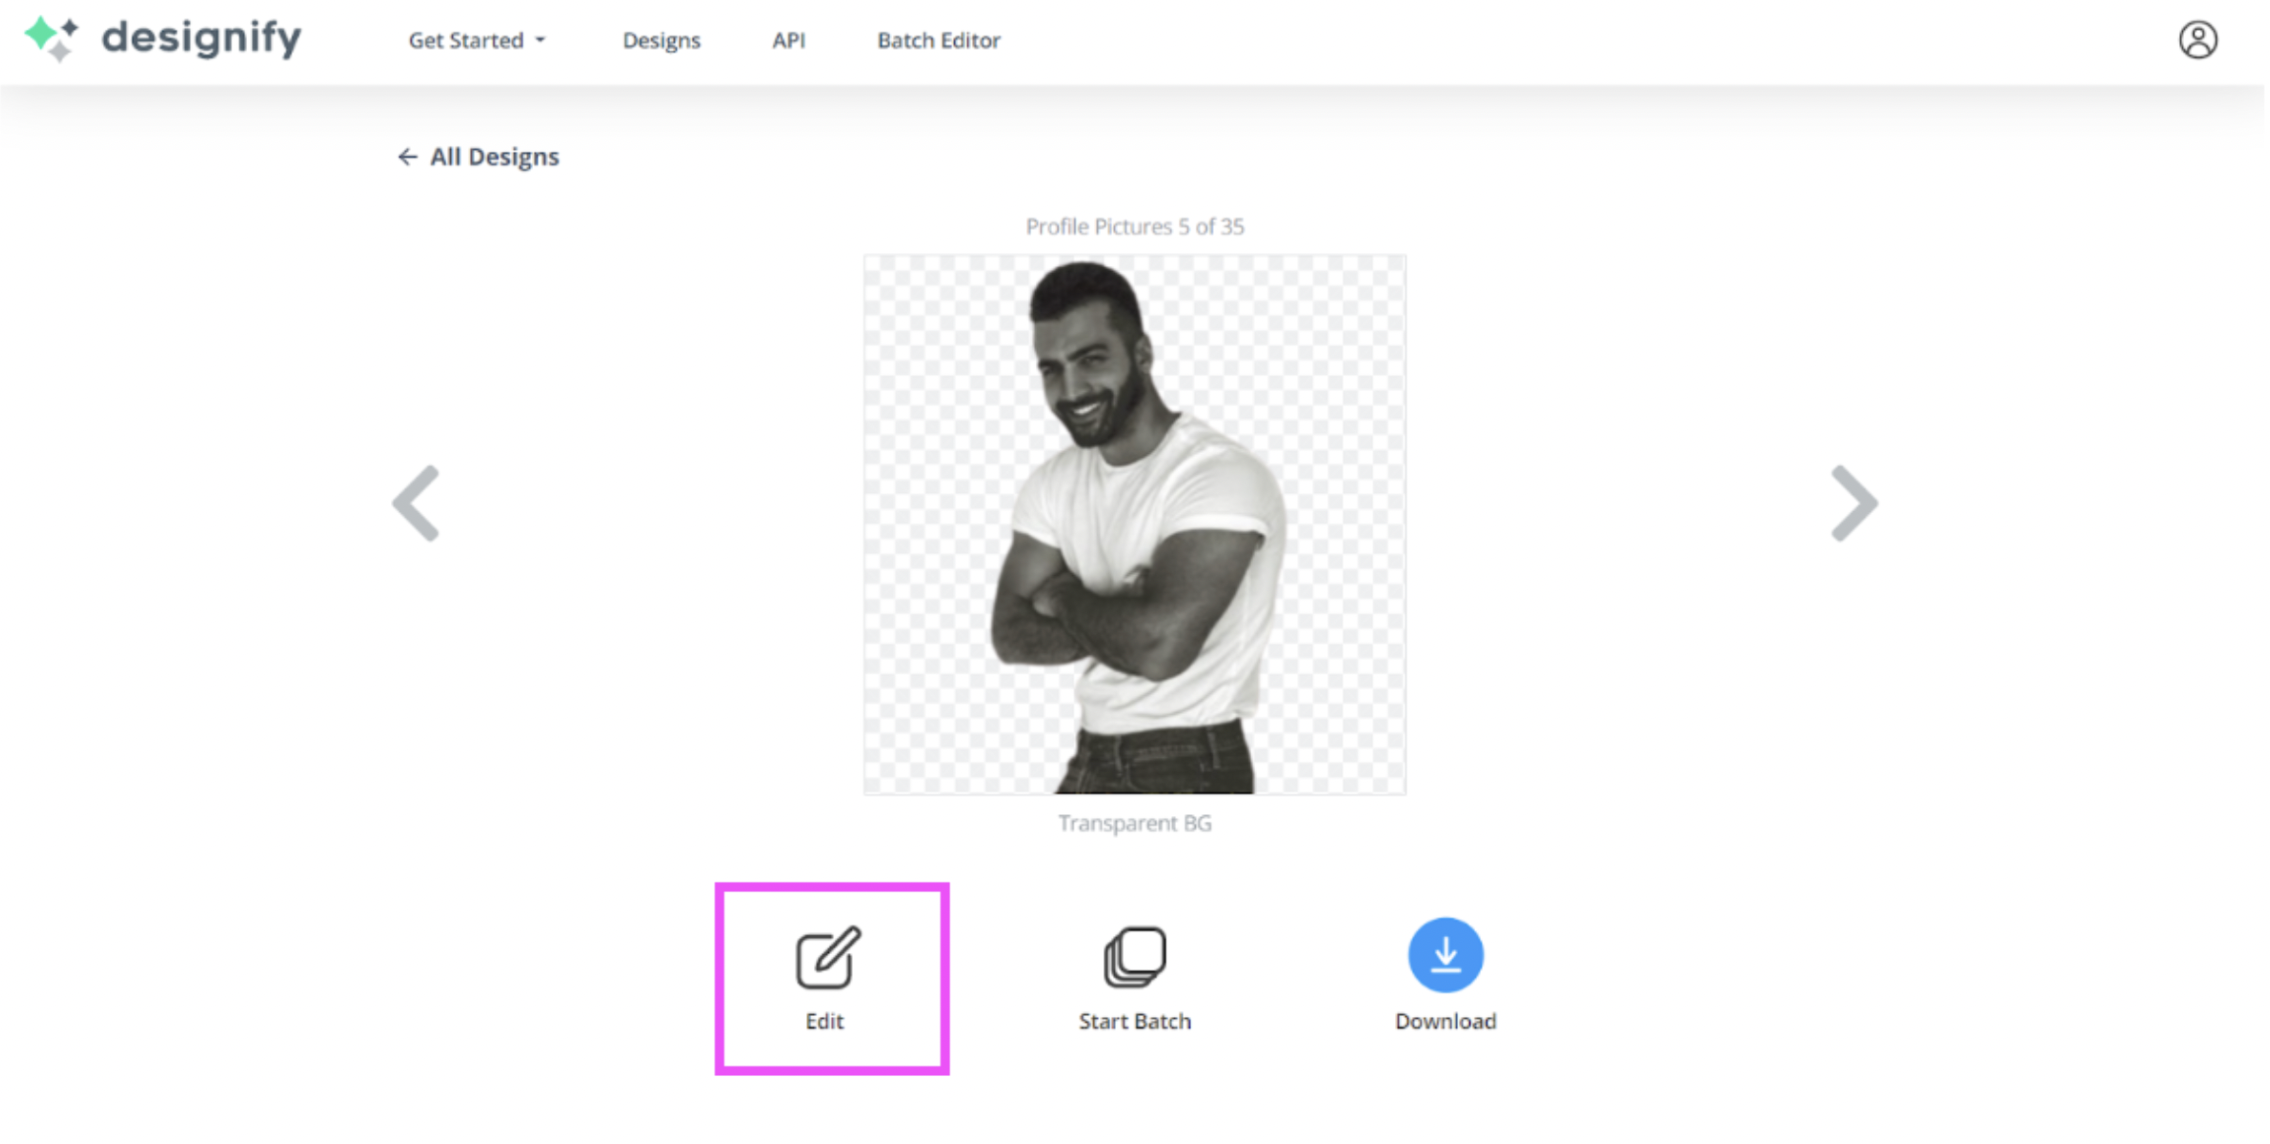
2. Click on > Edit.
3. Drag and drop your image background to the canvas. Then, hit > Send backward to make it your image background and resize until it fits.
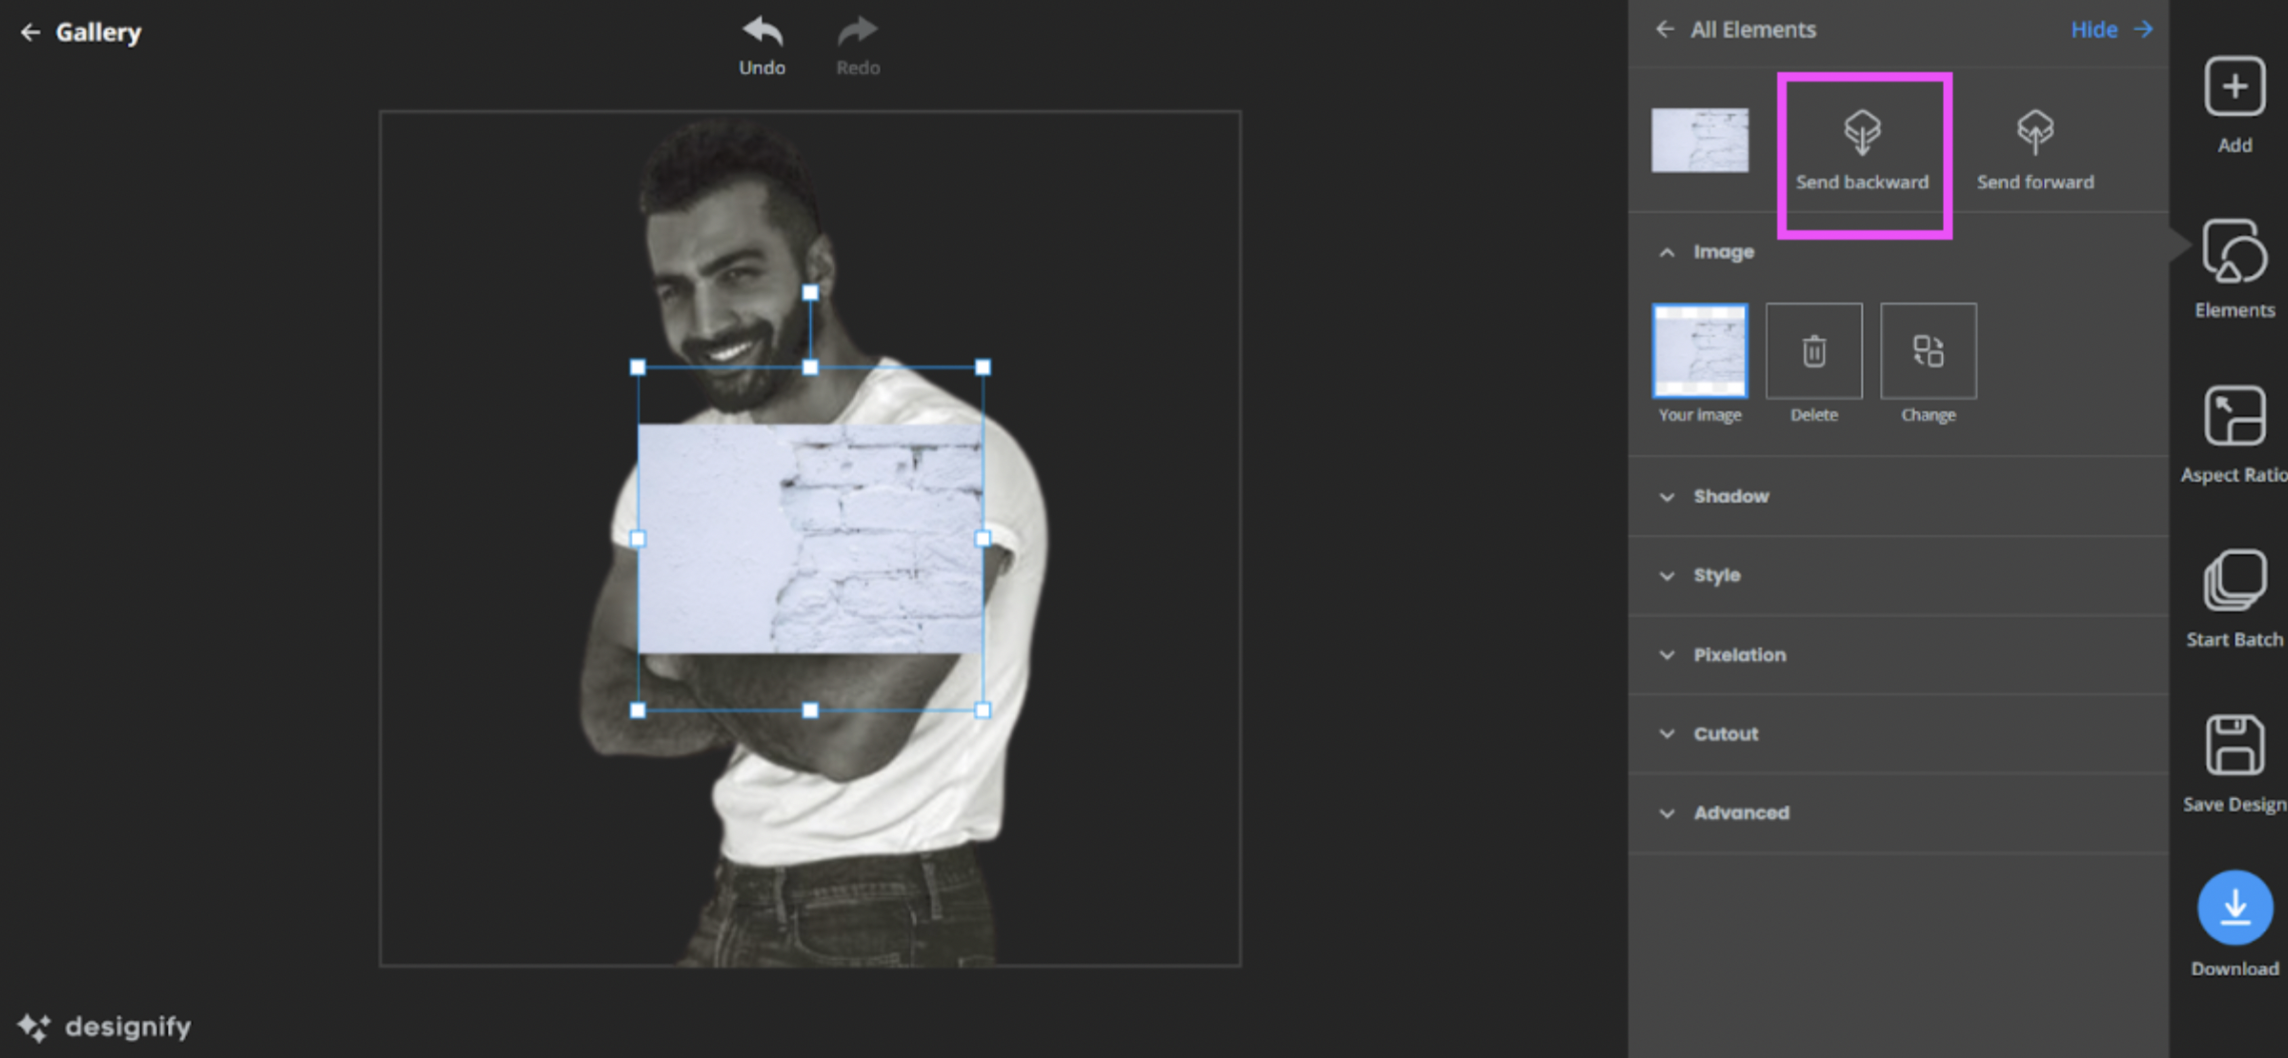
4. If you want to add your social media handle, just drag and drop the file to the canvas from your device. Here’s an example using one saved as a PNG file:
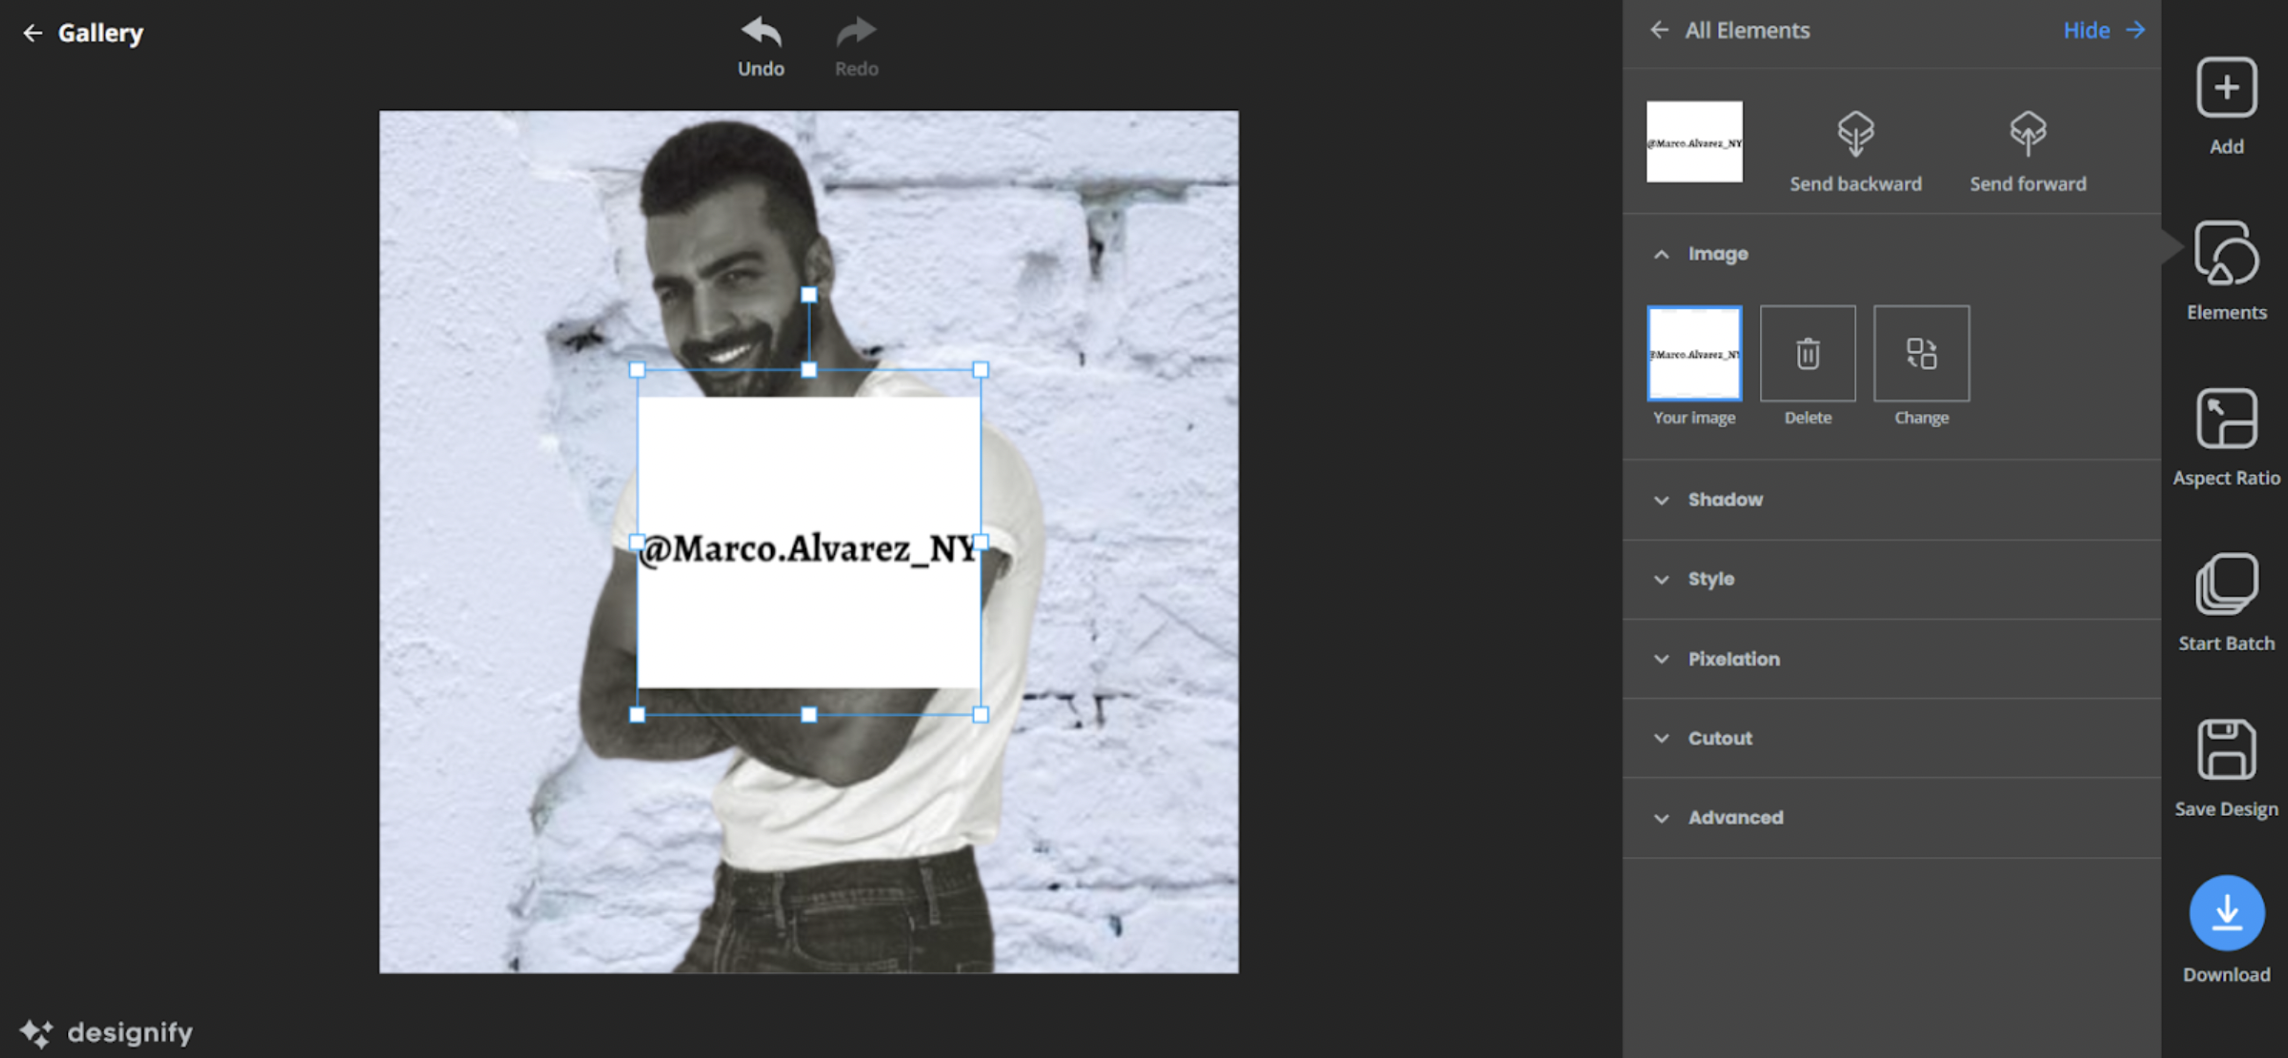
The white background of the image clashes a bit, right? So let’s quickly remove it with > Cutout and then > Transparent:
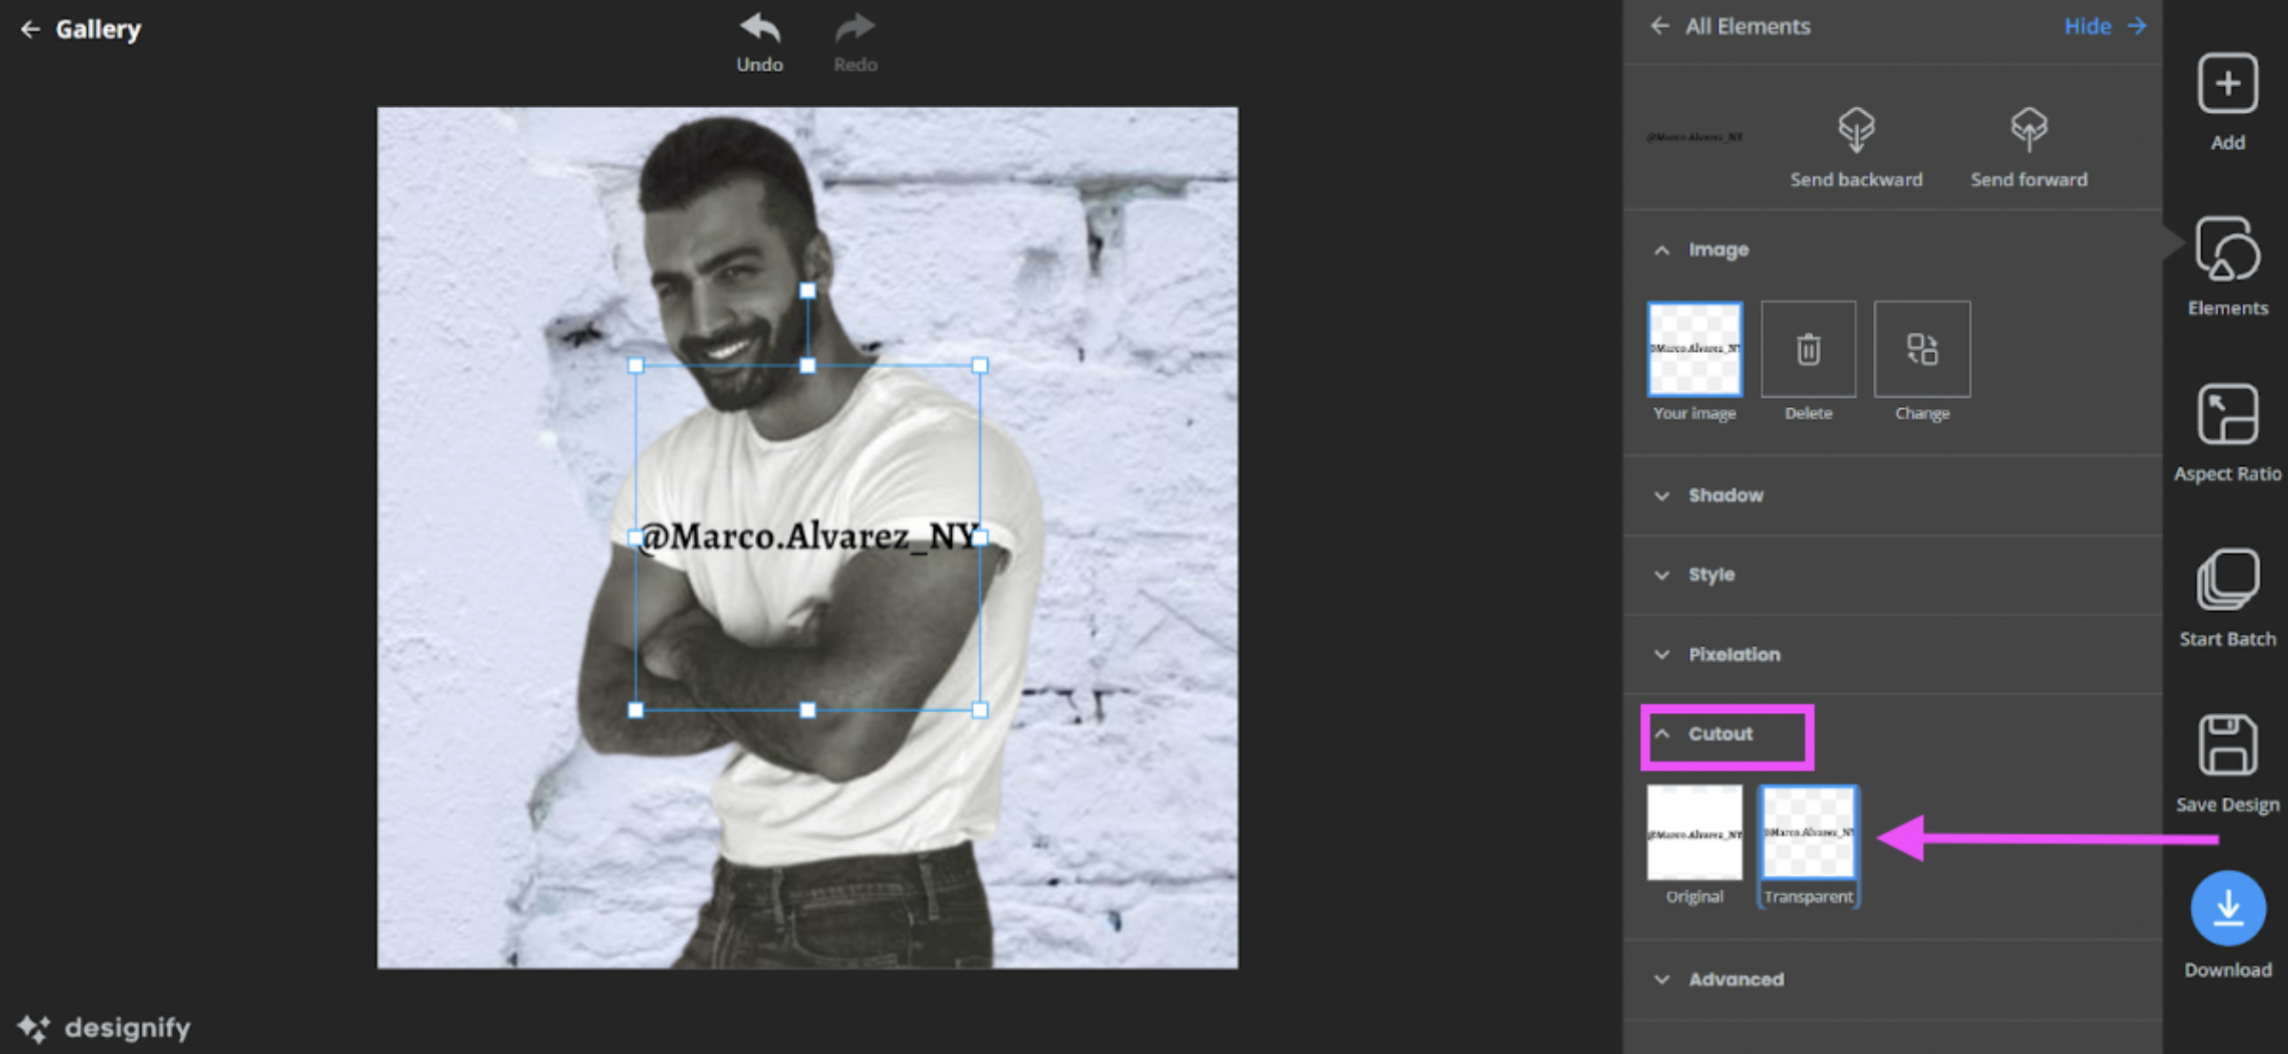
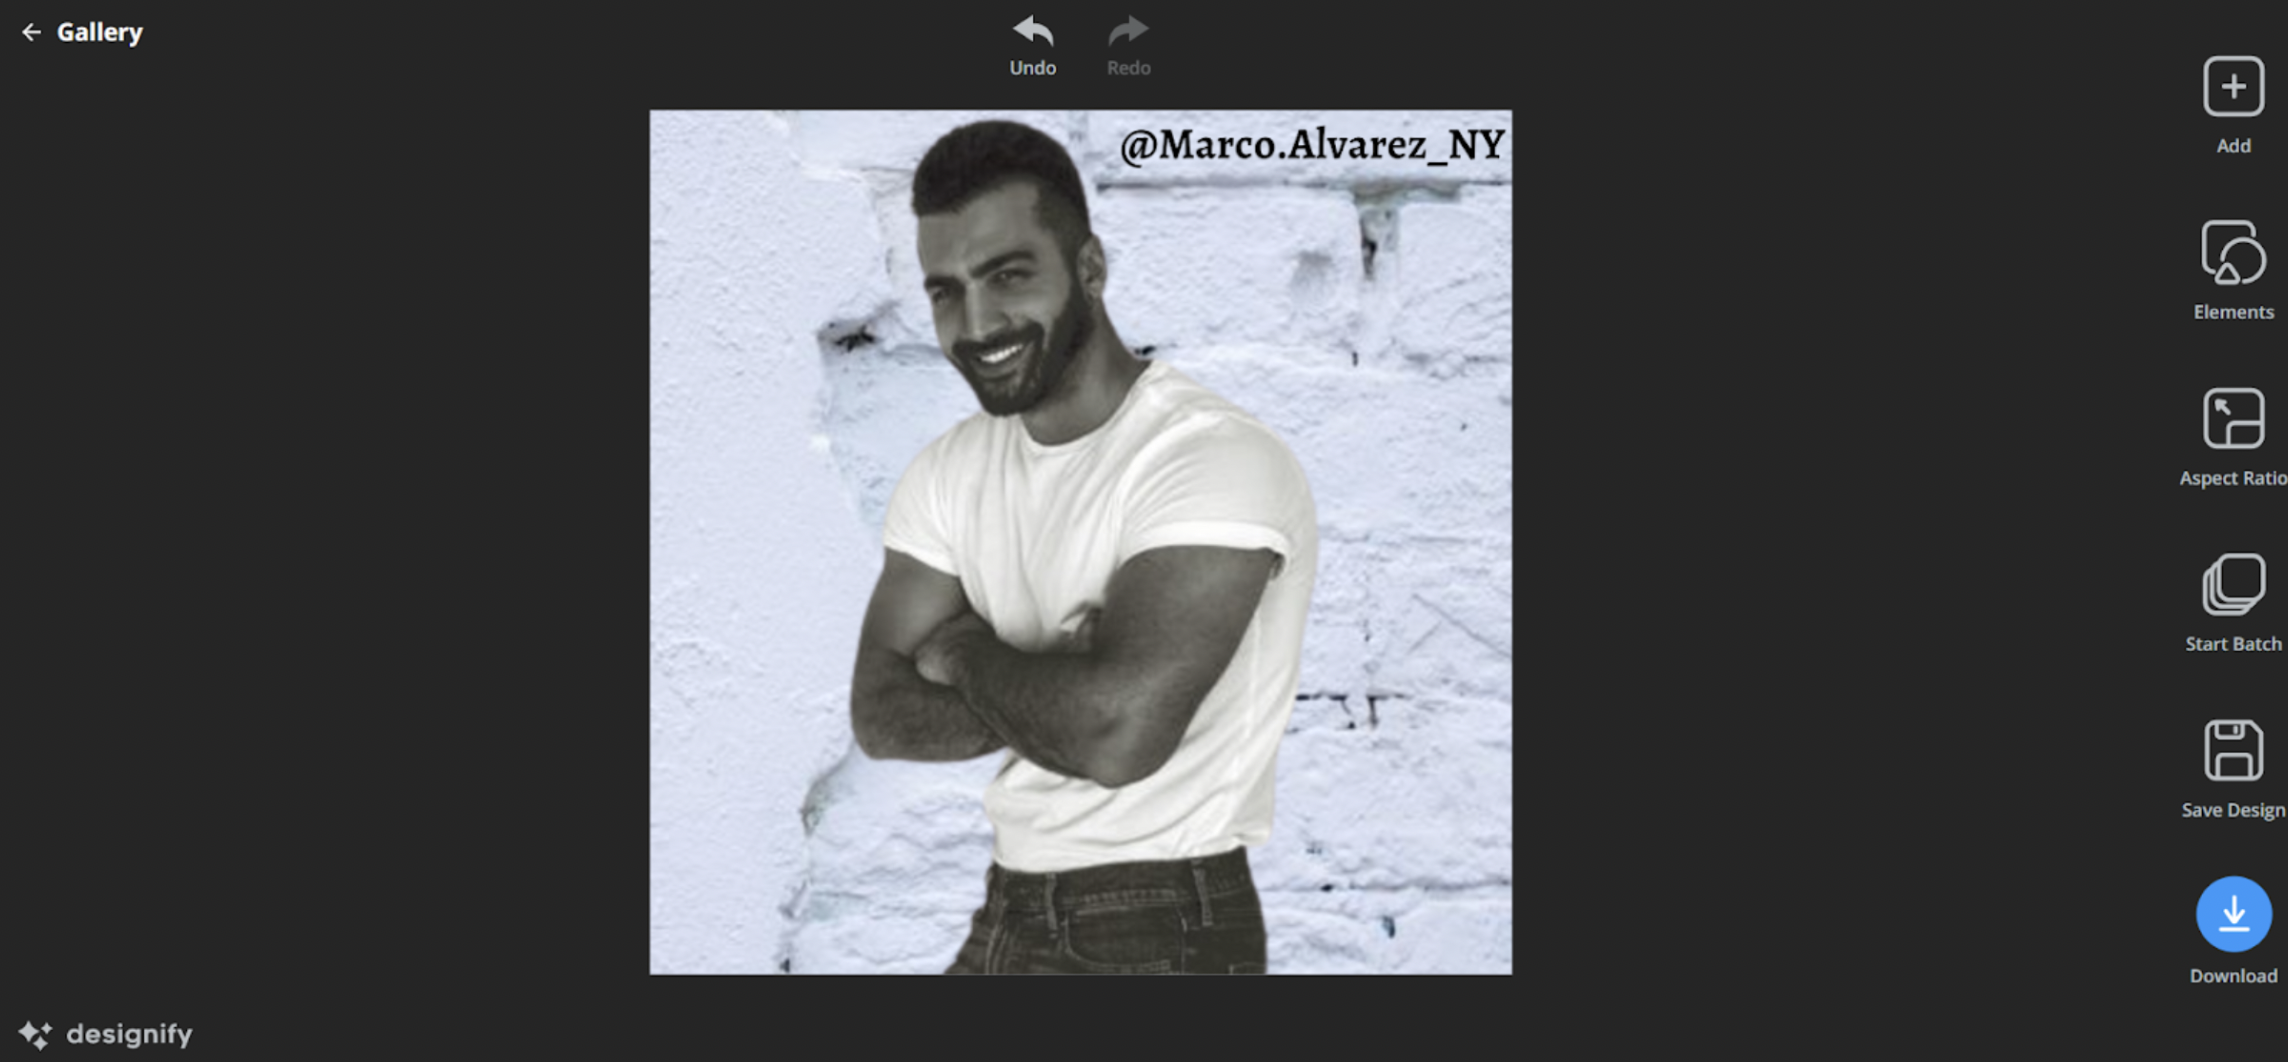
You can resize and shift your handle to make it fit the image better:
5. Sharing your clothing photos on social media or multiple e-commerce stores? Hit > Aspect Ratio to the right:
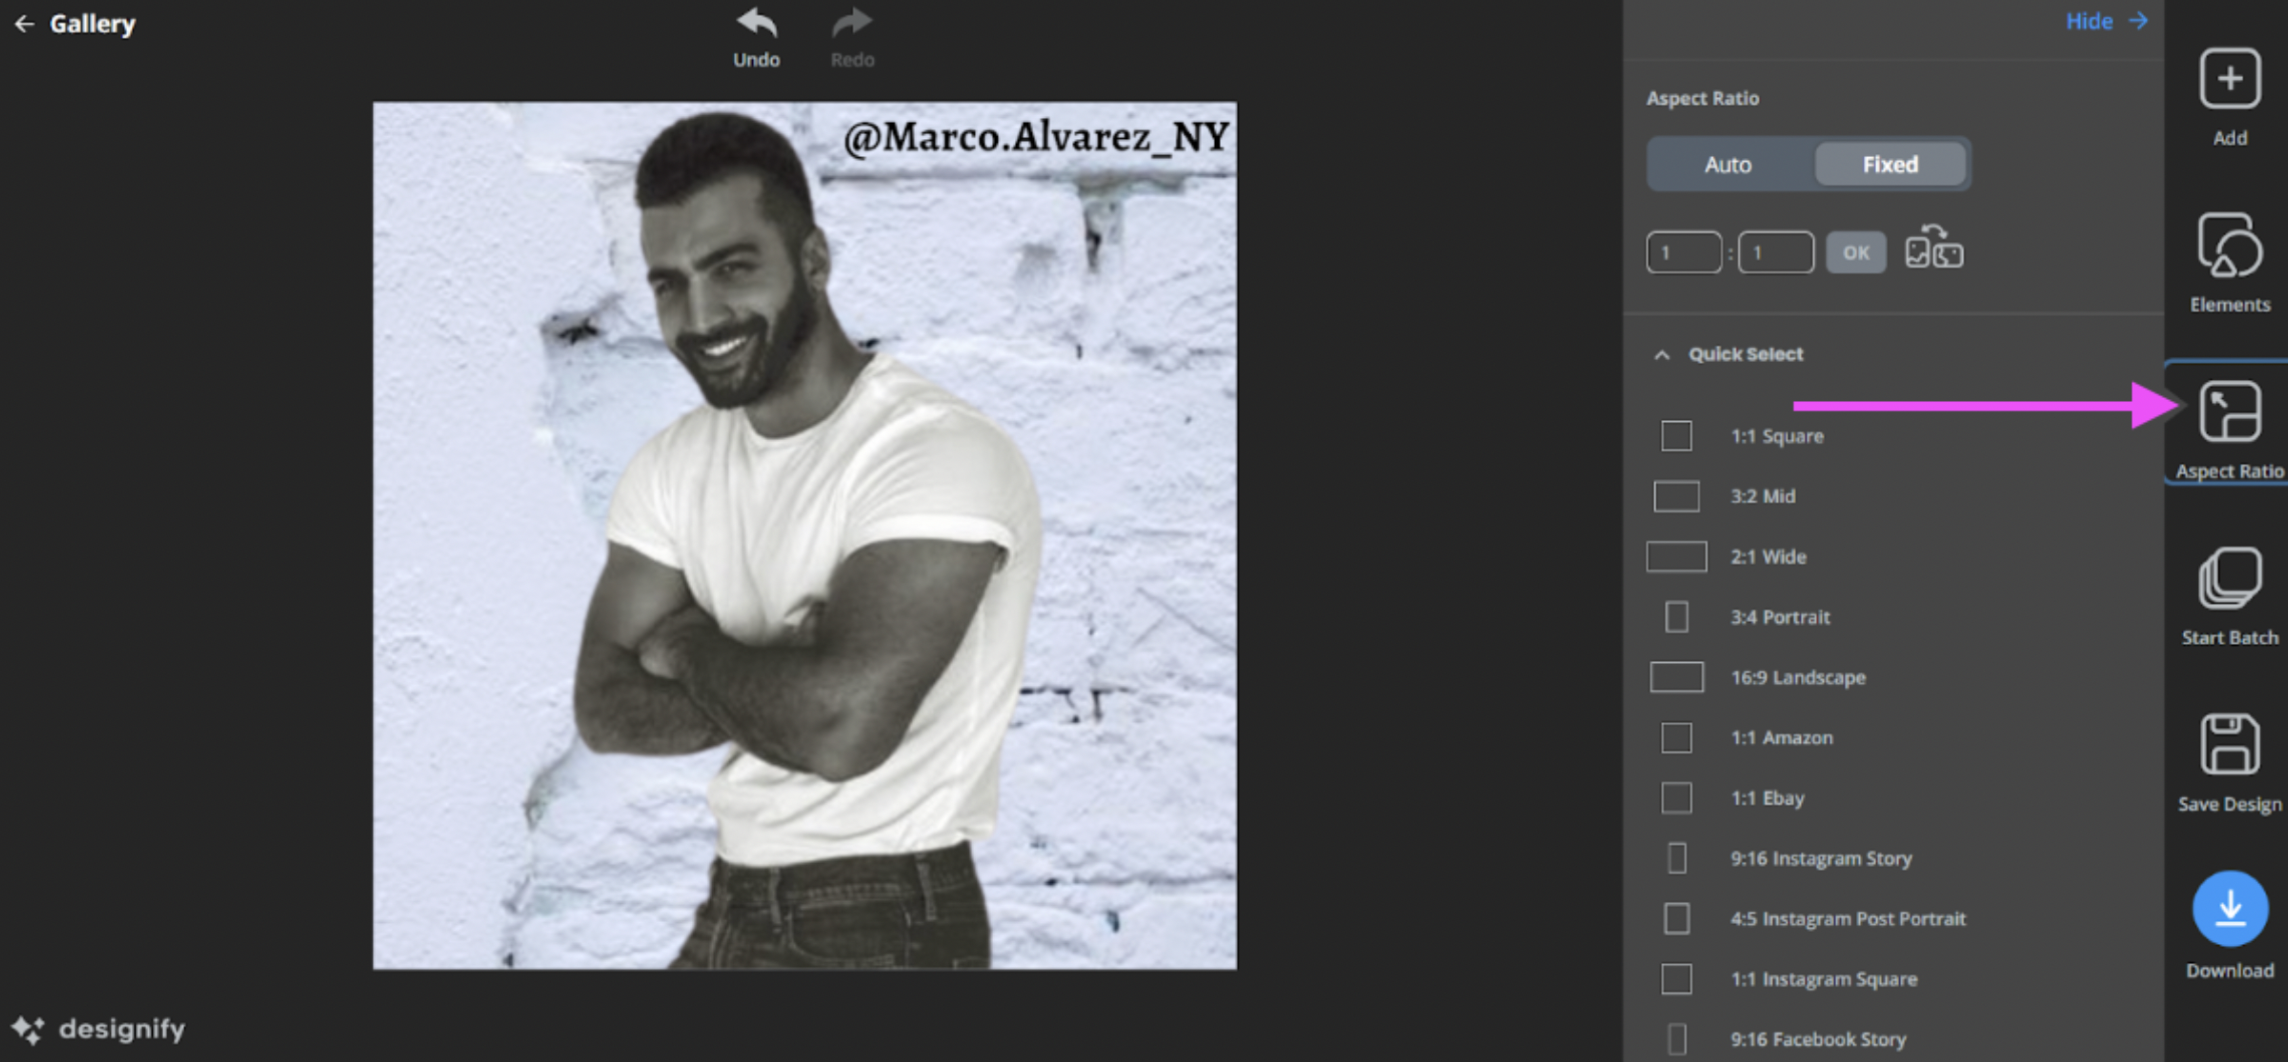
Here you can pick the right sizes and dimensions for your new photo, each tailored to social media channels like Facebook Marketplace and e-commerce platforms like Amazon and eBay.
6. Once you’re happy with your new photos, click on > Download in the bottom-right corner.
And ta-da! Here’s a professional-looking clothing photo that you can upload right away. If you’ve got a whole bunch of clothing photos to edit, check out Designify Pro’s batch editing features. Perfect for setting up your online clothing business in just a few steps.
Tips & best practices for how to get selling on Vinted
Setting up your very own seller account has never been easier — and you can do it on most online shopping platforms within minutes. If you’re a beginner, you might find Vinted the easiest to get started with, plus it doesn’t charge you a fee for listing and selling your items. If you prefer Depop, you’ll find the process of creating an account and listing your clothes online pretty similar.
Here are the basic steps to getting started with Vinted:
1. Hit > Sell Now in the top-right corner:

2. Verify your account with your telephone number.
3. Click on > Upload photos to add your new images from your device. (See why it’s wise to get your clothing photos ready before setting up an account?)

4. Add some details about your clothing photos under > Describe your item. You can add specific keywords and search terms to help your clothes stand out even better on both the online store and Google:

When describing the piece of clothing you’re selling, you could also share what you could pair it best with, what occasion or season you could wear it in, and more. Paint a picture for your buyers — it’ll make them more likely to pick your outfit over others.
5. Add the rest of your details under the remaining menus (Category, Brand, Size, Condition, Price) and hit > Upload once you’re done.
Once you get an offer from a buyer, you can keep your clothes listed until the buyer pays. You’ll then receive the money as Vinted Credits which you can transfer to your bank account. You can also ship your products with one of Vinted’s delivery partners (Evri, Yodel, UPS, or InPost) by just dropping them off at the parcel shop.
Ready to get started? Go to Vinted's website, create an account, upload your photos, and get selling!
Best practices for selling your clothing online — no matter the platform

If you find setting up your seller account on Vinted easy, you’ll find it similar across other platforms like Depop, eBay, and more. Once you’ve got these basic steps in place, here’s how you can take your online clothing sales to the next level:
Aim for a popular category like women’s or kid’s clothing — and try and niche down to a specific look or theme. This could be, for example, Halloween-themed outfits, plus or petite-sized fashion, or eco-friendly products. The more specialized your brand, the easier you’ll stand out from the competition.
Compare your prices to what’s listed on other e-commerce platforms, like eBay and Amazon. That’ll help prevent you from pricing your outfits too low and give you a useful reference.
Make it easy for your customers to buy a bunch of products at once with bundle deals and discounts. This is great for high-traffic online shopping events like Black Friday, where buyers look for holiday-themed product bundles. We cover some e-commerce tips for Black Friday in greater detail on our blog.
Save your postage receipts in case a buyer claims they haven’t received a product. You can always message them to confirm you’ve made the shipment.
Declutter that closet and get selling online — with killer clothing shots
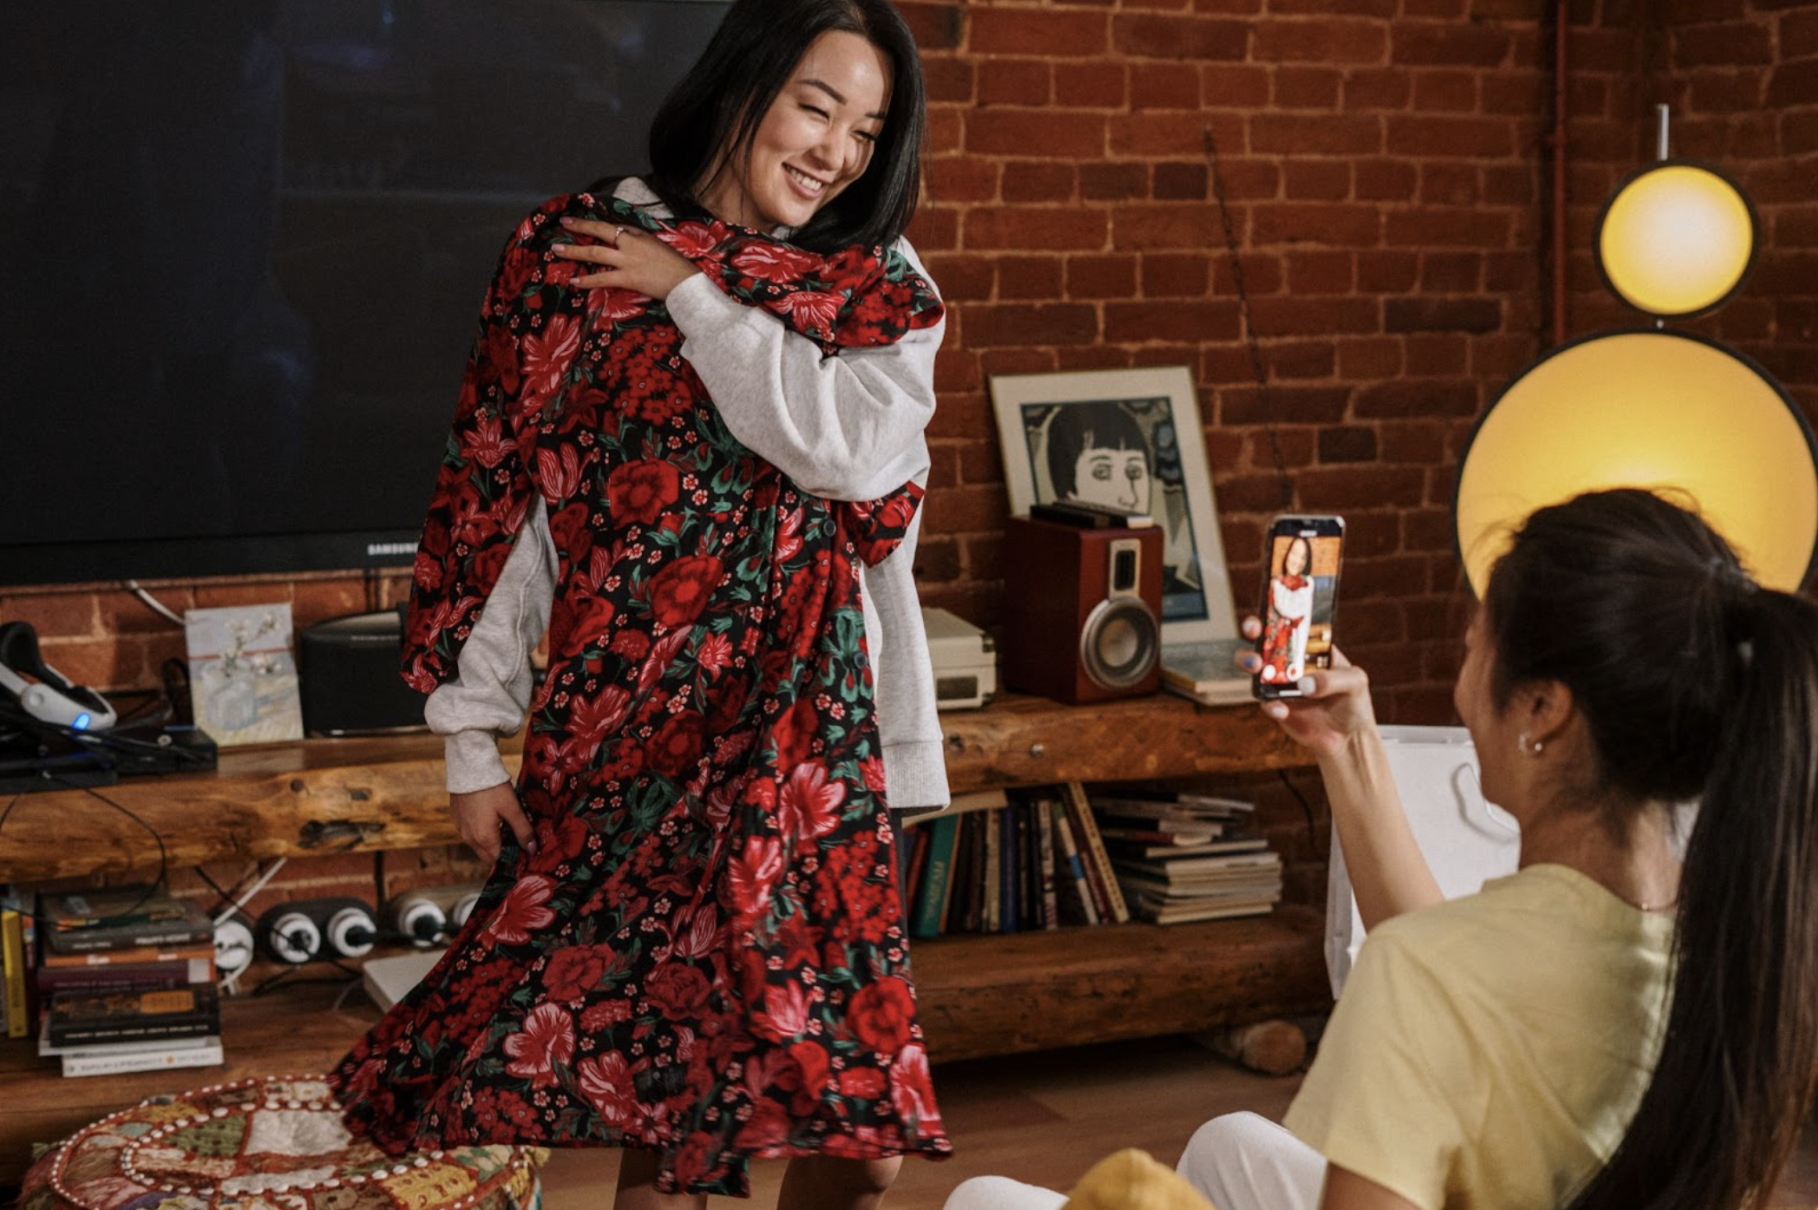
Whether you just want to sell a few extra clothes or jumpstart your online apparel brand, you’ll need a) great clothing photos and b) a seller account on one or more online shopping platforms. And we’ve just walked you through both steps to get decluttering, snapping, editing, and making sales.
You can use a free, automatic tool like Designify to edit your clothing shots with plain or neutral backgrounds, add your social media handle, brand logo, or a sales sticker, adjust your photo sizes and dimensions, and more.
Use specific keywords and search terms in your clothing descriptions to help them stand out more.
Price your products for what they’re worth by using other e-commerce sites as a reference.
Make sure you’ve found a nearby parcel shop where you can drop off your shipments. Save the receipts.
Got your clothing photos ready but not Vinted ready? Head on over to Designify, and get editing. Happy selling!
评论
目前尚无评论。